Page 97 of 241
85A-27
WIPING - WASHING
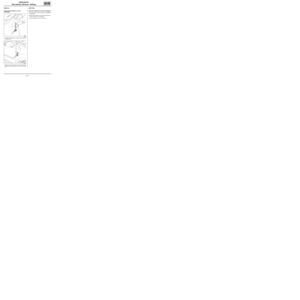
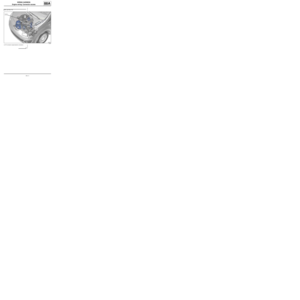
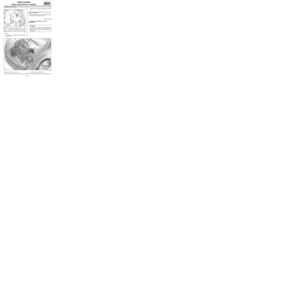
Windscreen washer reservoir: Removal - Refitting
85A
-the front wheels (see Wheel: Removal - Refitting)
(MR 411, 35A, Wheels and tyres).
aFill the windscreen washer bottle.
aAdjust the headlight beam (see 80B, Headlights,
Halogen headlight: Adjustment, page 80B-9) .
Page 98 of 241
86A-1
RADIO
Radio: List and location of components
WITH 2 SPEAKERS, WITHOUT RADIO or WITH 4 SPEAKERS, WITHOUT RADIO or RADIO NO. 01 or RADIO
NO. 03
86A
I - LIST OF COMPONENTS
II - LOCATION OF COMPONENTS
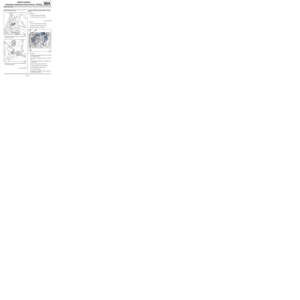
Radio (1)Radio (1) No. Description
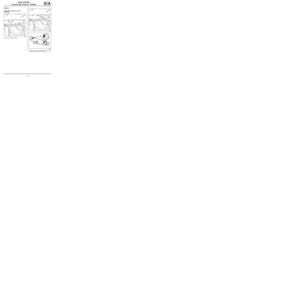
(1) Radio
(2) Display
(3) Radio control satellite
(4) Radio aerial
(5) Tweeters
(6) Front speakers
(7) Rear speakers
(8) Offset audio socket (mp3)
RADIO NO. 01
119708
RADIO NO. 03
121084
Page 99 of 241
86A-2
RADIO
Radio: List and location of components
WITH 2 SPEAKERS, WITHOUT RADIO or WITH 4 SPEAKERS, WITHOUT RADIO or RADIO NO. 01 or RADIO
NO. 03
86A
Display (2)
Radio control satellite (3)
Radio aerial (4)
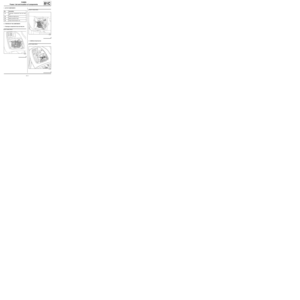
The radio aerial is located on the roof at the rear of
the vehicle. RADIO NO. 03
121084
WITH 4 SPEAKERS, WITHOUT RADIO or RADIO
NO. 01 or RADIO NO. 03
119480
121087
Page 100 of 241
86A-3
RADIO
Radio: List and location of components
WITH 2 SPEAKERS, WITHOUT RADIO or WITH 4 SPEAKERS, WITHOUT RADIO or RADIO NO. 01 or RADIO
NO. 03
86A
Tweeter speakers (5)
Front speakers (6)Rear speakers (7)
Offset audio socket (mp3) (8)
120274
119277
WITH 4 SPEAKERS, WITHOUT RADIO or RADIO
NO. 03
121075
RADIO NO. 03
121381
Page 101 of 241
86A-4
RADIO
Radio: Removal - Refitting
RADIO NO. 01 or RADIO NO. 03
86A
REMOVAL
I - REMOVAL PREPARATION OPERATION
aSwitch off the ignition.
II - OPERATION FOR REMOVAL OF PART
CONCERNED
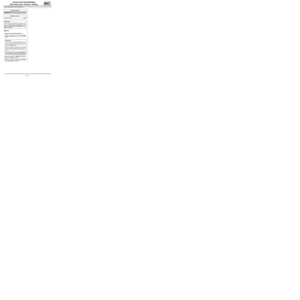
aRemove the radio using two (Ms. 1373) (1) .
aMark the routing of the wiring behind the radio.
aDisconnect the audio equipment connectors.
aMark the routing of the aerial cable behind the radio.
aDisconnect the aerial cable from the radio.
REFITTING
I - REFITTING OPERATION FOR PART
CONCERNED
aConnect the aerial cable to the radio.
aClip the aerial cable into the position marked during
removal.
aConnect the radio connectors.
aFit the wiring in the position marked during removal.aRefit the radio.
II - FINAL OPERATION.
aCarry out the necessary operations (see Fault fin-
ding - Replacement of components) (MR 413,
86A, Radio). Special tooling required
Ms. 1373Tool for removing radios or
chronotachographs.
120073
Page 102 of 241

86A-5
RADIO
Radio aerial: Removal - Refitting
WITH 2 SPEAKERS, WITHOUT RADIO or WITH 4 SPEAKERS, WITHOUT RADIO or RADIO NO. 01 or RADIO
NO. 03
86A
REMOVAL
I - REMOVAL PREPARATION OPERATION
aRemove:
-the front seat belt upper bolt (see Front seat belt:
Removal - Refitting) (MR 412, 59A, Safety equip-
ment),
-the rear seat belt upper bolt (see Rear seat belt:
Removal - Refitting) (MR 412, 59A, Safety equip-
ment),
-the sun visor (see Sun visor: Removal - Refitting)
(MR 412, 57A, Interior equipment),
-the interior equipment covers (see Interior rear-
view mirror: Removal - Refitting) (MR 412, 57A,
Interior equipment),
-the A-pillar trims (see Windscreen pillar trim: Re-
moval - Refitting) (MR 412, 71A, Body internal
trim),
-the rear parcel shelf side trims (see Rear parcel
shelf side trim: Removal - Refitting) (MR 412,
71A, Body internal trim),
-the rear panel trims (see Rear panel lining: Re-
moval - Refitting) (MR 412, 71A, Body internal
trim),
-the rear quarter panel trims (see Quarter panel
trim: Removal - Refitting) (MR 412, 71A, Body in-
ternal trim),
-the B-pillar upper trims (see B-pillar upper trim:
Removal - Refitting) (MR 412, 71A, Body internal
trim),
-the headlining (see Headlining: Removal - Refit-
ting) (MR 412, 71A, Body internal trim).
aDisconnect the battery (see 80A, Battery, Battery:
Removal - Refitting, page 80A-2) .
aRemove the sunroof “motor - computer” assembly
(see 87D, Electric windows - Sunroof, Sunroof
opening motor: Removal - Refitting, page 87D-7)
.II - OPERATION FOR REMOVAL OF PART
CONCERNED
aDisconnect the radio aerial connector (1) .
aDisconnect the radio aerial connector (2) .
aRemove:
-the radio aerial nut (3) ,
-the radio aerial.
REFITTING
I - REFITTING OPERATION FOR PART
CONCERNED
aRefit:
-the radio aerial, OPENING ROOF
121086
121087
Page 103 of 241

86A-6
RADIO
Radio aerial: Removal - Refitting
WITH 2 SPEAKERS, WITHOUT RADIO or WITH 4 SPEAKERS, WITHOUT RADIO or RADIO NO. 01 or RADIO
NO. 03
86A
-the radio aerial nut.
aConnect the radio aerial connectors.
II - FINAL OPERATION.
aRefit the sunroof “motor - computer” assembly (see
87D, Electric windows - Sunroof, Sunroof ope-
ning motor: Removal - Refitting, page 87D-7) .
aRefit:
-the headlining (see Headlining: Removal - Refit-
ting) (MR 412, 71A, Body internal trim),
-the B-pillar left-hand upper trims (see B-pillar up-
per trim: Removal - Refitting) (MR 412, 71A,
Body internal trim),
-the rear quarter panel trims (see Quarter panel
trim: Removal - Refitting) (MR 412, 71A, Body in-
ternal trim),
-the rear panel trims (see Rear panel lining: Re-
moval - Refitting) (MR 412, 71A, Body internal
trim),
-the rear parcel shelf side trims (see Rear parcel
shelf side trim: Removal - Refitting) (MR 412,
71A, Body internal trim),
-the A-pillar trims (see Windscreen pillar trim: Re-
moval - Refitting) (MR 412, 71A, Body internal
trim),
-the interior equipment covers (see Interior rear-
view mirror: Removal - Refitting) (MR 412, 57A,
Interior equipment),
-the sun visor (see Sun visor: Removal - Refitting)
(MR 412, 57A, Interior equipment),
-the rear seat belt upper bolt (see Rear seat belt:
Removal - Refitting) (MR 412, 59A, Safety equip-
ment),
-the front seat belt upper bolt (see Front seat belt:
Removal - Refitting) (MR 412, 59A, Safety equip-
ment).aConnect the battery (see 80A, Battery, Battery: Re-
moval - Refitting, page 80A-2) .
aCarry out the necessary operations without the dia-
gnostic tool (see Battery: Initialisation) (MR 413,
80A, Battery).
OPENING ROOF
OPENING ROOF
Page 104 of 241
86A-7
RADIO
Tweeter: Removal - Refitting
WITH 2 SPEAKERS, WITHOUT RADIO or WITH 4 SPEAKERS, WITHOUT RADIO or RADIO NO. 01 or RADIO
NO. 03
86A
REMOVAL
OPERATION FOR REMOVAL OF PART
CONCERNED
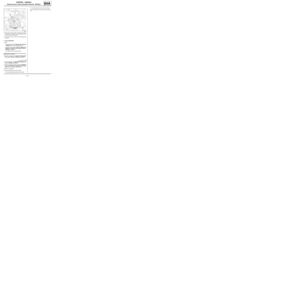
aUnclip the tweeter speaker using the (Car. 1363) po-
sitioned at (1) or at (2) .
aDisconnect the tweeter speaker.
aRemove tweeter .
aSeparate the tweeter speaker grille from the tweeter
speaker.
REFITTING
REFITTING OPERATION FOR PART CONCERNED
aClip the tweeter speaker grille onto the tweeter
speaker.
aConnect the tweeter speaker.
aClip on the tweeter speaker.Special tooling required
Car. 1363Set of tr im removal levers.
121159