Page 220 of 273

DIESEL INJECTION
Fault finding – Interpretation of commands13B
13B -220V3 MR-372-J84-13B250$765.mif
EDC16
PROGRAM No: C1
Vdiag No.: 51
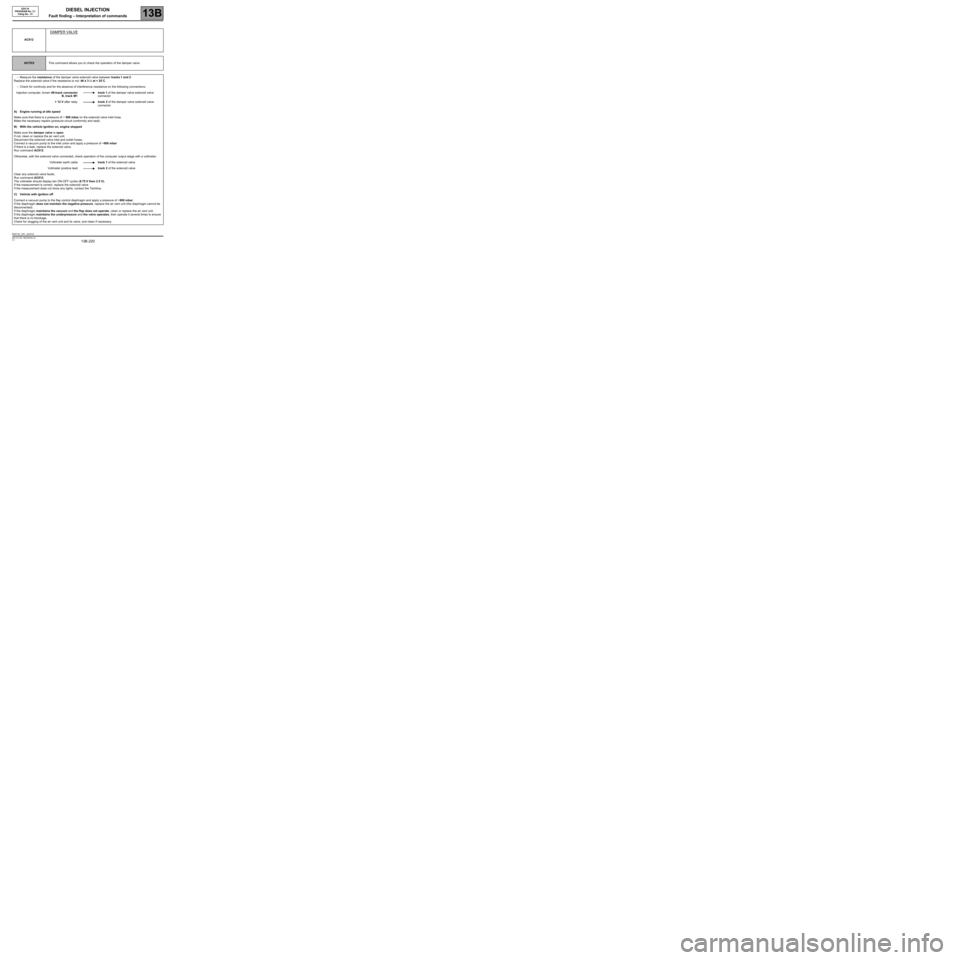
AC012
DAMPER VALVE
NOTESThis command allows you to check the operation of the damper valve.
–Measure the resistance of the damper valve solenoid valve between tracks 1 and 2.
Replace the solenoid valve if the resistance is not: 46 ± 3 Ω at + 25˚C.
–Check for continuity and for the absence of interference resistance on the following connections:
Injection computer, brown 48-track connector
B, track M1track 1 of the damper valve solenoid valve
connector
+ 12 V after relaytrack 2 of the damper valve solenoid valve
connector
A) Engine running at idle speed
Make sure that there is a pressure of ~ 900 mbar on the solenoid valve inlet hose.
Make the necessary repairs (pressure circuit conformity and seal).
B) With the vehicle ignition on, engine stopped
Make sure the damper valve is open.
If not, clean or replace the air vent unit.
Disconnect the solenoid valve inlet and outlet hoses,
Connect a vacuum pump to the inlet union and apply a pressure of ~900 mbar
If there is a leak, replace the solenoid valve.
Run command AC012.
Otherwise, with the solenoid valve connected, check operation of the computer output stage with a voltmeter:
Voltmeter earth cabletrack 1 of the solenoid valve
Voltmeter positive leadtrack 2 of the solenoid valve
Clear any solenoid valve faults,
Run command AC012.
The voltmeter should display ten ON-OFF cycles (8.75 V then 2.5 V).
If the measurement is correct, replace the solenoid valve.
If the measurement does not show any lights, contact the Techline.
C) Vehicle with ignition off
Connect a vacuum pump to the flap control diaphragm and apply a pressure of ~900 mbar:
If the diaphragm does not maintain the negative pressure, replace the air vent unit (the diaphragm cannot be
disconnected).
If the diaphragm maintains the vacuum and the flap does not operate, clean or replace the air vent unit.
If the diaphragm maintains the underpressure and the valve operates, then operate it several times to ensure
that there is no blockage.
Check for clogging of the air vent unit and its valve, and clean if necessary.
EDC16_V51_AC012
Page 226 of 273
DIESEL INJECTION
Fault finding – Fault Finding Chart13B
13B -226V3 MR-372-J84-13B250$855.mif
EDC16
PROGRAM No.: C1
Vdiag No.: 51
ALP2
CONTINUED 2
Is there any diesel in the tank?
YES
Does the starter motor work properly?
(Check an engine speed
> ~ 250 rpm is obtained with the starter motor,
PR055 Engine speed)
YES
Using the diagnostic tool, check the conformity of the
immobiliser: ET003 Immobiliser must be
INACTIVE.
ET003 not
correct or
immobiliser warning
light permanently
illuminatedET003 correct (immobiliser
code warning light off)
Consult the fault finding procedure
for the immobiliser.
NOFill the tank with diesel fuel.
Bleed the low and high pressure diesel
circuit.
NOConsult Technical Note 6014A,
Checking the charging circuit, 16A,
Starter fault finding, Starter.
Continue the fault finding procedure with Part A of this fault finding
chart.
AFTER REPAIRcarry out a road test followed by a complete check with the diagnostic tool.
Page 228 of 273

DIESEL INJECTION
Fault finding – Fault Finding Chart13B
13B -228V3 MR-372-J84-13B250$855.mif
EDC16
PROGRAM No.: C1
Vdiag No.: 51
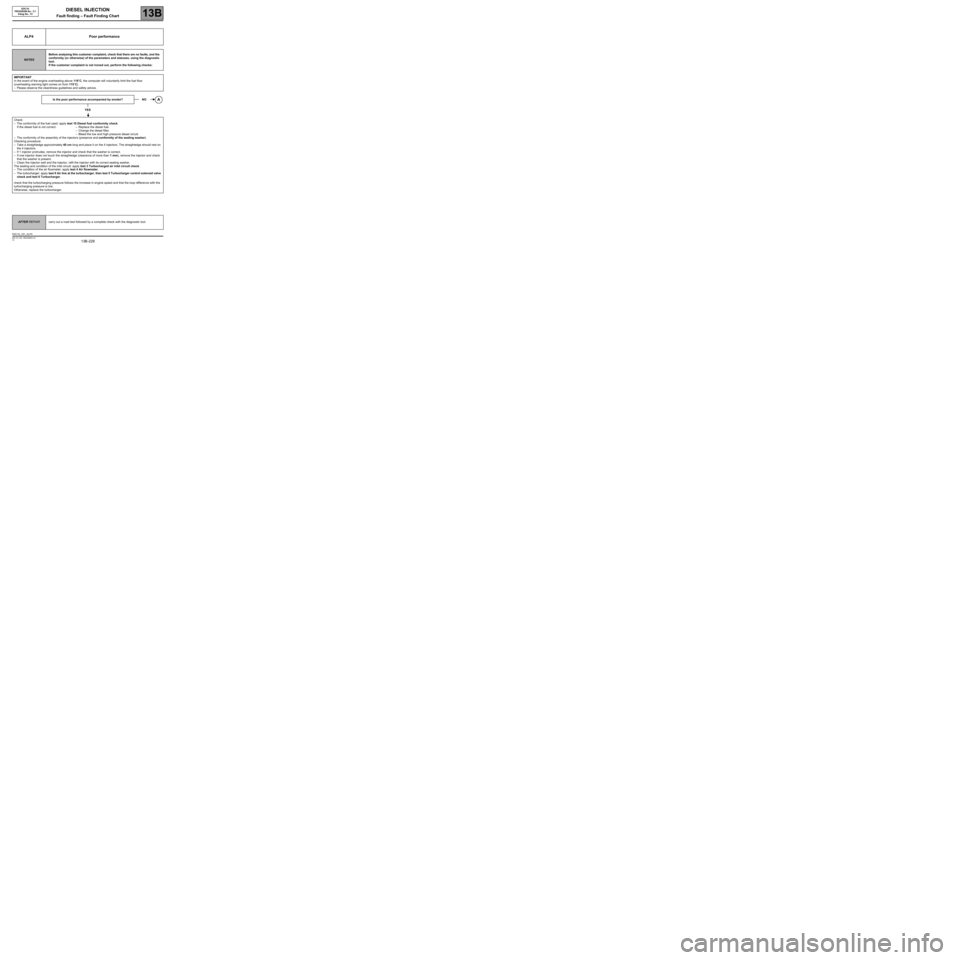
ALP4 Poor performance
NOTESBefore analysing this customer complaint, check that there are no faults, and the
conformity (or otherwise) of the parameters and statuses, using the diagnostic
tool.
If the customer complaint is not ironed out, perform the following checks:
IMPORTANT
In the event of the engine overheating above 119˚C, the computer will voluntarily limit the fuel flow
(overheating warning light comes on from 115˚C).
–Please observe the cleanliness guidelines and safety advice.
Is the poor performance accompanied by smoke?
YES
Check:
–The conformity of the fuel used: apply test 10 Diesel fuel conformity check.
If the diesel fuel is not correct: – Replace the diesel fuel.
–Change the diesel filter.
–Bleed the low and high pressure diesel circuit.
–The conformity of the assembly of the injectors (presence and conformity of the sealing washer).
Checking procedure:
–Take a straightedge approximately 40 cm long and place it on the 4 injectors. The straightedge should rest on
the 4 injectors.
–If 1 injector protrudes, remove the injector and check that the washer is correct.
–If one injector does not touch the straightedge (clearance of more than 1 mm), remove the injector and check
that the washer is present.
–Clean the injector well and the injector, refit the injector with its correct sealing washer.
The sealing and condition of the inlet circuit: apply test 3 Turbocharged air inlet circuit check.
–The condition of the air flowmeter: apply test 4 Air flowmeter.
–The turbocharger: apply test 9 Air line at the turbocharger, then test 5 Turbocharger control solenoid valve
check and test 6 Turbocharger.
check that the turbocharging pressure follows the increase in engine speed and that the loop difference with the
turbocharging pressure is low.
Otherwise, replace the turbocharger.
NO
AFTER REPAIRcarry out a road test followed by a complete check with the diagnostic tool.
EDC16_V51_ALP4
Page 250 of 273
DIESEL INJECTION
Fault finding – Test13B
13B -250V3 MR-372-J84-13B250$900.mif
EDC16
PROGRAM No.: C1
Vdiag No.: 51
TEST5
CONTINUED 2
Visual inspection of the solenoid valve electrical connector
Switch off the engine.
Note:
The requested checks are entirely visual.
1- Check that the connector is correctly connected and locked.
2- Check that the electric wires are not damaged where they leave the insulation.
Disconnect the connector to continue the checks.
3- Check that there is no heat damage to the unit and mechanical damage to the lock.
4- Check that the contacts (clips and tabs) are not deformed.
5- Check the sealing of the connector.
Do the visual inspections highlight any damage?
NO YES
If there is a repair procedure (see Technical
Note 6015A, Electrical wiring repair, Wiring:
Precautions for repair), repair the connector,
otherwise replace the wiring.
After repair, restart the test from the beginning.
C
1
Page 253 of 273
DIESEL INJECTION
Fault finding – Test13B
13B -253V3 MR-372-J84-13B250$900.mif
EDC16
PROGRAM No.: C1
Vdiag No.: 51
TEST6
CONTINUED 1
Check the condition of the turbocharger vanes
Note:
Use a mirror and light to facilitate this check.
According to the vehicle type, maximum visual access will either be from above or from below.
Visually check that the compressor vanes are in good condition.
Are the vanes damaged or twisted?
NO YES
Replace the turbocharger (see MR 364 (Mégane II)
or 370 (Scénic II), Mechanical, 12B,
Turbocharging, Turbocharger: Removal -
Refitting and Technical Note 3938A, Broken
turbocharger: Replacement instructions).
What is the type of turbocharger?
Variable geometry
turbochargerTurbocharger with
fixed geometry