Page 35 of 228
Keys, doors and windows
35
Child locks 9
Warning Use the child locks whenever
children are occupying the rear
seats.
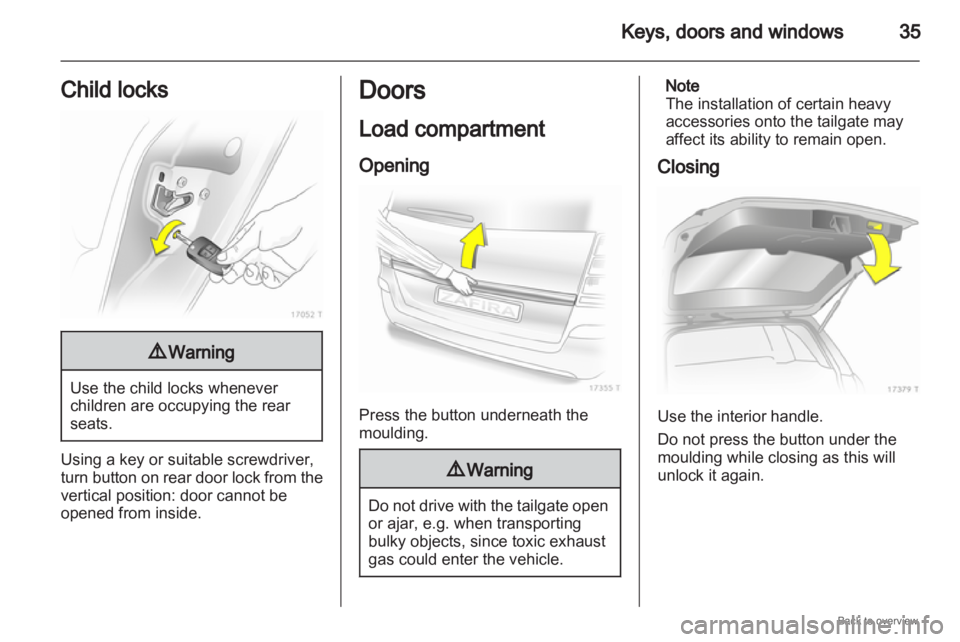
Using a key or suitable screwdriver,
turn
button on rear door lock from the
vertical position: door cannot be
opened from inside. Doors
Load compartment
Opening
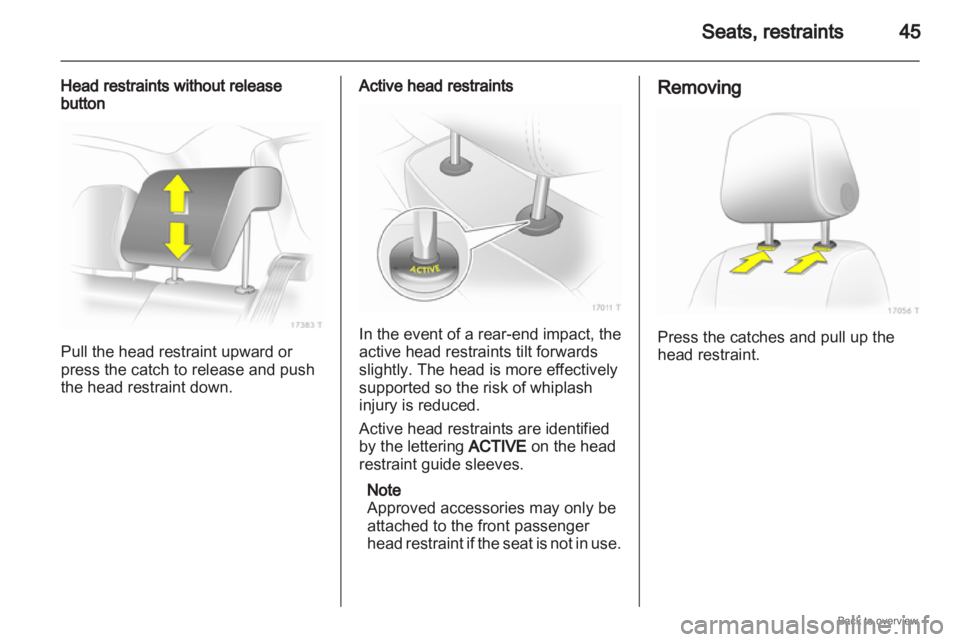
Press the button underneath the
moulding.
9
Warning Do not drive with the tailgate open
or ajar, e.g. when transporting
bulky objects, since toxic exhaust
gas could enter the vehicle. Note
The installation of certain heavy
accessories onto the tailgate may
affect its ability to remain open.
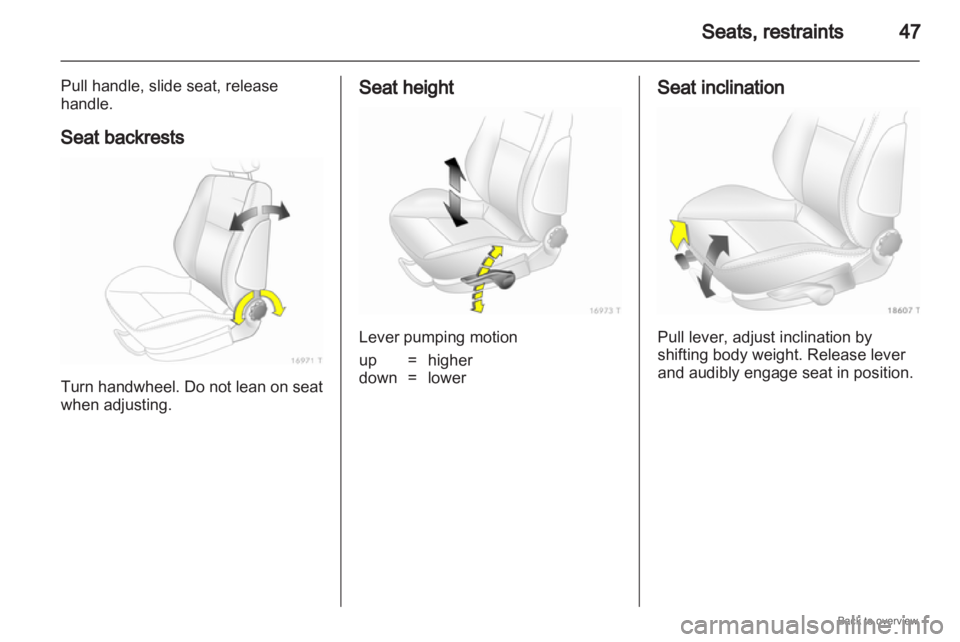
Closing Use the interior handle.
Do not press the button under the
moulding while closing as this will
unlock it again.
Page 44 of 228
44
Seats, restraints
Seats, restraints
Head restraints ............................ 44
Front seats ................................... 46
Rear seats ................................... 49
Seat belts ..................................... 54
Airbag system .............................. 57
Child restraints ............................. 62 Head restraints
Position
9
Warning Only drive with the head restraint
set to the proper position.
The middle of the head restraint
should be at eye level. If this is not
possible for extremely tall persons,
set to highest position, and set to
lowest position for small persons. Adjustment
Head restraints with release button
Press the button, adjust height and
engage.
Page 45 of 228
Seats, restraints
45
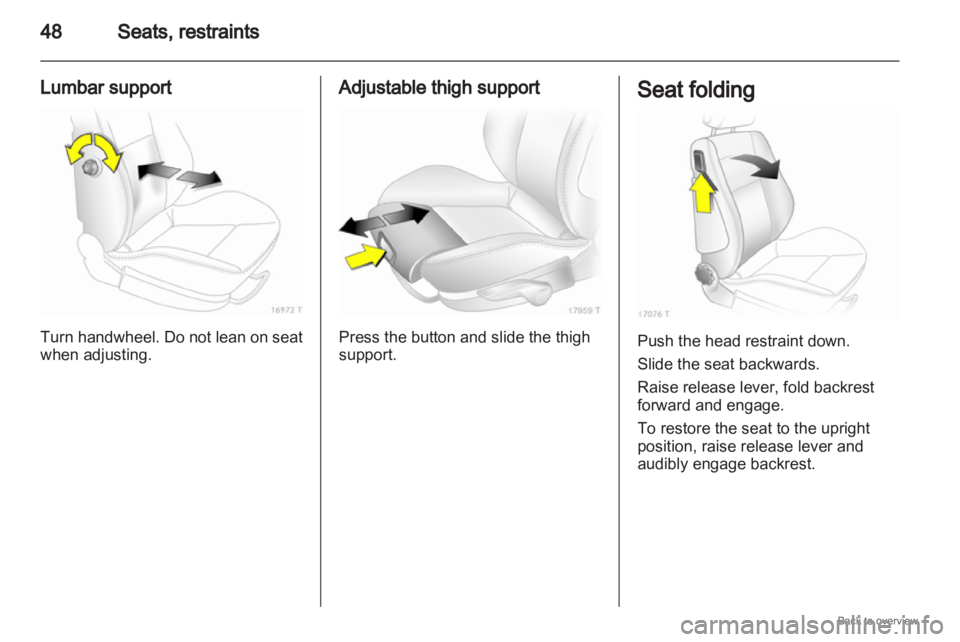
Head restraints without release
button Pull the head restraint upward or
press the catch to release and push
the head restraint down. Active head restraints
In the event of a rear-end impact, the
active head restraints tilt forwards
slightly. The head is more effectively
supported so the risk of whiplash
injury is reduced.
Active head restraints are identified
by the lettering ACTIVE on the head
restraint guide sleeves.
Note
Approved accessories may only be
attached to the front passenger
head
restraint if the seat is not in use. Removing
Press the catches and pull up the
head restraint.
Page 46 of 228

46
Seats, restraints
Front seats
Seat position 9
Warning Only drive with the seat correctly
adjusted.
■ Sit with your buttocks as far back
against the backrest as possible.
Adjust the distance between the
seat and the pedals so that your
legs are slightly angled when tromping the pedals. Slide the
passenger seat as far back as
possible.
■
Sit with your shoulders as far back against the backrest as possible.
Set the backrest rake so that you
can easily reach the steering wheel
with your arms slightly bent.
Maintain contact between your
shoulders and the backrest when
turning the steering wheel. Do not
angle the backrest too far back. We
recommend a maximum rake of
approx. 25 °.
■ Adjust the steering wheel 3 77.
■ Set seat height high enough to have a clear field of vision on all
sides and of all display instruments.
There should be at least one hand
of clearance between your head
and the headlining. Your thighs
should rest lightly on the seat
without pressing into it.
■ Adjust the head restraint 3 44.
■ Adjust the height of the seat belt 3 55. ■ Adjust the thigh support so that
there is a space about two fingers
wide between the edge of the seat
and the hollow of the knee.
■ Adjust
the lumbar support so that it
supports the natural shape of the
spine.
Seat adjustment 9
Warning Never adjust seats while driving as
they could move uncontrollably.
Seat positioning
Page 47 of 228
Seats, restraints
47
Pull handle, slide seat, release
handle.
Seat backrests Turn handwheel. Do not lean on seat
when adjusting. Seat height
Lever pumping motion
up = higher
down = lower Seat inclination
Pull lever, adjust inclination by
shifting body weight. Release lever
and audibly engage seat in position.
Page 48 of 228
48
Seats, restraints
Lumbar support Turn handwheel. Do not lean on seat
when adjusting. Adjustable thigh support
Press the button and slide the thigh
support. Seat folding
Push the head restraint down.
Slide the seat backwards.
Raise release lever, fold backrest
forward and engage.
To restore the seat to the upright
position, raise release lever and
audibly engage backrest.
Page 49 of 228
Seats, restraints
49
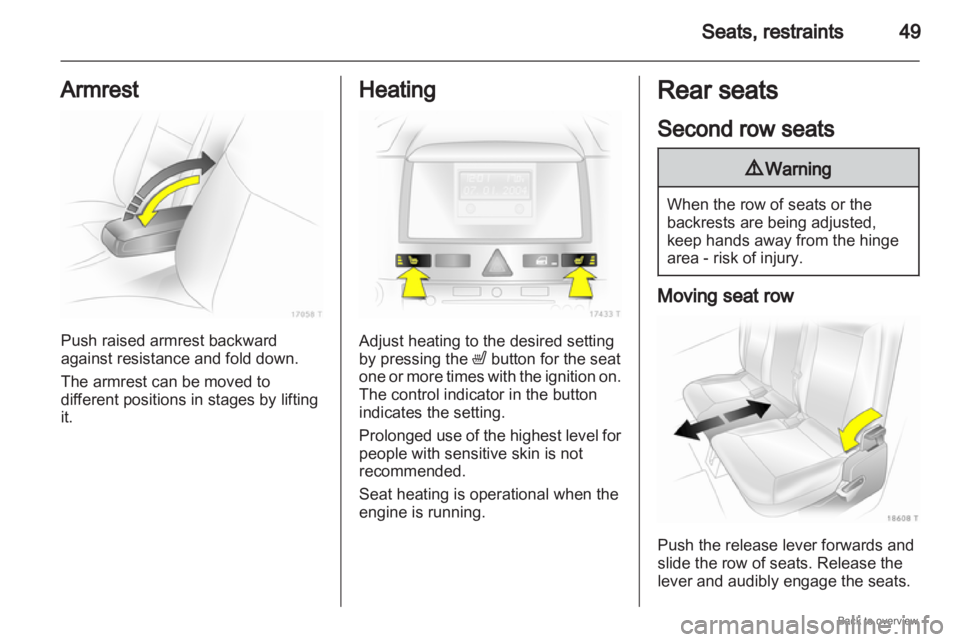
Armrest Push raised armrest backward
against resistance and fold down.
The armrest can be moved to
different positions in stages by lifting
it. Heating
Adjust heating to the desired setting
by pressing the
ß button for the seat
one
or more times with the ignition on.
The control indicator in the button
indicates the setting.
Prolonged use of the highest level for
people with sensitive skin is not
recommended.
Seat heating is operational when the
engine is running. Rear seats
Second row seats
9
Warning When the row of seats or the
backrests are being adjusted,
keep hands away from the hinge
area - risk of injury.
Moving seat row
Push the release lever forwards and
slide the row of seats. Release the
lever and audibly engage the seats.
Page 50 of 228
50
Seats, restraints
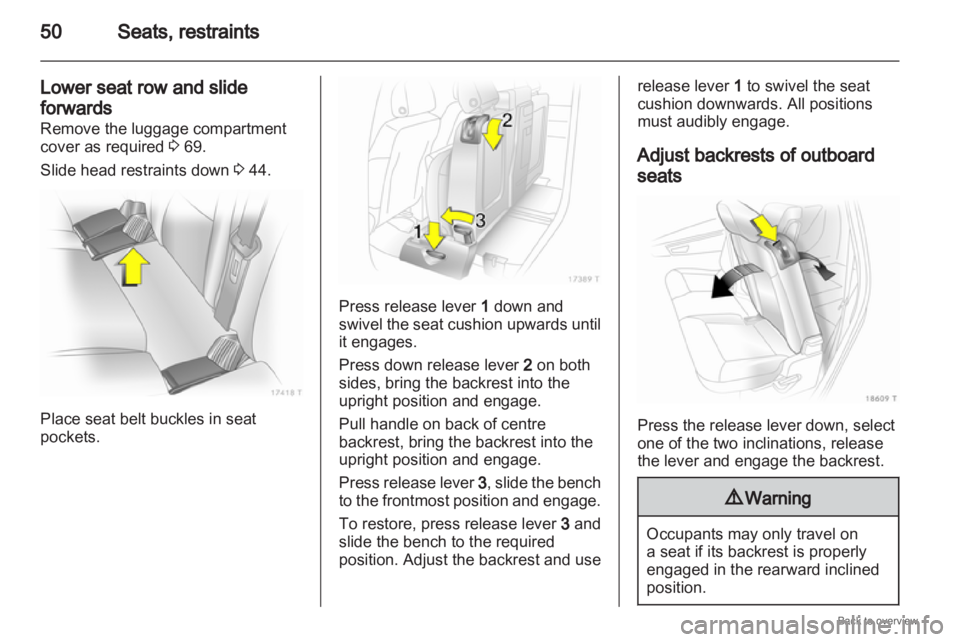
Lower seat row and slide
forwards
Remove the luggage compartment
cover as required 3 69.
Slide head restraints down 3 44.Place seat belt buckles in seat
pockets. Press release lever
1 down and
swivel the seat cushion upwards until
it engages.
Press down release lever 2 on both
sides, bring the backrest into the
upright position and engage.
Pull handle on back of centre
backrest, bring the backrest into the
upright position and engage.
Press release lever 3, slide the bench
to the frontmost position and engage.
To restore, press release lever 3 and
slide the bench to the required
position. Adjust the backrest and use release lever
1 to swivel the seat
cushion downwards. All positions
must audibly engage.
Adjust backrests of outboard
seats Press the release lever down, select
one of the two inclinations, release
the lever and engage the backrest.
9
Warning Occupants may only travel on
a seat if its backrest is properly
engaged in the rearward inclined
position.