Page 170 of 228

170
Vehicle care
No. Circuit
27
Heating, air conditioning
system, air quality sensor
28 –
29 Power steering
30 Engine electronics
31 Rear window wiper
32 Brake light switch
33 Headlight range adjustment,
light switch, clutch switch,
instrument, driver's door
module
34 Steering column control unit
35 Infotainment system
36 Cigarette lighter, front power
outlet Fuse assignments in
conjunction with load
compartment
fuse box version B
No. Circuit
1
ABS
2 ABS
3 Interior fan electronic climate
control
4 Interior fan heating and air
conditioning system
5 Radiator fan
6 Radiator fan
7 Windscreen washer system
8 Horn
9 Headlamp washer system
10 Emergency unlocking of central
locking system
11 –
12 – No. Circuit
13
Fog light
14 Windscreen wipers
15 Windscreen wipers
16 Control module electronics,
Open&Start system, ABS,
brake light switch
17 Diesel fuel filter heating
18 Starter
19 Transmission electronics
20 Air conditioning system
21 Engine electronics
22 Engine electronics
23 Adaptive Forward Lighting,
headlight range adjustment
24 Fuel pump
25 Transmission electronics
26 Engine electronics
27 Power steering
Page 171 of 228
Vehicle care
171
No. Circuit
28
Transmission electronics
29 Transmission electronics
30 Engine electronics
31 Adaptive Forward Lighting,
headlight range adjustment
32 Brake system, air conditioning
system, clutch switch
33 Adaptive Forward Lighting,
headlight range adjustment,
light switch
34 Steering column control unit
35 Infotainment system
36 Mobile telephone, digital radio,
infotainment system, display Load compartment fuse
box
The fuse box is behind a cover. Press
the locking tabs forward and remove
the cover.
Do not store any objects behind the
cover.
Depending on the equipment, there
are two different fuse boxes.
Fuse box version A
To replace a fuse, remove the
relevant protective cap. No. Circuit
1
Fog light
2 Rear power outlet
3 Load compartment power outlet
4 Reversing lamps
5 Rear power windows
6 Air conditioning system
7 Front power windows
8 Heated exterior mirrors
Page 172 of 228
172
Vehicle care
Fuse box version B No. Circuit
1
Front power windows
2 -
3 Instruments
4 Heating, air conditioning
system, electronic climate
control
5 Airbags
6 –
7 –
8 –
9 –
10 –
11 Heated rear window
12 Rear window wiper
13 Parking assist
14 Heating, air conditioning system
15 – No. Circuit
16
Seat occupancy recognition,
Open&Start system
17 Rain sensor, air quality sensor,
tyre pressure monitoring
system, interior mirror
18 Instruments, switches
19 –
20 CDC
21 Heated exterior mirrors
22 –
23 Rear power windows
24 Diagnostics plug
25 –
26 Electric foldable exterior mirrors
27 Ultrasonic sensor, anti-theft
alarm system
28 –
Page 175 of 228

Vehicle care
175
Depending on tyre manufacturer, run-
flat tyres can be identified from
a marking on the tyre wall. E.g. ROF
= RunonFlat for Goodyear or SSR
= Self Supporting Runflat Tyre for
Continental.
Use of run-flat tyres is only permitted
in combination with factory approved
alloy wheels.
Do not use a tyre repair kit.
The ECO tyre pressure must not be
used.
Run-flat tyres must not be combined
with standard tyres.
If converting to standard tyres, note
that the vehicle is not equipped with
a spare wheel or tyre repair kit.
Driving with a damaged tyre
A
loss in tyre pressure is indicated by
the tyre pressure monitoring system
or the deflation detection system.
If a tyre has no pressure, continued
driving is possible
■ at a speed of max. 80 km/h
■ up to a distance of 80 km 9
Warning The vehicle will be more difficult to
steer and handle. Braking
distance will be longer.
Adapt driving style and speed to
the changed conditions.
Tyre designations
E.g. 195/65 R 15 91 H
195
=Tyre width, mm
65 =Cross-section ratio (tyre
height to tyre width), %
R = Belt type: Radial
RF =Type: RunFlat
15 =Wheel diameter, inches
91 =Load index e.g. 91 is
equivalent to 618 kg
H = Speed code letter
Speed code letter:
Q = up to 160 km/h
S = up to 180 km/h
T = up to 190 km/h
H = up to 210 km/h
V = up to 240 km/h
W = up to 270 km/h Tyre pressure
Check the pressure of cold tyres at
least every 14 days and before any
long journey. Do not forget the spare
wheel. This also applies to vehicles
with tyre pressure monitoring.
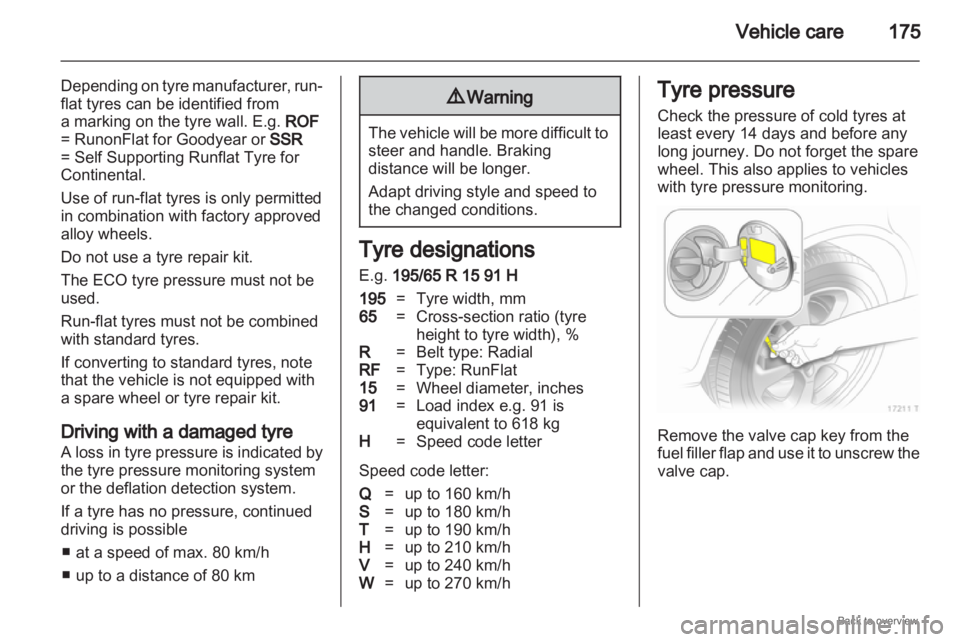
Remove the valve cap key from the
fuel
filler flap and use it to unscrew the
valve cap.
Page 190 of 228

190
Vehicle care
Clean smearing wiper blades with
a soft cloth and window cleaner.
Moonroof
Never
clean with solvents or abrasive
agents, fuels, aggressive media (e.g.
paint cleaner, acetone-containing
solutions etc.), acidic or highly
alkaline media or abrasive pads. Do
not apply wax or polishing agents to
the middle part of the moonroof.
Wheels and tyres
Do not use high-pressure jet
cleaners.
Clean rims with a pH-neutral wheel
cleaner.
Rims are painted and can be treated
with the same agents as the body.
Paintwork damage
Rectify minor paintwork damage with
a touch-up pen before rust forms.
Have more extensive damage or rust
areas repaired by a workshop. Underbody
Some
areas of the vehicle underbody
have a PVC undercoating while other
critical areas have a durable
protective wax coating.
After the underbody is washed, check
the underbody and have it waxed if
necessary.
Bitumen/rubber materials could
damage the PVC coating. Have
underbody work carried out by
a workshop.
Before and after winter, wash the
underbody and have the protective
wax coating checked.
Engine compartment
Areas of the engine compartment that
are painted in the same colour as the
vehicle must be looked after like any
other painted surface.
It is advisable to wash the engine
compartment before and after winter
and preserve it with wax. Protect the
alternator and brake fluid reservoir
with plastic sheets before washing
the engine. When washing the engine with
a steam-jet cleaner, do not direct the
steam jet towards components of the
antilock brake system, air
conditioning system or the belt drive
and its components.
After
an engine wash, have all engine
room components preserved
thoroughly by a workshop using
protective wax.
Do not use high-pressure jet
cleaners.
Natural gas system
Do not direct the steam jet or high-
pressure jet towards natural gas
system components. It is particularly
important to protect the natural gas
tank and the pressure valves on the
vehicle underbody and the bulkhead
in the engine compartment.
These components must not be
treated using chemical cleaners or
preservatives.
Have components of the natural gas
system cleaned by a workshop
authorised to carry out maintenance
of natural gas vehicles.
Page 195 of 228
Service and maintenance
195Service operations by year
1)
km ( x 1000) 1) 1
30 2
60 3
90 4
120 5
150
Check coolant level, anti-freeze (pale orange)
2)
, correct
Note freeze protection temperature in the Service and Warranty Booklet (confirmation
fields) X X X X X
Check for leaks and correct seating of the coolant hoses X X X X X
Check brake fluid level
2)
, correct X X X
Check battery terminals are firmly located, check battery eye X X X X X
Vehicle system check with TECH2 X X X X X
Replace pollen filter or activated carbon filter X X
+o
If air is badly polluted, has a high dust or sand content, or pollen, smell of the air
conditioning Agreement with customer
Replace air cleaner insert Every 4 years / 60.000 km
+ Replace spark plugs Z 16 XE1, Z 16 XER, Z 18 XER, Z 20 LEH, Z 20 LER Every 4 years / 60.000 km
Z 16 YNG Every 2 years / 30.000 km
Z 22 YH Every 8 years / 120.000 km
2)
In case of too high consumption / leakage, perform additional work with customer's agreement.
Page 197 of 228

Service and maintenance
197Service operations by year
1)
km ( x 1000) 1) 1
30 2
60 3
90 4
120 5
150
Replace and drain fuel filter, diesel (grade EN 590) X X
Replace fuel filter, external, CNG (grade EN 228), Z 16 YNG Every 4 years / 60.000 km
Check and adjust parking brake (no weight on wheels); visually inspect wheel mounting
and suspension springs front and rear, brake lines, brake pressure hoses, fuel lines,
gas lines of CNG vehicles, level control and exhaust system X X
Check exterior of body/underbody corrosion protection and note any damage in the
Service Booklet X X X X X
+o
Visually inspect front and rear wheel brakes
2)
, if a tyre pressure monitoring system is
fitted, do not swap wheels over X X
Annual service check if annual mileage exceeds 20 000 km
Engine, transmission (AT, MT), inspect air-conditioning compressor for leaks
2) X X X X X
Visually inspect folding covers on steering, tie rods and axle drive X X X X X
Tie rod and supporting joint checking X X X X X
+ Change brake and clutch fluid automated manual transmission (MTA) Every 2 years
2)
In case of too high consumption / leakage, perform additional work with customer's agreement.
Page 198 of 228

198
Service and maintenanceService operations by year
1)
km ( x 1000) 1) 1
30 2
60 3
90 4
120 5
150
Undo wheel fastening (take care if tyre pressure monitoring system is present) and
tighten to torque: 110 Nm.
The wheel bolt taper should be greased or oiled lightly during assembly.
Check tyre condition. Check/correct tyre pressure (including spare wheel)
With tyre repair system - check completeness and expiry date of kit. Replace sealant
bottle every 4 years. X X
+
Annual service check if annual mileage exceeds 20 000 km
Visually inspect first-aid kit, (presence in designated stowage compartment,
completeness and expiry date), lashing eyes and warning triangle Every 2 years
Check/correct headlamp adjustment (including auxiliary headlamps) X X
Grease door hinges, door stop, lock cylinder, striker plate, bonnet lock, tailgate hinges,
wipe door stop check strap clean before greasing X X
Test drive, final inspection (check steering and ignition locks, instruments and indicator
lamps,
entire brake system, steering, air conditioning, engine, body and running gear),
reset service interval display with TECH 2) X X X X X
+: Additional operations.
o: Under extreme operating conditions and if required by country-specific conditions, the intervals are reduced.