Page 6 of 36

HEADLIGHT AND TURN SIGNAL CONTROL
TO ACTIVATE THE AUTOLIGHT SYSTEM (if so
equipped):
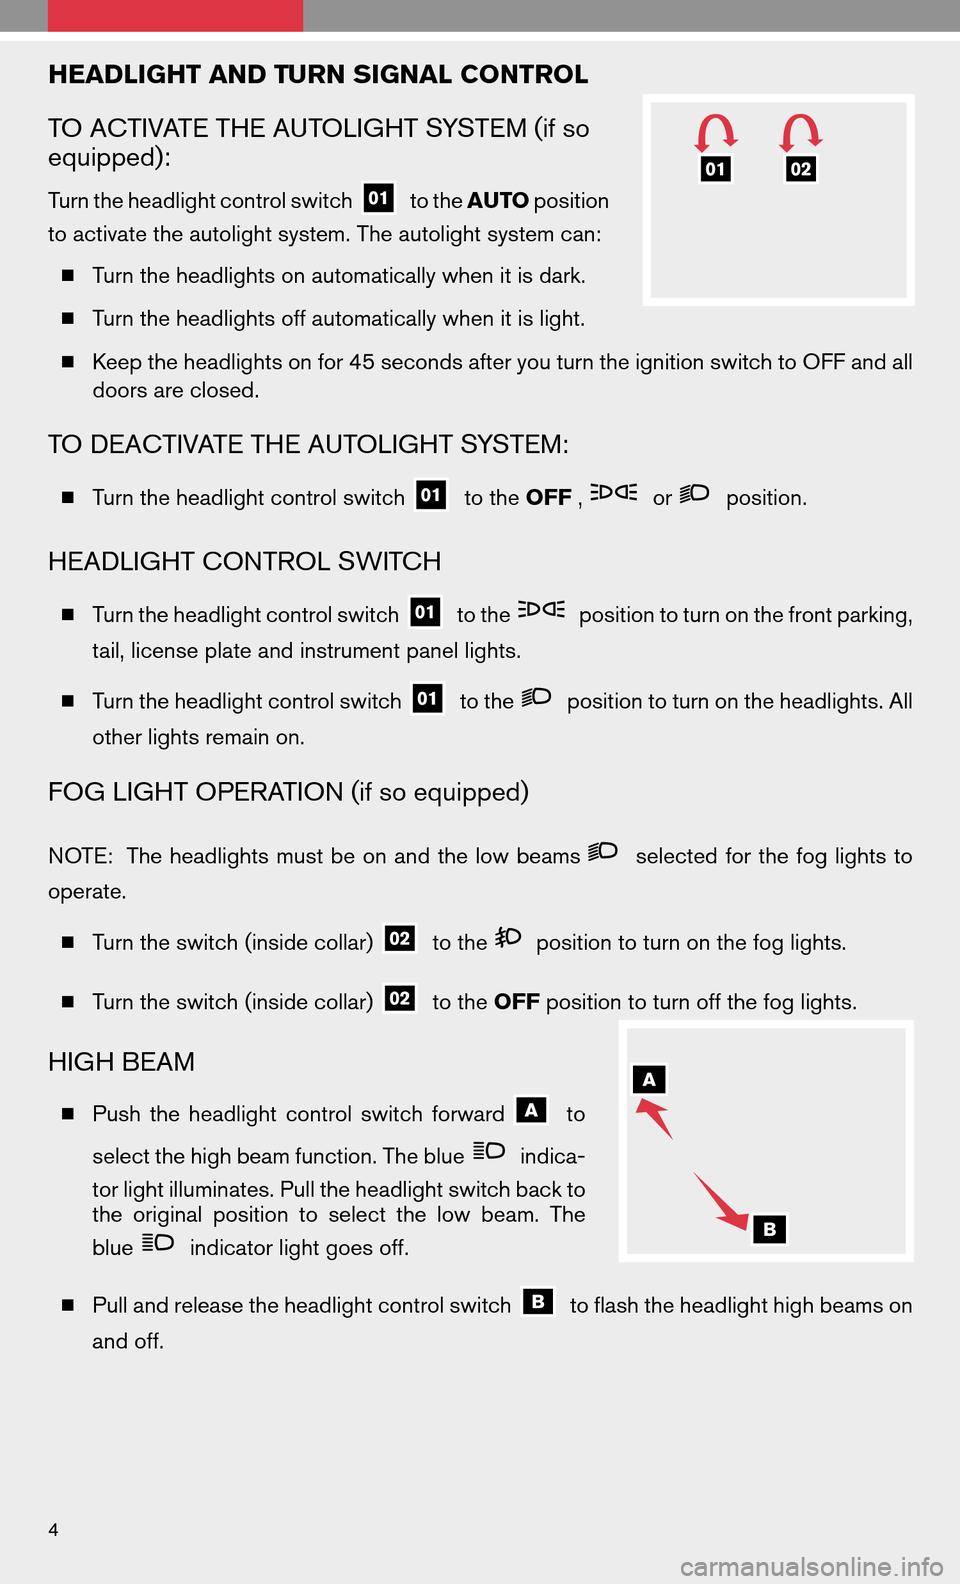
Turn the headlight control switchto theAUTO position
to activate the autolight system. The autolight system can:
� Turn the headlights on automatically when it is dark.
� Turn the headlights off automatically when it is light.
� Keep the headlights on for 45 seconds after you turn the ignition switch to OFF and all
doors are closed.
TO DEACTIVATE THE AUTOLIGHT SYSTEM:
� Turn the headlight control switchto the OFF,orposition.
HEADLIGHT CONTROL SWITCH
�Turn the headlight control switchto theposition to turn on the front parking,
tail, license plate and instrument panel lights.
� Turn the headlight control switch
to theposition to turn on the headlights. All
other lights remain on.
FOG LIGHT OPERATION (if so equipped)
NOTE: Theheadlights mustbeonand thelow beamsselected forthe fog lights to
operate.
� Turn the switch (inside collar)
to theposition to turn on the fog lights.
� Turn the switch (inside collar)
to the OFFposition to turn off the fog lights.
HIGH BEAM
�Push theheadlight controlswitchforwardto
select the high beam function. The blue
indica-
tor light illuminates. Pull the headlight switch back to
the original position toselect thelow beam. The
blue
indicator light goes off.
� Pull and release the headlight control switch
to flash the headlight high beams on
and off.
4
Page 15 of 36

VEHICLE DYNAMIC CONTROL (VDC) OFF SWITCH (if so equipped)
The Vehicle Dynamic Control (VDC) system monitors driver inputs and
vehicle motion. Under certain conditions, it controls braking and engine
outputtohelp improve tractionorhandling. VDCmayneed tobe
temporarily shut off if you are trying to free a vehicle stuck in snow or mud.
� Push the Vehicle Dynamic Control (VDC) OFF switch to deactivate
the VDC system. The
light will illuminate in the instrument panel
gauge area.
� Push the Vehicle Dynamic Control (VDC) OFF switch again to activate the VDC system.
The
light in the instrument panel gauge area will turn off.
� The VDC system is active while the vehicle is running until the switch is pushed to turn
it off.
REARVIEW MONITOR (if so equipped)
When the shift selector is moved to the R (Reverse) position,
the monitor display will automatically change to show the area
directly behind the vehicle.
The colored lines on the display screen indicate approximate
distances to objects.
� Red 1.5 ft (0.5 m); Yellow 3 ft (1 m); Green 7 ft (2 m) and
10 ft (3 m) .
CHILD SAFETY REAR DOOR LOCK (Sedan Only)
Child safety lockshelpprevent therear doors frombeing
opened accidentally, especiallywhensmallchildren arein
the vehicle. Thechild safety locklevers arelocated onthe
edge ofthe rear doors. Whenthelever isin the LOCK
position, the door can only be opened from the outside.
FUEL-FILLER DOOR RELEASE
The fuel-filler doorrelease islocated onthe floor tothe leftofthe
driver’s seat.
� To open the fuel-filler door, pull the release up.
� To lock, close the fuel-filler door securely.
13
Page 16 of 36

TRUNK LID CANCEL SWITCH
�When the cancel switch (located inside the glove box)
is OFF, the trunk lid cannot be opened with the trunk lid
opener (located onthe instrument panel) ,thetrunk
Request Switch button (if so equipped) or the Intelli-
gent Key button.
� It can be opened by using the Emergency Inside Trunk
Release.
MOONROOF CONTROLS (if so equipped)
The ignition switch must be in the ON position to operate
the moonroof controls.
TILTING THE MOONROOF
� To tiltthe moonroof up,push thetiltswitch toward
the
position.
� To tilt the moonroof down, push the tilt switch toward
the
position.
SLIDING THE MOONROOF
� To fully open the moonroof, push the switch toward theposition.
� To fully close the moonroof, push the switch toward the
position.
� To open orclose themoonroof partway, push theswitch ineither direction (
or) while the moonroof is sliding to stop it in the desired position.
FRONT SEAT ADJUSTMENTS
With manual seats (if so equipped):
FORWARD AND BACKWARD
� Pull the center of the bar up
under the front of the
seat andhold itwhile youslide theseat forward or
backward. Release the bar to lock the seat in position.
SEAT LIFTER (driver’s seat, if so equipped)
� Pull up or push down the adjusting lever
repeat-
edly to adjust the seat height.
RECLINING
� Lift the lever
on the side of the seat to adjust the seatback forward or backward.
Release thelever when youhave found acomfortable angleandtheseat beltfits
properly.
14