Page 292 of 368

CAUTION
l
Do not install more than one temporary
spare wheel at the same time.
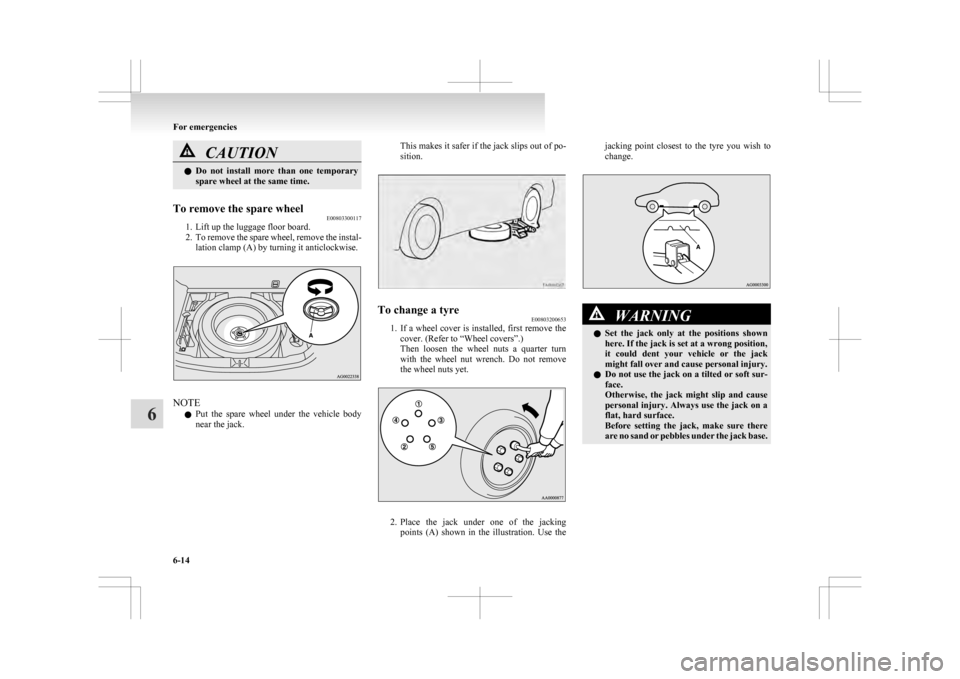
To remove the spare wheel E00803300117
1. Lift up the luggage floor board.
2. To
remove the spare wheel, remove the instal-
lation clamp (A) by turning it anticlockwise. NOTE
l Put
the spare wheel under the vehicle body
near the jack. This makes it safer if the jack slips out of po-
sition.
To change a tyre
E00803200653
1. If
a wheel cover is installed, first remove the
cover. (Refer to “Wheel covers”.)
Then loosen the wheel nuts a quarter turn
with the wheel nut wrench. Do not remove
the wheel nuts yet. 2. Place
the jack under one of the jacking
points (A) shown in the illustration. Use the jacking point closest to the tyre you wish to
change.
WARNING
l Set
the jack only at the positions shown
here. If the jack is set at a wrong position,
it could dent your vehicle or the jack
might fall over and cause personal injury.
l Do not use the jack on a tilted or soft sur-
face.
Otherwise, the jack might slip and cause
personal injury. Always use the jack on a
flat, hard surface.
Before setting the jack, make sure there
are no sand or pebbles under the jack base. For emergencies
6-14
6
Page 293 of 368

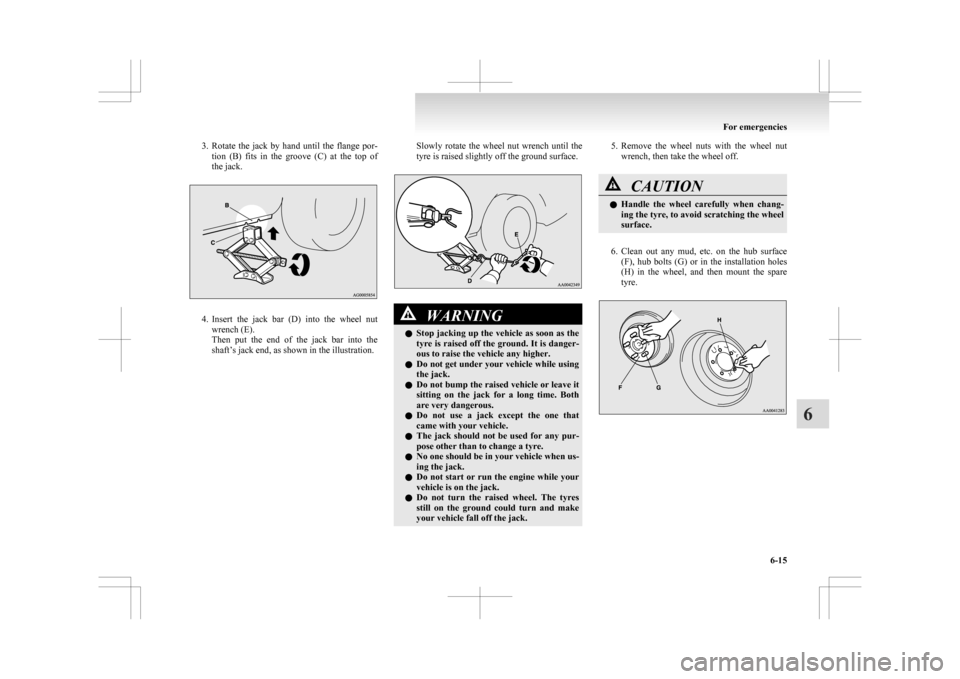
3. Rotate the jack by hand until the flange por-
tion (B) fits in the groove (C) at the top of
the jack. 4. Insert
the jack bar (D) into the wheel nut
wrench (E).
Then put the end of the jack bar into the
shaft’s jack end, as shown in the illustration. Slowly rotate the wheel nut wrench until the
tyre is raised slightly off the ground surface. WARNING
l Stop
jacking up the vehicle as soon as the
tyre is raised off the ground. It is danger-
ous to raise the vehicle any higher.
l Do not get under your vehicle while using
the jack.
l Do not bump the raised vehicle or leave it
sitting on the jack for a long time. Both
are very dangerous.
l Do not use a jack except the one that
came with your vehicle.
l The jack should not be used for any pur-
pose other than to change a tyre.
l No one should be in your vehicle when us-
ing the jack.
l Do not start or run the engine while your
vehicle is on the jack.
l Do not turn the raised wheel. The tyres
still on the ground could turn and make
your vehicle fall off the jack. 5. Remove
the wheel nuts with the wheel nut
wrench, then take the wheel off. CAUTION
l
Handle
the wheel carefully when chang-
ing the tyre, to avoid scratching the wheel
surface.
6. Clean
out any mud, etc. on the hub surface (F), hub bolts (G) or in the installation holes
(H) in the wheel, and then mount the spare
tyre. For emergencies
6-15 6
Page 314 of 368

Fluid type
Use
brake fluid conforming to DOT3 or DOT4
from a sealed container. The brake fluid is hygro-
scopic. Too much moisture in the brake fluid will
adversely affect the brake system, reducing the per-
formance. CAUTION
l
Take
care in handling brake fluid as it is
harmful to the eyes, may irritate your
skin and also damage painted surfaces.
l Use only the specified brake fluid.
Do not mix or add different brands of
brake fluid to prevent chemical reactions.
Do not let any petroleum-based fluid
touch, mix with, or get into the brake fluid.
This will damage the seals.
l Keep the reservoir tank cap closed to pre-
vent the brake fluid from deteriorating ex-
cept maintenance.
l Clean the filler cap before removing and
close the cap securely after maintenance. Battery
E01001202131
The
condition of the battery is very important for
quick starting and to keep the vehicle’s electrical
system working properly. Regular inspection and
care are especially important in cold weather.
NOTE
l After replacing the battery, the electronic con-
trol system data for the automatic transmis-
sion, etc., will be erased. As a result, shift
shocks may occur.
Shift shocks will become smoother after sev-
eral changes in speed.
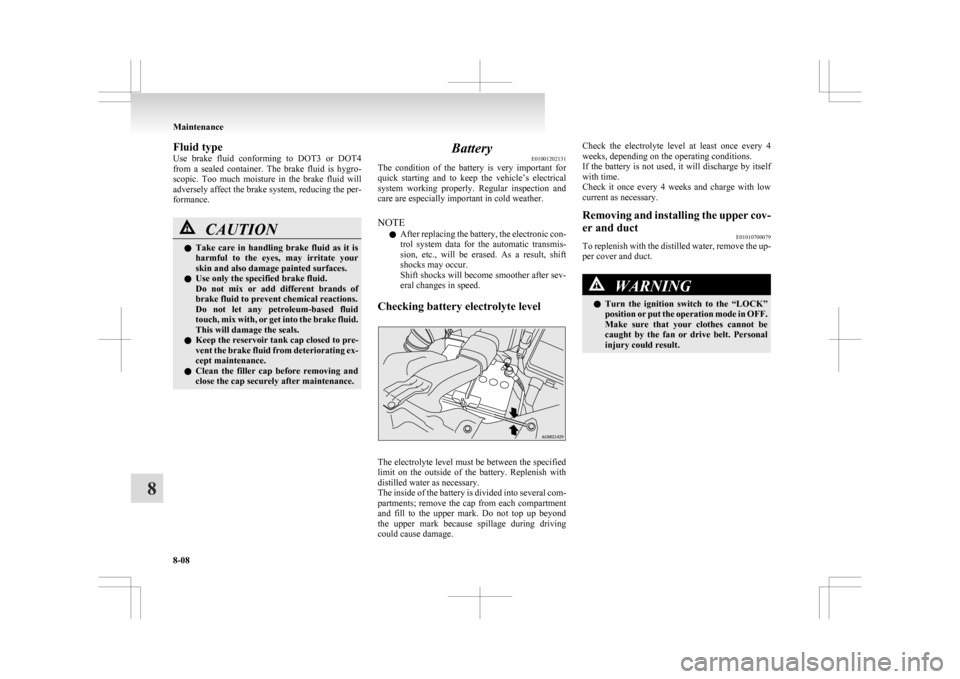
Checking battery electrolyte level The electrolyte level must be between the specified
limit
on the outside of the battery. Replenish with
distilled water as necessary.
The inside of the battery is divided into several com-
partments; remove the cap from each compartment
and fill to the upper mark. Do not top up beyond
the upper mark because spillage during driving
could cause damage. Check the electrolyte level at least once every 4
weeks, depending on the operating conditions.
If
the battery is not used, it will discharge by itself
with time.
Check it once every 4 weeks and charge with low
current as necessary.
Removing and installing the upper cov-
er and duct E01010700079
To replenish with the distilled water, remove the up-
per cover and duct. WARNING
l Turn
the ignition switch to the “LOCK”
position or put the operation mode in OFF.
Make sure that your clothes cannot be
caught by the fan or drive belt. Personal
injury could result. Maintenance
8-08
8
Page 357 of 368

4
4-wheel drive operation 4-31
AAccessory (Installation) 04
Accessory socket 5-61
Active stability control (ASC)
4-40
Additional equipment 8-17
Air conditioning 5-03 Important operation tips for the air condition-
ing 5-09
Air purifier 5-10
Airbag 2-24
Antenna 5-39
Anti-lock brake system (ABS) 4-38 Display 4-38
Warning lamp 4-38
Ashtray 5-60
Assist grips 5-70
Audio 5-10 Error codes 5-35
External audio input function 5-32
Handling of compact discs 5-38
Steering wheel audio remote control
switches 5-33
Auto Stop & Go (AS&G) system 4-17
Automatic transmission Fluid 9-14
Selector lever operation 4-24
Selector lever position 4-25
Sports mode 4-26
BBattery 8-08
Charge warning lamp 3-42 Discharged battery (Emergency starting) 6-02
Disposal information for used batteries
06
Specification 9-11
Bluetooth® 2.0 interface 5-41
Bonnet 8-03
Bottle holder 5-69
Brake assist system 4-36
Brake Anti-lock brake 4-38
Braking 4-34
Fluid 8-07,9-14
Parking brake 4-06
Bulb capacity 8-23
C Capacities 9-14
Card holder 5-59,5-66
Cargo loads 4-52
Catalytic converter
8-02
Cautions on handling of 4-wheel drive vehi-
cles 4-33
Central door locks 1-22
Charge warning lamp 3-42
Chassis number 9-02
Check engine warning lamp 3-41
Child restraint 2-15
Child-protection rear doors 1-25
Cigarette lighter 5-60
Cleaning Exterior of your vehicle 7-03
Interior of your vehicle 7-02
Clock 5-39
Clutch Fluid 8-07
Coat hook 5-70
Combination headlamps and dipper switch 3-44
Coolant (engine) 8-06,9-14
Cruise control 4-43 Cup holder 5-68
D Daytime running lamps
Bulb capacity
8-24
Replacement 8-30
Demister (rear window) 3-57
Diesel particulate filter (DPF) 4-15
Dimensions 9-04
Dipper (High/Low beam change) 3-47
Doors Central door locks 1-22
Child-protection 1-25
Dead Lock System 1-23
Lock and unlock 1-21
Driving, alcohol and drugs 4-02
E Economical driving 4-02
Electric power steering system (EPS)
4-40
Electric window control 1-34
Electrical system 9-11
Electronic immobilizer (Anti-theft starting sys-
tem) 1-03
Electronically controlled 4WD system 4-29
Emergency starting 6-02
Emergency stop signal system 4-37
Engine specifications 9-10
Engine switch 1-11
Engine Coolant 8-06,9-14
Number 9-02
Oil 8-04
Oil and filter 9-14
Overheating 6-04
Specifications 9-10 Alphabetical index
1