2009 MITSUBISHI ASX door lock
[x] Cancel search: door lockPage 162 of 368
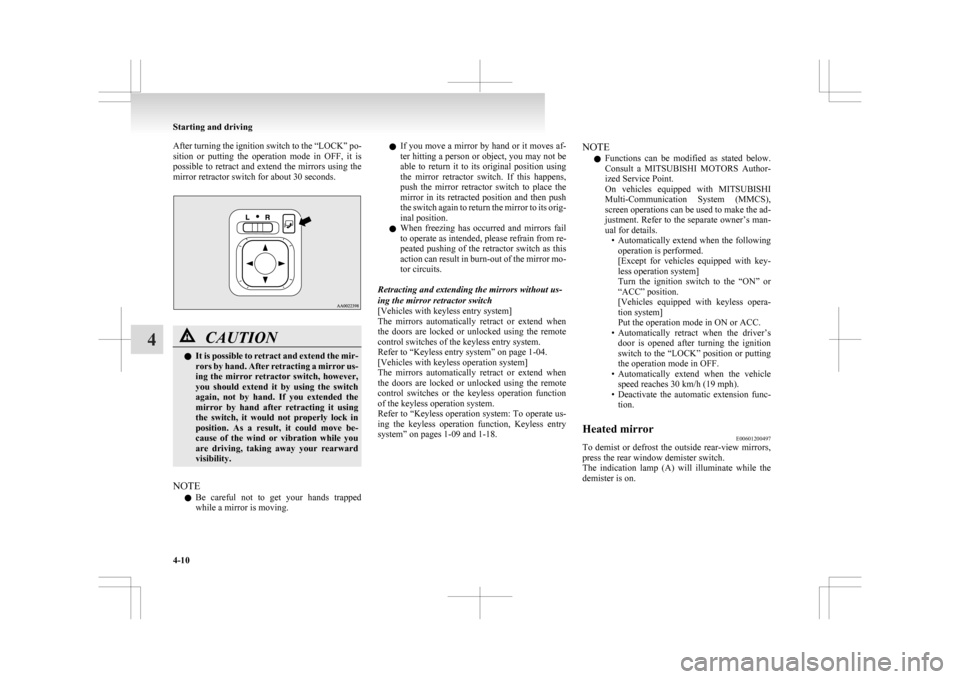
After turning the ignition switch to the “LOCK” po-
sition
or putting the operation mode in OFF, it is
possible to retract and extend the mirrors using the
mirror retractor switch for about 30 seconds. CAUTION
l
It
is possible to retract and extend the mir-
rors by hand. After retracting a mirror us-
ing the mirror retractor switch, however,
you should extend it by using the switch
again, not by hand. If you extended the
mirror by hand after retracting it using
the switch, it would not properly lock in
position. As a result, it could move be-
cause of the wind or vibration while you
are driving, taking away your rearward
visibility.
NOTE l Be
careful not to get your hands trapped
while a mirror is moving. l
If
you move a mirror by hand or it moves af-
ter hitting a person or object, you may not be
able to return it to its original position using
the mirror retractor switch. If this happens,
push the mirror retractor switch to place the
mirror in its retracted position and then push
the switch again to return the mirror to its orig-
inal position.
l When freezing has occurred and mirrors fail
to operate as intended, please refrain from re-
peated pushing of the retractor switch as this
action can result in burn-out of the mirror mo-
tor circuits.
Retracting and extending the mirrors without us-
ing the mirror retractor switch
[Vehicles with keyless entry system]
The mirrors automatically retract or extend when
the doors are locked or unlocked using the remote
control switches of the keyless entry system.
Refer to “Keyless entry system” on page 1-04.
[Vehicles with keyless operation system]
The mirrors automatically retract or extend when
the doors are locked or unlocked using the remote
control switches or the keyless operation function
of the keyless operation system.
Refer to “Keyless operation system: To operate us-
ing the keyless operation function, Keyless entry
system” on pages 1-09 and 1-18. NOTE
l Functions
can be modified as stated below.
Consult a MITSUBISHI MOTORS Author-
ized Service Point.
On vehicles equipped with MITSUBISHI
Multi-Communication System (MMCS),
screen operations can be used to make the ad-
justment. Refer to the separate owner’s man-
ual for details. • Automatically extend when the followingoperation is performed.
[Except for vehicles equipped with key-
less operation system]
Turn the ignition switch to the “ON” or
“ACC” position.
[Vehicles equipped with keyless opera-
tion system]
Put the operation mode in ON or ACC.
• Automatically retract when the driver’s door is opened after turning the ignition
switch to the “LOCK” position or putting
the operation mode in OFF.
• Automatically extend when the vehicle speed reaches 30 km/h (19 mph).
• Deactivate the automatic extension func- tion.
Heated mirror E00601200497
To demist or defrost the outside rear-view mirrors,
press the rear window demister switch.
The
indication lamp (A) will illuminate while the
demister is on. Starting and driving
4-10
4
Page 211 of 368

Foot/demister position
Air flows to the leg area, the windscreen and the
door windows. Demister position
Air
flows mainly to the windscreen and the door
windows. CAUTION
l
When
using the mode selection dial be-
tween the “ ” and “ ” positions, pre-
vent fogging by pressing the air selection
switch to select outside air.
(Refer to “Air selection switch” on page
5-04.)
NOTE l With
the mode selection dial between the
“ ”
and “ ” positions, the air flows main-
ly to the upper part of the passenger compart-
ment. With the mode selection dial between
the “ ”
and “ ” positions, the air flows
mainly to the leg area.
l With the mode selection dial in the “ ”
po-
sition, a small amount of air flows to the wind-
screen and the door windows.
l With the mode selection dial between the
“ ”
and “ ” positions, the air flows main-
ly to the leg area. With the mode selection di-
al between the “ ”
and “ ” positions, the
air flows mainly to the windscreen and door
windows. Heater/Air conditioning
E00700500449
The
heater/air conditioning can only be used while
the engine is running.
Control panel E00700600541
Heater/Manual air conditioning
Automatic air conditioning A- Temperature control dial
B-
Air selection switch
C- Blower speed selection dial
D- Air conditioning switch E- Mode selection dialF- Rear window demister switch ® p. 3-57
NOTE l On vehicles with the heater, button (D) is not
available for use. The indicator below the but-
ton doesn’t come on even if it is pushed. l
On
vehicles with automatic air conditioning,
there is an interior air temperature sensor (G)
in the illustrated position.
Never place anything over the sensor, since
doing so will prevent it from functioning prop-
erly. Blower speed selection dial
E00700700249
Select the blower speed by turning the blower
speed selection dial clockwise or anticlockwise.
Turn
the dial clockwise to increase the air flow and
anticlockwise to decrease the air flow.
Heater/
Manual air conditioning Automatic air conditioning For pleasant driving
5-03 5
Page 270 of 368
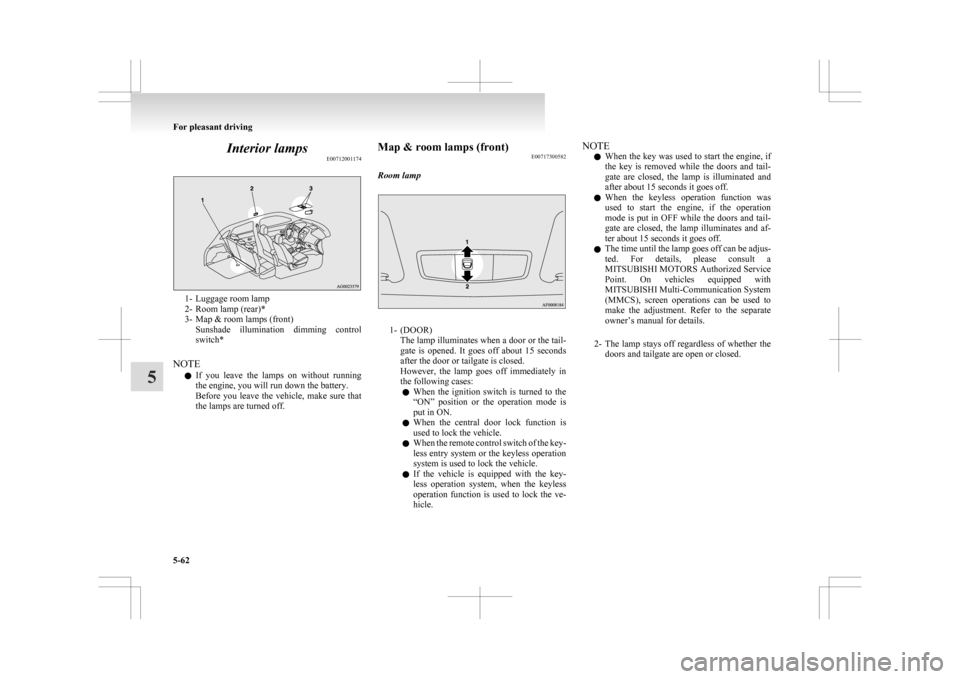
Interior lamps
E007120011741- Luggage room lamp
2-
Room lamp (rear)*
3- Map & room lamps (front) Sunshade illumination dimming control
switch*
NOTE l If you leave the lamps on without running
the engine, you will run down the battery.
Before you leave the vehicle, make sure that
the lamps are turned off. Map & room lamps (front)
E00717300582
Room lamp 1- (DOOR)
The
lamp illuminates when a door or the tail-
gate is opened. It goes off about 15 seconds
after the door or tailgate is closed.
However, the lamp goes off immediately in
the following cases:
l When the ignition switch is turned to the
“ON” position or the operation mode is
put in ON.
l When the central door lock function is
used to lock the vehicle.
l When the remote control switch of the key-
less entry system or the keyless operation
system is used to lock the vehicle.
l If the vehicle is equipped with the key-
less operation system, when the keyless
operation function is used to lock the ve-
hicle. NOTE
l When
the key was used to start the engine, if
the key is removed while the doors and tail-
gate are closed, the lamp is illuminated and
after about 15 seconds it goes off.
l When the keyless operation function was
used to start the engine, if the operation
mode is put in OFF while the doors and tail-
gate are closed, the lamp illuminates and af-
ter about 15 seconds it goes off.
l The time until the lamp goes off can be adjus-
ted. For details, please consult a
MITSUBISHI MOTORS Authorized Service
Point. On vehicles equipped with
MITSUBISHI Multi-Communication System
(MMCS), screen operations can be used to
make the adjustment. Refer to the separate
owner’s manual for details.
2- The lamp stays off regardless of whether the doors and tailgate are open or closed. For pleasant driving
5-62
5
Page 271 of 368
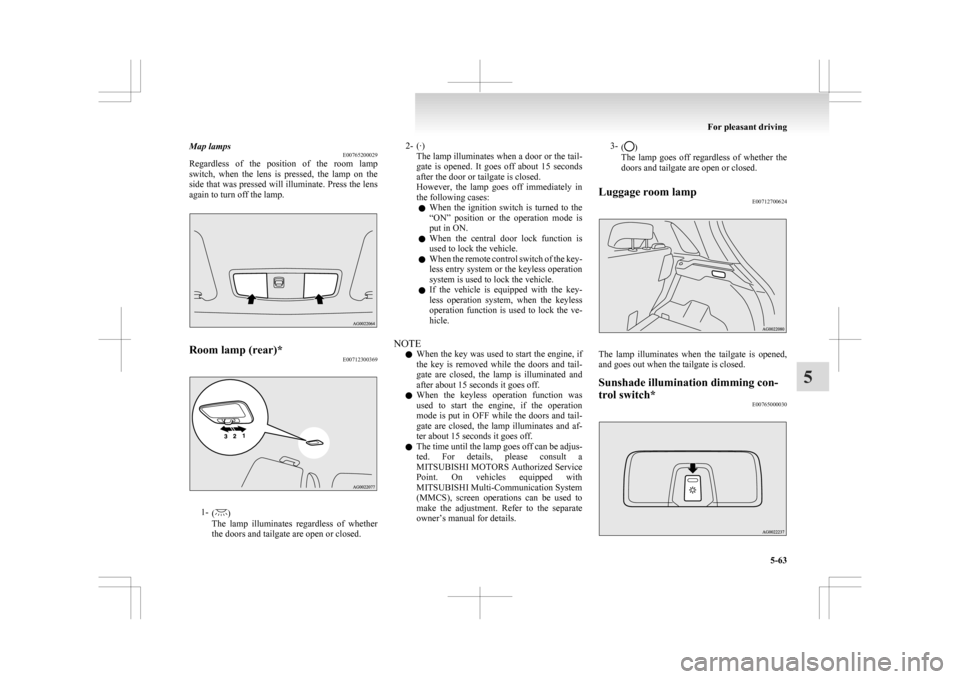
Map lamps
E00765200029
Regardless
of the position of the room lamp
switch, when the lens is pressed, the lamp on the
side that was pressed will illuminate. Press the lens
again to turn off the lamp. Room lamp (rear)*
E007123003691-
( )
The
lamp illuminates regardless of whether
the doors and tailgate are open or closed. 2- (·)
The
lamp illuminates when a door or the tail-
gate is opened. It goes off about 15 seconds
after the door or tailgate is closed.
However, the lamp goes off immediately in
the following cases:
l When the ignition switch is turned to the
“ON” position or the operation mode is
put in ON.
l When the central door lock function is
used to lock the vehicle.
l When the remote control switch of the key-
less entry system or the keyless operation
system is used to lock the vehicle.
l If the vehicle is equipped with the key-
less operation system, when the keyless
operation function is used to lock the ve-
hicle.
NOTE l When the key was used to start the engine, if
the key is removed while the doors and tail-
gate are closed, the lamp is illuminated and
after about 15 seconds it goes off.
l When the keyless operation function was
used to start the engine, if the operation
mode is put in OFF while the doors and tail-
gate are closed, the lamp illuminates and af-
ter about 15 seconds it goes off.
l The time until the lamp goes off can be adjus-
ted. For details, please consult a
MITSUBISHI MOTORS Authorized Service
Point. On vehicles equipped with
MITSUBISHI Multi-Communication System
(MMCS), screen operations can be used to
make the adjustment. Refer to the separate
owner’s manual for details. 3-
( )
The lamp goes off regardless of whether the
doors and tailgate are open or closed.
Luggage room lamp E00712700624 The lamp illuminates when the tailgate is opened,
and goes out when the tailgate is closed.
Sunshade illumination dimming con-
trol switch*
E00765000030 For pleasant driving
5-63 5
Page 272 of 368
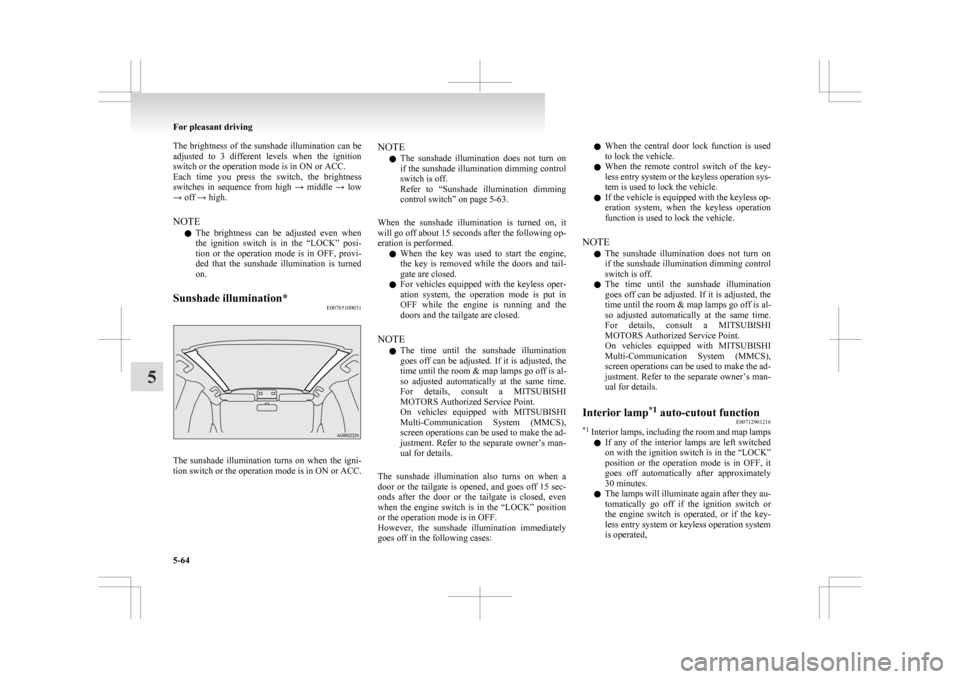
The brightness of the sunshade illumination can be
adjusted
to 3 different levels when the ignition
switch or the operation mode is in ON or ACC.
Each time you press the switch, the brightness
switches in sequence from high → middle → low
→ off → high.
NOTE
l The brightness can be adjusted even when
the ignition switch is in the “LOCK” posi-
tion or the operation mode is in OFF, provi-
ded that the sunshade illumination is turned
on.
Sunshade illumination* E00765100031The sunshade illumination turns on when the igni-
tion
switch or the operation mode is in ON or ACC. NOTE
l The
sunshade illumination does not turn on
if the sunshade illumination dimming control
switch is off.
Refer to “Sunshade illumination dimming
control switch” on page 5-63.
When the sunshade illumination is turned on, it
will go off about 15 seconds after the following op-
eration is performed. l When the key was used to start the engine,
the key is removed while the doors and tail-
gate are closed.
l For vehicles equipped with the keyless oper-
ation system, the operation mode is put in
OFF while the engine is running and the
doors and the tailgate are closed.
NOTE l The time until the sunshade illumination
goes off can be adjusted. If it is adjusted, the
time until the room & map lamps go off is al-
so adjusted automatically at the same time.
For details, consult a MITSUBISHI
MOTORS Authorized Service Point.
On vehicles equipped with MITSUBISHI
Multi-Communication System (MMCS),
screen operations can be used to make the ad-
justment. Refer to the separate owner’s man-
ual for details.
The sunshade illumination also turns on when a
door or the tailgate is opened, and goes off 15 sec-
onds after the door or the tailgate is closed, even
when the engine switch is in the “LOCK” position
or the operation mode is in OFF.
However, the sunshade illumination immediately
goes off in the following cases: l
When the central door lock function is used
to lock the vehicle.
l When the remote control switch of the key-
less entry system or the keyless operation sys-
tem is used to lock the vehicle.
l If the vehicle is equipped with the keyless op-
eration system, when the keyless operation
function is used to lock the vehicle.
NOTE l The sunshade illumination does not turn on
if the sunshade illumination dimming control
switch is off.
l The time until the sunshade illumination
goes off can be adjusted. If it is adjusted, the
time until the room & map lamps go off is al-
so adjusted automatically at the same time.
For details, consult a MITSUBISHI
MOTORS Authorized Service Point.
On vehicles equipped with MITSUBISHI
Multi-Communication System (MMCS),
screen operations can be used to make the ad-
justment. Refer to the separate owner’s man-
ual for details.
Interior lamp *1
auto-cutout function
E00712901216
*1
Interior lamps, including the room and map lamps
l If any of the interior lamps are left switched
on with the ignition switch is in the “LOCK”
position or the operation mode is in OFF, it
goes off automatically after approximately
30 minutes.
l The lamps will illuminate again after they au-
tomatically go off if the ignition switch or
the engine switch is operated, or if the key-
less entry system or keyless operation system
is operated, For pleasant driving
5-64
5
Page 277 of 368
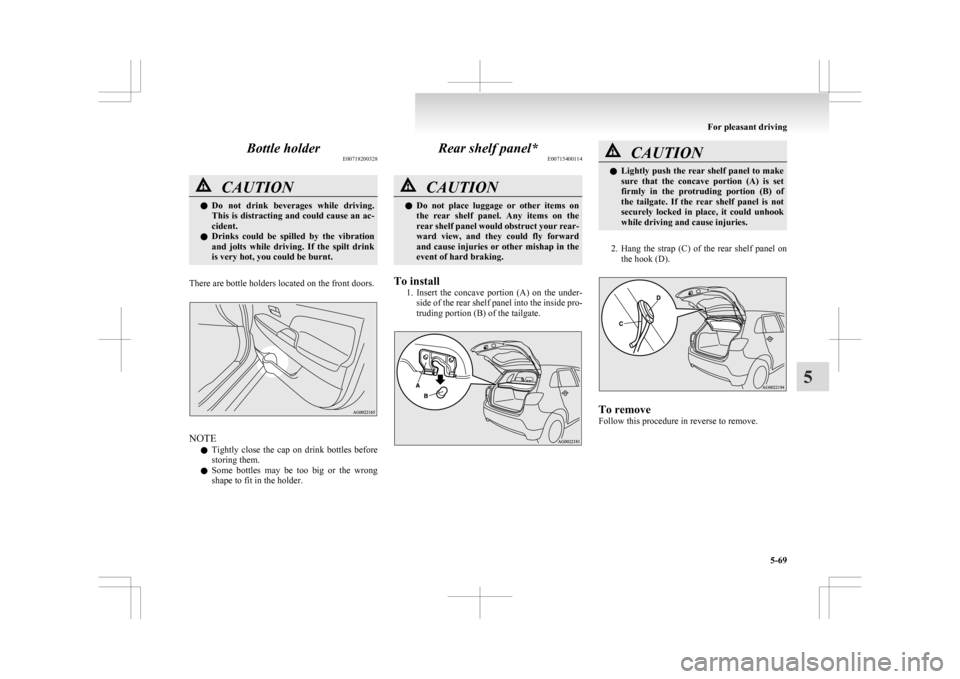
Bottle holder
E00718200328CAUTION
l
Do not drink beverages while driving.
This is distracting and could cause an ac-
cident.
l Drinks could be spilled by the vibration
and jolts while driving. If the spilt drink
is very hot, you could be burnt.
There are bottle holders located on the front doors. NOTE
l Tightly
close the cap on drink bottles before
storing them.
l Some bottles may be too big or the wrong
shape to fit in the holder. Rear shelf panel*
E00715400114 CAUTION
l
Do
not place luggage or other items on
the rear shelf panel. Any items on the
rear shelf panel would obstruct your rear-
ward view, and they could fly forward
and cause injuries or other mishap in the
event of hard braking.
To install 1. Insert
the concave portion (A) on the under-
side of the rear shelf panel into the inside pro-
truding portion (B) of the tailgate. CAUTION
l
Lightly
push the rear shelf panel to make
sure that the concave portion (A) is set
firmly in the protruding portion (B) of
the tailgate. If the rear shelf panel is not
securely locked in place, it could unhook
while driving and cause injuries.
2. Hang
the strap (C) of the rear shelf panel on the hook (D). To remove
Follow this procedure in reverse to remove. For pleasant driving
5-69 5
Page 295 of 368
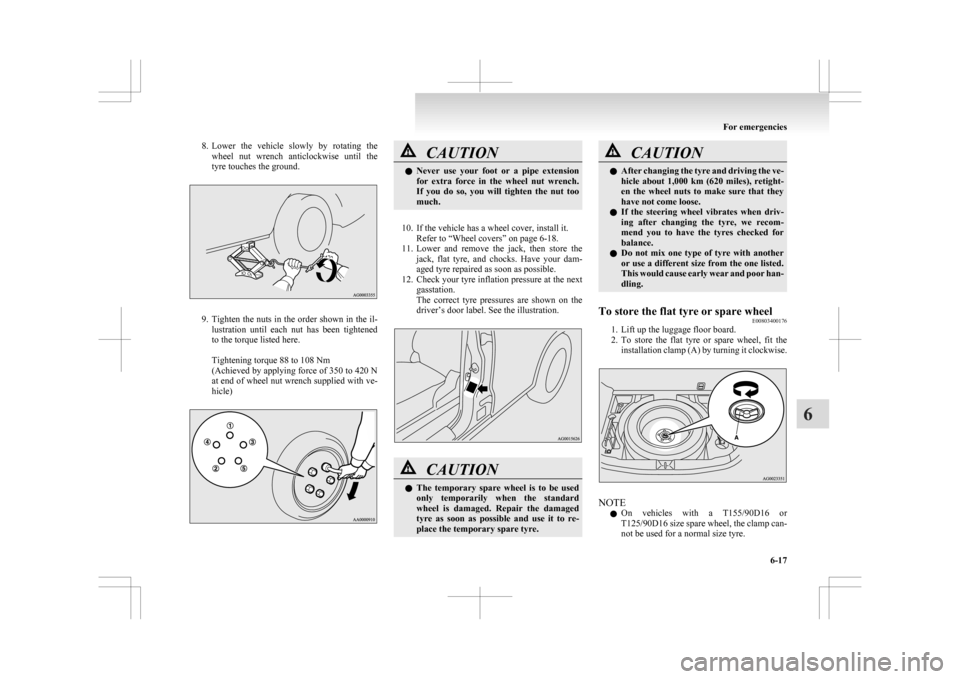
8. Lower the vehicle slowly by rotating the
wheel nut wrench anticlockwise until the
tyre touches the ground. 9. Tighten
the nuts in the order shown in the il-
lustration until each nut has been tightened
to the torque listed here.
Tightening torque 88 to 108 Nm
(Achieved by applying force of 350 to 420 N
at end of wheel nut wrench supplied with ve-
hicle) CAUTION
l
Never
use your foot or a pipe extension
for extra force in the wheel nut wrench.
If you do so, you will tighten the nut too
much.
10. If the vehicle has a wheel cover, install it. Refer to “Wheel covers” on page
6-18.
11. Lower and remove the jack, then store the jack, flat tyre, and chocks. Have your dam-
aged tyre repaired as soon as possible.
12. Check your tyre inflation pressure at the next gasstation.
The correct tyre pressures are shown on the
driver’s door label. See the illustration. CAUTION
l
The
temporary spare wheel is to be used
only temporarily when the standard
wheel is damaged. Repair the damaged
tyre as soon as possible and use it to re-
place the temporary spare tyre. CAUTION
l
After
changing the tyre and driving the ve-
hicle about 1,000 km (620 miles), retight-
en the wheel nuts to make sure that they
have not come loose.
l If the steering wheel vibrates when driv-
ing after changing the tyre, we recom-
mend you to have the tyres checked for
balance.
l Do not mix one type of tyre with another
or use a different size from the one listed.
This would cause early wear and poor han-
dling.
To store the flat tyre or spare wheel E00803400176
1. Lift up the luggage floor board.
2. To
store the flat tyre or spare wheel, fit the
installation clamp (A) by turning it clockwise. NOTE
l On
vehicles with a T155/90D16 or
T125/90D16 size spare wheel, the clamp can-
not be used for a normal size tyre. For emergencies
6-17 6
Page 326 of 368
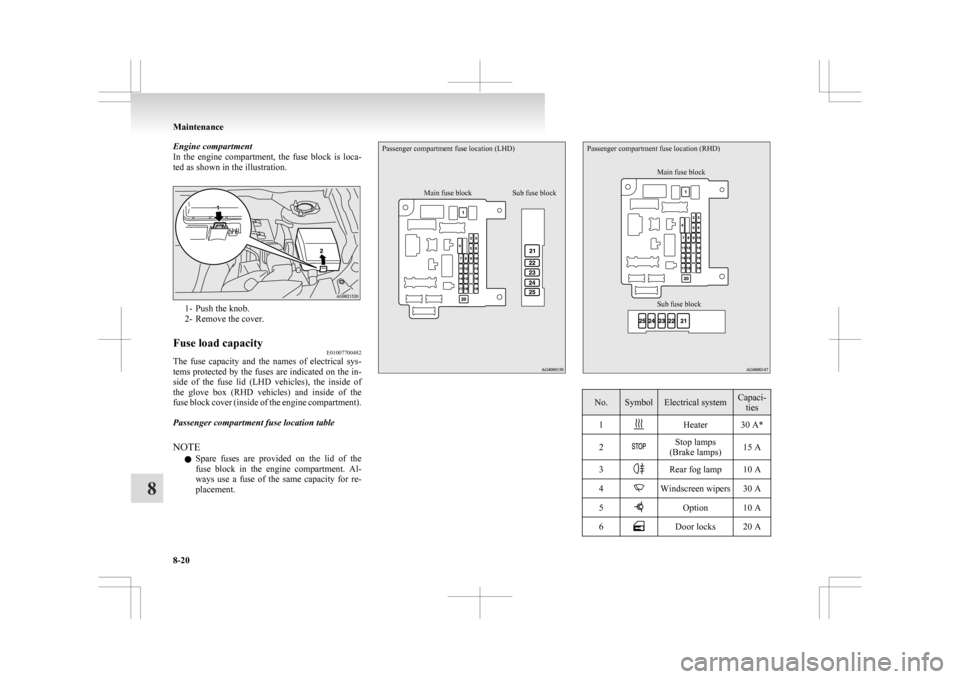
Engine compartment
In
the engine compartment, the fuse block is loca-
ted as shown in the illustration. 1- Push the knob.
2-
Remove the cover.
Fuse load capacity E01007700482
The fuse capacity and the names of electrical sys-
tems
protected by the fuses are indicated on the in-
side of the fuse lid (LHD vehicles), the inside of
the glove box (RHD vehicles) and inside of the
fuse block cover (inside of the engine compartment).
Passenger compartment fuse location table
NOTE
l Spare fuses are provided on the lid of the
fuse block in the engine compartment. Al-
ways use a fuse of the same capacity for re-
placement.
Passenger compartment fuse location (LHD)
Main fuse block Sub fuse blockPassenger compartment fuse location (RHD)
Sub fuse block Main fuse block No. Symbol Electrical system Capaci-
ties
1 Heater 30 A*
2 Stop lamps
(Brake lamps) 15 A
3 Rear fog lamp 10 A
4 Windscreen wipers 30 A
5 Option 10 A
6 Door locks 20 AMaintenance
8-20
8