2009 MITSUBISHI ASX ignition
[x] Cancel search: ignitionPage 51 of 368
System armed mode
(The
security indicator continues to blink with the
indicator’s reduced lit-up duration time.)
Once the system preparation mode has ended, the
system armed mode starts.
If an unlawful opening of any of the doors, tailgate
or bonnet is detected during the system armed
mode, the alarm will be activated to warn people
around the vehicle of an abnormal condition.
Also, if unlawful moving of the vehicle is attemp-
ted or a vehicle intrusion is detected, the alarm will
be activated.
Alarm activation
The turn-signal lamps blink and the siren sounds
for approximately 30 seconds.
Refer to “Alarm activation” on page 1-32.
NOTE
l The alarm will resume if unlawful actions
are taken again, even if the alarm has stopped.
System cancellation
It is possible to cancel the system activation during
the system preparation mode or the system armed
mode.
In addition, it is possible to cancel the alarm once it
has been activated.
Refer to “Cancelling the system” on page 1-32,
“Cancelling the alarm” on page 1-33. NOTE
l When
lending the vehicle to another person
or allowing the vehicle to be driven by some-
one who is unfamiliar with the security
alarm system, be sure to give the person a
proper explanation of the security alarm sys-
tem.
If a person who is unfamiliar with the securi-
ty alarm system accidentally unlocked the ve-
hicle, causing the alarm to sound, the alarm
would be a nuisance to people nearby.
Changing the security alarm settings E00301600267
It is possible to set the security alarm to the “ac-
tive” mode or “inactive” mode.
Follow the procedure below.
1. Except
for vehicles equipped with the key-
less operation system, remove the key from
the ignition switch. For vehicles equipped
with the keyless operation system, put the op-
eration mode in OFF.
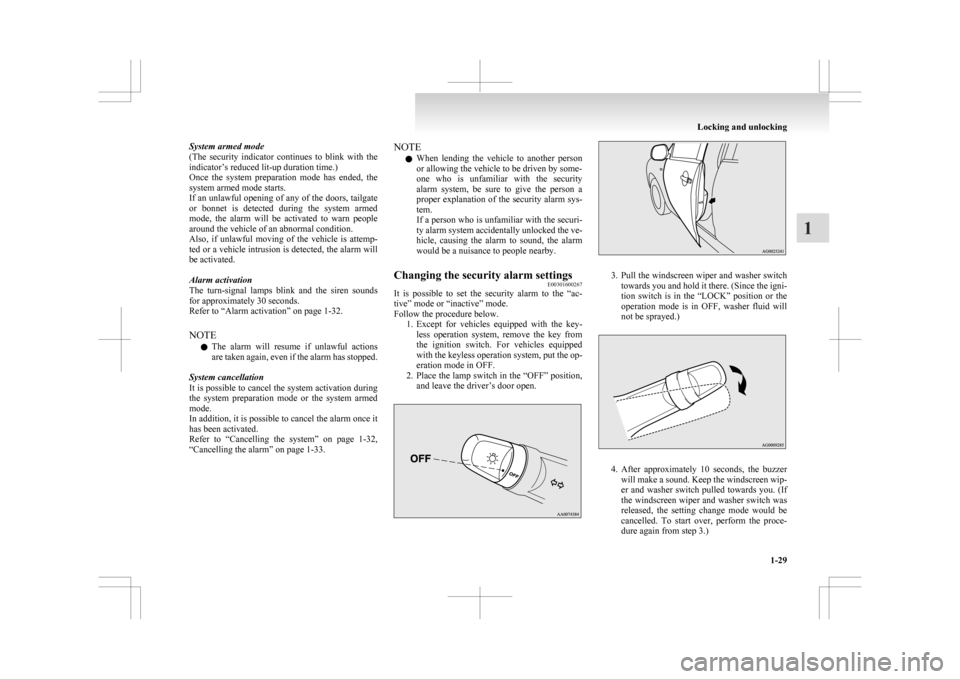
2. Place the lamp switch in the “OFF” position, and leave the driver’s door open. 3. Pull
the windscreen wiper and washer switch
towards you and hold it there. (Since the igni-
tion switch is in the “LOCK” position or the
operation mode is in OFF, washer fluid will
not be sprayed.) 4. After
approximately 10 seconds, the buzzer
will make a sound. Keep the windscreen wip-
er and washer switch pulled towards you. (If
the windscreen wiper and washer switch was
released, the setting change mode would be
cancelled. To start over, perform the proce-
dure again from step 3.) Locking and unlocking
1-29 1
Page 52 of 368
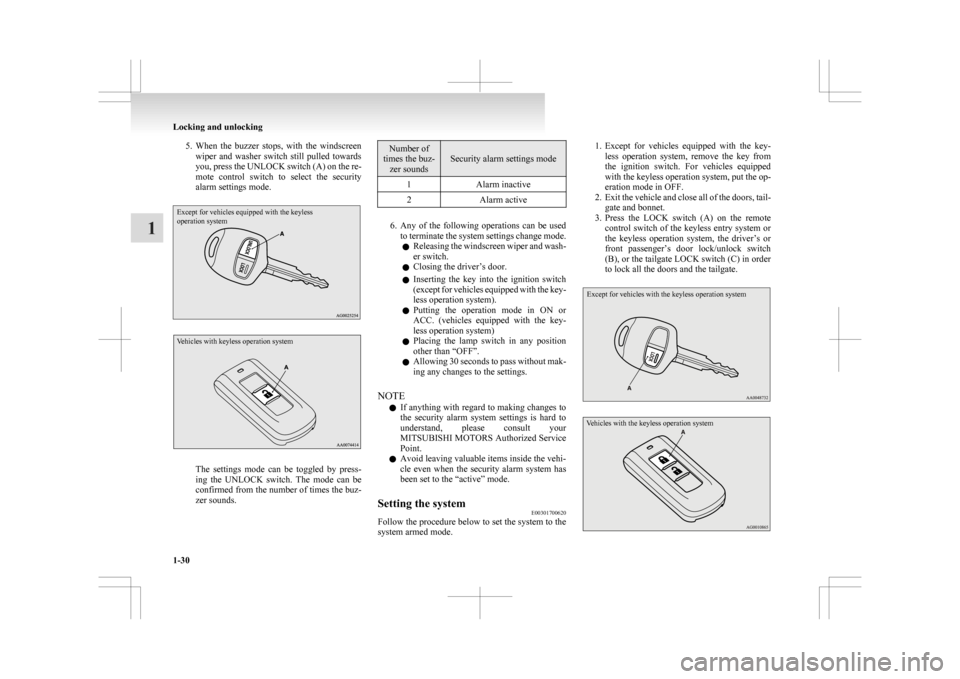
5. When the buzzer stops, with the windscreen
wiper and washer switch still pulled towards
you, press the UNLOCK switch (A) on the re-
mote control switch to select the security
alarm settings mode.
Except for vehicles equipped with the keyless
operation system
Vehicles with keyless operation system The settings mode can be toggled by press-
ing
the UNLOCK switch. The mode can be
confirmed from the number of times the buz-
zer sounds. Number of
times the buz- zer sounds Security alarm settings mode
1 Alarm inactive
2 Alarm active 6. Any
of the following operations can be used
to terminate the system settings change mode.
l Releasing the windscreen wiper and wash-
er switch.
l Closing the driver’s door.
l Inserting the key into the ignition switch
(except for vehicles equipped with the key-
less operation system).
l Putting the operation mode in ON or
ACC. (vehicles equipped with the key-
less operation system)
l Placing the lamp switch in any position
other than “OFF”.
l Allowing 30 seconds to pass without mak-
ing any changes to the settings.
NOTE l If anything with regard to making changes to
the security alarm system settings is hard to
understand, please consult your
MITSUBISHI MOTORS Authorized Service
Point.
l Avoid leaving valuable items inside the vehi-
cle even when the security alarm system has
been set to the “active” mode.
Setting the system E00301700620
Follow the procedure below to set the system to the
system armed mode. 1. Except
for vehicles equipped with the key-
less operation system, remove the key from
the ignition switch. For vehicles equipped
with the keyless operation system, put the op-
eration mode in OFF.
2. Exit the vehicle and close all of the doors, tail- gate and bonnet.
3. Press the LOCK switch (A) on the remote control switch of the keyless entry system or
the keyless operation system, the driver’s or
front passenger’s door lock/unlock switch
(B), or the tailgate LOCK switch (C) in order
to lock all the doors and the tailgate.
Except for vehicles with the keyless operation system
Vehicles with the keyless operation system Locking and unlocking
1-30
1
Page 53 of 368
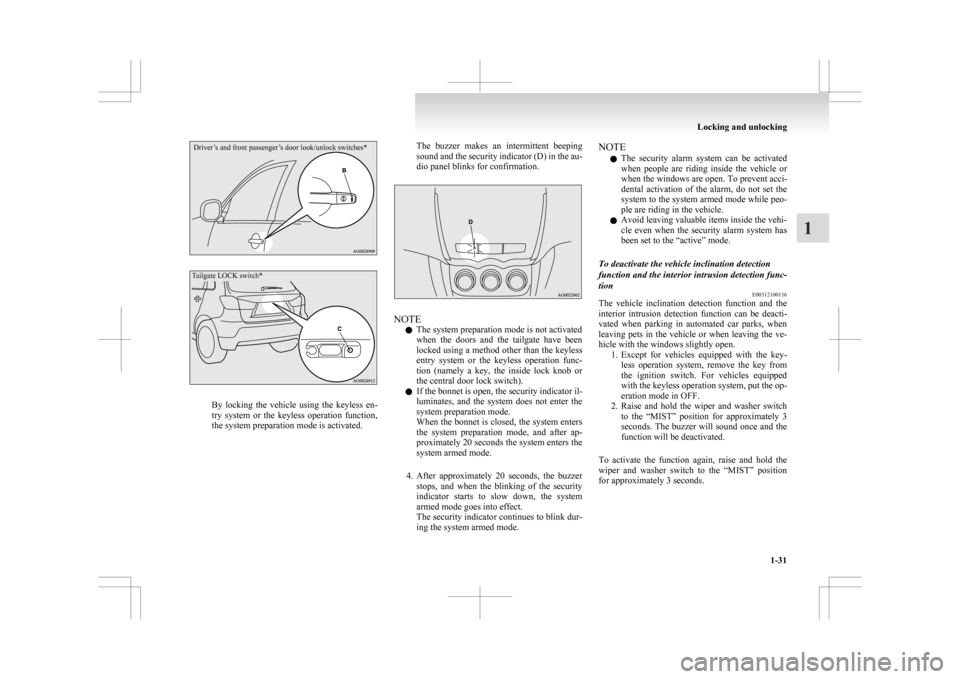
Driver’s and front passenger’s door look/unlock switches*
Tailgate LOCK switch*By locking the vehicle using the keyless en-
try
system or the keyless operation function,
the system preparation mode is activated. The buzzer makes an intermittent beeping
sound
and the security indicator (D) in the au-
dio panel blinks for confirmation. NOTE
l The system preparation mode is not activated
when
the doors and the tailgate have been
locked using a method other than the keyless
entry system or the keyless operation func-
tion (namely a key, the inside lock knob or
the central door lock switch).
l If the bonnet is open, the security indicator il-
luminates, and the system does not enter the
system preparation mode.
When the bonnet is closed, the system enters
the system preparation mode, and after ap-
proximately 20 seconds the system enters the
system armed mode.
4. After approximately 20 seconds, the buzzer stops, and when the blinking of the security
indicator starts to slow down, the system
armed mode goes into effect.
The security indicator continues to blink dur-
ing the system armed mode. NOTE
l The
security alarm system can be activated
when people are riding inside the vehicle or
when the windows are open. To prevent acci-
dental activation of the alarm, do not set the
system to the system armed mode while peo-
ple are riding in the vehicle.
l Avoid leaving valuable items inside the vehi-
cle even when the security alarm system has
been set to the “active” mode.
To deactivate the vehicle inclination detection
function and the interior intrusion detection func-
tion E00312100116
The vehicle inclination detection function and the
interior
intrusion detection function can be deacti-
vated when parking in automated car parks, when
leaving pets in the vehicle or when leaving the ve-
hicle with the windows slightly open. 1. Except for vehicles equipped with the key-less operation system, remove the key from
the ignition switch. For vehicles equipped
with the keyless operation system, put the op-
eration mode in OFF.
2. Raise and hold the wiper and washer switch to the “MIST” position for approximately 3
seconds. The buzzer will sound once and the
function will be deactivated.
To activate the function again, raise and hold the
wiper and washer switch to the “MIST” position
for approximately 3 seconds. Locking and unlocking
1-31 1
Page 54 of 368
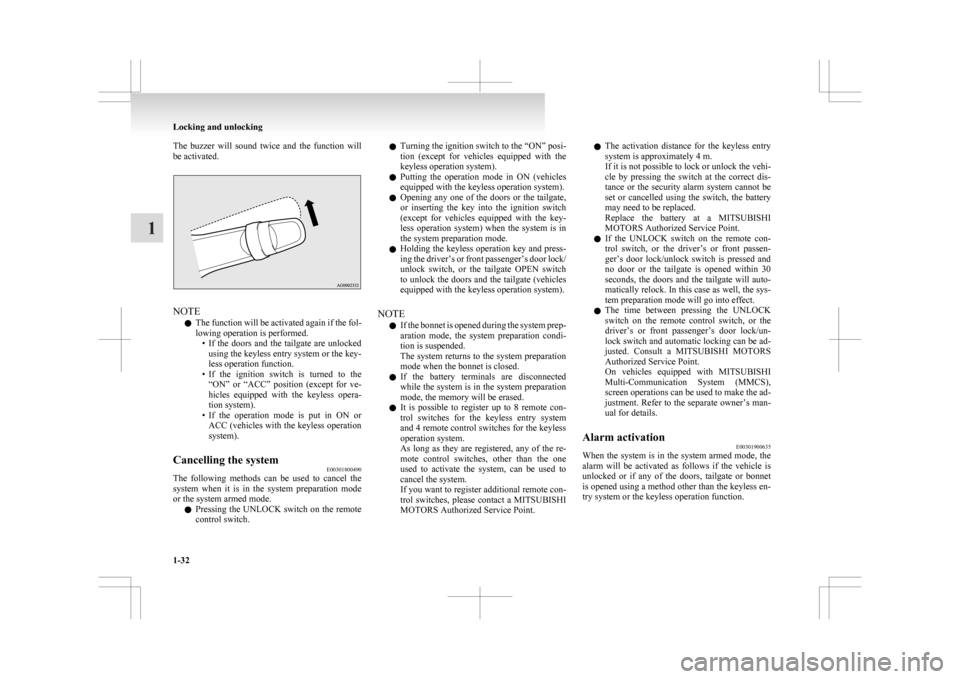
The buzzer will sound twice and the function will
be activated.
NOTE
l The
function will be activated again if the fol-
lowing operation is performed. • If the doors and the tailgate are unlockedusing the keyless entry system or the key-
less operation function.
• If the ignition switch is turned to the “ON” or “ACC” position (except for ve-
hicles equipped with the keyless opera-
tion system).
• If the operation mode is put in ON or ACC (vehicles with the keyless operation
system).
Cancelling the system E00301800490
The following methods can be used to cancel the
system
when it is in the system preparation mode
or the system armed mode.
l Pressing the UNLOCK switch on the remote
control switch. l
Turning
the ignition switch to the “ON” posi-
tion (except for vehicles equipped with the
keyless operation system).
l Putting the operation mode in ON (vehicles
equipped with the keyless operation system).
l Opening any one of the doors or the tailgate,
or inserting the key into the ignition switch
(except for vehicles equipped with the key-
less operation system) when the system is in
the system preparation mode.
l Holding the keyless operation key and press-
ing the driver’s or front passenger’s door lock/
unlock switch, or the tailgate OPEN switch
to unlock the doors and the tailgate (vehicles
equipped with the keyless operation system).
NOTE l If the bonnet is opened during the system prep-
aration mode, the system preparation condi-
tion is suspended.
The system returns to the system preparation
mode when the bonnet is closed.
l If the battery terminals are disconnected
while the system is in the system preparation
mode, the memory will be erased.
l It is possible to register up to 8 remote con-
trol switches for the keyless entry system
and 4 remote control switches for the keyless
operation system.
As long as they are registered, any of the re-
mote control switches, other than the one
used to activate the system, can be used to
cancel the system.
If you want to register additional remote con-
trol switches, please contact a MITSUBISHI
MOTORS Authorized Service Point. l
The activation distance for the keyless entry
system is approximately 4 m.
If it is not possible to lock or unlock the vehi-
cle by pressing the switch at the correct dis-
tance or the security alarm system cannot be
set or cancelled using the switch, the battery
may need to be replaced.
Replace the battery at a MITSUBISHI
MOTORS Authorized Service Point.
l If the UNLOCK switch on the remote con-
trol switch, or the driver’s or front passen-
ger’s door lock/unlock switch is pressed and
no door or the tailgate is opened within 30
seconds, the doors and the tailgate will auto-
matically relock. In this case as well, the sys-
tem preparation mode will go into effect.
l The time between pressing the UNLOCK
switch on the remote control switch, or the
driver’s or front passenger’s door lock/un-
lock switch and automatic locking can be ad-
justed. Consult a MITSUBISHI MOTORS
Authorized Service Point.
On vehicles equipped with MITSUBISHI
Multi-Communication System (MMCS),
screen operations can be used to make the ad-
justment. Refer to the separate owner’s man-
ual for details.
Alarm activation E00301900635
When the system is in the system armed mode, the
alarm
will be activated as follows if the vehicle is
unlocked or if any of the doors, tailgate or bonnet
is opened using a method other than the keyless en-
try system or the keyless operation function. Locking and unlocking
1-32
1
Page 55 of 368
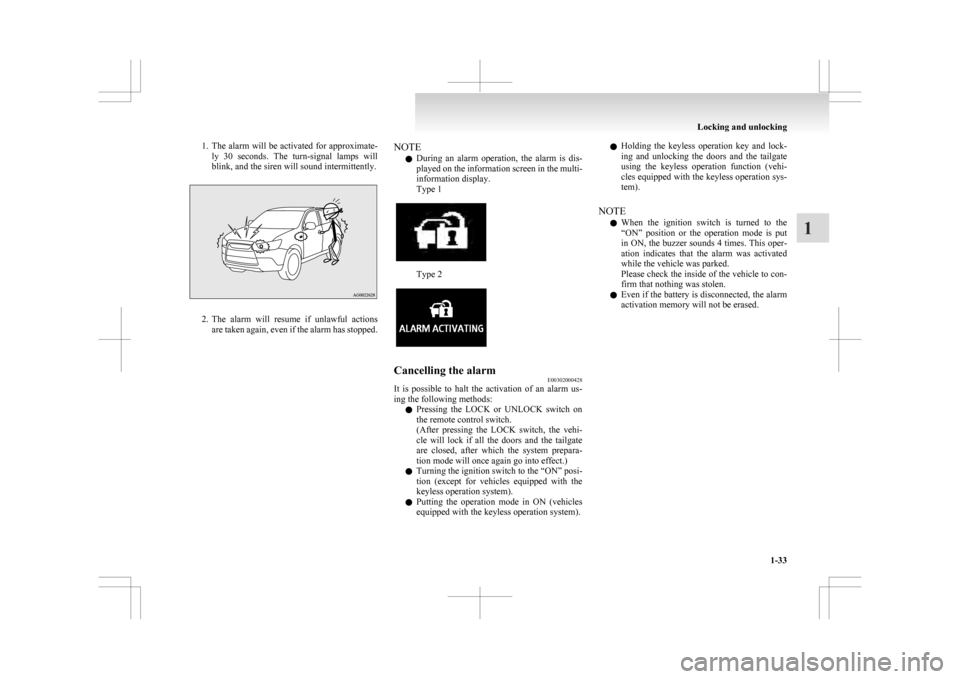
1. The alarm will be activated for approximate-
ly 30 seconds. The turn-signal lamps will
blink, and the siren will sound intermittently. 2. The
alarm will resume if unlawful actions
are taken again, even if the alarm has stopped. NOTE
l During
an alarm operation, the alarm is dis-
played on the information screen in the multi-
information display.
Type 1 Type 2
Cancelling the alarm
E00302000428
It is possible to halt the activation of an alarm us-
ing the following methods:
l Pressing
the LOCK or UNLOCK switch on
the remote control switch.
(After pressing the LOCK switch, the vehi-
cle will lock if all the doors and the tailgate
are closed, after which the system prepara-
tion mode will once again go into effect.)
l Turning the ignition switch to the “ON” posi-
tion (except for vehicles equipped with the
keyless operation system).
l Putting the operation mode in ON (vehicles
equipped with the keyless operation system). l
Holding
the keyless operation key and lock-
ing and unlocking the doors and the tailgate
using the keyless operation function (vehi-
cles equipped with the keyless operation sys-
tem).
NOTE l When the ignition switch is turned to the
“ON” position or the operation mode is put
in ON, the buzzer sounds 4 times. This oper-
ation indicates that the alarm was activated
while the vehicle was parked.
Please check the inside of the vehicle to con-
firm that nothing was stolen.
l Even if the battery is disconnected, the alarm
activation memory will not be erased. Locking and unlocking
1-33 1
Page 56 of 368
Electric window control
E00302200521
The electric windows can only be operated with the
ignition
switch in the “ON” position or the opera-
tion mode in ON. WARNING
l Before
operating the electric window con-
trol, make sure that nothing can get trap-
ped (head, hand, finger, etc.).
l Never leave the vehicle without removing
the key.
l Never leave a child (or other person who
might not be capable of safe operation of
the electric window control) in the vehicle
alone.
l The child may tamper with the switch at
the risk of its hands or head being trap-
ped in the window.
Electric window control switch E00302301558
Each door window opens or closes while the corre-
sponding switch is operated.
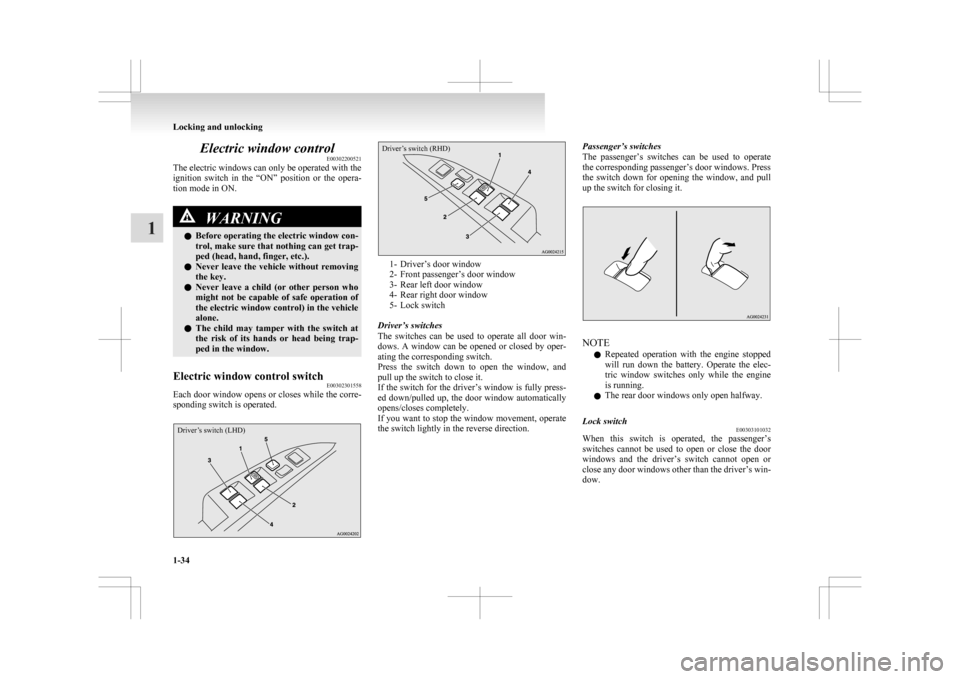
Driver’s switch (LHD)
Driver’s switch (RHD) 1- Driver’s door window
2-
Front passenger’s door window
3- Rear left door window
4- Rear right door window
5- Lock switch
Driver’s switches
The switches can be used to operate all door win-
dows. A window can be opened or closed by oper-
ating the corresponding switch.
Press the switch down to open the window, and
pull up the switch to close it.
If the switch for the driver’s window is fully press-
ed down/pulled up, the door window automatically
opens/closes completely.
If you want to stop the window movement, operate
the switch lightly in the reverse direction. Passenger’s switches
The
passenger’s switches can be used to operate
the corresponding passenger’s door windows. Press
the switch down for opening the window, and pull
up the switch for closing it. NOTE
l Repeated
operation with the engine stopped
will run down the battery. Operate the elec-
tric window switches only while the engine
is running.
l The rear door windows only open halfway.
Lock switch E00303101032
When this switch is operated, the passenger’s
switches
cannot be used to open or close the door
windows and the driver’s switch cannot open or
close any door windows other than the driver’s win-
dow. Locking and unlocking
1-34
1
Page 64 of 368

Heated seats*
E00401100960
The
heated seats can be operated with the ignition
switch or the operation mode in ON. The indica-
tion lamp (A) will illuminate while the heater is on. 1 (HI) - Heater high (for quick heating).
2 - Heater off.
3 (LO) - Heater low (to keep the seat warm).
CAUTION
l
Switch off seat heaters when not in use.
l Operate
in the high position for quick heat-
ing. Once the seat is warm, set the heater
to low to keep it warm. Slight variations
in seat temperature may be felt while us-
ing the heated seats. This is caused by the
operation of the heater’s internal thermo-
stat and does not indicate a malfunction.
l If the following types of persons use the
heated seats, they might become too hot CAUTION
or receive minor burns (red skin, heat blis-
ters, etc.):
•
Children, elderly or ill people
• People with sensitive skin
• Excessively tired people
• People under the influence of alcohol or sleep inducing medication (cold
medicine, etc.)
l Do not place heavy objects on the seat or
stick pins, needles, or other pointed ob-
jects into it.
l Do not use a blanket, cushion, or other ma-
terial with high heat insulation properties
on the seat while using the heater; this
might cause the heater element to overheat
l Do not use benzine, kerosene, petrol, alco-
hol or other organic solvents when clean-
ing the seats. Doing so could damage not
only the seat cover, but also the heater el-
ement.
l If water or any other liquid is spilled on
the seat, allow it to dry thoroughly before
attempting to use the heater.
l Turn the heater off immediately if it ap-
pears to be malfunctioning during use. Rear seat
E00401300294 WARNING
l When
a person sits in the rear seat, pull
up the head restraint to a height at which
it locks in position. Be sure to make this
adjustment before starting to drive. Seri-
ous injuries could otherwise be suffered
as the result of an impact. Refer to “Head
restraints” on page 2-07.
Armrest* E00401700650
To use the armrest, fold it down.
To
return to the original position, push it backward
level with the seat. NOTE
l Do
not climb or sit on the armrest. Doing so
could damage the armrest. Seat and seat belts
2-06
2
Page 69 of 368
WARNING
l The seat belts must not be twisted when
worn.
3. Pull
the belt slightly to adjust slackness as de- sired.
To unfasten
Hold the latch plate and push the button on the buck-
le. NOTE
l As
the belt retracts automatically, keep hold-
ing the latch plate while retracting so that the
belt stows slowly. Failure to do this could
damage the vehicle. Driver’s seat belt warning lamp and
display
E00409800833
Warning lamp Warning display type 1
Warning display type 2
A tone and warning lamp are used to remind the
driver to fasten the seat belt.
If
the ignition switch is turned to the “ON” position
or the operation mode is put in ON while a seat
belt is not fastened, the warning lamp illuminates
and the tone sounds for about 6 seconds to remind
the driver to fasten the seat belt.
If the vehicle is driven without fastening the seat
belt, approximately 1 minute after the ignition
switch is turned to the “ON” position, the warning
lamp illuminates and flashes repeatedly, and the
tone sounds continuously. In addition, the warning
display will be displayed on the information screen
in the multi-information display. The warning lamp goes off and the tone stops after
approximately 90 seconds.
Subsequently,
if the seat belt is still not fastened,
the warning lamp and tone will be activated to re-
mind the driver to fasten the seat belt whenever the
vehicle is stopped and started again. The warning
will operate in the same way if the seat belt is re-
moved while driving the vehicle. The warning will
stop when the seat belt is fastened.
Front passenger seat belt warning lamp E00411600186
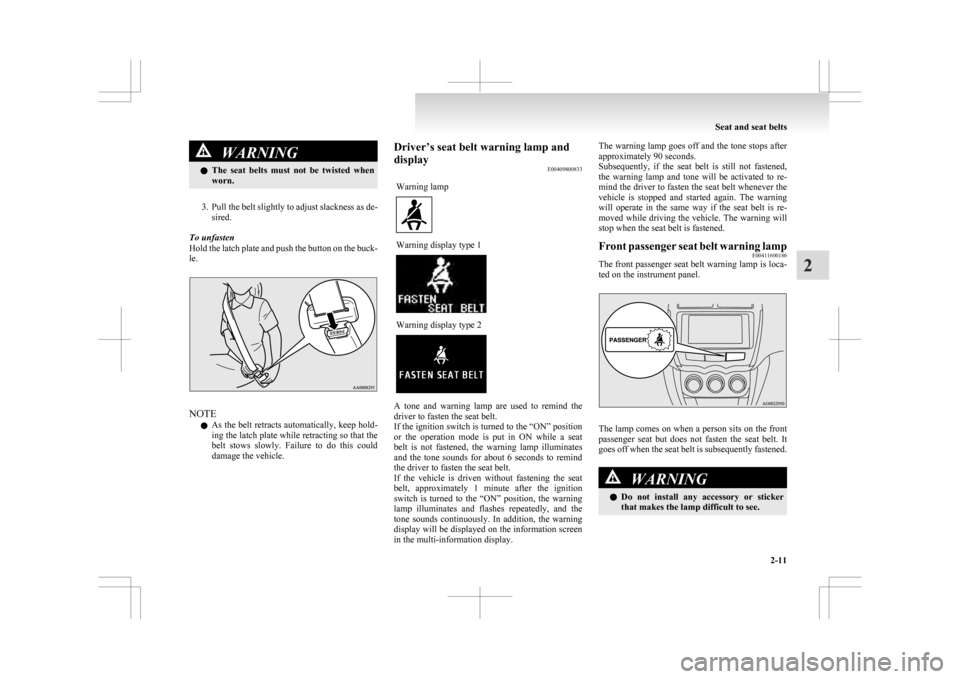
The front passenger seat belt warning lamp is loca-
ted on the instrument panel. The lamp comes on when a person sits on the front
passenger
seat but does not fasten the seat belt. It
goes off when the seat belt is subsequently fastened. WARNING
l Do
not install any accessory or sticker
that makes the lamp difficult to see. Seat and seat belts
2-11 2