2009 MITSUBISHI ASX heating
[x] Cancel search: heatingPage 186 of 368

CAUTION
l
Do not tow 4-wheel drive vehicles with
the front or rear wheels on the ground
(Type A or Type B) as illustrated. This
could result in damage to the drivetrain,
or unstable towing.
If you tow 4-wheel drive vehicles, use
Type C or Type D equipment.
l Even in “2WD” drive mode, the vehicle
cannot be towed with the front or the
rear wheels on the ground.
Jacking up a 4-wheel drive vehicle WARNING
l Do
not crank the engine while the vehicle
is jacked up.
The tyre on the ground may turn and the
vehicle may roll off the jack.
Clutch operation
Quick
or slight clutch engagement made while the
engine is running at high speed will cause damage
to the clutch and transmission because the tractive
force is very great.
Operate the pedal slowly and positively. Braking
E00607001784
All
the parts of the brake system are critical to safe-
ty. We recommend you to have the vehicle
checked at regular intervals according to the serv-
ice booklet. CAUTION
l
Avoid
driving habits that cause heavy
braking and never “ride” the brakes by
resting your foot on the brake pedal
while driving.
It causes brake overheating and fade.
Brake system
The
service brake is divided into two brake cir-
cuits. And your vehicle is equipped with power
brakes. If one brake circuit fails, the other is availa-
ble to stop the vehicle. If you should lose the pow-
er assist for some reason, the brakes will still work.
In these situations, even if the brake pedal moves
down to the very end of its possible stroke or re-
sists being depressed, keep depressing the brake ped-
al down harder and further than usual; stop driving
as soon as possible and have the brake system re-
paired. WARNING
l Do
not turn off the engine while your ve-
hicle is in motion. If you turn off the en-
gine while driving, the power assistance
for the braking system will stop working
and your brakes will not work effectively. WARNING
l If
the power assist is lost or if either
brake hydraulic system stops working
properly, have your vehicle checked im-
mediately.
Warning display
The
brake warning lamp illuminates to indicate a
fault in the braking system. A warning is also dis-
played on the multi-information display. Refer to
“Brake warning lamp” on page 3-41 and “Brake
warning display” on page 3-42.
When brakes are wet
Check the brake system while driving at a low
speed immediately after starting, especially when
the brakes are wet, to confirm they work normally.
A film of water can be formed on the brake discs
and prevent normal braking after driving in heavy
rain or through large puddles, or after the vehicle is
washed. If this occurs, dry the brakes out by driv-
ing slowly while lightly depressing the brake pedal.
When driving downhill
It is important to take advantage of the engine brak-
ing by shifting to a lower shift position while driv-
ing on steep downhill roads in order to prevent the
brakes from overheating. Starting and driving
4-34
4
Page 192 of 368

Electric power steering system
(EPS) E00629200037
The
electric power steering system (EPS) uses an
electric motor to assist the turning of the steering
wheel.
NOTE
l During repeated full-lock turning of the steer-
ing wheel (for example, while you are ma-
noeuvring the vehicle into a parking space),
a protection function may be activated to pre-
vent overheating of the power steering sys-
tem. This function will make the steering
wheel gradually harder to turn. In this event,
limit your turning of the steering wheel for a
while. When the system has cooled down,
the steering action will return to normal.
l If you turn the steering wheel while the vehi-
cle is stationary with the headlamps on, the
headlamps may become dim. This behaviour
is not abnormal. The headlamps will return
to their original brightness after a short while.
Electric power steering system warn-
ing display Type 1 Type 2
When there is a malfunction in the system, the warn-
ing display will appear on the information screen in
the multi-information display.
CAUTION
l
If
the warning display appears during
driving, it may become harder to turn the
steering wheel.
If the warning display appears while driving 1. Stop
the vehicle in a safe place and turn off
the engine.
2. Wait approximately 30 seconds and then re- start the engine to check whether the warning
display goes out; if it then remains off, there
is no problem.
If the warning display does not go out, or it
appears again while driving, we recommend
you to have your vehicle inspected. Active stability control (ASC)*
E00616700331
The
Active Stability Control (ASC) takes overall
control of the anti-lock brake system, traction con-
trol function and stability control function to help
maintain the vehicle’s control and traction. Please
read this section in conjunction with the page on
the anti-lock brake system, traction control func-
tion and stability control function.
Anti-lock brake system (ABS) ® p. 4-38
Traction control function ® p. 4-41
Stability control function ® p. 4-41 CAUTION
l
Do
not over-rely on the ASC. Even the
ASC cannot prevent the natural laws of
physics from acting on the vehicle.
This system, like any other system, has
limits and cannot help you to maintain
traction and control of the vehicle in all
circumstances. Reckless driving may lead
to accidents. It is the driver’s responsibil-
ity to drive carefully. This means taking
into account the traffic, road and environ-
mental conditions.
l Be sure to use the same specified type and
size of tyre on all 4 wheels. Otherwise, the
ASC may not work properly.
l Do not install any aftermarket limited-
slip differential (LSD) on your vehicle.
The ASC may stop functioning properly. Starting and driving
4-40
4
Page 194 of 368

NOTE
l The
combination of items shown on the dis-
play varies depending on the vehicle model. CAUTION
l
When display/indicator blinks, ASC is
operating,
which means that the road is
slippery or that your vehicle’s wheels are
beginning to slip. If this happens, drive
slower with less accelerator input.
l If the temperature in the braking system
continues to increase due to continuous
brake control on a slippery road surface,
the display/indicator will blink. To pre-
vent
the brake system from overheating,
the brake control of the traction control
function will be temporarily suspended.
The engine control of the traction control
function and normal brake operation will
not be affected. Park your vehicle in a
safe place. When the temperature in the
braking system has come down, the dis-
play/indicator
will be turned off and the
traction control function will start operat-
ing again.
NOTE l The display/indicator may turn on when
you
start the engine. This means that the bat-
tery voltage momentarily dropped when the
engine was started. It does not indicate a mal-
function, provided that the display goes out
immediately. l
When
a compact spare tyre has been put on
your vehicle, the gripping ability of the tyre
will be lower, making it more likely that the display/indicator will blink.
ASC warning display E00619400443
If an abnormal condition occurs in the system, the
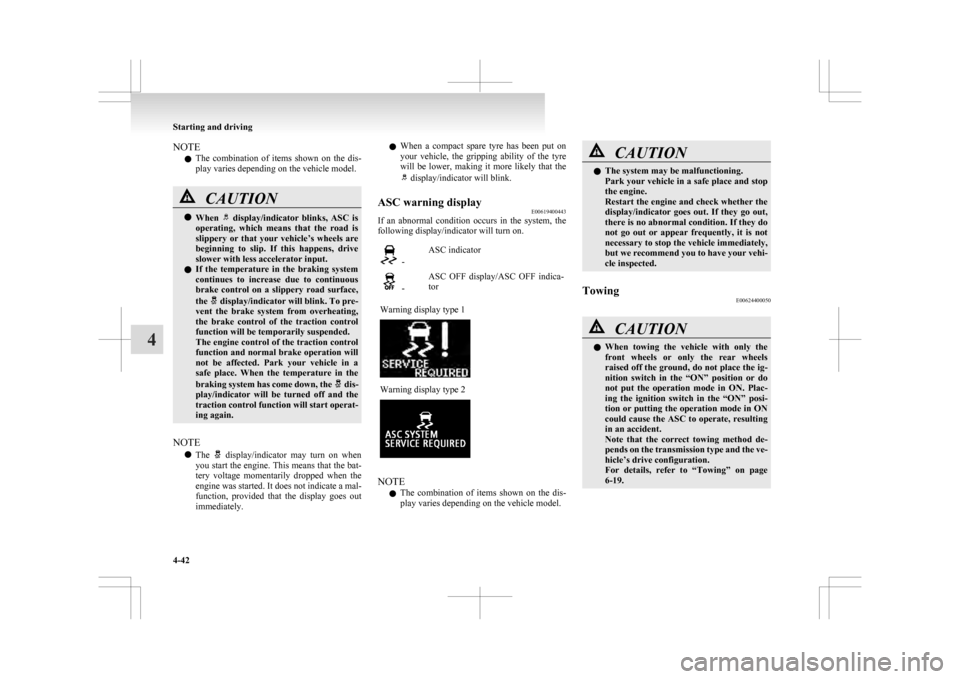
following display/indicator will turn on. -
ASC indicator -
ASC OFF display/ASC OFF indica-
tor
Warning display type 1 Warning display type 2
NOTE
l The
combination of items shown on the dis-
play varies depending on the vehicle model. CAUTION
l
The system may be malfunctioning.
Park
your vehicle in a safe place and stop
the engine.
Restart the engine and check whether the
display/indicator goes out. If they go out,
there is no abnormal condition. If they do
not go out or appear frequently, it is not
necessary to stop the vehicle immediately,
but we recommend you to have your vehi-
cle inspected.
Towing E00624400050 CAUTION
l
When
towing the vehicle with only the
front wheels or only the rear wheels
raised off the ground, do not place the ig-
nition switch in the “ON” position or do
not put the operation mode in ON. Plac-
ing the ignition switch in the “ON” posi-
tion or putting the operation mode in ON
could cause the ASC to operate, resulting
in an accident.
Note that the correct towing method de-
pends on the transmission type and the ve-
hicle’s drive configuration.
For details, refer to “Towing” on page
6-19. Starting and driving
4-42
4
Page 207 of 368

1
830.5 mm
2 461 mm
3 68.5 mm
4 75 mm
5 310 mm
6 13.5 mm
7 66.5 mm
8 50 mm
9 52 mm
10 464 mm
(at kerb weight condi- tion)
370 mm to 384 mm (at laden condition)
11 447 mm
12 487 mm
13 495 mm
14 525.5 mmNOTE
l The
values under item 12 can be varied de-
pending on the loading condition of cargo or
luggage.
Operating hints l To prevent the clutch from slipping (Vehicle
with a M/T only), do not rev the engine more
than is required when starting off. l
Be
sure that the driving speed does not ex-
ceed 100 km/h (62 mph) for trailer operation.
It is also recommended that you obey the lo-
cal regulations in case driving speed with a
trailer is limited to less than 100 km/h
(62 mph).
l To prevent shocks from the overrun brake, de-
press the brake pedal lightly at first and then
more strongly.
l To make full use of engine braking, change
to a lower shift point before descending a
slope.
Additional precautions for vehicles equipped with
a CVT
It is recommended the “D” position on slopes or at
low speed.
Use the sports mode in mountainous areas in order
to make better use of engine braking and to assist
the brake system.
However, be sure that the speed does not exceed
the maximum speed limit for the selected shift posi-
tion.
Overheating
This will normally occur as a result of some me-
chanical failure. If your vehicle should overheat,
stop and check for a loose or broken water pump/
alternator drive belt, a blocked radiator air intake
or a low coolant level. If these items are satisfacto-
ry the overheating could be caused by a number of
mechanical causes that would have to be checked
at a competent service centre. CAUTION
l
If the engine overheats, please refer to the
“Engine
overheating” section of “For
emergencies” prior to taking any correc-
tive action.
l On vehicles equipped with CVT, if the warning display is showing, the tempera-
ture of the CVT fluid is high.
Read
the reference page and take the re-
quired measures.
Refer to “When a malfunction occurs in
the CVT” on page 4-27. Starting and driving
4-55 4
Page 212 of 368

Temperature control dial
E00700900368
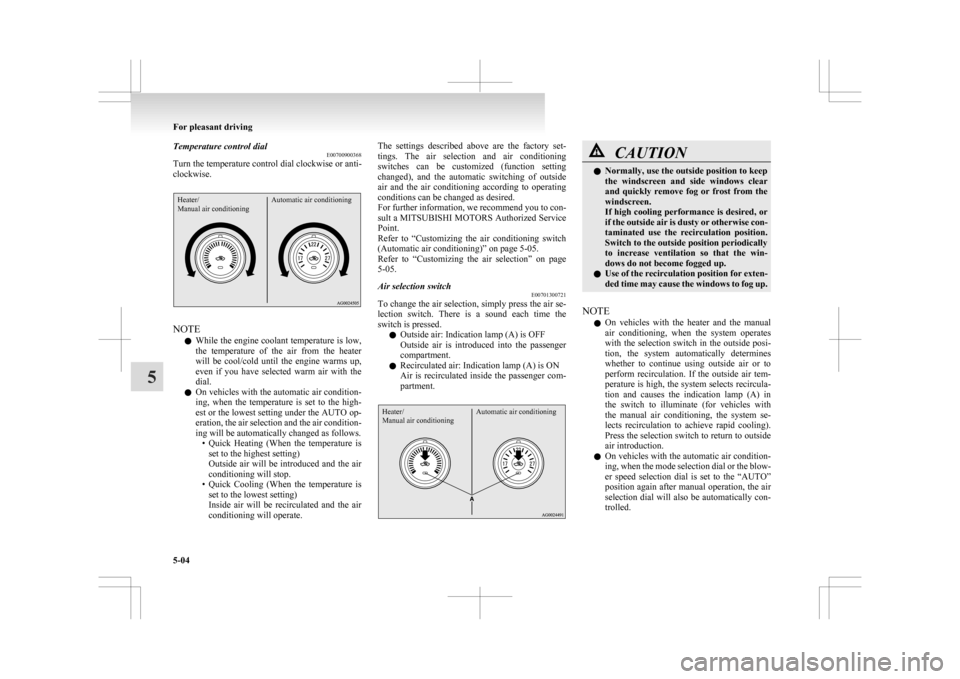
Turn the temperature control dial clockwise or anti-
clockwise.Heater/
Manual air conditioning Automatic air conditioningNOTE
l While
the engine coolant temperature is low,
the temperature of the air from the heater
will be cool/cold until the engine warms up,
even if you have selected warm air with the
dial.
l On vehicles with the automatic air condition-
ing, when the temperature is set to the high-
est or the lowest setting under the AUTO op-
eration, the air selection and the air condition-
ing will be automatically changed as follows.
• Quick Heating (When the temperature isset to the highest setting)
Outside air will be introduced and the air
conditioning will stop.
• Quick Cooling (When the temperature is set to the lowest setting)
Inside air will be recirculated and the air
conditioning will operate. The settings described above are the factory set-
tings.
The air selection and air conditioning
switches can be customized (function setting
changed), and the automatic switching of outside
air and the air conditioning according to operating
conditions can be changed as desired.
For further information, we recommend you to con-
sult a MITSUBISHI MOTORS Authorized Service
Point.
Refer to “Customizing the air conditioning switch
(Automatic air conditioning)” on page 5-05.
Refer to “Customizing the air selection” on page
5-05.
Air selection switch E00701300721
To change the air selection, simply press the air se-
lection
switch. There is a sound each time the
switch is pressed.
l Outside air: Indication lamp (A) is OFF
Outside air is introduced into the passenger
compartment.
l Recirculated air: Indication lamp (A) is ON
Air is recirculated inside the passenger com-
partment.
Heater/
Manual air conditioning Automatic air conditioning CAUTION
l
Normally, use the outside position to keep
the
windscreen and side windows clear
and quickly remove fog or frost from the
windscreen.
If high cooling performance is desired, or
if the outside air is dusty or otherwise con-
taminated use the recirculation position.
Switch to the outside position periodically
to increase ventilation so that the win-
dows do not become fogged up.
l Use of the recirculation position for exten-
ded time may cause the windows to fog up.
NOTE l On
vehicles with the heater and the manual
air conditioning, when the system operates
with the selection switch in the outside posi-
tion, the system automatically determines
whether to continue using outside air or to
perform recirculation. If the outside air tem-
perature is high, the system selects recircula-
tion and causes the indication lamp (A) in
the switch to illuminate (for vehicles with
the manual air conditioning, the system se-
lects recirculation to achieve rapid cooling).
Press the selection switch to return to outside
air introduction.
l On vehicles with the automatic air condition-
ing, when the mode selection dial or the blow-
er speed selection dial is set to the “AUTO”
position again after manual operation, the air
selection dial will also be automatically con-
trolled. For pleasant driving
5-04
5
Page 214 of 368

l
Enable automatic air conditioning control:
If the mode selection dial or blower speed se-
lection
dial is turned to the “AUTO” posi-
tion, or the temperature control dial is set to
the minimum temperature, the air condition-
ing switch is controlled automatically.
l Disable automatic air conditioning control:
The air conditioning switch is not controlled
automatically as long as the air conditioning
switch is not operated.
l Setting change method
Hold down the air conditioning switch for
about 10 seconds or more.
When the setting is changed, a sound is emit-
ted and the indication lamp flashes.
• When the setting is changed from enableto disable 3 sounds are emitted and the in-
dication lamp flashes 3 times.
• When the setting is changed from disable to enable 2 sounds are emitted and the in-
dication lamp flashes 3 times.
NOTE l The factory setting is “Enable automatic air
conditioning control”.
l When you turn the mode selection dial to
“ ”,
in order to prevent misting of the win-
dows the air conditioning operates automati-
cally even if “Disable automatic air condition-
ing control” is set.
Operating the air conditioning system E00701800436
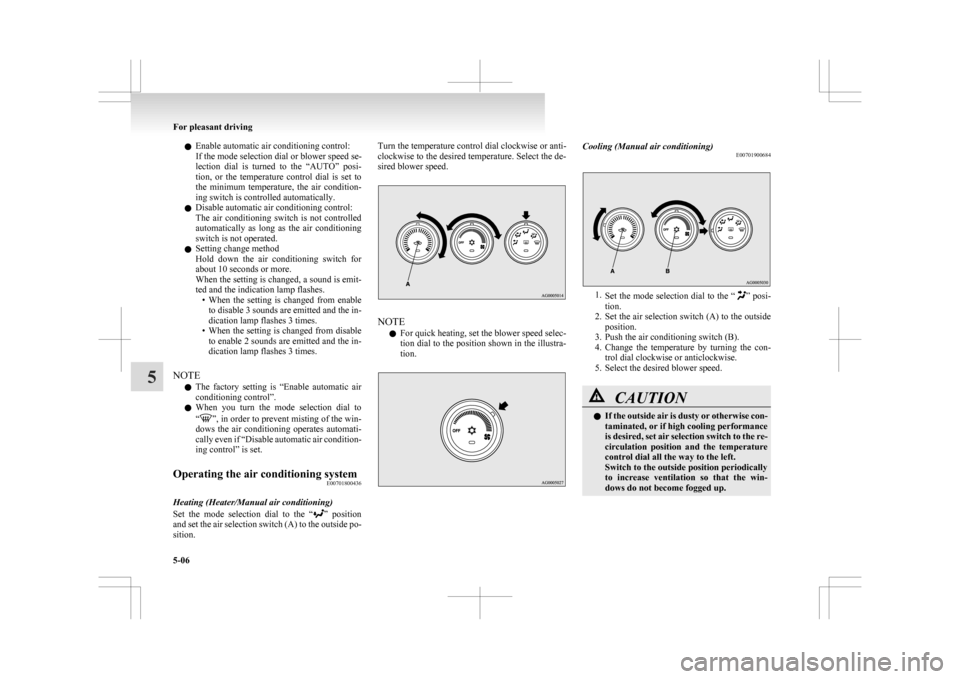
Heating (Heater/Manual air conditioning)
Set
the mode selection dial to the “ ”
position
and set the air selection switch (A) to the outside po-
sition. Turn the temperature control dial clockwise or anti-
clockwise
to the desired temperature. Select the de-
sired blower speed. NOTE
l For
quick heating, set the blower speed selec-
tion dial to the position shown in the illustra-
tion. Cooling (Manual air conditioning)
E00701900684 1.
Set
the mode selection dial to the “ ” posi-
tion.
2. Set the air selection switch (A) to the outside position.
3. Push the air conditioning switch (B).
4. Change the temperature by turning the con- trol dial clockwise or anticlockwise.
5. Select the desired blower speed. CAUTION
l
If
the outside air is dusty or otherwise con-
taminated, or if high cooling performance
is desired, set air selection switch to the re-
circulation position and the temperature
control dial all the way to the left.
Switch to the outside position periodically
to increase ventilation so that the win-
dows do not become fogged up. For pleasant driving
5-06
5
Page 268 of 368

Ashtray*
E00711401009CAUTION
l
Put out matches and cigarettes before
they are placed in the ashtray.
l Don’t put papers and other things that
burn into your ashtrays. If you do, ciga-
rettes or other smoking materials could
set them on fire, causing damage.
l Always close the ashtray. If left open, oth-
er cigarette butts in the ashtray may be re-
kindled.
To use the ashtray, open the lid. Moveable ashtray secure holder
The
moveable ashtray can be fitted at the indicated
position. CAUTION
l
The
moveable ashtray secure holder
should never be used as a cup holder.
Drinks could be spilled over the cigarette
lighter by the vibration and jolts while
driving, causing an electric shock. Cigarette lighter*
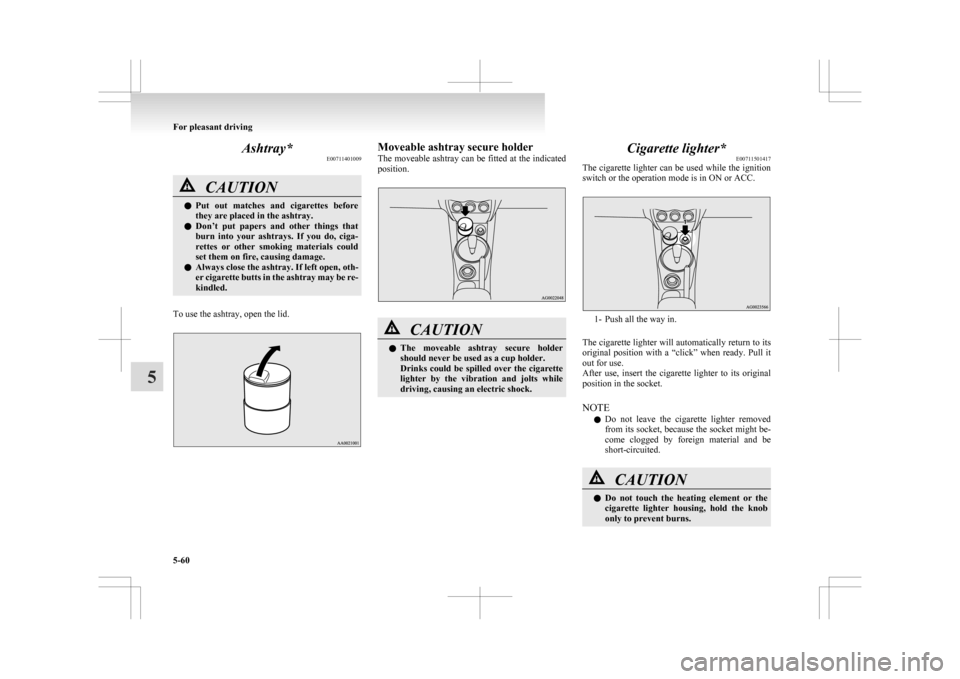
E00711501417
The
cigarette lighter can be used while the ignition
switch or the operation mode is in ON or ACC. 1- Push all the way in.
The
cigarette lighter will automatically return to its
original position with a “click” when ready. Pull it
out for use.
After use, insert the cigarette lighter to its original
position in the socket.
NOTE
l Do not leave the cigarette lighter removed
from its socket, because the socket might be-
come clogged by foreign material and be
short-circuited. CAUTION
l
Do
not touch the heating element or the
cigarette lighter housing, hold the knob
only to prevent burns. For pleasant driving
5-60
5
Page 279 of 368

If the vehicle breaks down
............................................................ 6-02
Emergency starting ....................................................................... 6-02
Engine overheating ....................................................................... 6-04
Tools, jack and tyre repair kit ....................................................... 6-06
How to change a tyre .................................................................... 6-12
Towing.......................................................................................... 6-19
Operation under adverse driving conditions .................................6-22For emergencies
6