2009 MAZDA MODEL B4000 CAB PLUS 4 TRUCK maintenance
[x] Cancel search: maintenancePage 12 of 288

WARNING LIGHTS AND CHIMES
Warning lights and gauges can alert you to a vehicle condition that may
become serious enough to cause expensive repairs. A warning light may
illuminate when a problem exists with one of your vehicle’s functions.
Many lights will illuminate when you start your vehicle to make sure the
bulb works. If any light remains on after starting the vehicle, refer to the
respective system warning light for additional information.
Service engine soon:The Service
engine soon indicator light
illuminates when the ignition is first
turned to the on position to check
the bulb and to indicate whether the vehicle is ready for
Inspection/Maintenance (I/M) testing. Normally, the service engine soon
light will stay on until the engine is cranked, then turn itself off if no
malfunctions are present. However, if after 15 seconds the service engine
soon light blinks eight times, it means that the vehicle is not ready for
I/M testing. See the Readiness for Inspection/Maintenance (I/M)
testing in theMaintenance and Specifications chapter.
Solid illumination after the engine is started indicates the On Board
Diagnostics System (OBD-II) has detected a malfunction. Refer to On
board diagnostics (OBD-II) in theMaintenance and Specifications
chapter. If the light is blinking, engine misfire is occurring which could
damage your catalytic converter. Drive in a moderate fashion (avoid
heavy acceleration and deceleration) and contact your authorized dealer
as soon as possible.
WARNING: Under engine misfire conditions, excessive exhaust
temperatures could damage the catalytic converter, the fuel
system, interior floor coverings or other vehicle components, possibly
causing a fire.
2009 B-Series (mbs)
Owners Guide, 1st Printing
USA (fus)
Instrument Cluster
12
Page 13 of 288

Check fuel cap:Illuminates when
the fuel cap may not be properly
installed. Check the fuel filler cap if
this light remains on. Continued
driving with this light on may cause
the service engine soon warning
light to come on.
It may take a long period of time for the system to detect an
improperly installed or properly re-installed fuel filler cap
depending on driving and fuel tank level conditions. Refer toFuel
filler cap in theMaintenance and Specifications chapter.
Brake system warning light: To
confirm the brake system warning
light is functional, it will
momentarily illuminate when the
ignition is turned to the on position
when the engine is not running, or in a position between on and start, or
by applying the parking brake when the ignition is turned to the on
position. If the brake system warning light does not illuminate at this
time, contact your authorized dealer as soon as possible. Illumination
after releasing the parking brake indicates low brake fluid level or a
failure to brake proportioning. Contact your authorized dealer as soon as
possible.
WARNING: Driving a vehicle with the brake system warning
light on is dangerous. A significant decrease in braking
performance may occur. It will take you longer to stop the vehicle.
Contact your authorized dealer as soon as possible. Driving extended
distances with the parking brake engaged can cause brake failure and
the risk of personal injury.
Anti-lock brake system: If the
ABS light stays illuminated or
continues to flash, a malfunction has
been detected; contact your
authorized dealer as soon as
possible. Normal braking is still functional unless the brake warning light
also is illuminated.
P!
BRAKE
ABS
2009 B-Series (mbs)
Owners Guide, 1st Printing
USA (fus)
Instrument Cluster
13
Page 17 of 288

Speedometer:Indicates the
current vehicle speed.
Engine coolant temperature
gauge: Indicates engine coolant
temperature. At normal operating
temperature, the needle will be in
the normal range (between “H” and
“C”). If it enters the red section,
the engine is overheating. Stop
the vehicle as soon as safely
possible, switch off the engine and let the engine cool.
Refer to Engine coolant in theMaintenance and Specifications
chapter.
WARNING: Never remove the coolant reservoir cap and/or the
radiator cap while the engine is running or hot, this may result
in serious burns.
Odometer: Registers the total miles
(kilometers) of the vehicle.
Trip odometer: Registers the miles
(kilometers) of individual journeys.
Press the button once until “TRIP”
appears in the display (this
represents the trip mode). To reset
the trip, press and hold the control
again for approximately two
seconds, until the trip reading is 0.0 miles (kilometers). To toggle
between trip and odometer, press and release the control.
2009 B-Series (mbs)
Owners Guide, 1st Printing
USA (fus)
Instrument Cluster
17
Page 84 of 288

crash sensor system as the front airbag supplemental restraint system
(SRS). When the seat belt pretensioner deploys, webbing from the lap
and shoulder belt is tightened. Refer to theSeat belt maintenance
section in this chapter.
WARNING: The driver and front passenger seat belt system
(including retractors, buckles and height adjusters) must be
replaced if the vehicle is involved in a collision that results in
deployment of front airbags and seat belt pretensioners.
Front seat belt height adjustment
Your vehicle has seat belt height adjustments for the driver and front
passenger. Adjust the height of the shoulder belt so the belt rests across
the middle of your shoulder.
• Regular Cab and four–door Cab
Plus 4
To lower the shoulder belt height, push the button and slide the height
adjuster down. To raise the height of the shoulder belt, slide the height
adjuster up. Pull down on the height adjuster to make sure it is locked in
place.
WARNING: Position the seat belt height adjusters so that the
belt rests across the middle of your shoulder. Failure to adjust
the seat belt properly could reduce the effectiveness of the seat belt
and increase the risk of injury in a collision.
Seat belt extension assembly
If the seat belt is too short when fully extended, a 9 inch (23 cm) or
12 inch (31 cm) seat belt extension assembly can be added (part
numbers 611C22–A and 611C22–B respectively). Seat belt extension
assemblies can be obtained from your authorized Mazda dealership.
2009 B-Series (mbs)
Owners Guide, 1st Printing
USA (fus)
Seating and Safety Restraints
84
Page 95 of 288

restrained or are otherwise out of position at the time of airbag
deployment. Thus, it is extremely important that occupants be properly
restrained as far away from the airbag module as possible while
maintaining vehicle control.
WARNING:Several airbag system components get hot after
inflation. Do not touch them after inflation or you may be
burned.
WARNING: If the air bag has deployed, the air bag will not
function again and must be replaced immediately. If the air bag
is not replaced, the unrepaired area will increase the risk of injury in a
collision.
Determining if the system is operational
The SRS uses readiness lights in the instrument cluster or a tone to
indicate the condition of the system. Refer to the Airbag readiness
section in the Instrumentation chapter. Routine maintenance of the
airbag is not required.
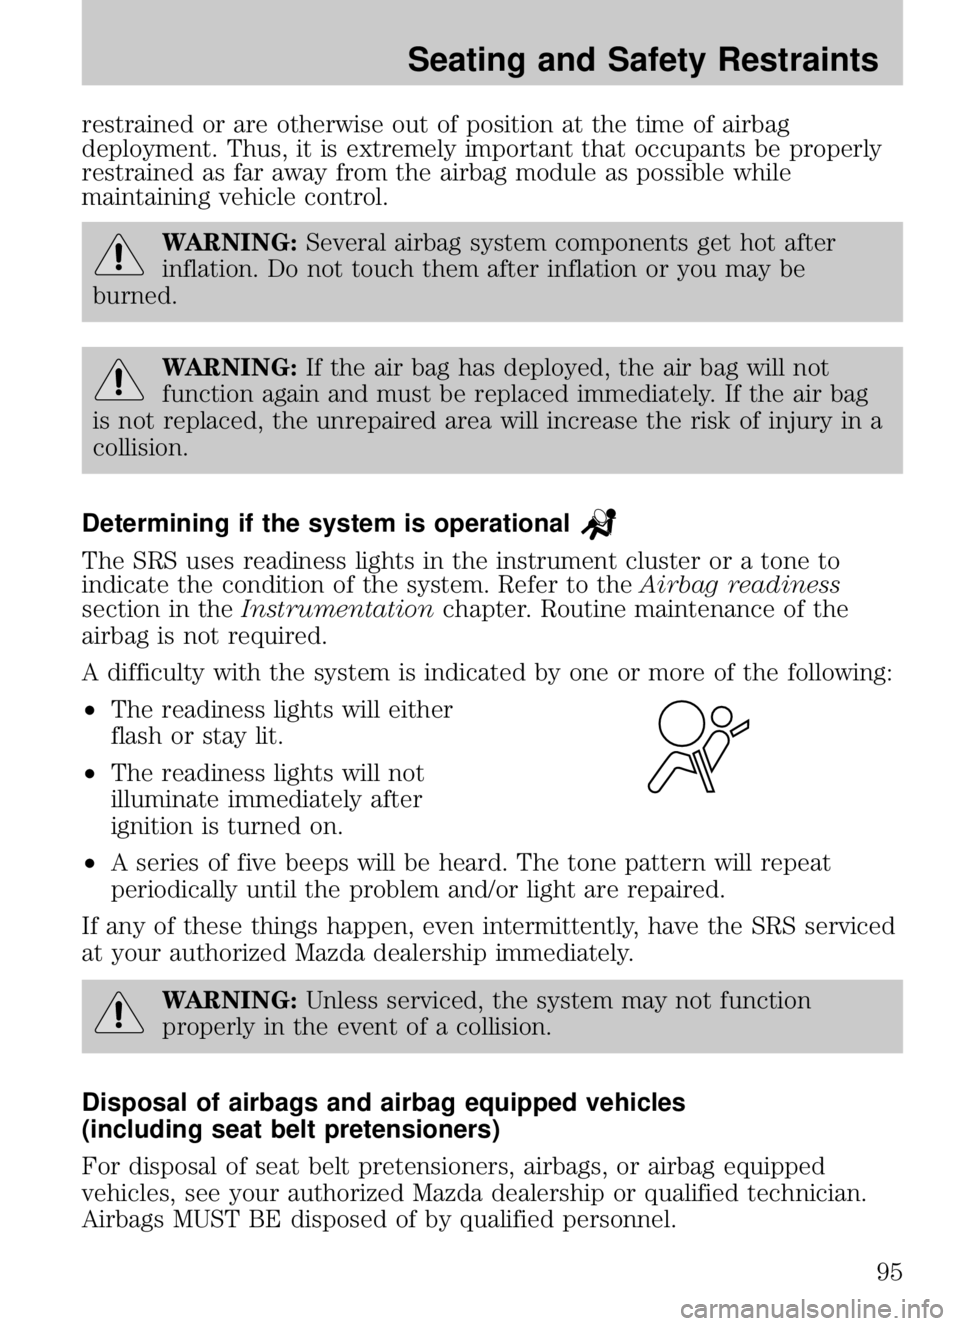
A difficulty with the system is indicated by one or more of the following:
• The readiness lights will either
flash or stay lit.
• The readiness lights will not
illuminate immediately after
ignition is turned on.
• A series of five beeps will be heard. The tone pattern will repeat
periodically until the problem and/or light are repaired.
If any of these things happen, even intermittently, have the SRS serviced
at your authorized Mazda dealership immediately.
WARNING: Unless serviced, the system may not function
properly in the event of a collision.
Disposal of airbags and airbag equipped vehicles
(including seat belt pretensioners)
For disposal of seat belt pretensioners, airbags, or airbag equipped
vehicles, see your authorized Mazda dealership or qualified technician.
Airbags MUST BE disposed of by qualified personnel.
2009 B-Series (mbs)
Owners Guide, 1st Printing
USA (fus)
Seating and Safety Restraints
95
Page 115 of 288

Move a child to a different seating location if the shoulder belt does not
stay positioned on the shoulder during use.
Follow all instructions provided by the manufacturer of the booster seat.
WARNING:Never place, or allow a child to place, the shoulder
belt under a child’s arm or behind the back because it reduces
the protection for the upper part of the body and may increase the risk
of injury or death in a collision.
Child restraint and seat belt maintenance
Inspect the seat belt systems periodically to make sure they work
properly and are not damaged.
NOTE: If unsure about the proper procedures, bring your vehicle to an
authorized Mazda dealership for inspection. Inspect the seat belts to
make sure there are no nicks, tears or cuts, replacing if necessary. Check
the automatic locking retractor on the passenger outboard seating
position. All seat belt assemblies, including retractors, buckles, front seat
belt buckle assemblies, buckle support assemblies (slide bar-if equipped),
shoulder belt height adjusters (if equipped), shoulder belt guide on
seatback (if equipped), child safety seat tether bracket assemblies (if
equipped), and attaching hardware, should be inspected after a collision.
Mazda recommends that all seat belt assemblies used in vehicles involved
in a collision be replaced. However, if the collision was minor and an
authorized Mazda technician finds that the belts do not show damage
and continue to operate properly, they do not need to be replaced. Seat
belt assemblies not in use during a collision should also be inspected and
replaced if either damage or improper operation is noted.
The energy absorbing functions may have been activated in a collision so
the restraints should be examined; if the front airbags have deployed, the
pretensioners have also deployed and must be replaced — regardless of
whether there was an occupant in the passenger seat or not.
WARNING: Failure to inspect and if necessary replace the seat
belt assembly under the above conditions could result in severe
personal injuries in the event of a collision.
Refer to Interior in theCleaning chapter.
2009 B-Series (mbs)
Owners Guide, 1st Printing
USA (fus)
Seating and Safety Restraints
115
Page 117 of 288

Power is supplied to all four wheels through a transfer case or power
transfer unit. 4WD vehicles allow you to select different drive modes as
necessary. Information on transfer case operation and shifting procedures
can be found in theDrivingchapter. Information on transfer case
maintenance can be found in the Maintenance and Specifications
chapter. You should become thoroughly familiar with this information
before you operate your vehicle.
On some 4WD models, the initial shift from two-wheel drive to 4WD
while the vehicle is moving can cause a momentary clunk and ratcheting
sound. These sounds are normal as the front drivetrain comes up to
speed and is not cause for concern.
WARNING: Do not become overconfident in the ability of 4WD
and AWD vehicles. Although a 4WD or AWD vehicle may
accelerate better than two-wheel drive vehicle in low traction
situations, it won’t stop any faster than two-wheel drive vehicles.
Always drive at a safe speed.
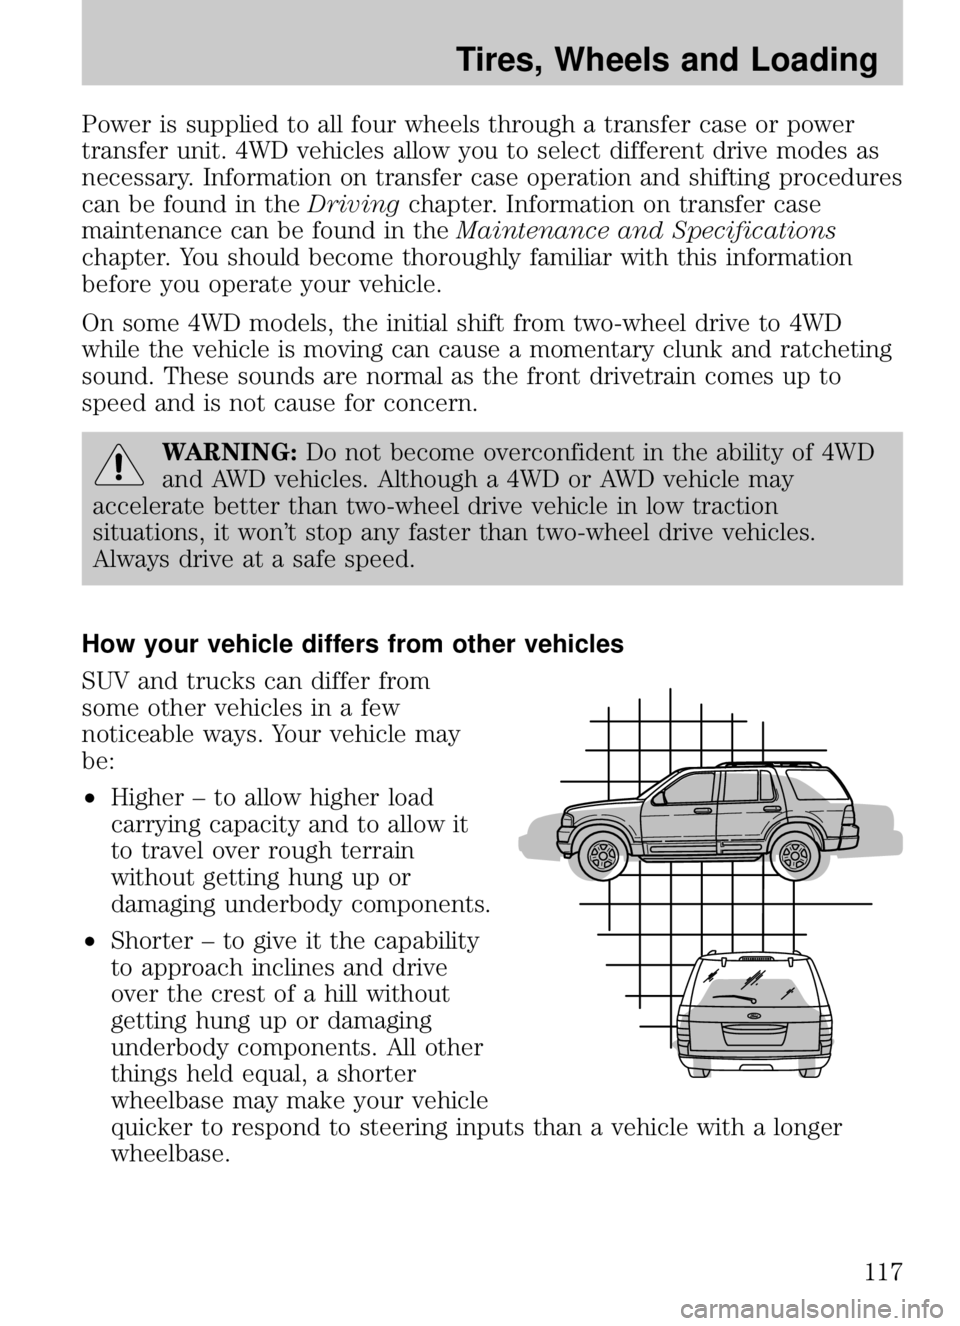
How your vehicle differs from other vehicles
SUV and trucks can differ from
some other vehicles in a few
noticeable ways. Your vehicle may
be:
• Higher – to allow higher load
carrying capacity and to allow it
to travel over rough terrain
without getting hung up or
damaging underbody components.
• Shorter – to give it the capability
to approach inclines and drive
over the crest of a hill without
getting hung up or damaging
underbody components. All other
things held equal, a shorter
wheelbase may make your vehicle
quicker to respond to steering inputs than a vehicle with a longer
wheelbase.
2009 B-Series (mbs)
Owners Guide, 1st Printing
USA (fus)
Tires, Wheels and Loading
117
Page 176 of 288

called for. Avoid abrupt steering, acceleration or braking which could
result in an increased risk of loss of vehicle control, vehicle rollover
and/or personal injury. Use all available road surface to return the
vehicle to a safe direction of travel.
• In the event of an emergency stop, avoid skidding the tires and do not
attempt any sharp steering wheel movements.
WARNING: Vehicles with a higher center of gravity such as
utility and four-wheel drive vehicles handle differently than
vehicles with a lower center of gravity. Utility and four-wheel drive
vehicles are not designed for cornering at speeds as high as passenger
cars any more than low-slung sports cars are designed to perform
satisfactorily under off-road conditions. Avoid sharp turns, excessive
speed and abrupt maneuvers in these vehicles. Failure to drive
cautiously could result in an increased risk of loss of vehicle control,
vehicle rollover, personal injury and death.
• If the vehicle goes from one type of surface to another (i.e., from
concrete to gravel) there will be a change in the way the vehicle
responds to a maneuver (steering, acceleration or braking). Again,
avoid these abrupt inputs.
4WD Systems
4WD (when you select a 4WD mode) uses all four wheels to power the
vehicle. This increases traction, enabling you to drive over terrain and
road conditions that a conventional two-wheel drive vehicle cannot.
Power is supplied to all four wheels through a transfer case. On 4WD
vehicles, the transfer case allows you to select 4WD when necessary.
Information on transfer case operation and shifting procedures can be
found in the Drivingchapter. Information on transfer case maintenance
can be found in the Maintenance and Specifications chapter. You
should become thoroughly familiar with this information before you
operate your vehicle.
Normal characteristics
On some 4WD models, the initial shift from two-wheel drive to 4x4 while
the vehicle is moving can cause some momentary clunk and ratcheting
sounds.
Sand
When driving over sand, try to keep all four wheels on the most solid
area of the trail. Avoid reducing the tire pressures but shift to a lower
2009 B-Series (mbs)
Owners Guide, 1st Printing
USA (fus)
Driving
176