2009 LINCOLN TOWN CAR brake light
[x] Cancel search: brake lightPage 10 of 280
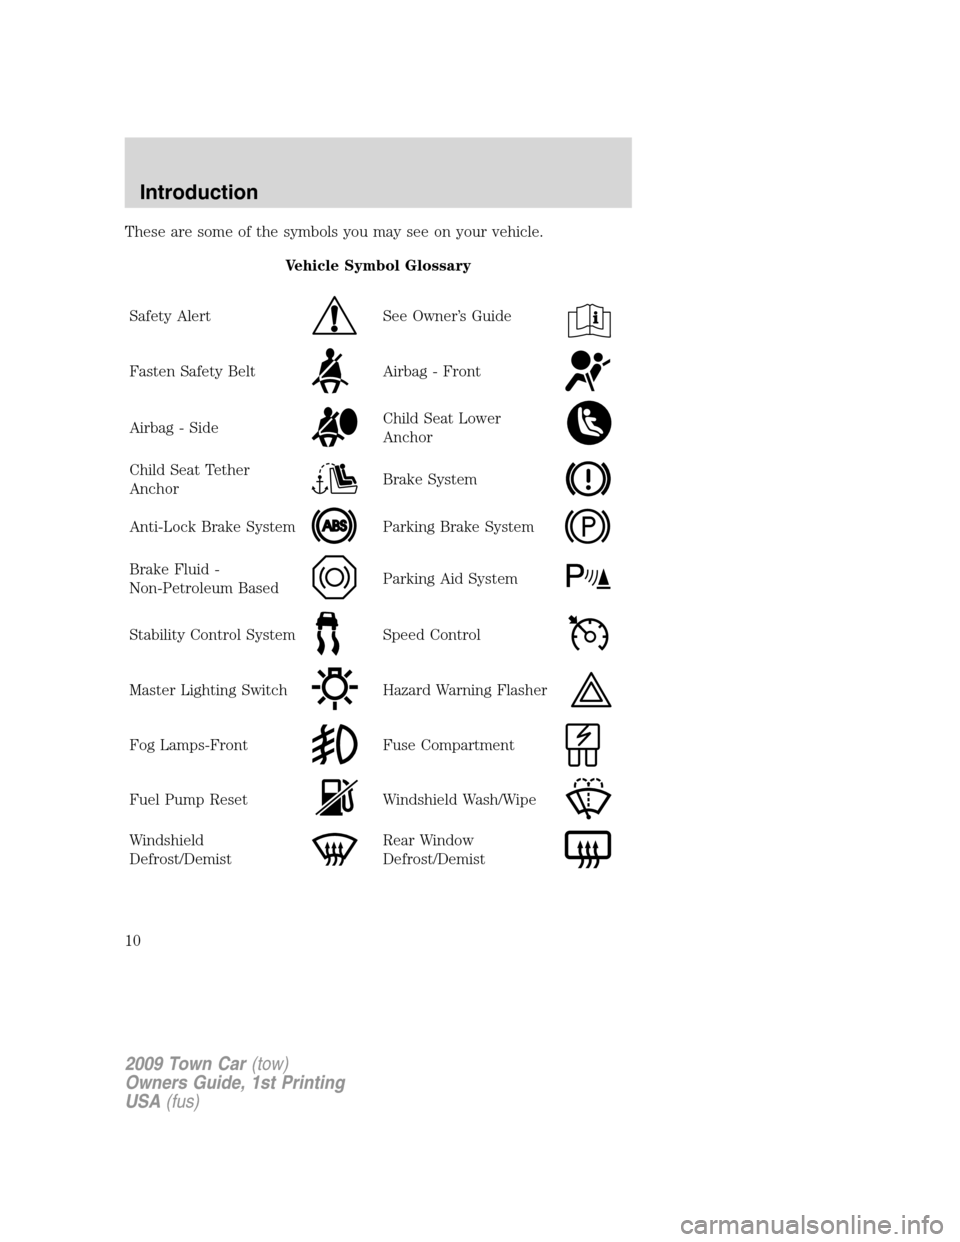
These are some of the symbols you may see on your vehicle.
Vehicle Symbol Glossary
Safety Alert
See Owner’s Guide
Fasten Safety BeltAirbag - Front
Airbag - SideChild Seat Lower
Anchor
Child Seat Tether
AnchorBrake System
Anti-Lock Brake SystemParking Brake System
Brake Fluid -
Non-Petroleum BasedParking Aid System
Stability Control SystemSpeed Control
Master Lighting SwitchHazard Warning Flasher
Fog Lamps-FrontFuse Compartment
Fuel Pump ResetWindshield Wash/Wipe
Windshield
Defrost/DemistRear Window
Defrost/Demist
2009 Town Car(tow)
Owners Guide, 1st Printing
USA(fus)
Introduction
10
Page 13 of 280
WARNING:Under engine misfire conditions, excessive exhaust
temperatures could damage the catalytic converter, the fuel
system, interior floor coverings or other vehicle components, possibly
causing a fire.
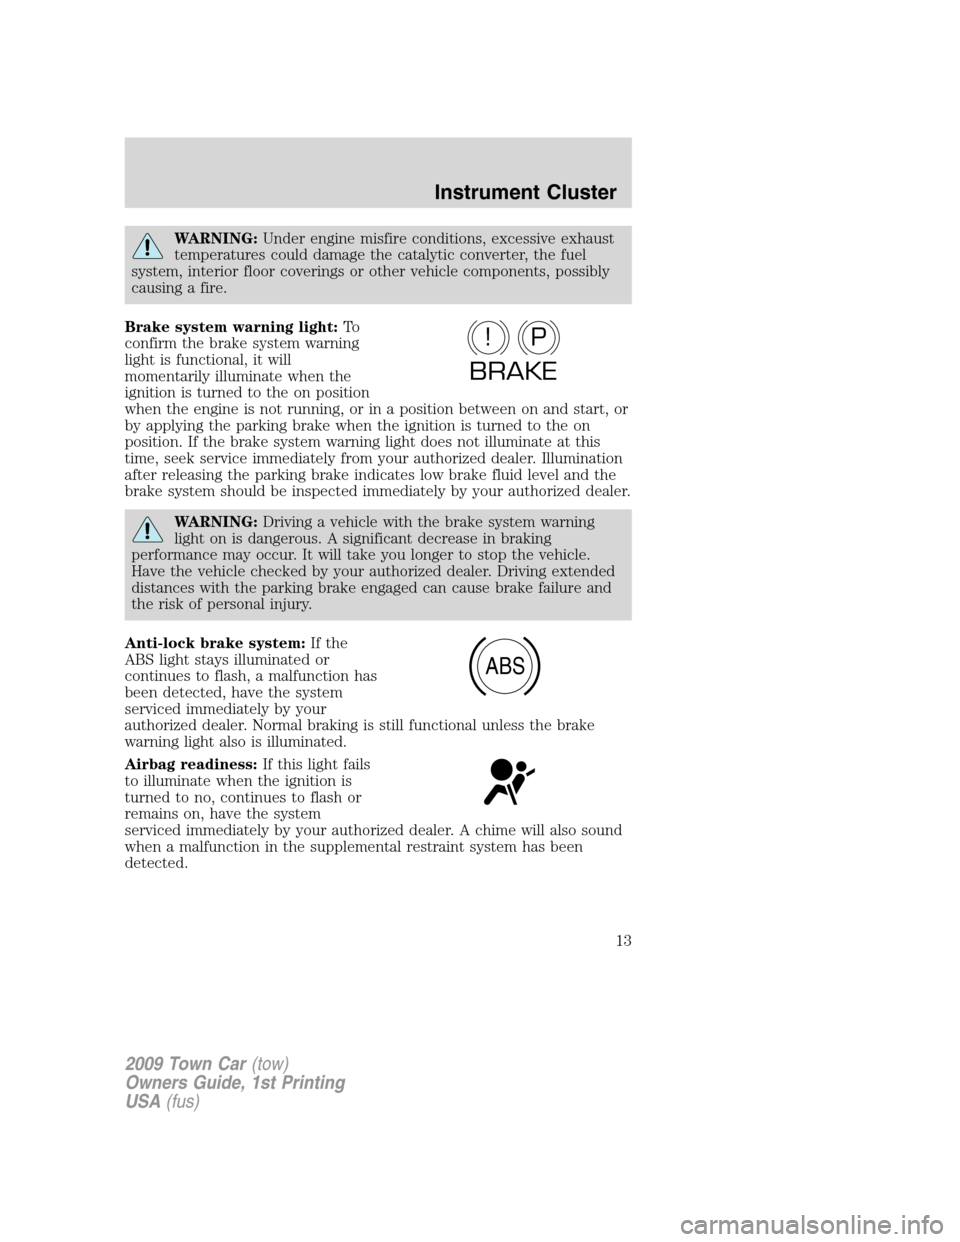
Brake system warning light:To
confirm the brake system warning
light is functional, it will
momentarily illuminate when the
ignition is turned to the on position
when the engine is not running, or in a position between on and start, or
by applying the parking brake when the ignition is turned to the on
position. If the brake system warning light does not illuminate at this
time, seek service immediately from your authorized dealer. Illumination
after releasing the parking brake indicates low brake fluid level and the
brake system should be inspected immediately by your authorized dealer.
WARNING:Driving a vehicle with the brake system warning
light on is dangerous. A significant decrease in braking
performance may occur. It will take you longer to stop the vehicle.
Have the vehicle checked by your authorized dealer. Driving extended
distances with the parking brake engaged can cause brake failure and
the risk of personal injury.
Anti-lock brake system:If the
ABS light stays illuminated or
continues to flash, a malfunction has
been detected, have the system
serviced immediately by your
authorized dealer. Normal braking is still functional unless the brake
warning light also is illuminated.
Airbag readiness:If this light fails
to illuminate when the ignition is
turned to no, continues to flash or
remains on, have the system
serviced immediately by your authorized dealer. A chime will also sound
when a malfunction in the supplemental restraint system has been
detected.
P!
BRAKE
ABS
2009 Town Car(tow)
Owners Guide, 1st Printing
USA(fus)
Instrument Cluster
13
Page 40 of 280
film of mist can form on the interior of the lens. The thin mist eventually
clears and exits through the vents during normal operation. Clearing
time may take as long as 48 hours under dry weather conditions.
Examples of acceptable condensation are:
•Presence of thin mist (no streaks, drip marks or droplets)
•Fine mist covers less than 50% of the lens
Examples of unacceptable moisture (usually caused by a lamp water
leak) are:
•Water puddle inside the lamp
•Large water droplets, drip marks or streaks present on the interior of
the lens
Take your vehicle to dealer for service if any of the above conditions of
unacceptable moisture are present.
Using the right bulbs
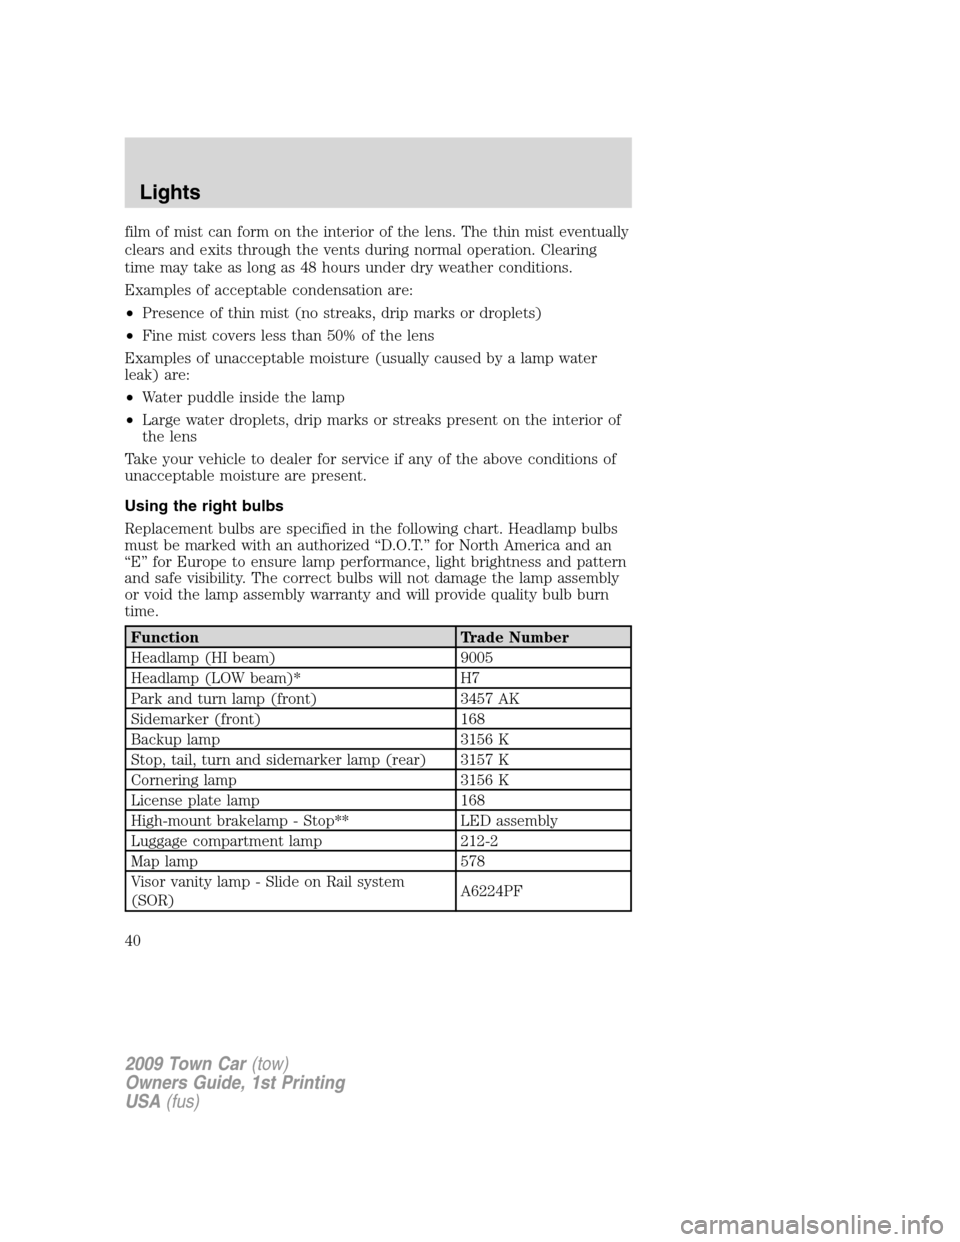
Replacement bulbs are specified in the following chart. Headlamp bulbs
must be marked with an authorized “D.O.T.” for North America and an
“E” for Europe to ensure lamp performance, light brightness and pattern
and safe visibility. The correct bulbs will not damage the lamp assembly
or void the lamp assembly warranty and will provide quality bulb burn
time.
Function Trade Number
Headlamp (HI beam) 9005
Headlamp (LOW beam)* H7
Park and turn lamp (front) 3457 AK
Sidemarker (front) 168
Backup lamp 3156 K
Stop, tail, turn and sidemarker lamp (rear) 3157 K
Cornering lamp 3156 K
License plate lamp 168
High-mount brakelamp - Stop** LED assembly
Luggage compartment lamp 212-2
Map lamp 578
Visor vanity lamp - Slide on Rail system
(SOR)A6224PF
2009 Town Car(tow)
Owners Guide, 1st Printing
USA(fus)
Lights
40
Page 43 of 280
Note:To ensure a good seal, attach the bulb cover and partially tighten
the screws. Check to ensure the gasket is fully centered. Finish
tightening the screws in a criss-cross pattern (upper-left, lower right
etc.)
Replacing HID low beam headlamp bulbs (if equipped)
The low beam headlamps on your vehicle use a “high intensity discharge”
source. These lamps operate at a high voltage. When the bulb is burned
out, the bulb and starter capsule assembly must be replaced by your
authorized dealer.
Replacing front parking lamp/turn signal/sidemarker bulbs
The front parking lamp/turn signal/sidemarker bulbs are located in the
headlamp assembly. Follow the same steps to replace either bulb.
1. Make sure the headlamp switch is in the off position, then open the
hood.
2. Remove five retainers and radiator cover.
3. Remove three bolts, pull headlamp assembly forward and disconnect
the electrical connector.
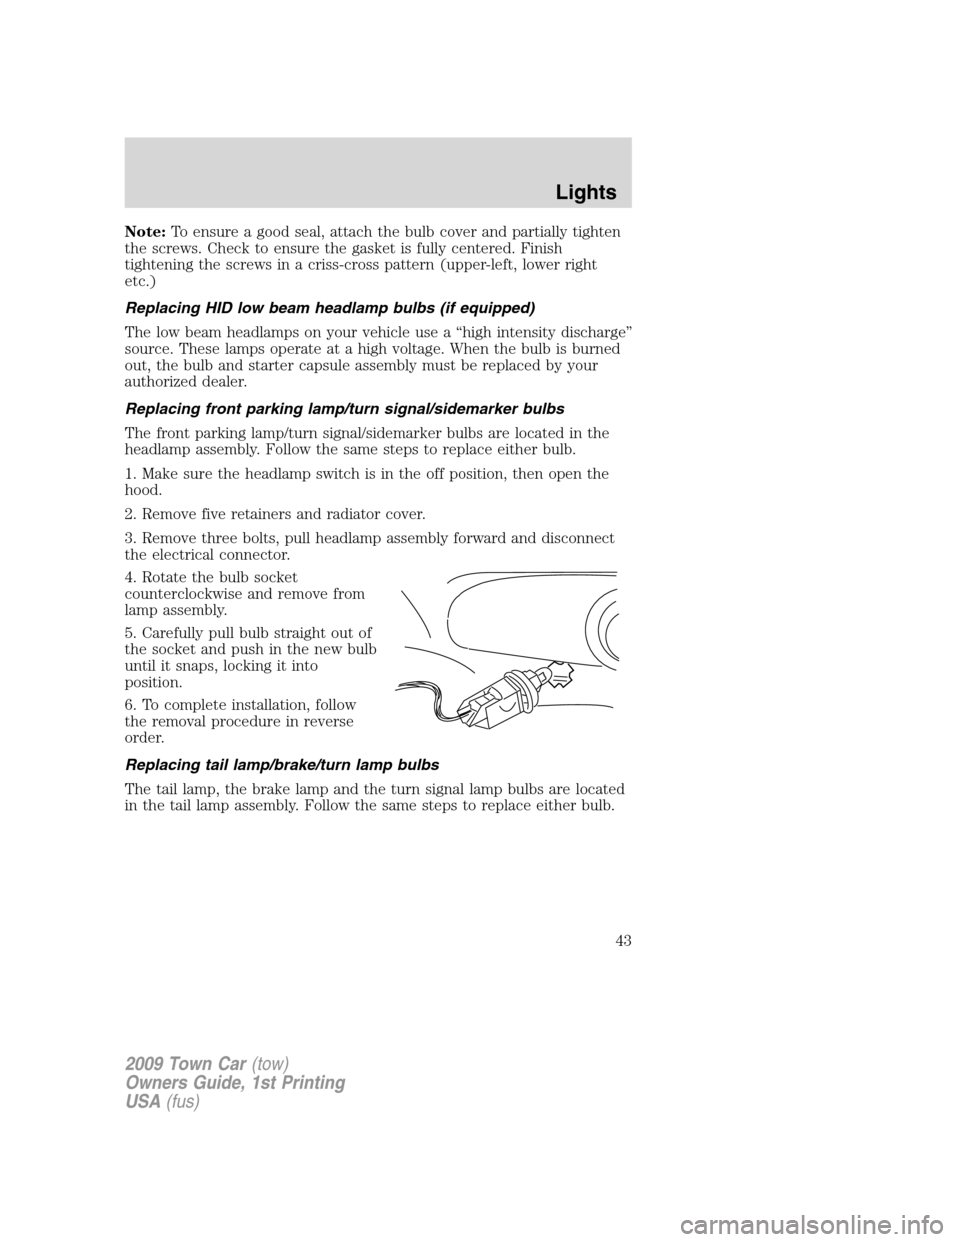
4. Rotate the bulb socket
counterclockwise and remove from
lamp assembly.
5. Carefully pull bulb straight out of
the socket and push in the new bulb
until it snaps, locking it into
position.
6. To complete installation, follow
the removal procedure in reverse
order.
Replacing tail lamp/brake/turn lamp bulbs
The tail lamp, the brake lamp and the turn signal lamp bulbs are located
in the tail lamp assembly. Follow the same steps to replace either bulb.
2009 Town Car(tow)
Owners Guide, 1st Printing
USA(fus)
Lights
43
Page 45 of 280
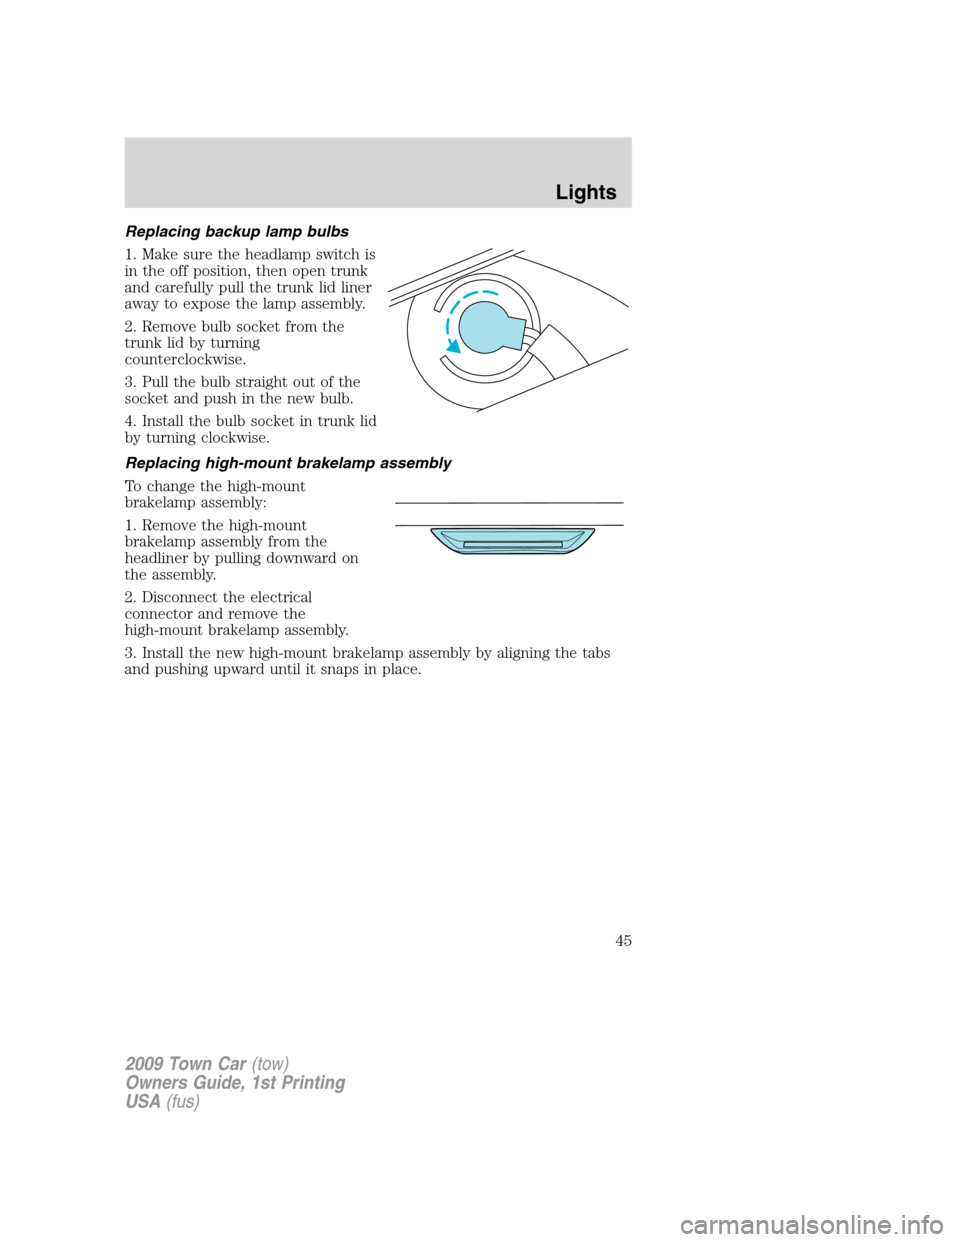
Replacing backup lamp bulbs
1. Make sure the headlamp switch is
in the off position, then open trunk
and carefully pull the trunk lid liner
away to expose the lamp assembly.
2. Remove bulb socket from the
trunk lid by turning
counterclockwise.
3. Pull the bulb straight out of the
socket and push in the new bulb.
4. Install the bulb socket in trunk lid
by turning clockwise.
Replacing high-mount brakelamp assembly
To change the high-mount
brakelamp assembly:
1. Remove the high-mount
brakelamp assembly from the
headliner by pulling downward on
the assembly.
2. Disconnect the electrical
connector and remove the
high-mount brakelamp assembly.
3. Install the new high-mount brakelamp assembly by aligning the tabs
and pushing upward until it snaps in place.
2009 Town Car(tow)
Owners Guide, 1st Printing
USA(fus)
Lights
45
Page 55 of 280
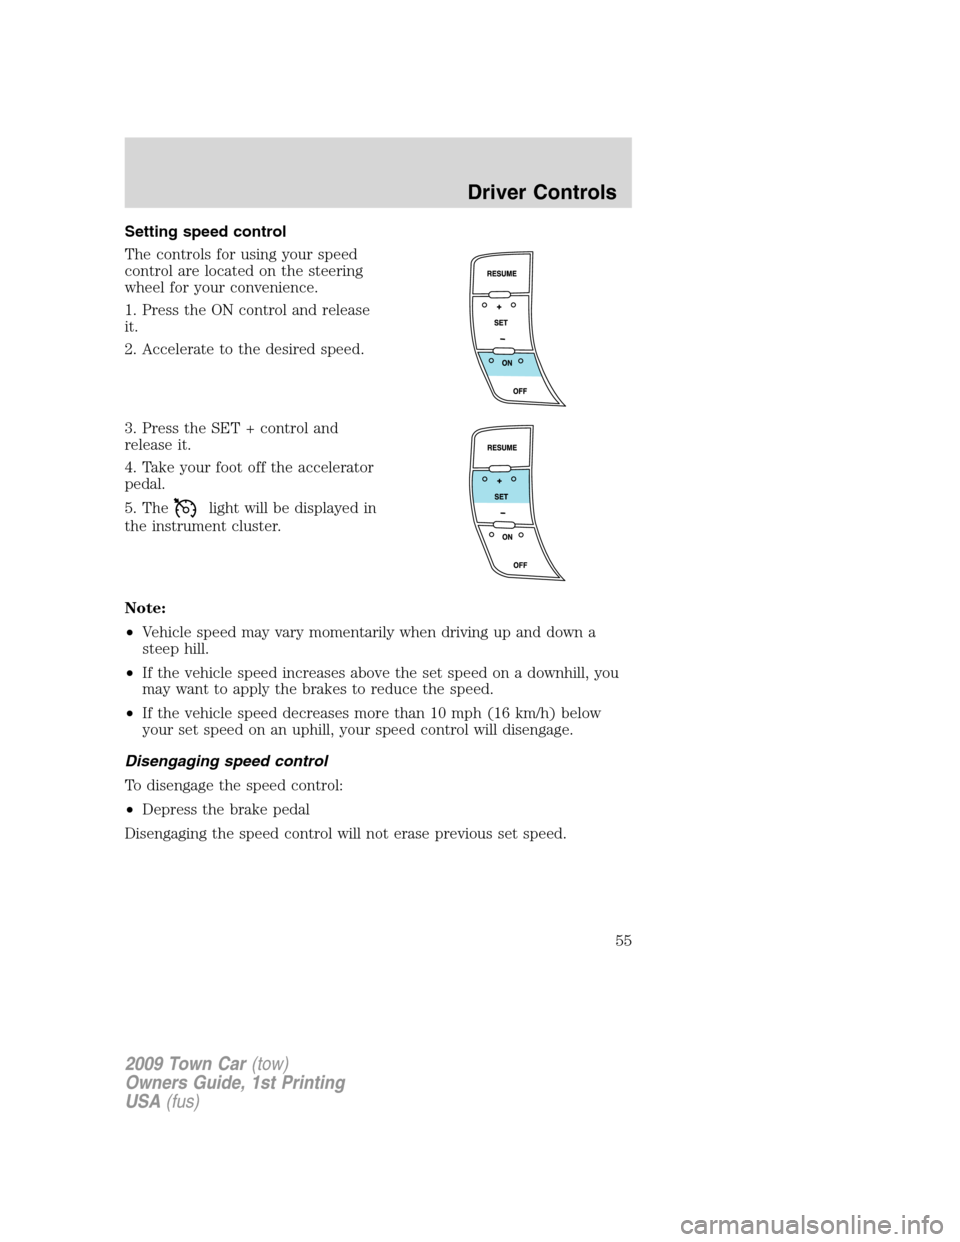
Setting speed control
The controls for using your speed
control are located on the steering
wheel for your convenience.
1. Press the ON control and release
it.
2. Accelerate to the desired speed.
3. Press the SET + control and
release it.
4. Take your foot off the accelerator
pedal.
5. The
light will be displayed in
the instrument cluster.
Note:
•Vehicle speed may vary momentarily when driving up and down a
steep hill.
•If the vehicle speed increases above the set speed on a downhill, you
may want to apply the brakes to reduce the speed.
•If the vehicle speed decreases more than 10 mph (16 km/h) below
your set speed on an uphill, your speed control will disengage.
Disengaging speed control
To disengage the speed control:
•Depress the brake pedal
Disengaging the speed control will not erase previous set speed.
2009 Town Car(tow)
Owners Guide, 1st Printing
USA(fus)
Driver Controls
55
Page 85 of 280
Note:Ensure the brake pedal is not
depressed during this sequence.
To reprogram the remote entry
transmitters:
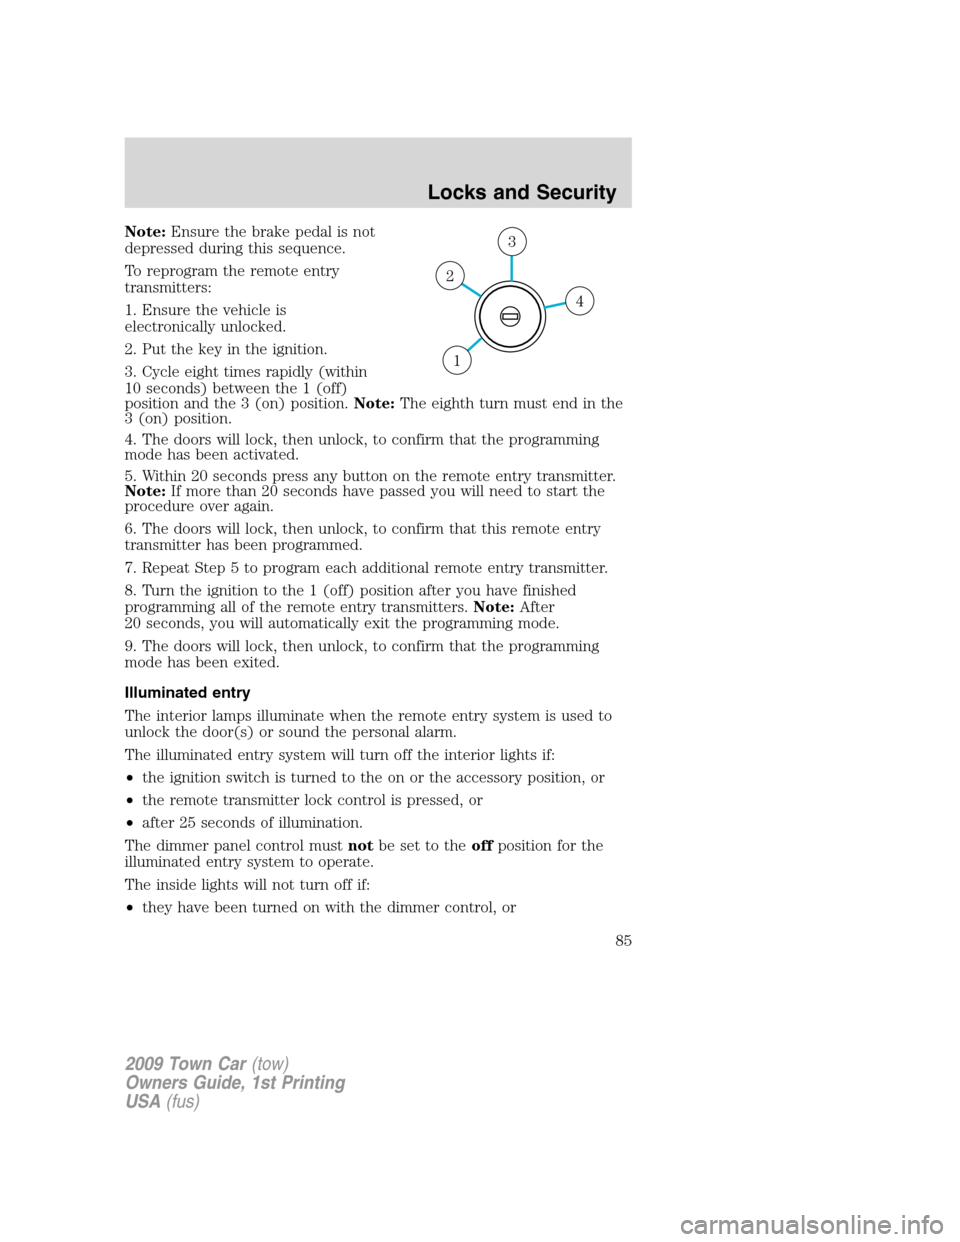
1. Ensure the vehicle is
electronically unlocked.
2. Put the key in the ignition.
3. Cycle eight times rapidly (within
10 seconds) between the 1 (off)
position and the 3 (on) position.Note:The eighth turn must end in the
3 (on) position.
4. The doors will lock, then unlock, to confirm that the programming
mode has been activated.
5. Within 20 seconds press any button on the remote entry transmitter.
Note:If more than 20 seconds have passed you will need to start the
procedure over again.
6. The doors will lock, then unlock, to confirm that this remote entry
transmitter has been programmed.
7. Repeat Step 5 to program each additional remote entry transmitter.
8. Turn the ignition to the 1 (off) position after you have finished
programming all of the remote entry transmitters.Note:After
20 seconds, you will automatically exit the programming mode.
9. The doors will lock, then unlock, to confirm that the programming
mode has been exited.
Illuminated entry
The interior lamps illuminate when the remote entry system is used to
unlock the door(s) or sound the personal alarm.
The illuminated entry system will turn off the interior lights if:
•the ignition switch is turned to the on or the accessory position, or
•the remote transmitter lock control is pressed, or
•after 25 seconds of illumination.
The dimmer panel control mustnotbe set to theoffposition for the
illuminated entry system to operate.
The inside lights will not turn off if:
•they have been turned on with the dimmer control, or
4
3
2
1
2009 Town Car(tow)
Owners Guide, 1st Printing
USA(fus)
Locks and Security
85
Page 171 of 280
to transport the cement to your home? If you and your friend each
weigh 220 lb. (99 kg), the calculation would be: 1,400 - (2 x 220) -
(12 x 100) = 1,400 - 440 - 1,200 = - 240 lb. No, you do not have
enough cargo capacity to carry that much weight. In metric units, the
calculation would be: 635 kg - (2 x 99 kg) - (12 x 45 kg) = 635 - 198 -
540 = -103 kg. You will need to reduce the load weight by at least
240 lb. (104 kg). If you remove 3-100 lb. (45 kg) cement bags, then
the load calculation would be:
1,400 - (2 x 220) - (9 x 100) = 1,400 - 440 - 900 = 60 lb. Now you
have the load capacity to transport the cement and your friend home.
In metric units, the calculation would be: 635 kg - (2 x 99 kg) -
(9x45kg)=635-198-405=32kg.
The above calculations also assume that the loads are positioned in your
vehicle in a manner that does not overload the Front or the Rear Gross
Axle Weight Rating specified for your vehicle on the Safety Compliance
Certification Label found on the edge of the driver’s door.
TRAILER TOWING
Your vehicle is classified as a light duty towing vehicle. Do not tow a
trailer until your vehicle has been driven at least 1,000 miles (1,600 km).
Note: The L-series Town Car (extended length) is NOT rated for towing.
Towing a trailer places an additional load on your vehicle’s engine,
transmission, brakes, tires and suspension. Inspect these components
carefully after towing.
Your loaded trailer should weigh no more than 1,500 lb. (680 kg).Do
not exceed the GVWR specified on the Safety Compliance
Certification Label.
WARNING:Towing trailers beyond the maximum recommended
gross trailer weight exceeds the limit of the vehicle and could
result in engine damage, transmission damage, structural damage, loss
of vehicle control, vehicle rollover and personal injury.
The GCW of your vehicle and trailer should not exceed 6,600 lb.
(2,993 kg).
Preparing to tow
Use the proper equipment for towing a trailer and make sure it is
properly attached to your vehicle. See your authorized dealer or a
reliable trailer dealer if you require assistance.
2009 Town Car(tow)
Owners Guide, 1st Printing
USA(fus)
Tires, Wheels and Loading
171