2009 LINCOLN TOWN CAR brake light
[x] Cancel search: brake lightPage 172 of 280
Hitches
Do not use hitches that clamp onto the vehicle bumper. Use a load
carrying hitch. You must distribute the load in your trailer so that
10–15% of the total weight of the trailer is on the tongue.
Safety chains
Always connect the trailer’s safety chains to the frame or hook retainers
of the vehicle hitch. To connect the trailer’s safety chains, cross the
chains under the trailer tongue and allow slack for turning corners.
If you use a rental trailer, follow the instructions that the rental agency
gives to you.
Do not attach safety chains to the bumper.
Trailer brakes
Electric brakes and manual, automatic or surge-type trailer brakes are
safe if installed properly and adjusted to the manufacturer’s
specifications. The trailer brakes must meet local and Federal
regulations.
WARNING:Do not connect a trailer’s hydraulic brake system
directly to your vehicle’s brake system. Your vehicle may not
have enough braking power and your chances of having a collision
greatly increase.
The braking system of the tow vehicle is rated for operation at the
GVWR not GCWR.
Trailer lamps
Trailer lamps are required on most towed vehicles. Make sure all running
lights, brake lights, turn signals and hazard lights are working. See your
authorized dealer or trailer rental agency for proper instructions and
equipment for hooking up trailer lamps.
Driving while you tow
When towing a trailer:
•To ensure proper “break-in” of powertrain components, do not trailer
tow during the first 1,000 miles (1,600 km) of a new vehicle.
•To ensure proper “break-in” of powertrain components during the first
500 miles (800 km) of trailer towing, drive no faster than 70 mph
(113 km/h) with no full throttle starts.
2009 Town Car(tow)
Owners Guide, 1st Printing
USA(fus)
Tires, Wheels and Loading
172
Page 180 of 280
•Be sure that the engine block heater, heater cord and extension cord
are solidly connected. A poor connection can cause the cord to
become very hot and may result in an electrical shock or fire. Be sure
to check for heat anywhere in the electrical hookup once the system
has been operating for approximately a half hour.
•Finally, have the engine block heater system checked during your fall
tune-up to be sure it’s in good working order.
How to use the engine block heater
Ensure the receptacle terminals are clean and dry prior to use. To clean
them, use a dry cloth.
Depending on the type of factory installed equipment, your engine block
heater system may consume anywhere between 400 watts or 1000 watts
of energy per hour. Your factory installed block heater system does not
have a thermostat; however, maximum temperature is attained after
approximately three hours of operation. Block heater operation longer
than three hours will not improve system performance and will
unnecessarily use additional electricity.
Make sure system is unplugged and properly stowed before driving the
vehicle. While not in use, make sure the protective cover seals the
prongs of the engine block heater cord plug.
BRAKES
Occasional brake noise is normal. If a metal-to-metal, continuous grinding
or continuous squeal sound is present, the brake linings may be worn-out
and should be inspected by an authorized dealer. If the vehicle has
continuous vibration or shudder in the steering wheel while braking, the
vehicle should be inspected by an authorized dealer.
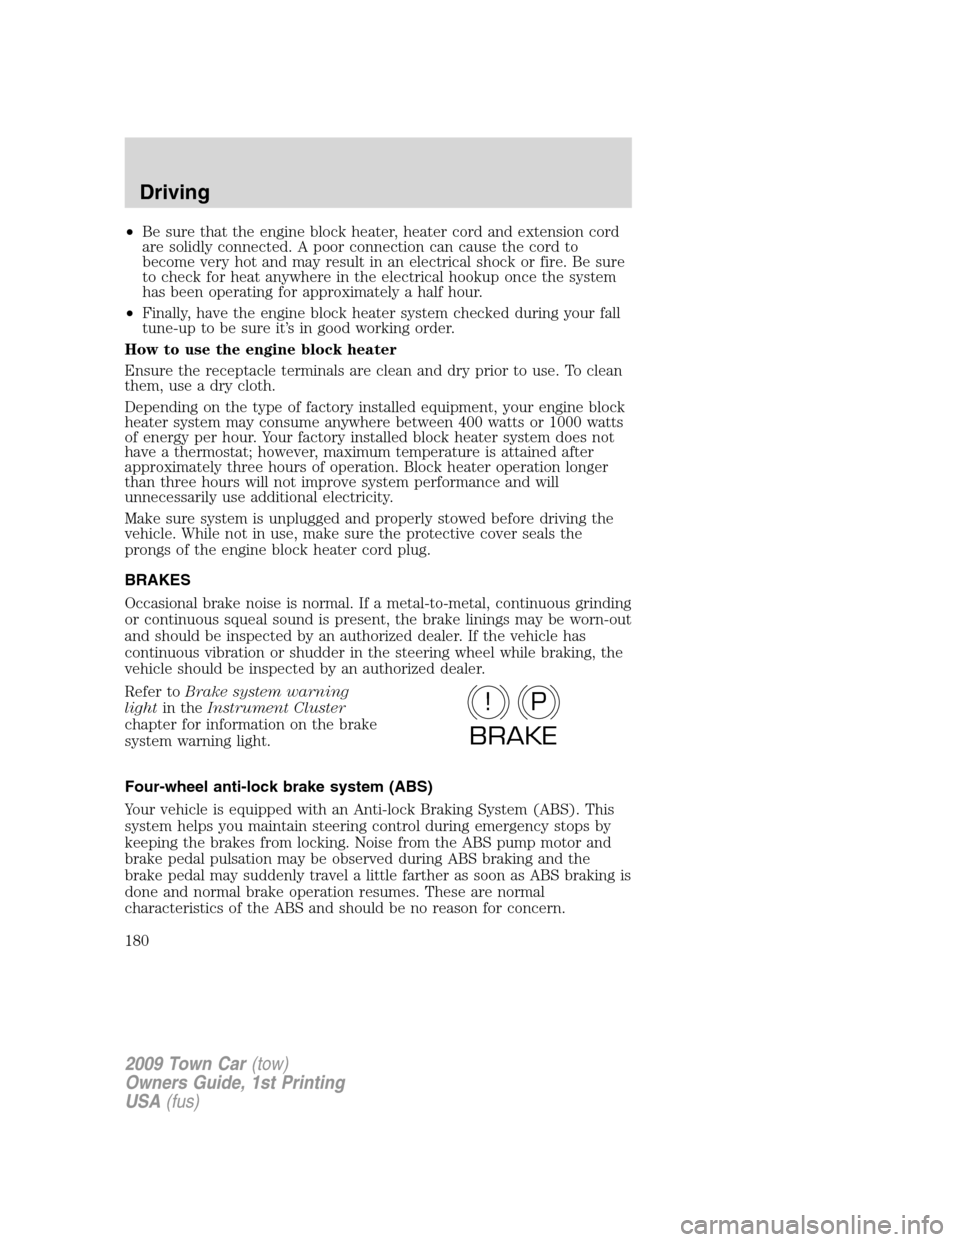
Refer toBrake system warning
lightin theInstrument Cluster
chapter for information on the brake
system warning light.
Four-wheel anti-lock brake system (ABS)
Your vehicle is equipped with an Anti-lock Braking System (ABS). This
system helps you maintain steering control during emergency stops by
keeping the brakes from locking. Noise from the ABS pump motor and
brake pedal pulsation may be observed during ABS braking and the
brake pedal may suddenly travel a little farther as soon as ABS braking is
done and normal brake operation resumes. These are normal
characteristics of the ABS and should be no reason for concern.
P!
BRAKE
2009 Town Car(tow)
Owners Guide, 1st Printing
USA(fus)
Driving
180
Page 181 of 280
Using ABS
When hard braking is required, apply continuous force on the brake
pedal; do not pump the brake pedal since this will reduce the
effectiveness of the ABS and will increase your vehicle’s stopping
distance. The ABS will be activated immediately, allowing you to retain
steering control during hard braking and on slippery surfaces. However,
the ABS does not decrease stopping distance.
ABS warning lamp
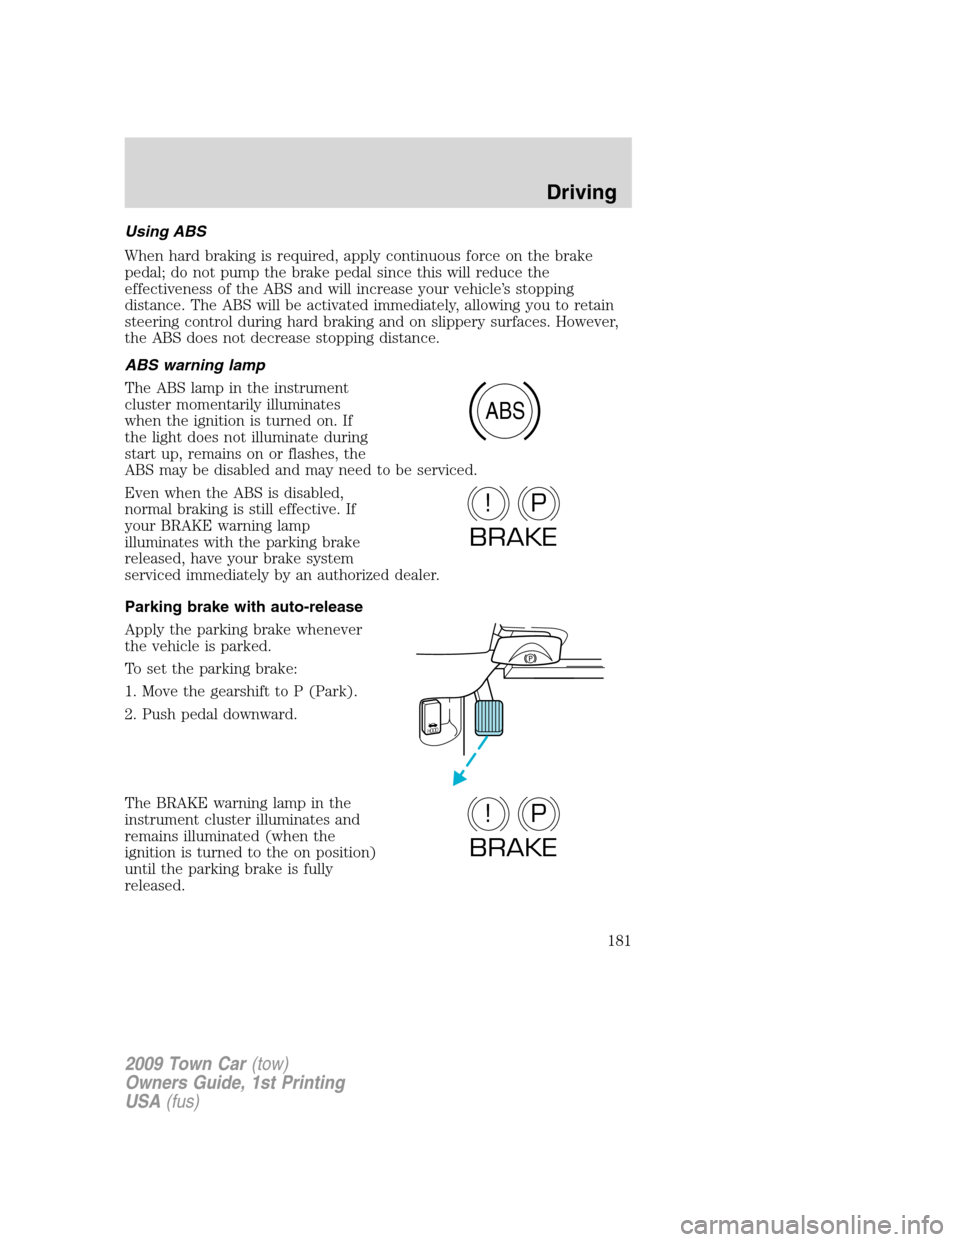
The ABS lamp in the instrument
cluster momentarily illuminates
when the ignition is turned on. If
the light does not illuminate during
start up, remains on or flashes, the
ABS may be disabled and may need to be serviced.
Even when the ABS is disabled,
normal braking is still effective. If
your BRAKE warning lamp
illuminates with the parking brake
released, have your brake system
serviced immediately by an authorized dealer.
Parking brake with auto-release
Apply the parking brake whenever
the vehicle is parked.
To set the parking brake:
1. Move the gearshift to P (Park).
2. Push pedal downward.
The BRAKE warning lamp in the
instrument cluster illuminates and
remains illuminated (when the
ignition is turned to the on position)
until the parking brake is fully
released.
ABS
P!
BRAKE
HOOD
P!
BRAKE
2009 Town Car(tow)
Owners Guide, 1st Printing
USA(fus)
Driving
181
Page 182 of 280
WARNING:Always set the parking brake fully and make sure
the gearshift is latched in P (Park). Turn the ignition to the
OFF/LOCK position and remove the key whenever you leave your
vehicle.
The parking brake is not recommended to stop a moving vehicle.
However, if the normal brakes fail, the parking brake can be used to stop
your vehicle in an emergency. Since the parking brake applies only the
rear brakes, the vehicle’s stopping distance will increase greatly and the
handling of your vehicle will be adversely affected.
Your vehicle has an automatic parking brake release. To release the
parking brake:
1. Start the vehicle.
2. Press the brake pedal.
3. Move the gearshift from the P (Park) position to one of the forward
gears (the parking brake will not release automatically when you shift
into reverse). The brake pedal must remain pressed while the gearshift is
moved.
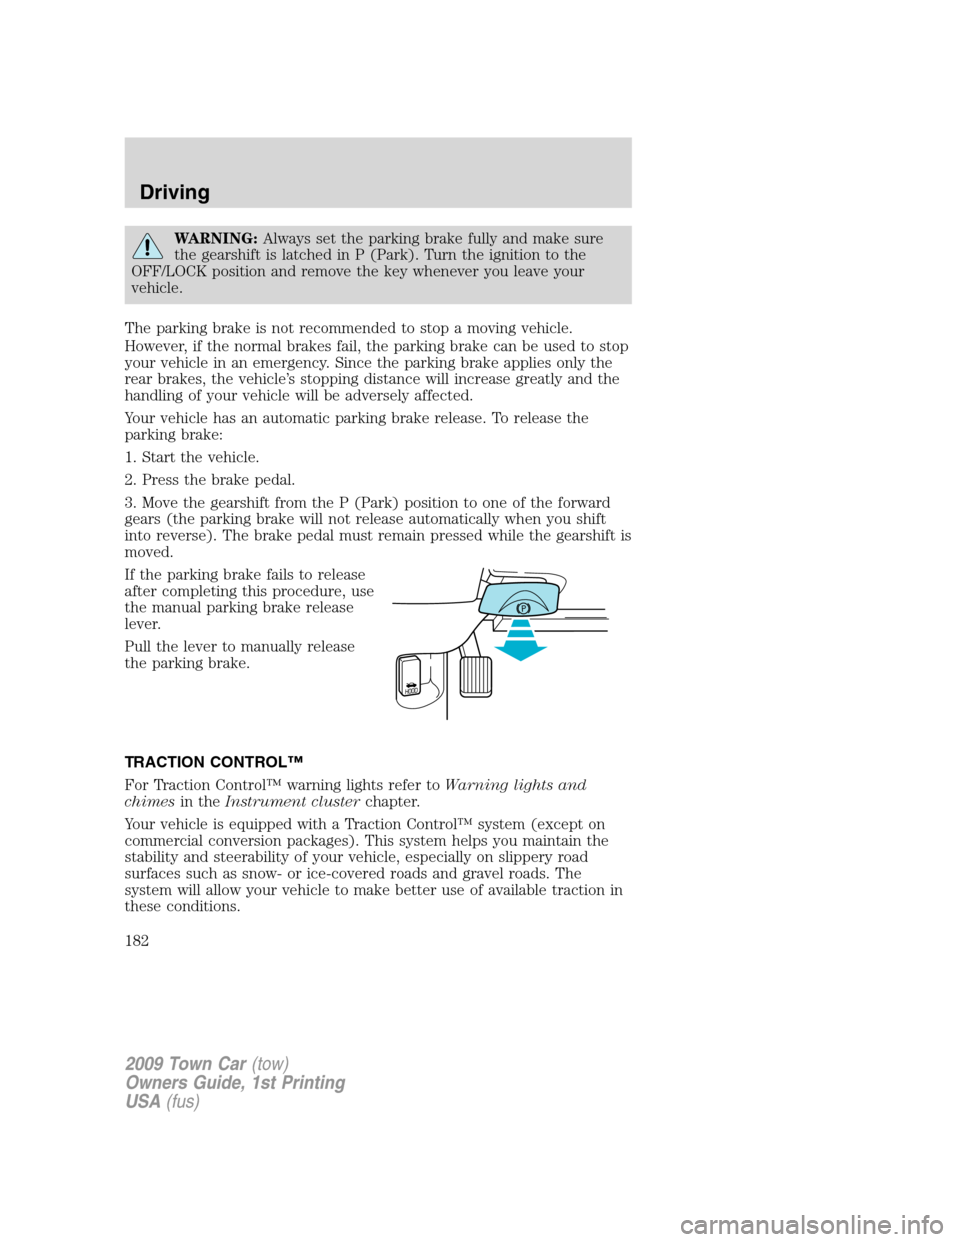
If the parking brake fails to release
after completing this procedure, use
the manual parking brake release
lever.
Pull the lever to manually release
the parking brake.
TRACTION CONTROL™
For Traction Control™ warning lights refer toWarning lights and
chimesin theInstrument clusterchapter.
Your vehicle is equipped with a Traction Control™ system (except on
commercial conversion packages). This system helps you maintain the
stability and steerability of your vehicle, especially on slippery road
surfaces such as snow- or ice-covered roads and gravel roads. The
system will allow your vehicle to make better use of available traction in
these conditions.
2009 Town Car(tow)
Owners Guide, 1st Printing
USA(fus)
Driving
182
Page 185 of 280
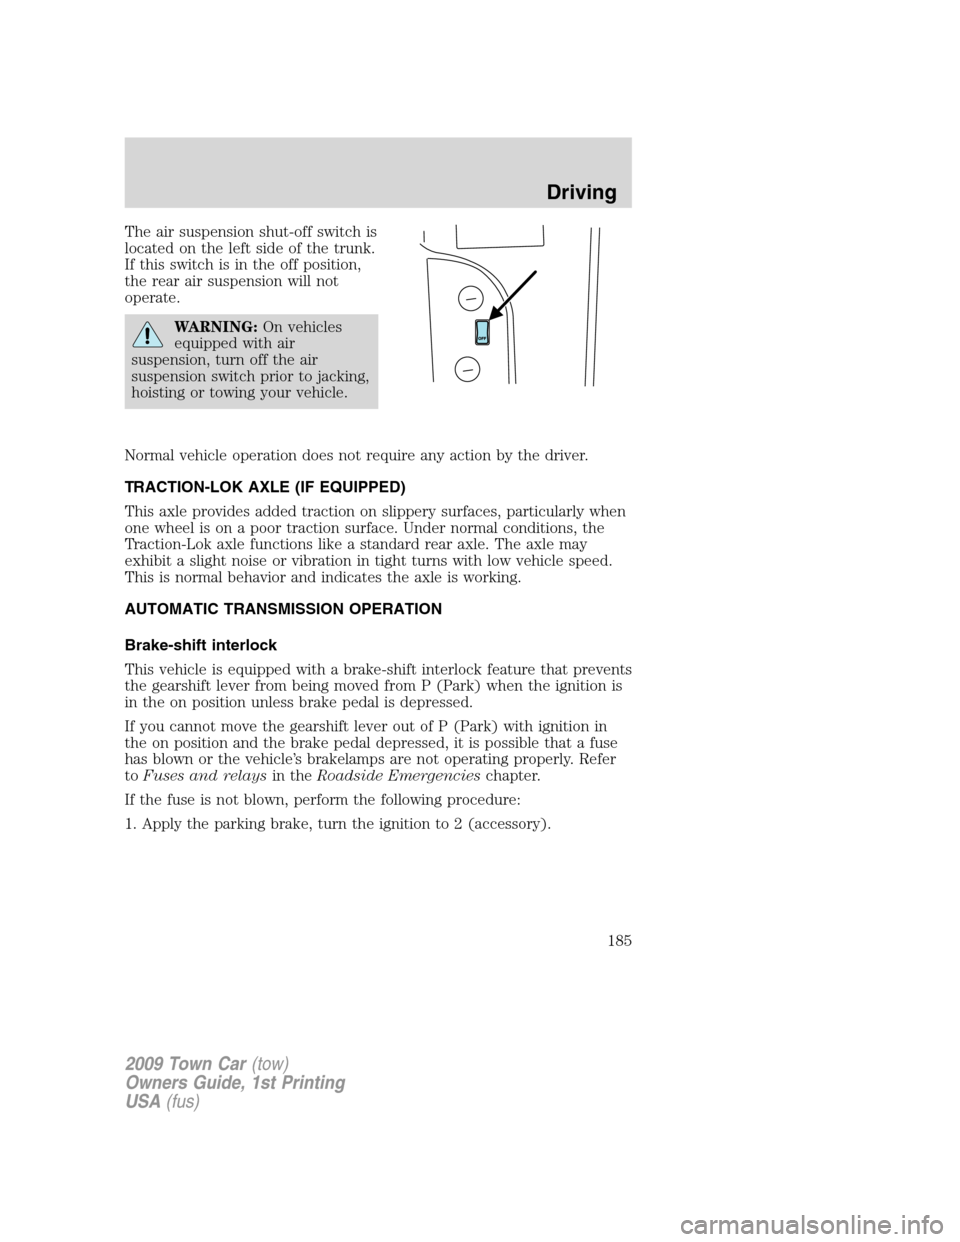
The air suspension shut-off switch is
located on the left side of the trunk.
If this switch is in the off position,
the rear air suspension will not
operate.
WARNING:On vehicles
equipped with air
suspension, turn off the air
suspension switch prior to jacking,
hoisting or towing your vehicle.
Normal vehicle operation does not require any action by the driver.
TRACTION-LOK AXLE (IF EQUIPPED)
This axle provides added traction on slippery surfaces, particularly when
one wheel is on a poor traction surface. Under normal conditions, the
Traction-Lok axle functions like a standard rear axle. The axle may
exhibit a slight noise or vibration in tight turns with low vehicle speed.
This is normal behavior and indicates the axle is working.
AUTOMATIC TRANSMISSION OPERATION
Brake-shift interlock
This vehicle is equipped with a brake-shift interlock feature that prevents
the gearshift lever from being moved from P (Park) when the ignition is
in the on position unless brake pedal is depressed.
If you cannot move the gearshift lever out of P (Park) with ignition in
the on position and the brake pedal depressed, it is possible that a fuse
has blown or the vehicle’s brakelamps are not operating properly. Refer
toFuses and relaysin theRoadside Emergencieschapter.
If the fuse is not blown, perform the following procedure:
1. Apply the parking brake, turn the ignition to 2 (accessory).
2009 Town Car(tow)
Owners Guide, 1st Printing
USA(fus)
Driving
185
Page 192 of 280
The radar sensor is located behind the rear bumper/fascia. Always
keep the rear bumper/fascia free from snow, ice and large
accumulations of dirt. These elements may cause the system to
operate inaccurately.
If the vehicle sustains damage to the rear bumper/fascia, leaving
it misaligned or bent, the sensing zone may be altered causing
inaccurate measurement of obstacles or false alarms.
DRIVING THROUGH WATER
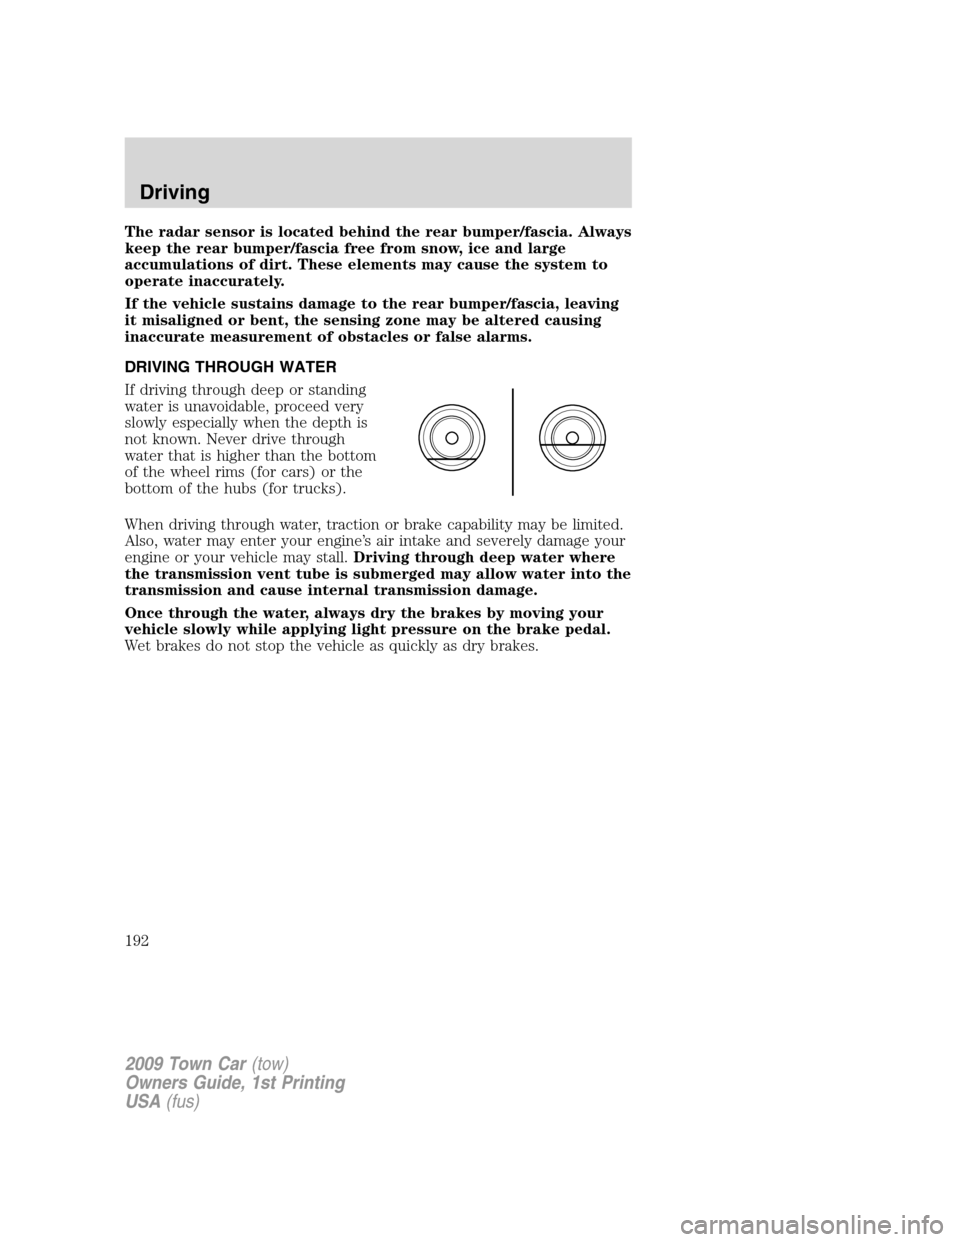
If driving through deep or standing
water is unavoidable, proceed very
slowly especially when the depth is
not known. Never drive through
water that is higher than the bottom
of the wheel rims (for cars) or the
bottom of the hubs (for trucks).
When driving through water, traction or brake capability may be limited.
Also, water may enter your engine’s air intake and severely damage your
engine or your vehicle may stall.Driving through deep water where
the transmission vent tube is submerged may allow water into the
transmission and cause internal transmission damage.
Once through the water, always dry the brakes by moving your
vehicle slowly while applying light pressure on the brake pedal.
Wet brakes do not stop the vehicle as quickly as dry brakes.
2009 Town Car(tow)
Owners Guide, 1st Printing
USA(fus)
Driving
192
Page 197 of 280
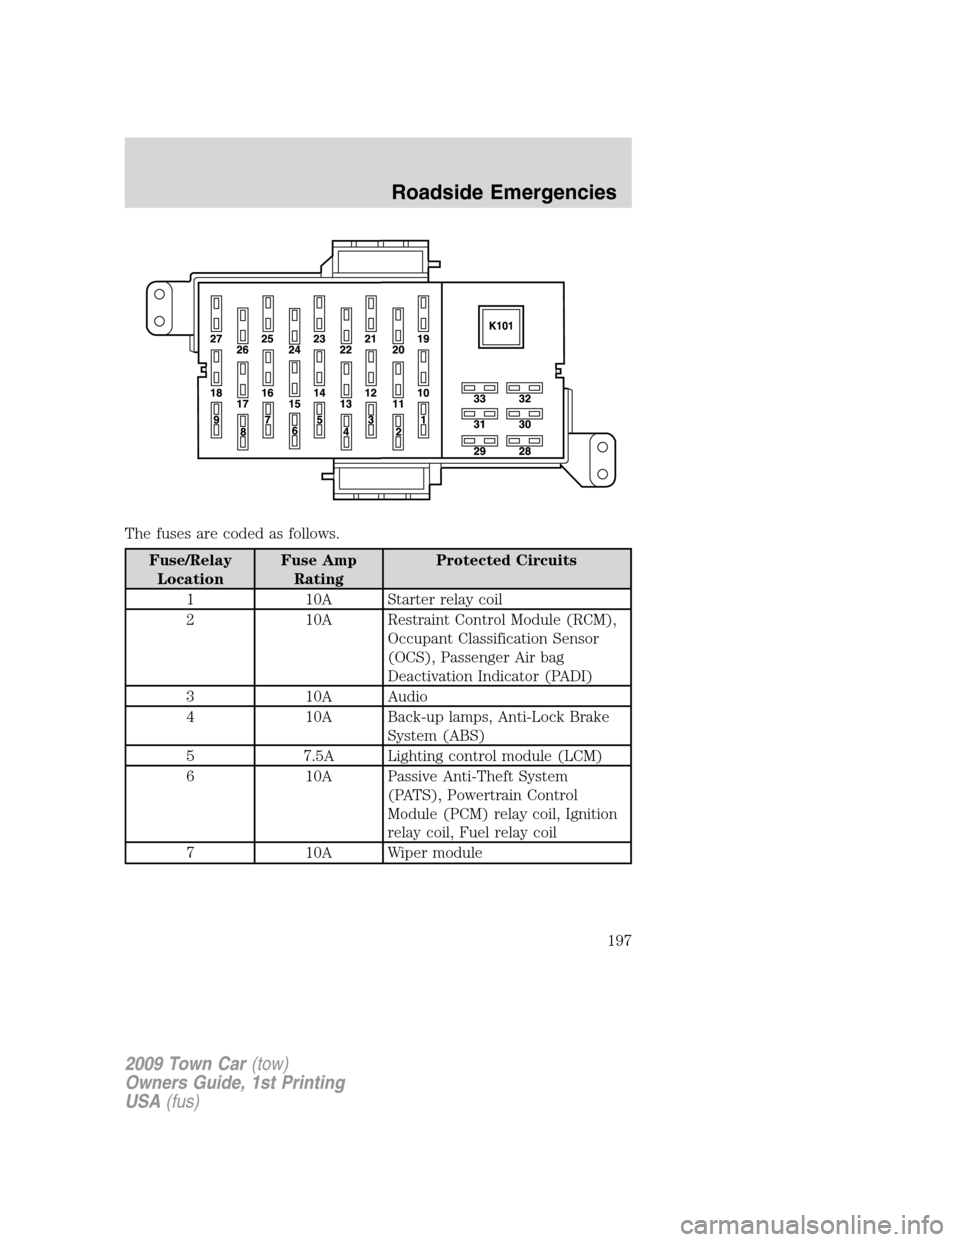
The fuses are coded as follows.
Fuse/Relay
LocationFuse Amp
RatingProtected Circuits
1 10A Starter relay coil
2 10A Restraint Control Module (RCM),
Occupant Classification Sensor
(OCS), Passenger Air bag
Deactivation Indicator (PADI)
3 10A Audio
4 10A Back-up lamps, Anti-Lock Brake
System (ABS)
5 7.5A Lighting control module (LCM)
6 10A Passive Anti-Theft System
(PATS), Powertrain Control
Module (PCM) relay coil, Ignition
relay coil, Fuel relay coil
7 10A Wiper module
2009 Town Car(tow)
Owners Guide, 1st Printing
USA(fus)
Roadside Emergencies
197
Page 202 of 280
Fuse/Relay
LocationFuse Amp
RatingProtected Circuits
K201 Micro relay A/C clutch
K202 — Not used
K203 Micro relay Ignition coil
K204 Micro relay PCM
K205 — Not used
K206 Micro relay Fuel
K207 — Not used
K208 — Not used
K209 Micro relay Horn
K301 Mini relay Starter
K302 Mini relay RASM (Air compressor)
K303 Mini relay Blower
K304 Mini relay Rear defroster
D501 — Not used
D502 Diode Reverse battery
D503 Diode Horn, Door latch
CB601 20A Circuit
BreakerPower seats, driver seat module
CB602 20A Circuit
BreakerDelayed accessory relay for
windows, audio
* Mini Fuses ** Cartridge Fuses
CHANGING THE TIRES
If you get a flat tire while driving, do not apply the brake heavily.
Instead, gradually decrease your speed. Hold the steering wheel firmly
and slowly move to a safe place on the side of the road.
Note:The tire pressure monitoring system (TPMS) indicator light will
illuminate when the spare tire is in use. To restore the full functionality
of the monitoring system, all road wheels equipped with tire pressure
monitoring sensors must be mounted on the vehicle.
Have a flat serviced by an authorized dealer in order to prevent damage
to the TPMS sensors, refer toTire pressure monitoring system
(TPMS)in theTires, Wheels and Loadingchapter. Replace the spare
2009 Town Car(tow)
Owners Guide, 1st Printing
USA(fus)
Roadside Emergencies
202