Page 108 of 375
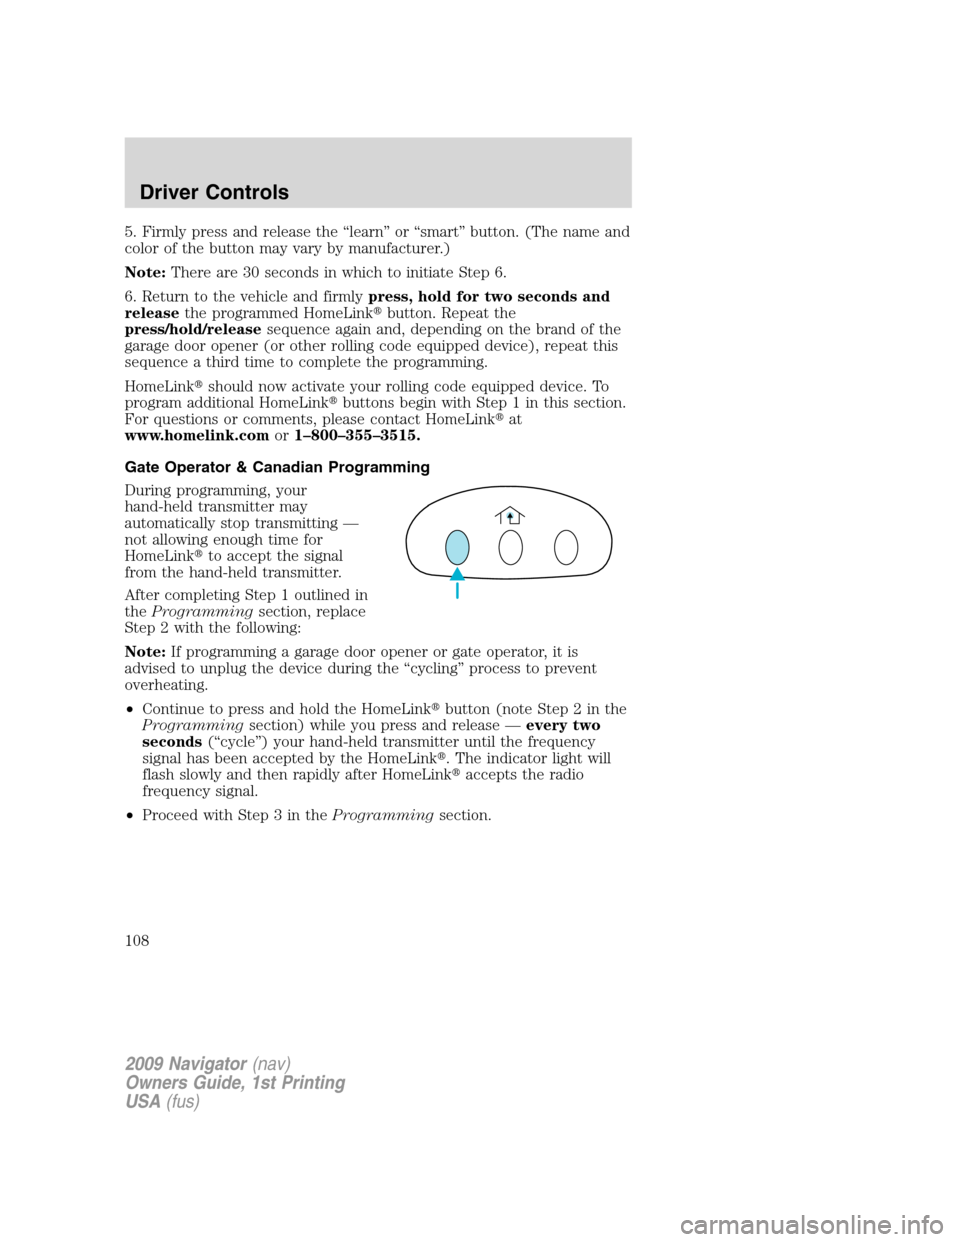
5. Firmly press and release the “learn” or “smart” button. (The name and
color of the button may vary by manufacturer.)
Note:There are 30 seconds in which to initiate Step 6.
6. Return to the vehicle and firmlypress, hold for two seconds and
releasethe programmed HomeLink�button. Repeat the
press/hold/releasesequence again and, depending on the brand of the
garage door opener (or other rolling code equipped device), repeat this
sequence a third time to complete the programming.
HomeLink�should now activate your rolling code equipped device. To
program additional HomeLink�buttons begin with Step 1 in this section.
For questions or comments, please contact HomeLink�at
www.homelink.comor1–800–355–3515.
Gate Operator & Canadian Programming
During programming, your
hand-held transmitter may
automatically stop transmitting —
not allowing enough time for
HomeLink�to accept the signal
from the hand-held transmitter.
After completing Step 1 outlined in
theProgrammingsection, replace
Step 2 with the following:
Note:If programming a garage door opener or gate operator, it is
advised to unplug the device during the “cycling” process to prevent
overheating.
•Continue to press and hold the HomeLink�button (note Step 2 in the
Programmingsection) while you press and release —every two
seconds(“cycle”) your hand-held transmitter until the frequency
signal has been accepted by the HomeLink�. The indicator light will
flash slowly and then rapidly after HomeLink�accepts the radio
frequency signal.
•Proceed with Step 3 in theProgrammingsection.
2009 Navigator(nav)
Owners Guide, 1st Printing
USA(fus)
Driver Controls
108
Page 109 of 375
Operating the HomeLink�Wireless Control System
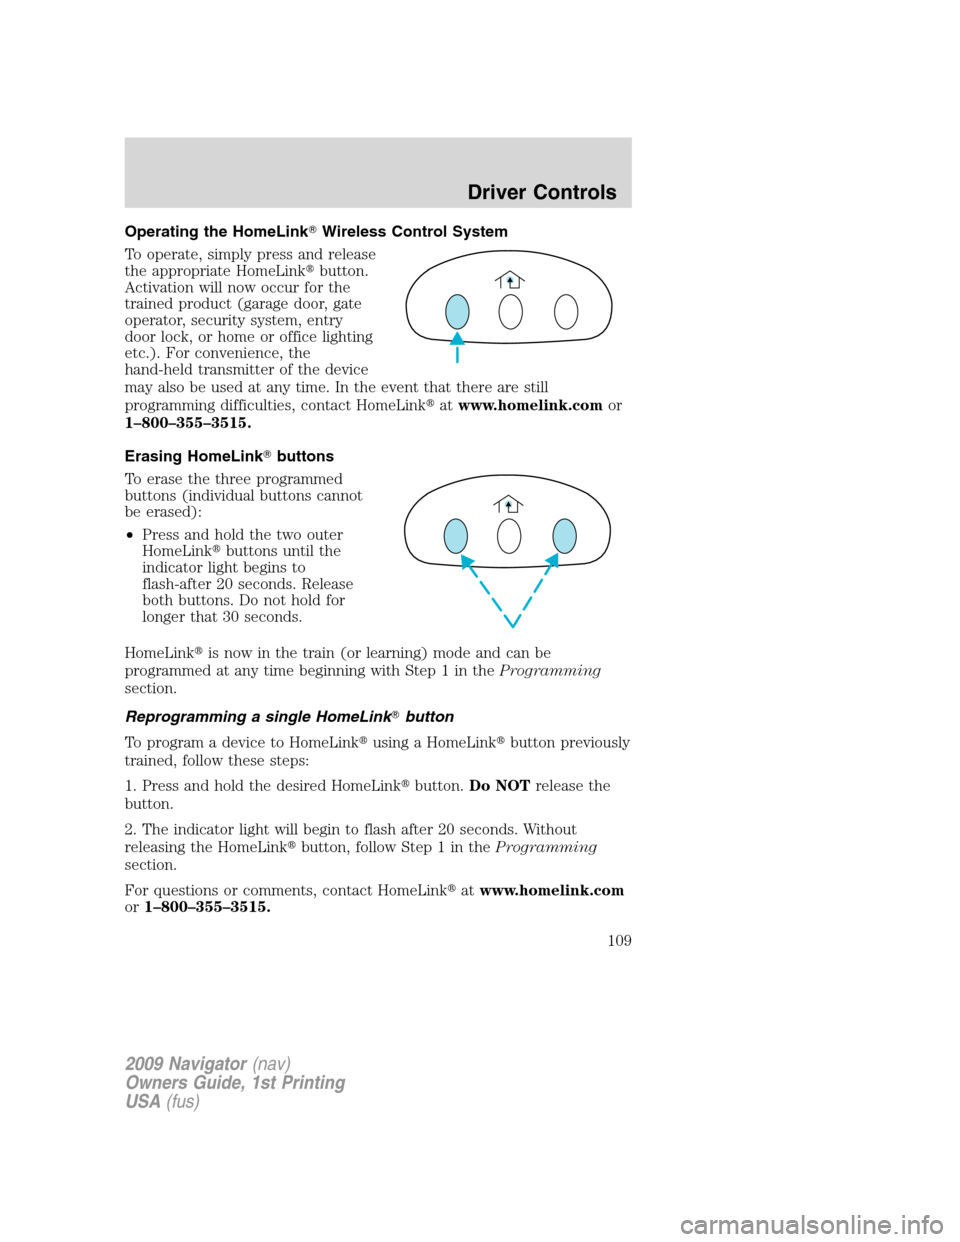
To operate, simply press and release
the appropriate HomeLink�button.
Activation will now occur for the
trained product (garage door, gate
operator, security system, entry
door lock, or home or office lighting
etc.). For convenience, the
hand-held transmitter of the device
may also be used at any time. In the event that there are still
programming difficulties, contact HomeLink�atwww.homelink.comor
1–800–355–3515.
Erasing HomeLink�buttons
To erase the three programmed
buttons (individual buttons cannot
be erased):
•Press and hold the two outer
HomeLink�buttons until the
indicator light begins to
flash-after 20 seconds. Release
both buttons. Do not hold for
longer that 30 seconds.
HomeLink�is now in the train (or learning) mode and can be
programmed at any time beginning with Step 1 in theProgramming
section.
Reprogramming a single HomeLink�button
To program a device to HomeLink�using a HomeLink�button previously
trained, follow these steps:
1. Press and hold the desired HomeLink�button.Do NOTrelease the
button.
2. The indicator light will begin to flash after 20 seconds. Without
releasing the HomeLink�button, follow Step 1 in theProgramming
section.
For questions or comments, contact HomeLink�atwww.homelink.com
or1–800–355–3515.
2009 Navigator(nav)
Owners Guide, 1st Printing
USA(fus)
Driver Controls
109
Page 170 of 375
Third row power folding seat (if equipped)
Note: Be sure that the head
restraints are folded down before
powering the 3rd row seat down.
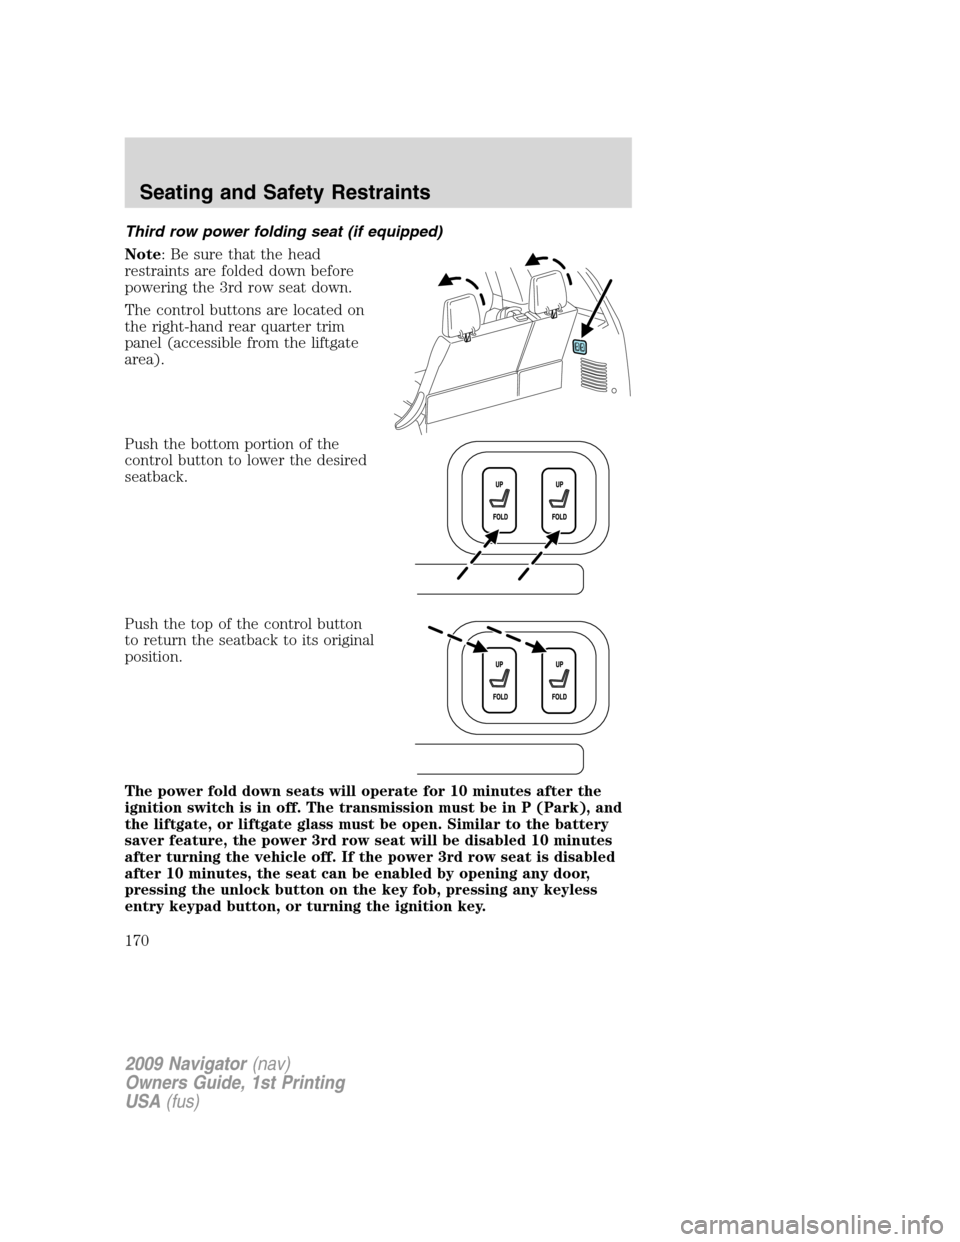
The control buttons are located on
the right-hand rear quarter trim
panel (accessible from the liftgate
area).
Push the bottom portion of the
control button to lower the desired
seatback.
Push the top of the control button
to return the seatback to its original
position.
The power fold down seats will operate for 10 minutes after the
ignition switch is in off. The transmission must be in P (Park), and
the liftgate, or liftgate glass must be open. Similar to the battery
saver feature, the power 3rd row seat will be disabled 10 minutes
after turning the vehicle off. If the power 3rd row seat is disabled
after 10 minutes, the seat can be enabled by opening any door,
pressing the unlock button on the key fob, pressing any keyless
entry keypad button, or turning the ignition key.
2009 Navigator(nav)
Owners Guide, 1st Printing
USA(fus)
Seating and Safety Restraints
170
Page 178 of 375
Safety belt height adjustment
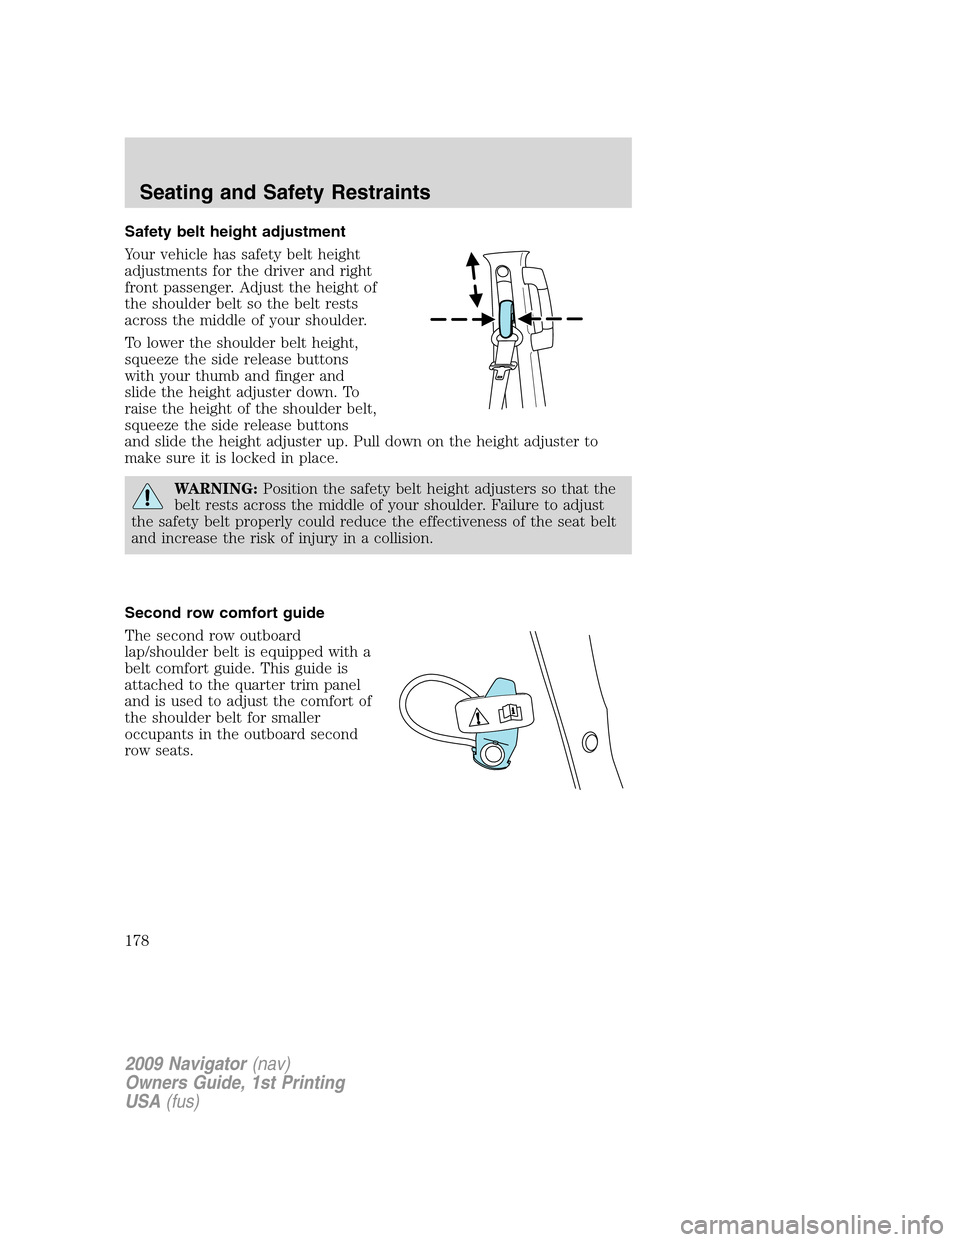
Your vehicle has safety belt height
adjustments for the driver and right
front passenger. Adjust the height of
the shoulder belt so the belt rests
across the middle of your shoulder.
To lower the shoulder belt height,
squeeze the side release buttons
with your thumb and finger and
slide the height adjuster down. To
raise the height of the shoulder belt,
squeeze the side release buttons
and slide the height adjuster up. Pull down on the height adjuster to
make sure it is locked in place.
WARNING:Position the safety belt height adjusters so that the
belt rests across the middle of your shoulder. Failure to adjust
the safety belt properly could reduce the effectiveness of the seat belt
and increase the risk of injury in a collision.
Second row comfort guide
The second row outboard
lap/shoulder belt is equipped with a
belt comfort guide. This guide is
attached to the quarter trim panel
and is used to adjust the comfort of
the shoulder belt for smaller
occupants in the outboard second
row seats.
2009 Navigator(nav)
Owners Guide, 1st Printing
USA(fus)
Seating and Safety Restraints
178
Page 202 of 375
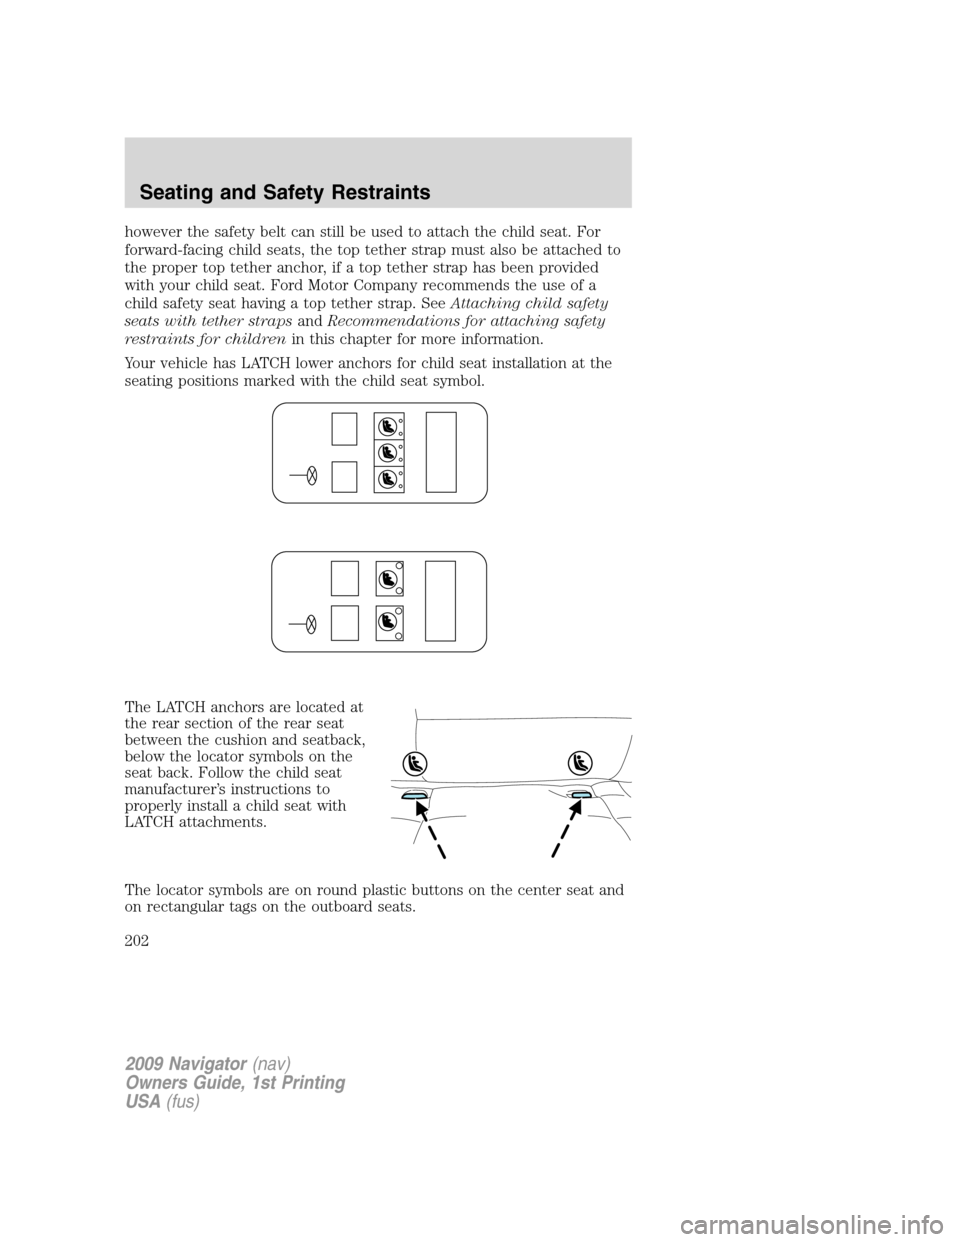
however the safety belt can still be used to attach the child seat. For
forward-facing child seats, the top tether strap must also be attached to
the proper top tether anchor, if a top tether strap has been provided
with your child seat. Ford Motor Company recommends the use of a
child safety seat having a top tether strap. SeeAttaching child safety
seats with tether strapsandRecommendations for attaching safety
restraints for childrenin this chapter for more information.
Your vehicle has LATCH lower anchors for child seat installation at the
seating positions marked with the child seat symbol.
The LATCH anchors are located at
the rear section of the rear seat
between the cushion and seatback,
below the locator symbols on the
seat back. Follow the child seat
manufacturer’s instructions to
properly install a child seat with
LATCH attachments.
The locator symbols are on round plastic buttons on the center seat and
on rectangular tags on the outboard seats.
2009 Navigator(nav)
Owners Guide, 1st Printing
USA(fus)
Seating and Safety Restraints
202