2009 KIA Sportage hood release
[x] Cancel search: hood releasePage 8 of 371
Your vehicle at a glance22
1
2
3
4
5
6
7
8
9
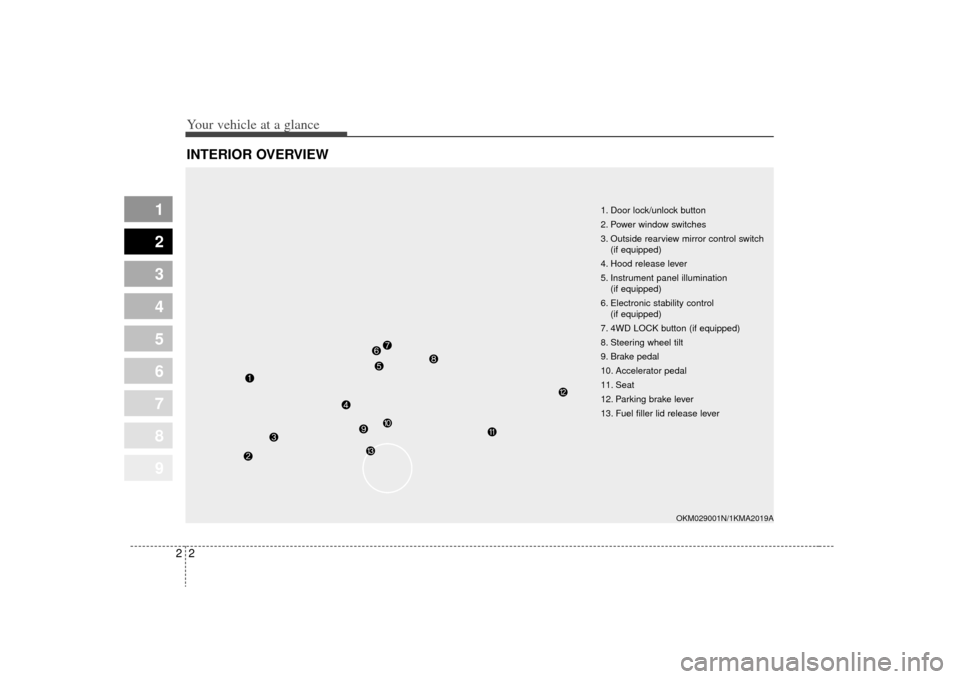
INTERIOR OVERVIEW
1. Door lock/unlock button
2. Power window switches
3. Outside rearview mirror control switch(if equipped)
4. Hood release lever
5. Instrument panel illumination (if equipped)
6. Electronic stability control (if equipped)
7. 4WD LOCK button (if equipped)
8. Steering wheel tilt
9. Brake pedal
10. Accelerator pedal
11. Seat
12. Parking brake lever
13. Fuel filler lid release lever
OKM029001N/1KMA2019A
Page 45 of 371
Knowing your vehicle36
3
1
2
3
4
5
6
7
8
9
CAUTION
Never close the doors on any
part of the lap or shoulder belt.It can damage the safety belt orbuckle which could increase therisk of injury in case of an acci-dent.
WARNING
- Belt use
Safety belts must be used cor-
rectly to work properly in an
accident. Each seating position
in your vehicle has a specific
safety belt assembly that
includes a buckle and tongue
designed to be used together.
Failure to heed these warnings
and follow these instructions
will increase the risk and sever-
ity of injuries and the likelihood
of death in an accident.
Use the shoulder portion of the safety belt on the outside
shoulder only. Never wear the
shoulder portion under the
arm.
Never swing the safety belt around your neck to fit over
the inside shoulder.
Never wear the shoulder por- tion of the safety belt across
the neck or face.
(Continued)
(Continued)
Wear the lap portion as low aspossible. Be sure that the lap
belt fits snugly around the
hips. Never wear a lap portion
of a lap/shoulder belt over
your waist; it should always
go over the stronger area of
your hips.
Never use a single safety belt for more than one person.
The front seatbacks should always remain in a comfort-
able, upright position when
the vehicle is moving.
(Continued)
Pull the safety belt out and let
it retract a number of times.
Make sure that the lap/shoul-
der belts return smoothly and
easily into the retractor.
Check the latches to make sure they latch and release
without interference or delay.
Never close the doors on any part of the lap or shoulder
belt.
Any belt not in good condition or in good working order
should be promptly replaced.
WARNING
- Safety belt
care
A damaged belt may not give you the protection you need in
an accident.
Inspect your safety belts peri- odically for excessive wear or
damage. Pull out each belt
fully and look for fraying, cuts,
burns or other damage.
(Continued)
Page 89 of 371
Knowing your vehicle80
3
1
2
3
4
5
6
7
8
9
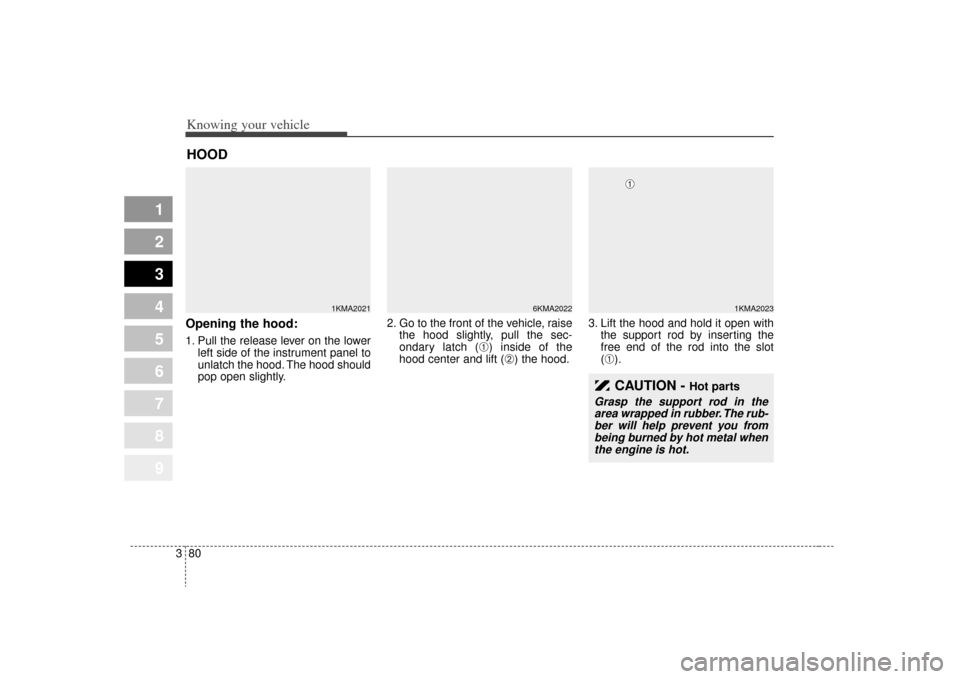
Opening the hood:1. Pull the release lever on the lower
left side of the instrument panel to
unlatch the hood. The hood should
pop open slightly. 2. Go to the front of the vehicle, raise
the hood slightly, pull the sec-
ondary latch (
➀) inside of the
hood center and lift (
➁) the hood. 3. Lift the hood and hold it open with
the support rod by inserting the
free end of the rod into the slot
(
➀).
HOOD
1KMA2021
6KMA2022
1KMA2023
CAUTION -
Hot parts
Grasp the support rod in thearea wrapped in rubber. The rub-ber will help prevent you frombeing burned by hot metal whenthe engine is hot.
➀
Page 90 of 371
381
1
2
3
4
5
6
7
8
9
Knowing your vehicle
Closing the hood1. Before closing the hood, check thefollowing:
ment must be correctly installed.
bustible material must be
removed from the engine com-
partment.
2. Secure the support rod in its clip.
3. Lower the hood to about 30 cm (12 inches) height and then let it
drop to properly lock in place.
Make sure the hood is properly
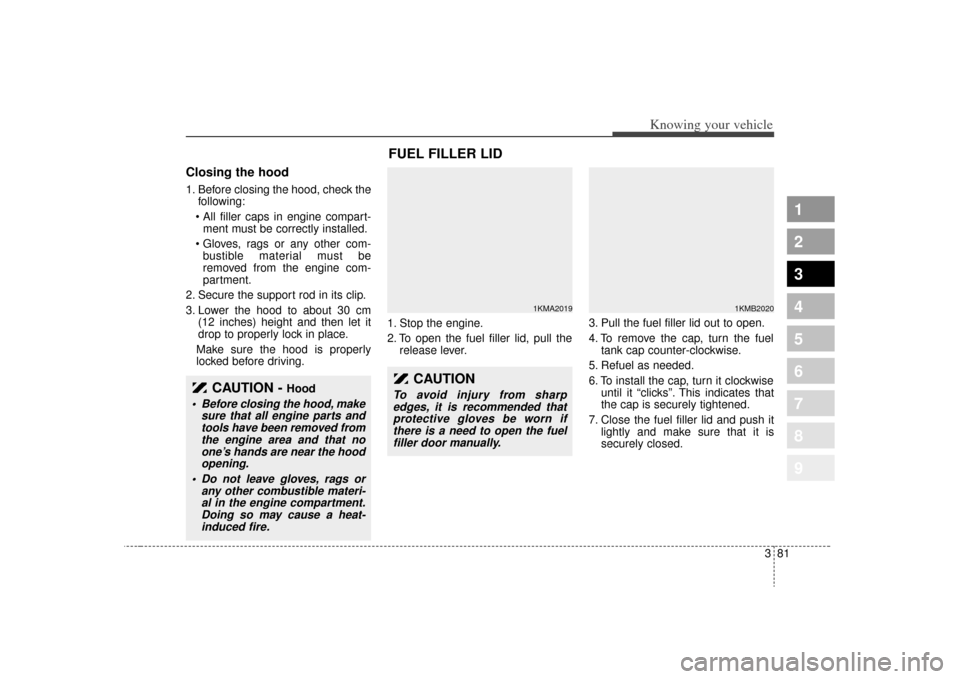
locked before driving. 1. Stop the engine.
2. To open the fuel filler lid, pull the
release lever. 3. Pull the fuel filler lid out to open.
4. To remove the cap, turn the fuel
tank cap counter-clockwise.
5. Refuel as needed.
6. To install the cap, turn it clockwise until it “clicks”. This indicates that
the cap is securely tightened.
7. Close the fuel filler lid and push it lightly and make sure that it is
securely closed.
CAUTION -
Hood
Before closing the hood, makesure that all engine parts andtools have been removed fromthe engine area and that noone’s hands are near the hoodopening.
Do not leave gloves, rags or any other combustible materi-al in the engine compartment.Doing so may cause a heat-induced fire.
FUEL FILLER LID
1KMA2019
1KMB2020
CAUTION
To avoid injury from sharpedges, it is recommended thatprotective gloves be worn ifthere is a need to open the fuelfiller door manually.
Page 259 of 371
527
Driving tips
1
2
3
4
5
6
7
8
9
Stalling downhillStalling is much more likely to hap-
pen going uphill. But if it happens
going downhill, here’s what to do.
Stop your vehicle by applying thebrakes. Then apply the parking
brake.
Move the shift lever to P (Park) in automatic transaxle or shift to N
(Neutral) in manual transaxle and,
while still braking, restart the
engine.
Shift back to a low gear, release the parking brake, and drive
straight down.
If the engine won’t start, get out and seek help. Exit on the uphill
side of the vehicle and stay clear of
the path the vehicle would take if it
rolled downhill.
Driving across an inclineSooner or later, an off-road trail will
probably go across the incline of a
hill. If this happens, you have to
decide whether or not to try to drive
across the incline. Here are some
things to consider:
A hill that can be driven straight upor down may be too steep to drive
across. When you go straight up or
down a hill, the length of the wheel
base (the distance from the front
wheels to the rear wheels) reduces
the likelihood the vehicle will tum-
ble end over end. But when you
drive across an incline, the much
narrower track width (the distance
between the left and right wheels)
may not prevent the vehicle from
tilting and rolling over. Also, driving
across an incline puts more weight
on the downhill wheels. This could
cause a downhill slide or a rollover. Surface conditions can be a prob-
lem when you drive across a hill.
Loose gravel, muddy spots, or
even wet grass can cause your
tires to slip sideways. If the vehicle
slips sideways, it can hit something
that will tip it (a rock, a rut, etc.) and
cause it to roll over.
Hidden obstacles can make the steepness of the incline even
worse. If you drive across a rock
with the uphill wheels, or if the
downhill wheels drop into a rut or
depression, your vehicle can tilt
even more.
For reasons like these, you need to
decide carefully whether or not to try
to drive across an incline. Just
because the trail goes across the
incline doesn’t mean you have to
drive it.
Page 337 of 371
Maintenance28
7
1
2
3
4
5
6
7
8
9
LUBRICANTS AND FLUIDS Checking the washer fluid
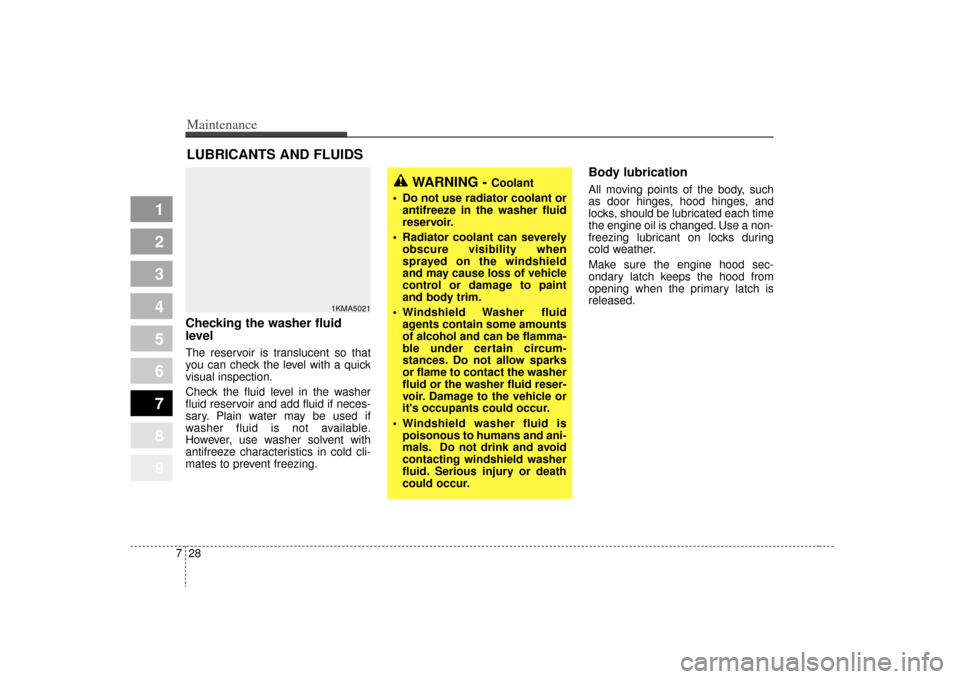
level The reservoir is translucent so that
you can check the level with a quick
visual inspection.
Check the fluid level in the washer
fluid reservoir and add fluid if neces-
sary. Plain water may be used if
washer fluid is not available.
However, use washer solvent with
antifreeze characteristics in cold cli-
mates to prevent freezing.
Body lubrication All moving points of the body, such
as door hinges, hood hinges, and
locks, should be lubricated each time
the engine oil is changed. Use a non-
freezing lubricant on locks during
cold weather.
Make sure the engine hood sec-
ondary latch keeps the hood from
opening when the primary latch is
released.
1KMA5021
WARNING -
Coolant
Do not use radiator coolant or antifreeze in the washer fluid
reservoir.
Radiator coolant can severely obscure visibility when
sprayed on the windshield
and may cause loss of vehicle
control or damage to paint
and body trim.
Windshield Washer fluid agents contain some amounts
of alcohol and can be flamma-
ble under certain circum-
stances. Do not allow sparks
or flame to contact the washer
fluid or the washer fluid reser-
voir. Damage to the vehicle or
it's occupants could occur.
Windshield washer fluid is poisonous to humans and ani-
mals. Do not drink and avoid
contacting windshield washer
fluid. Serious injury or death
could occur.