2009 KIA Sportage turn signal
[x] Cancel search: turn signalPage 9 of 371

23
1
2
3
4
5
6
7
8
9
Your vehicle at a glance
INSTRUMENT PANEL OVERVIEW
1. Driver’s air bag
2. Light control / Turn signals
3. Instrument cluster
4. Wiper/Washer
5. Ignition switch
6. Steering wheel
7. Digital clock
8. Hazard
9. Audio controls (if equipped)
10. Climate control system (if equipped)
11. Passenger’s air bag
12. Vent controls
13. Glove box
14. Ashtray
15. Cigar lighter
16. Gear shift lever
17. Auto cruise controls (if equipped)
18. PASSENGER AIR BAG “OFF”indicator
OKM029003L
Page 15 of 371

Knowing your vehicle63
1
2
3
4
5
6
7
8
9
Alarm stageThe alarm will be activated if any of
the following occurs while the system
is armed.
A front or rear door is opened with-out using the ignition key or trans-
mitter.
The rear hatch/window is opened without using the ignition key or
transmitter.
The engine hood is opened.
The siren will sound and the hazard
warning lights will blink continuously
for 27 seconds, and repeat the alarm
3 times unless the system is dis-
armed. To turn off the system, unlock
the doors with the ignition key or
transmitter.✽ ✽ NOTICEAvoid trying to start the engine
while the alarm is activated. The
vehicle starting motor is disabled
during the alarm stage.
Disarmed stageThe system will be disarmed when
the doors are unlocked by depress-
ing the unlock button on the transmit-
ter or unlocked with the ignition key.
After depressing unlock button, the
hazard warning lights will blink twice
to indicate that the system is dis-
armed.
After depressing unlock button, if any
door is not opened within 30 sec-
onds, the system will be rearmed.
If the system is not disarmed with the
ignition key or transmitter, insert the
key in the ignition switch, turn the key
to the ON position and wait for 30
seconds. Then the system will be dis-
armed. Your vehicle is equipped with an elec-
tronic engine immobilizer system to
reduce the risk of unauthorized vehi-
cle use.
Your immobilizer system is comprised
of a small transponder in the ignition
key, and antenna coil in the key cylin-
der and Immobilizer Control Unit (or
Smartra Unit).
With this system, whenever you insert
your ignition key into the ignition
switch and turn it to ON, the antenna
coil in the ignition switch receives a
signal from the transponder in the
ignition key and then sends the signal
to the ECU (Engine Control Unit).
The ECU checks the signal whether
the ignition key is valid.
If the key is determined to be valid,
the engine will start.
If the key is determined to be invalid,
the engine will not start.
IMMOBILIZER SYSTEM
(IF EQUIPPED)
Page 16 of 371
37
Knowing your vehicle
1
2
3
4
5
6
7
8
9
To deactivate the immobilizer sys-
tem:
Insert the ignition key into the key
cylinder and turn it to the ON posi-
tion.
To activate the immobilizer sys-
tem:
Turn the ignition key to the OFF posi-
tion. The immobilizer system acti-
vates automatically. Without a valid
ignition key for your vehicle, the
engine will not start.
✽ ✽NOTICEWhen starting the engine, do not use
the key with other immobilizer keys
around. Otherwise the engine may
not start or may stop soon after it
starts. Keep each key separately not
to have any malfunction after you
receive your new vehicle.
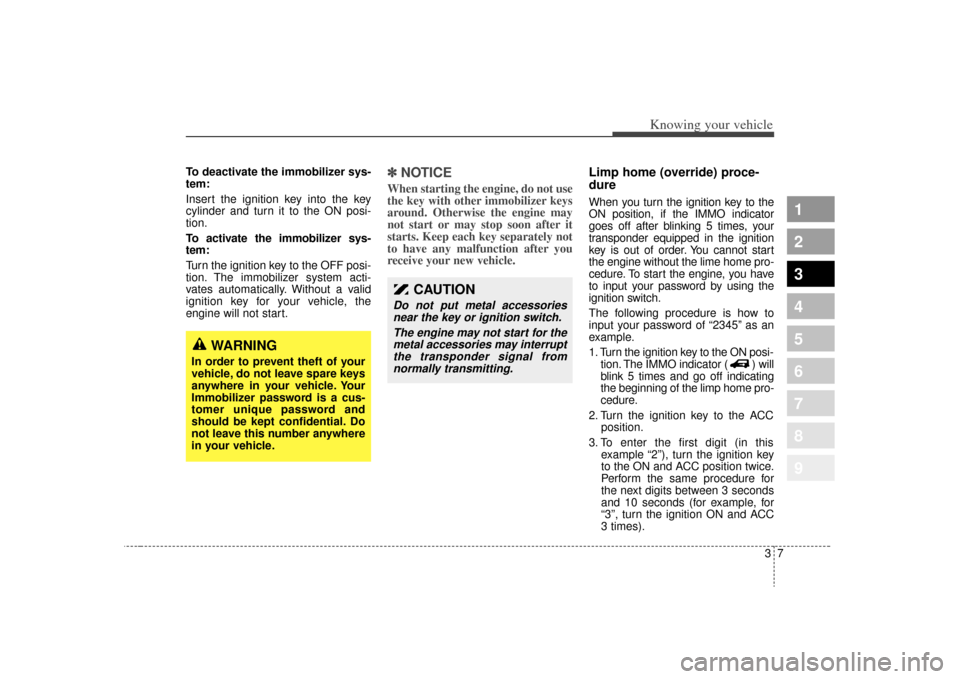
Limp home (override) proce-
dureWhen you turn the ignition key to the
ON position, if the IMMO indicator
goes off after blinking 5 times, your
transponder equipped in the ignition
key is out of order. You cannot start
the engine without the lime home pro-
cedure. To start the engine, you have
to input your password by using the
ignition switch.
The following procedure is how to
input your password of “2345” as an
example.
1. Turn the ignition key to the ON posi-
tion. The IMMO indicator ( ) will
blink 5 times and go off indicating
the beginning of the limp home pro-
cedure.
2. Turn the ignition key to the ACC position.
3. To enter the first digit (in this example “2”), turn the ignition key
to the ON and ACC position twice.
Perform the same procedure for
the next digits between 3 seconds
and 10 seconds (for example, for
“3”, turn the ignition ON and ACC
3 times).
CAUTION
Do not put metal accessoriesnear the key or ignition switch.
The engine may not start for themetal accessories may interruptthe transponder signal fromnormally transmitting.
WARNING
In order to prevent theft of your
vehicle, do not leave spare keys
anywhere in your vehicle. Your
Immobilizer password is a cus-
tomer unique password and
should be kept confidential. Do
not leave this number anywhere
in your vehicle.
Page 84 of 371

375
1
2
3
4
5
6
7
8
9
Knowing your vehicle
How does the airbag system
operate Airbags only operate when theignition switch is turned to the ON
or START positions.
Airbags inflate instantly in the event of serious frontal or side col-
lision in order to help protect the
occupants from physical injury.
The airbag Electronic Control Unit
(ECU) is a small computer which
calculates the immediate impact
information and sends out a
deployment signal based on the
ECU's calculation of the likely
severity of the developing collision.
There is no single vehicle speed at which the airbags will inflate. Airbag deployment depends on a
number of factors including vehicle
speed, angles of impact and the
density and stiffness of the vehi-
cles or objects which your vehicle
hits in the collision. However, fac-
tors are not limited to those men-
tioned above.
The front airbags will completely inflate and deflate in an instant.
It is impossible for you to see the
airbags inflate during an accident.
It is much more likely that you will
simply see the deflated airbags
hanging out of their storage com-
partments after the collision. In order to help provide protection
in a severe collision, the airbags
must inflate rapidly. The speed of
airbag inflation has been deter-
mined by the Canadian Motor
Vehicle Safety Standard (CMVSS)
to reduce the likelihood of serious
or life-threatening injuries and is
thus a mandatory part of the airbag
design.
However, airbag inflation can also
cause injuries which normally can
include facial abrasions, bruises
and broken bones, and sometimes
more serious injuries because that
inflation speed also causes the
airbags to expand with a great deal
force.
There are even circumstances under which contact with the
steering wheel airbag can cause
fatal injuries, especially if the
occupant is positioned exces-
sively close to the steering
wheel.
Page 146 of 371
3137
Knowing your vehicle
1
2
3
4
5
6
7
8
9
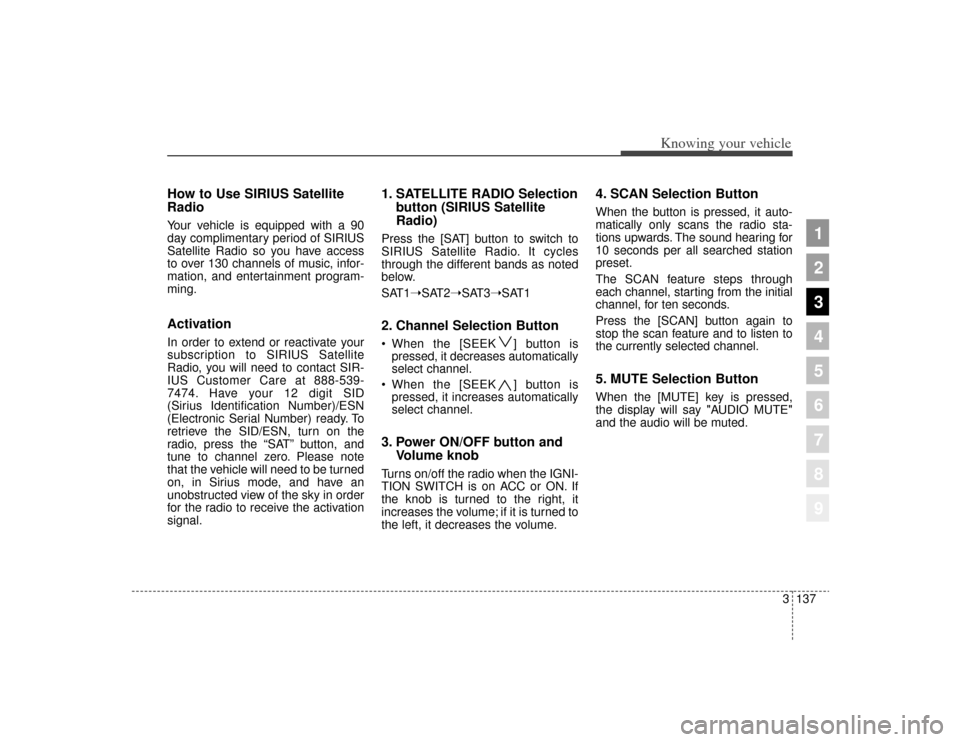
How to Use SIRIUS Satellite
RadioYour vehicle is equipped with a 90
day complimentary period of SIRIUS
Satellite Radio so you have access
to over 130 channels of music, infor-
mation, and entertainment program-
ming.ActivationIn order to extend or reactivate your
subscription to SIRIUS Satellite
Radio, you will need to contact SIR-
IUS Customer Care at 888-539-
7474. Have your 12 digit SID
(Sirius Identification Number)/ESN
(Electronic Serial Number) ready. To
retrieve the SID/ESN, turn on the
radio, press the “SAT” button, and
tune to channel zero. Please note
that the vehicle will need to be turned
on, in Sirius mode, and have an
unobstructed view of the sky in order
for the radio to receive the activation
signal.
1. SATELLITE RADIO Selectionbutton (SIRIUS Satellite
Radio)Press the [SAT] button to switch to
SIRIUS Satellite Radio. It cycles
through the different bands as noted
below.
SAT1➝SAT2➝SAT3➝SAT12. Channel Selection Button When the [SEEK ] button is
pressed, it decreases automatically
select channel.
When the [SEEK ] button is pressed, it increases automatically
select channel.3. Power ON/OFF button and Volume knobTurns on/off the radio when the IGNI-
TION SWITCH is on ACC or ON. If
the knob is turned to the right, it
increases the volume; if it is turned to
the left, it decreases the volume.
4. SCAN Selection ButtonWhen the button is pressed, it auto-
matically only scans the radio sta-
tions upwards. The sound hearing for
10 seconds per all searched station
preset.
The SCAN feature steps through
each channel, starting from the initial
channel, for ten seconds.
Press the [SCAN] button again to
stop the scan feature and to listen to
the currently selected channel.5. MUTE Selection ButtonWhen the [MUTE] key is pressed,
the display will say "AUDIO MUTE"
and the audio will be muted.
Page 147 of 371
Knowing your vehicle138
3
1
2
3
4
5
6
7
8
9
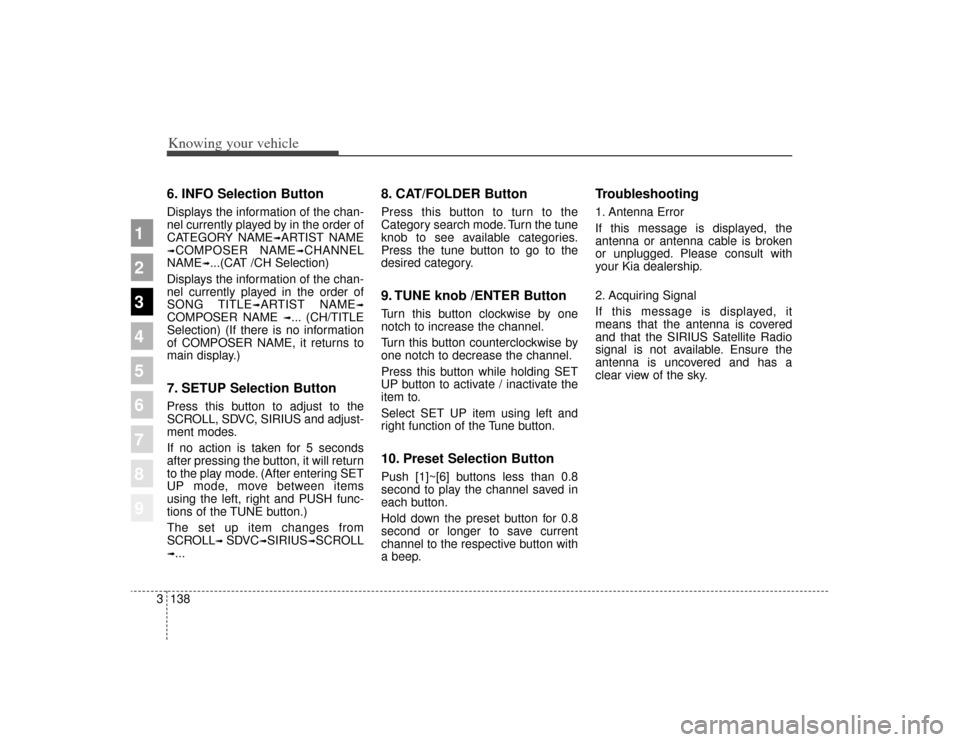
6. INFO Selection ButtonDisplays the information of the chan-
nel currently played by in the order of
CATEGORY NAME
➟ARTIST NAME
➟COMPOSER NAME
➟CHANNEL
NAME
➟...(CAT /CH Selection)
Displays the information of the chan-
nel currently played in the order of
SONG TITLE
➟ARTIST NAME
➟
COMPOSER NAME
➟... (CH/TITLE
Selection) (If there is no information
of COMPOSER NAME, it returns to
main display.)
7. SETUP Selection ButtonPress this button to adjust to the
SCROLL, SDVC, SIRIUS and adjust-
ment modes.
If no action is taken for 5 seconds
after pressing the button, it will return
to the play mode. (After entering SET
UP mode, move between items
using the left, right and PUSH func-
tions of the TUNE button.)
The set up item changes from
SCROLL
➟ SDVC
➟SIRIUS
➟SCROLL
➟...
8. CAT/FOLDER ButtonPress this button to turn to the
Category search mode. Turn the tune
knob to see available categories.
Press the tune button to go to the
desired category.9. TUNE knob /ENTER ButtonTurn this button clockwise by one
notch to increase the channel.
Turn this button counterclockwise by
one notch to decrease the channel.
Press this button while holding SET
UP button to activate / inactivate the
item to.
Select SET UP item using left and
right function of the Tune button.10. Preset Selection ButtonPush [1]~[6] buttons less than 0.8
second to play the channel saved in
each button.
Hold down the preset button for 0.8
second or longer to save current
channel to the respective button with
a beep.
Troubleshooting1. Antenna Error
If this message is displayed, the
antenna or antenna cable is broken
or unplugged. Please consult with
your Kia dealership.
2. Acquiring Signal
If this message is displayed, it
means that the antenna is covered
and that the SIRIUS Satellite Radio
signal is not available. Ensure the
antenna is uncovered and has a
clear view of the sky.
Page 182 of 371

435
Driving your vehicle
1
2
3
4
5
6
7
8
9
INSTRUMENT CLUSTER
1. Tachometer
2. Turn signal indicators
3. Speedometer
4. Warning and indicator lights
5. Shift position indicator (Automatic transaxle only)
6. Odometer
7. Tripmeter/Trip computer (if equipped)
8. Fuel gauge
OKM029095C
Page 201 of 371
Driving your vehicle54
4
1
2
3
4
5
6
7
8
9
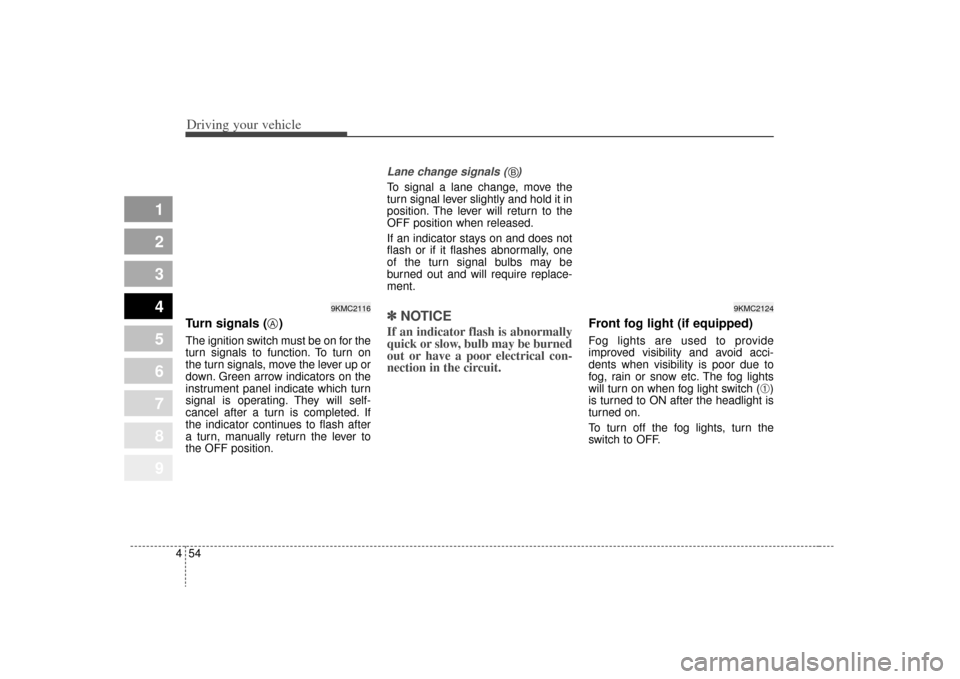
Turn signals ( )The ignition switch must be on for the
turn signals to function. To turn on
the turn signals, move the lever up or
down. Green arrow indicators on the
instrument panel indicate which turn
signal is operating. They will self-
cancel after a turn is completed. If
the indicator continues to flash after
a turn, manually return the lever to
the OFF position.
Lane change signals ( )To signal a lane change, move the
turn signal lever slightly and hold it in
position. The lever will return to the
OFF position when released.
If an indicator stays on and does not
flash or if it flashes abnormally, one
of the turn signal bulbs may be
burned out and will require replace-
ment.✽ ✽
NOTICEIf an indicator flash is abnormally
quick or slow, bulb may be burned
out or have a poor electrical con-
nection in the circuit. Front fog light (if equipped)
Fog lights are used to provide
improved visibility and avoid acci-
dents when visibility is poor due to
fog, rain or snow etc. The fog lights
will turn on when fog light switch (
➀)
is turned to ON after the headlight is
turned on.
To turn off the fog lights, turn the
switch to OFF.
9KMC2116
A
9KMC2124
B