Page 335 of 371
Maintenance26
7
1
2
3
4
5
6
7
8
9
✽ ✽
NOTICE“COLD” scale is for reference only
and should NOT be used to deter-
mine transaxle fluid level.✽ ✽NOTICENew automatic transaxle fluid
should be red. The red dye is added
so the assembly plant can identify it
as automatic transaxle fluid and dis-
tinguish it from engine oil or
antifreeze. The red dye, which is not
an indicator of fluid quality, is not
permanent. As the vehicle is driven,
the automatic transaxle fluid will
begin to look darker. The color may
eventually appear light brown.
Therefore, have an Authorized Kia
dealer change the automatic
transaxle fluid according to the
Scheduled Maintenance at the
beginning of this section.
Changing the automatic
transaxle fluidHave automatic transaxle fluid
changed by an Authorized Kia
Dealer according to the Maintenance
Schedule at the beginning of this
section.
CAUTION
Low fluid level causes
transaxle slippage. Overfillingcan cause foaming, loss of fluidand transaxle malfunction.
The use of a non-specified fluid could result in transaxle mal-function and failure.
WARNING
- Parking brake
To avoid sudden movement of
the vehicle, apply parking brake
and depress the brake pedal
before moving the shift lever.
WARNING
- Transaxle
fluid
The transaxle fluid level should
be checked when the engine is at
normal operating temperature.
This means that the engine, radi-
ator, radiator hose and exhaust
system etc., are very hot.
Exercise great care not to burn
yourself during this procedure.
Page 336 of 371
727
Maintenance
1
2
3
4
5
6
7
8
9
Checking or changing rear dif-
ferential fluidHave rear differential fluid checked or
changed by an Authorized Kia
Dealer according to the Maintenance
Schedule at the beginning of this
section.
Use only the specified rear differential
fluid. (Refer to "Recommended lubri-
cants and capacities" in section 8.)
Checking or changing transfer
case fluidHave transfer case fluid checked or
changed by an Authorized Kia
Dealer according to the Maintenance
Schedule at the beginning of this
section.
Use only the specified transfer case
fluid. (Refer to "Recommended lubri-
cants and capacities" in section 8.)
REAR DIFFERENTIAL (4WD)TRANSFER CASE (4WD)
Page 337 of 371
Maintenance28
7
1
2
3
4
5
6
7
8
9
LUBRICANTS AND FLUIDS Checking the washer fluid
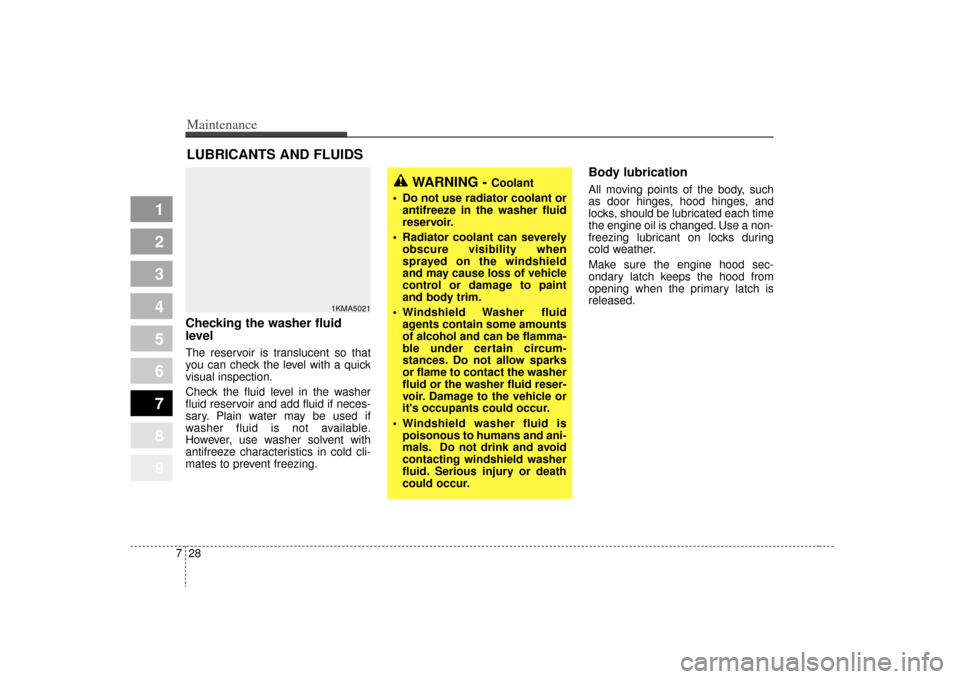
level The reservoir is translucent so that
you can check the level with a quick
visual inspection.
Check the fluid level in the washer
fluid reservoir and add fluid if neces-
sary. Plain water may be used if
washer fluid is not available.
However, use washer solvent with
antifreeze characteristics in cold cli-
mates to prevent freezing.
Body lubrication All moving points of the body, such
as door hinges, hood hinges, and
locks, should be lubricated each time
the engine oil is changed. Use a non-
freezing lubricant on locks during
cold weather.
Make sure the engine hood sec-
ondary latch keeps the hood from
opening when the primary latch is
released.
1KMA5021
WARNING -
Coolant
Do not use radiator coolant or antifreeze in the washer fluid
reservoir.
Radiator coolant can severely obscure visibility when
sprayed on the windshield
and may cause loss of vehicle
control or damage to paint
and body trim.
Windshield Washer fluid agents contain some amounts
of alcohol and can be flamma-
ble under certain circum-
stances. Do not allow sparks
or flame to contact the washer
fluid or the washer fluid reser-
voir. Damage to the vehicle or
it's occupants could occur.
Windshield washer fluid is poisonous to humans and ani-
mals. Do not drink and avoid
contacting windshield washer
fluid. Serious injury or death
could occur.
Page 338 of 371
729
Maintenance
1
2
3
4
5
6
7
8
9
AIR CLEANER Element replacement Have the air cleaner element
checked and replaced in accordance
with the maintenance schedule.
✽ ✽NOTICEDo not drive with the air cleaner
removed; this will result in excessive
engine wear.
1KMN5010
CAUTION
- Engine
Driving without an air cleaner
encourages backfiring, whichcould cause a fire in the enginecompartment.
Page 339 of 371
Maintenance30
7
1
2
3
4
5
6
7
8
9
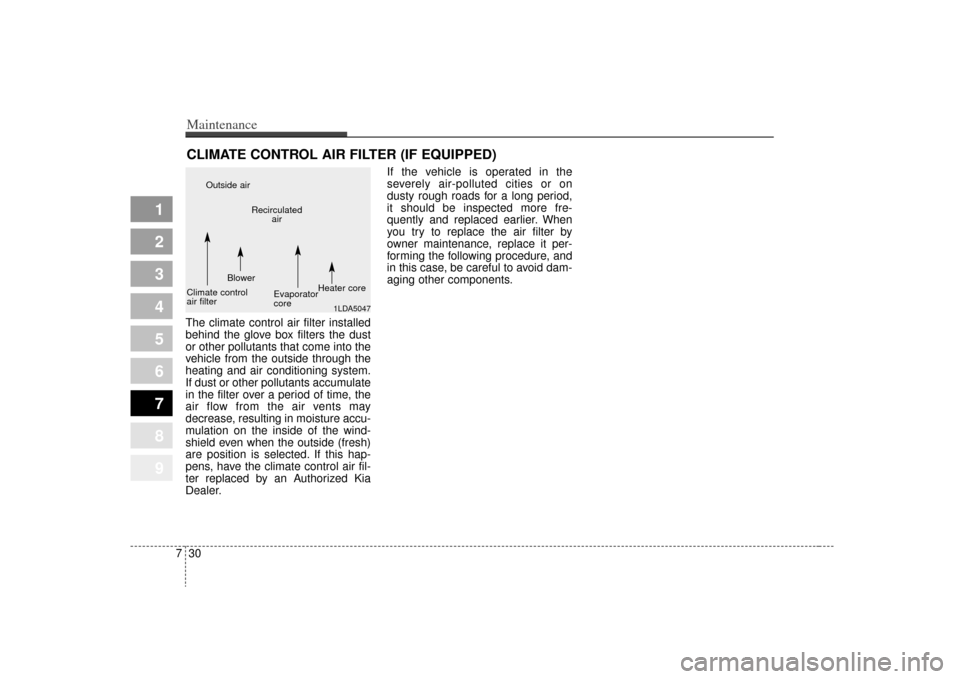
CLIMATE CONTROL AIR FILTER (IF EQUIPPED)The climate control air filter installed
behind the glove box filters the dust
or other pollutants that come into the
vehicle from the outside through the
heating and air conditioning system.
If dust or other pollutants accumulate
in the filter over a period of time, the
air flow from the air vents may
decrease, resulting in moisture accu-
mulation on the inside of the wind-
shield even when the outside (fresh)
are position is selected. If this hap-
pens, have the climate control air fil-
ter replaced by an Authorized Kia
Dealer. If the vehicle is operated in the
severely air-polluted cities or on
dusty rough roads for a long period,
it should be inspected more fre-
quently and replaced earlier. When
you try to replace the air filter by
owner maintenance, replace it per-
forming the following procedure, and
in this case, be careful to avoid dam-
aging other components.
1LDA5047
Outside air
Recirculatedair
Climate control
air filter Blower
Evaporator
coreHeater core
Page 340 of 371
731
Maintenance
1
2
3
4
5
6
7
8
9
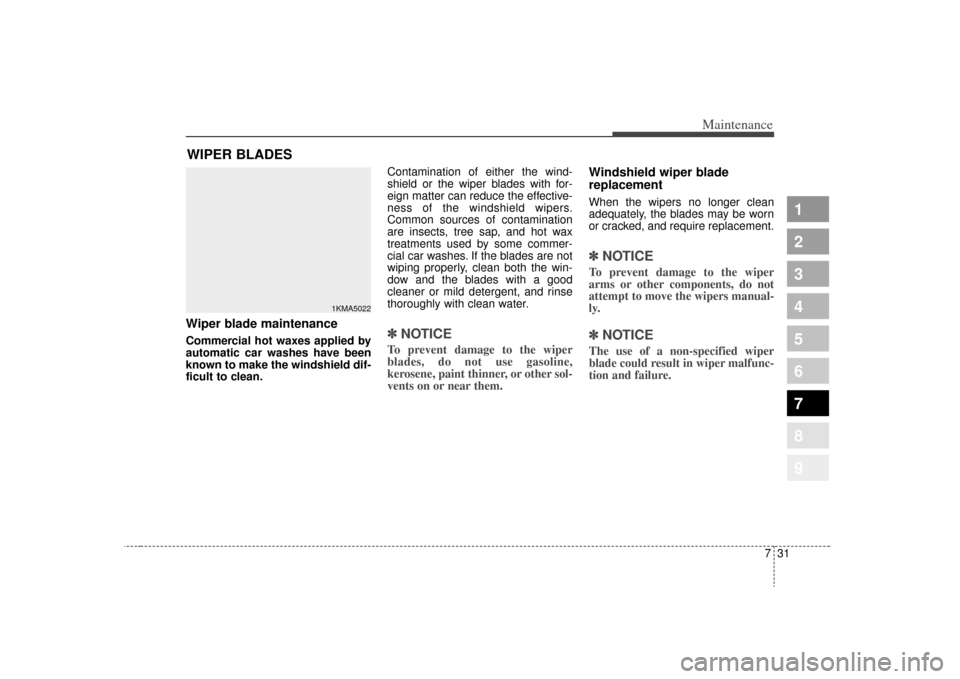
WIPER BLADES Wiper blade maintenance Commercial hot waxes applied by
automatic car washes have been
known to make the windshield dif-
ficult to clean.Contamination of either the wind-
shield or the wiper blades with for-
eign matter can reduce the effective-
ness of the windshield wipers.
Common sources of contamination
are insects, tree sap, and hot wax
treatments used by some commer-
cial car washes. If the blades are not
wiping properly, clean both the win-
dow and the blades with a good
cleaner or mild detergent, and rinse
thoroughly with clean water.
✽ ✽
NOTICETo prevent damage to the wiper
blades, do not use gasoline,
kerosene, paint thinner, or other sol-
vents on or near them.
Windshield wiper blade
replacement When the wipers no longer clean
adequately, the blades may be worn
or cracked, and require replacement.✽ ✽NOTICETo prevent damage to the wiper
arms or other components, do not
attempt to move the wipers manual-
ly. ✽ ✽NOTICEThe use of a non-specified wiper
blade could result in wiper malfunc-
tion and failure.
1KMA5022
Page 341 of 371
Maintenance32
7
1
2
3
4
5
6
7
8
9
1. Raise the wiper arm and turn the
wiper blade assembly to expose
the plastic locking clip.✽ ✽NOTICEDo not allow the wiper arm to fall
against the windshield, since it may
chip or crack the windshield.
2. Compress the clip and slide the
blade assembly downward.
3. Lift it off the arm.
4. Install the blade assembly in the reverse order of removal.
Rear window wiper blade
replacement (if equipped)1. Raise the wiper arm and pull outthe wiper blade assembly.
1LDA5023
1LDA50241LDA5025
1KMB7038
Page 342 of 371
733
Maintenance
1
2
3
4
5
6
7
8
9
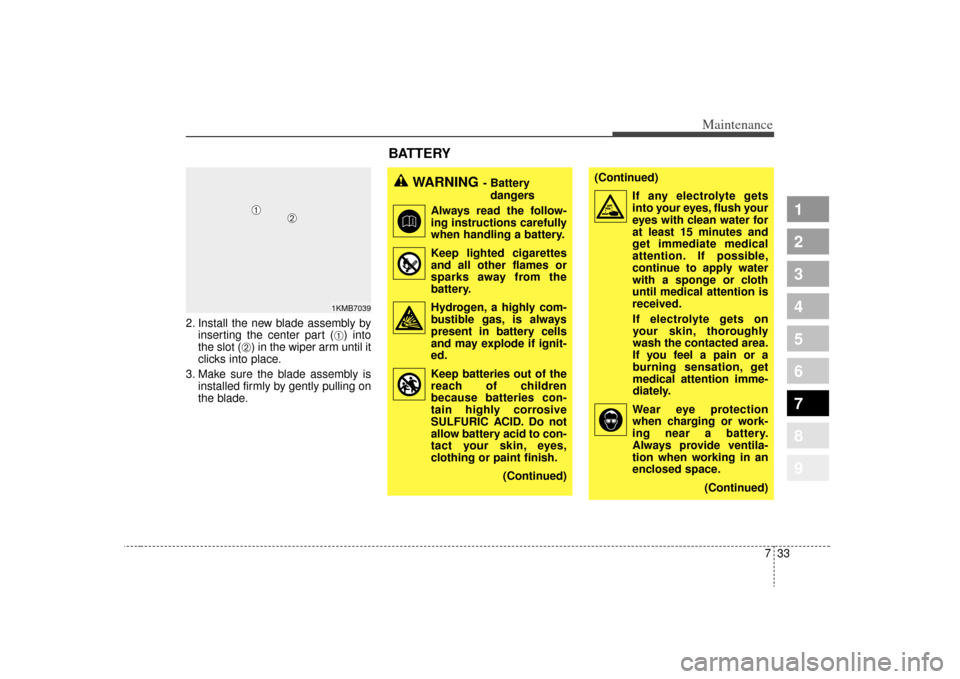
2. Install the new blade assembly byinserting the center part (
➀) into
the slot (
➁) in the wiper arm until it
clicks into place.
3. Make sure the blade assembly is installed firmly by gently pulling on
the blade.
WARNING
- Battery
dangers
Always read the follow-
ing instructions carefully
when handling a battery.
Keep lighted cigarettes
and all other flames or
sparks away from the
battery.
Hydrogen, a highly com-
bustible gas, is always
present in battery cells
and may explode if ignit-
ed.
Keep batteries out of the
reach of children
because batteries con-
tain highly corrosive
SULFURIC ACID. Do not
allow battery acid to con-
tact your skin, eyes,
clothing or paint finish.
(Continued)
(Continued)If any electrolyte gets
into your eyes, flush your
eyes with clean water for
at least 15 minutes and
get immediate medical
attention. If possible,
continue to apply water
with a sponge or cloth
until medical attention is
received.If electrolyte gets on
your skin, thoroughly
wash the contacted area.
If you feel a pain or a
burning sensation, get
medical attention imme-
diately.
Wear eye protection
when charging or work-
ing near a battery.
Always provide ventila-
tion when working in an
enclosed space. (Continued)
1KMB7039
BATTERY
➀
➁