Page 167 of 371
Driving your vehicle20
4
1
2
3
4
5
6
7
8
9
Parking brake To apply the parking brake, pull the
parking brake handle fully and firmly
upward while applying the service
brake. To release the parking brake, pull the
handle up slightly and push the
release button, then lower the handle
to the released position while holding
the button in.
CAUTION
Driving with the parking brake
applied will cause excessivebrake pad and brake rotor wear.
OKM049050
OKM049051
WARNING
- Parking brake
To prevent unintentional movement when stopped, do
not use just the gear shift
lever to hold the vehicle in
position. Set the parking
brake AND make sure the
gearshift lever is securely
positioned in 1st (First) gear
or R (Reverse) for manual
transaxle equipped vehicles
and in P (Park) for automatic
transaxle equipped vehicles.
Never allow a person who is unfamiliar with the vehicle or
children to touch the parking
brake. If the parking brake is
released unintentionally, seri-
ous injury may occur.
Page 168 of 371
421
Driving your vehicle
1
2
3
4
5
6
7
8
9
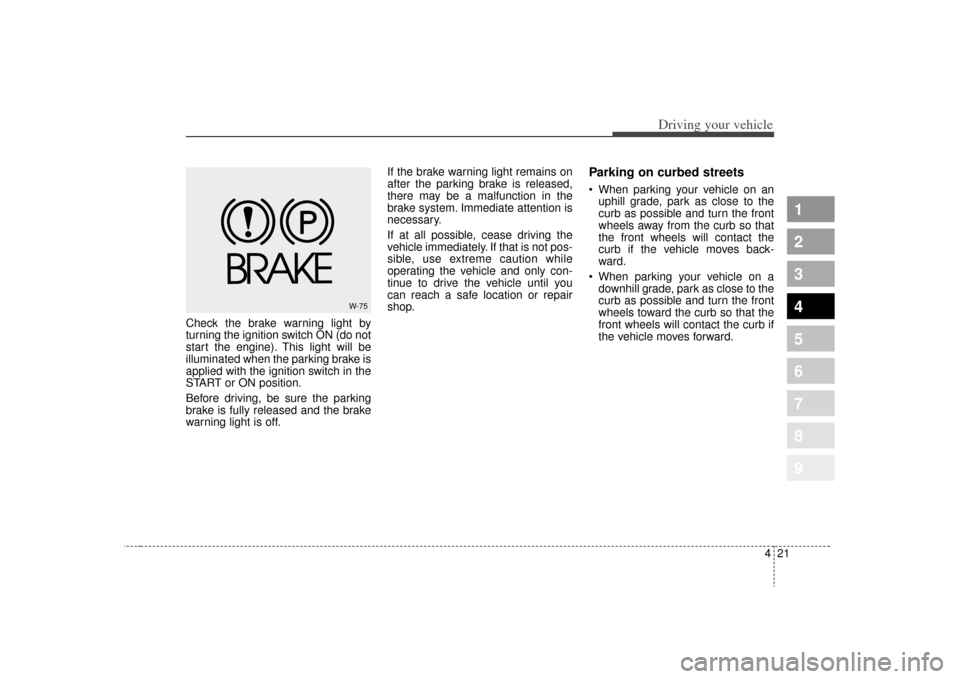
Check the brake warning light by
turning the ignition switch ON (do not
start the engine). This light will be
illuminated when the parking brake is
applied with the ignition switch in the
START or ON position.
Before driving, be sure the parking
brake is fully released and the brake
warning light is off.If the brake warning light remains on
after the parking brake is released,
there may be a malfunction in the
brake system. Immediate attention is
necessary.
If at all possible, cease driving the
vehicle immediately. If that is not pos-
sible, use extreme caution while
operating the vehicle and only con-
tinue to drive the vehicle until you
can reach a safe location or repair
shop.
Parking on curbed streets When parking your vehicle on an
uphill grade, park as close to the
curb as possible and turn the front
wheels away from the curb so that
the front wheels will contact the
curb if the vehicle moves back-
ward.
When parking your vehicle on a downhill grade, park as close to the
curb as possible and turn the front
wheels toward the curb so that the
front wheels will contact the curb if
the vehicle moves forward.
W-75
Page 170 of 371
423
Driving your vehicle
1
2
3
4
5
6
7
8
9
Even with the anti-lock brake sys-tem, your vehicle still requires suf-
ficient stopping distance. Always
maintain a safe distance from the
vehicle in front of you.
Always slow down when cornering. The anti-lock brake system cannot
prevent accidents resulting from
excessive speeds.
On loose or uneven road surfaces, operation of the anti-lock brake
system may result in a longer stop-
ping distance than for vehicles
equipped with a conventional
brake system.
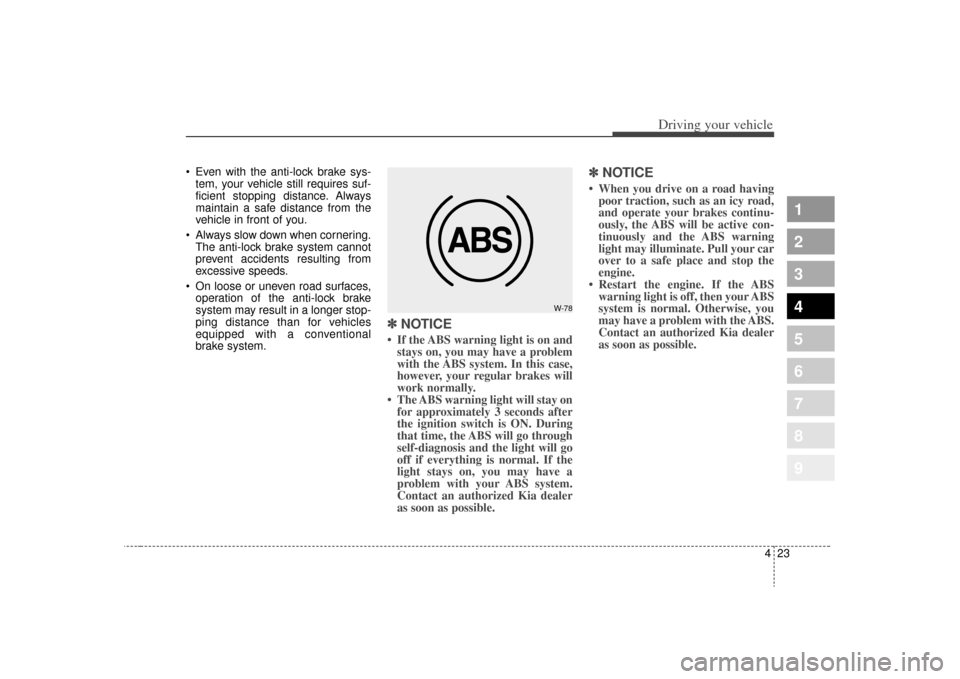
✽ ✽ NOTICE• If the ABS warning light is on and
stays on, you may have a problem
with the ABS system. In this case,
however, your regular brakes will
work normally.
• The ABS warning light will stay on for approximately 3 seconds after
the ignition switch is ON. During
that time, the ABS will go through
self-diagnosis and the light will go
off if everything is normal. If the
light stays on, you may have a
problem with your ABS system.
Contact an authorized Kia dealer
as soon as possible.
✽ ✽ NOTICE• When you drive on a road having
poor traction, such as an icy road,
and operate your brakes continu-
ously, the ABS will be active con-
tinuously and the ABS warning
light may illuminate. Pull your car
over to a safe place and stop the
engine.
• Restart the engine. If the ABS warning light is off, then your ABS
system is normal. Otherwise, you
may have a problem with the ABS.
Contact an authorized Kia dealer
as soon as possible.
W-78
Page 171 of 371
Driving your vehicle24
4
1
2
3
4
5
6
7
8
9
✽ ✽
NOTICEWhen you jump start your vehicle
because of a drained battery, the
engine may not run as smoothly and
the ABS warning light may turn on
at the same time. This happens
because of the low battery voltage. It
does not mean your ABS is malfunc-
tioning.
• Do not pump your brakes!
• Have the battery recharged before
driving the vehicle.
Page 173 of 371
Driving your vehicle26
4
1
2
3
4
5
6
7
8
9
Tilt steering (if equipped)A tilt steering wheel allows you to
adjust the steering wheel before you
drive.You can also raise it to the
highest level to give your legs more
room when you exit and enter the
vehicle.
The steering wheel should be posi-
tioned so that it is comfortable for
you to drive, while permitting you to
see the instrument panel warning
lights and gauges. To change the steering wheel angle,
pull down (
➀) the lock release lever,
adjust the steering wheel to the
desired angle (
➁), then pull up the
lock-release lever to lock the steering
wheel in place.
Be sure to adjust the steering wheel
to the desired position before driving.
WARNING -
Steering
wheel
Never adjust the angle of steering wheel while driving.
You may lose your steering
control and cause severe per-
sonal injury or accidents.
After adjusting, push the steering wheel both up and
down to be certain it is locked
in position.
OKM049087
Page 175 of 371
Driving your vehicle28
4
1
2
3
4
5
6
7
8
9
The cruise control system allows you
to program the vehicle to maintain a
constant speed without resting your
foot on the accelerator pedal.
With cruise control, you can set and
automatically maintain any speed of
between 40 km/h (24 mph) and
160 km/h (96 mph).
To set cruise control speed:1. Push the CRUISE ON-OFF button
on the steering wheel, to turn the
system on. The CRUISE indicator
light in the instrument cluster will
illuminate.
2. Accelerate to the desired speed, which must be more than 40 km/h
(24 mph) and less than 160 km/h
(96 mph).
CRUISE CONTROL SYSTEM (IF EQUIPPED)
WARNING
- Cruise
control
Do not use the cruise control
feature under the following con-
ditions:
Heavy or unsteady traffic
Slippery or winding roads
Situations that involve varying speeds
8KMB2186
Page 176 of 371

429
Driving your vehicle
1
2
3
4
5
6
7
8
9
3. Push down the - / SET switch, andrelease it at the speed you want.
The “SET” indicator light in the
instrument cluster will illuminate.
Release the accelerator at the
same time. The desired speed will
automatically be maintained.The SET function cannot be activateduntil approximately 2 seconds after theCRUISE ON-OFF button has beenengaged.
On a steep grade, the vehicle maymomentarily slow down while goingdownhill.
To cancel cruise control, do
one of the following: Press the brake pedal.
Press the clutch pedal with a manu- al transaxle or shift into N (Neutral)
with an automatic transaxle.
Pull the CANCEL switch.Each of these actions will cancel cruise control operation (the “SET”indicator light in the instrument clus-ter will go OFF), but it will not turn thesystem off. If you wish to resumecruise control operation, push up the+ / RES
switch located on your steer-
ing wheel. You will return to your pre- viously preset speed.
WARNING
If the cruise control is left on,
(CRUISE indicator light in the
instrument cluster illuminated)
the cruise control can be
switched on accidentally. Keep
the cruise control system off
(CRUISE indicator light OFF)
when cruise control is not in
use.
8KMB2187
8KMB2188
Page 180 of 371
433
Driving your vehicle
1
2
3
4
5
6
7
8
9
ESC operation off
ESC OFF statepress the ESC OFF button
(ESC OFF indicator light
illuminates).
turned to LOCK position
when ESC is off, ESC
remains off. Upon restart-
ing the engine, the ESC
will automatically turn on
again.
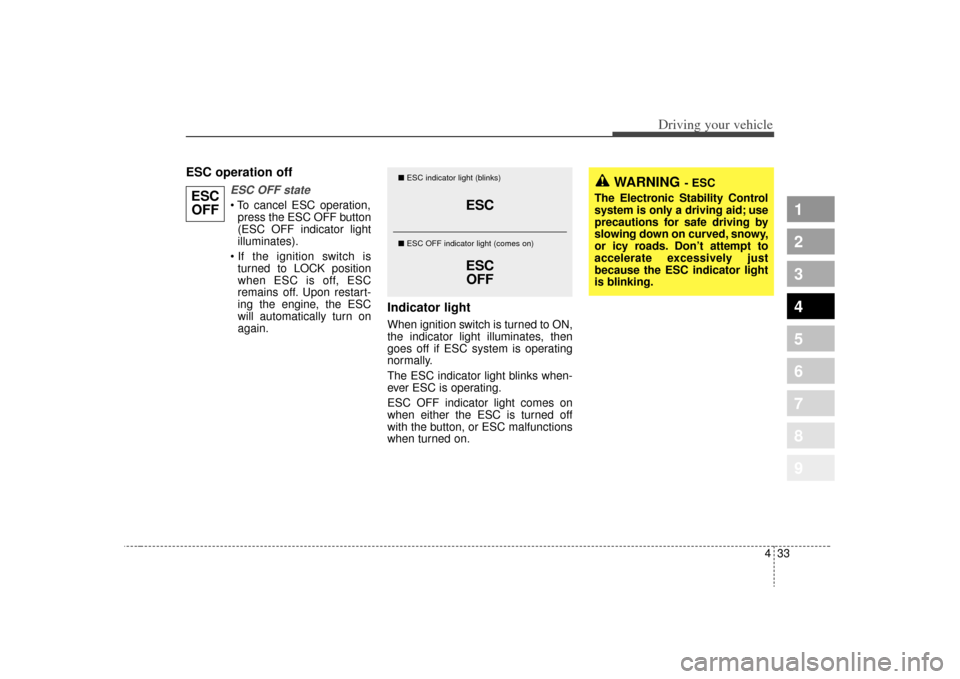
Indicator lightWhen ignition switch is turned to ON,
the indicator light illuminates, then
goes off if ESC system is operating
normally.
The ESC indicator light blinks when-
ever ESC is operating.
ESC OFF indicator light comes on
when either the ESC is turned off
with the button, or ESC malfunctions
when turned on.■ ESC indicator light (blinks)
■ ESC OFF indicator light (comes on)
WARNING
- ESC
The Electronic Stability Control
system is only a driving aid; use
precautions for safe driving by
slowing down on curved, snowy,
or icy roads. Don’t attempt to
accelerate excessively just
because the ESC indicator light
is blinking.
ESC OFF
ESC
ESCOFF