Page 123 of 356
Features of your vehicle114
3The trip computer is a microcomputer-
controlled driver information system that
displays information related to driving,
including compass, distance to empty,
driving time, average fuel consumption
and outside temperature on the display
when the ignition switch is in ON posi-
tion. All stored driving information is reset
if the battery is disconnected.
Mode selectionThe compass is always displayed until
the display is turned off.
Push the MODE button to select distance
to empty, driving time, average fuel con-
sumption and outside temperature func-
tions.
CompassThe vehicle compass displays the direc-
tion the vehicle is heading.
Heading display
- E : East
- W : West
- S : South
- N : North
ex) NE : North East✽ ✽
NOTICEIf new vehicle is first driven, perform
calibration procedure as follows.
TRIP COMPUTER (IF EQUIPPED)
1VQA2315
Driving time (ET)
Average fuel consumption
(AVG)
Outside temperature
OFF
Distance to empty (RANGE)
1VQA2211
Page 127 of 356
Features of your vehicle118
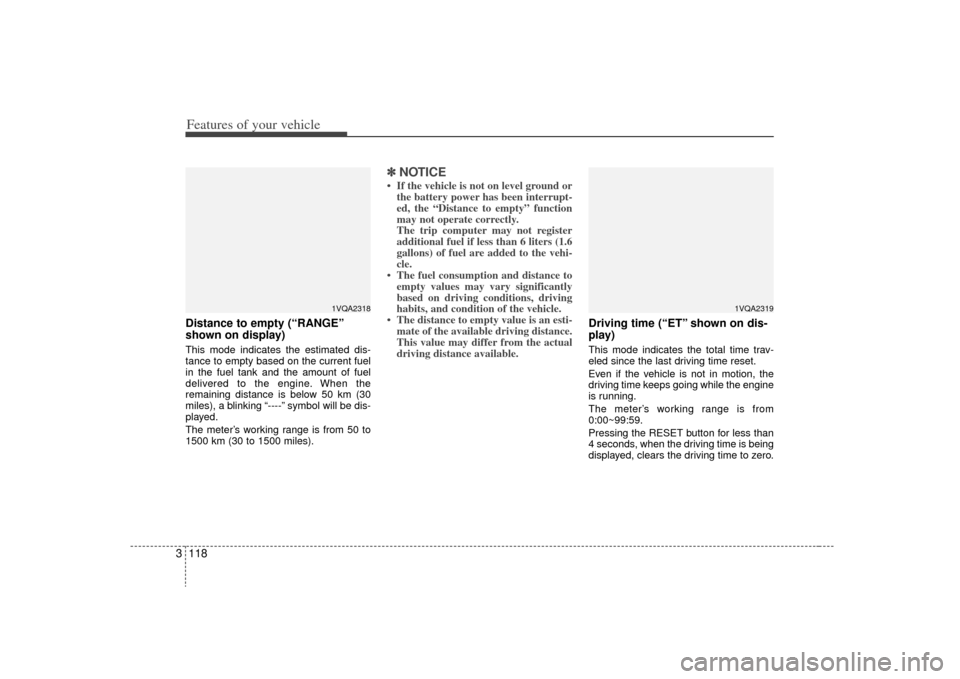
3Distance to empty (“RANGE”
shown on display)This mode indicates the estimated dis-
tance to empty based on the current fuel
in the fuel tank and the amount of fuel
delivered to the engine. When the
remaining distance is below 50 km (30
miles), a blinking “----” symbol will be dis-
played.
The meter’s working range is from 50 to
1500 km (30 to 1500 miles).
✽ ✽
NOTICE• If the vehicle is not on level ground or
the battery power has been interrupt-
ed, the “Distance to empty” function
may not operate correctly.
The trip computer may not register
additional fuel if less than 6 liters (1.6
gallons) of fuel are added to the vehi-
cle.
• The fuel consumption and distance to empty values may vary significantly
based on driving conditions, driving
habits, and condition of the vehicle.
• The distance to empty value is an esti- mate of the available driving distance.
This value may differ from the actual
driving distance available.
Driving time (“ET” shown on dis-
play)This mode indicates the total time trav-
eled since the last driving time reset.
Even if the vehicle is not in motion, the
driving time keeps going while the engine
is running.
The meter’s working range is from
0:00~99:59.
Pressing the RESET button for less than
4 seconds, when the driving time is being
displayed, clears the driving time to zero.
1VQA2319
1VQA2318
Page 137 of 356
Features of your vehicle128
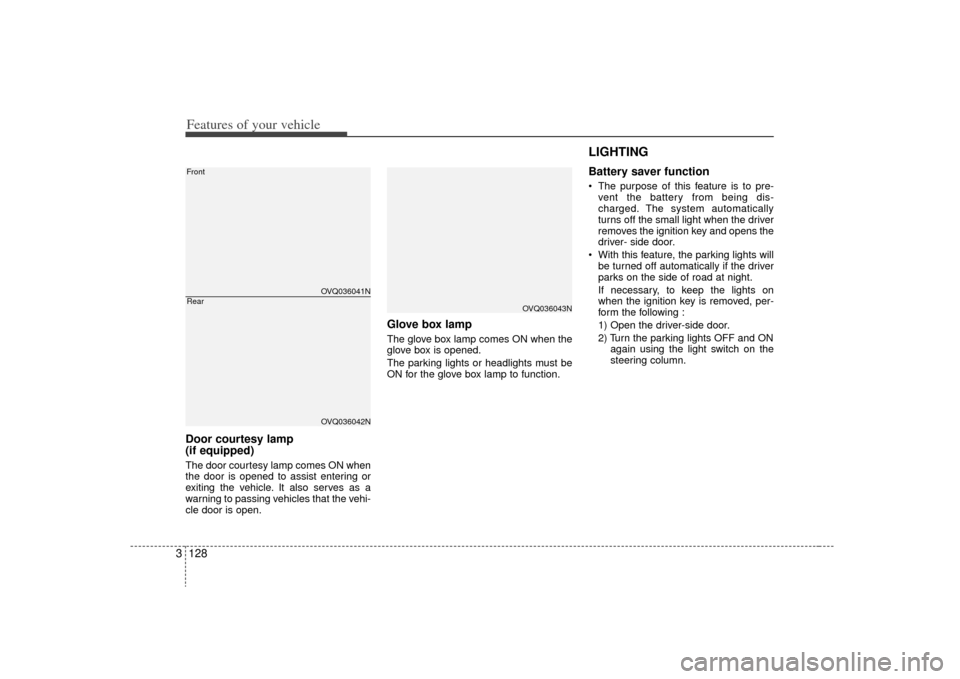
3Door courtesy lamp
(if equipped)The door courtesy lamp comes ON when
the door is opened to assist entering or
exiting the vehicle. It also serves as a
warning to passing vehicles that the vehi-
cle door is open.
Glove box lampThe glove box lamp comes ON when the
glove box is opened.
The parking lights or headlights must be
ON for the glove box lamp to function.
LIGHTING Battery saver function The purpose of this feature is to pre-
vent the battery from being dis-
charged. The system automatically
turns off the small light when the driver
removes the ignition key and opens the
driver- side door.
With this feature, the parking lights will be turned off automatically if the driver
parks on the side of road at night.
If necessary, to keep the lights on
when the ignition key is removed, per-
form the following :
1) Open the driver-side door.
2) Turn the parking lights OFF and ON again using the light switch on the
steering column.
OVQ036041NOVQ036042N
FrontRear
OVQ036043N
Page 139 of 356
Features of your vehicle130
3Headlight position ( )When the light switch is in the headlight
position (2nd position) the head, tail,
position, license and instrument panel
lights are ON.
High - beam operation To turn on the high beam headlights,
push the lever away from you. Pull it back
for low beams.
The high-beam indicator will light when
the headlight high beams are switched
on.
To prevent the battery from being dis-
charged, do not leave the lights on for a
prolonged time while the engine is not
running.
Flashing headlights To flash the headlights, pull the lever
towards you. It will return to the normal
(low-beam) position when released. The
headlight switch does not need to be on
to use this flashing feature.
OVQ036409N
OVQ036410N
1VQA2133
Page 140 of 356
3 131
Features of your vehicle
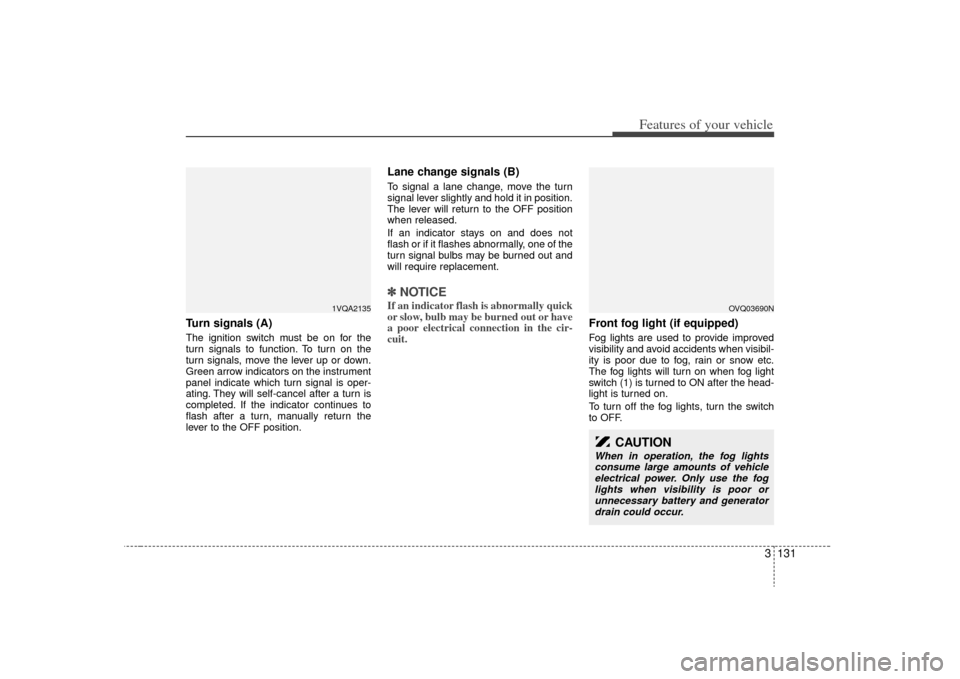
Turn signals (A)The ignition switch must be on for the
turn signals to function. To turn on the
turn signals, move the lever up or down.
Green arrow indicators on the instrument
panel indicate which turn signal is oper-
ating. They will self-cancel after a turn is
completed. If the indicator continues to
flash after a turn, manually return the
lever to the OFF position.
Lane change signals (B)To signal a lane change, move the turn
signal lever slightly and hold it in position.
The lever will return to the OFF position
when released.
If an indicator stays on and does not
flash or if it flashes abnormally, one of the
turn signal bulbs may be burned out and
will require replacement.✽ ✽NOTICEIf an indicator flash is abnormally quick
or slow, bulb may be burned out or have
a poor electrical connection in the cir-
cuit.
Front fog light (if equipped) Fog lights are used to provide improved
visibility and avoid accidents when visibil-
ity is poor due to fog, rain or snow etc.
The fog lights will turn on when fog light
switch (1) is turned to ON after the head-
light is turned on.
To turn off the fog lights, turn the switch
to OFF.
1VQA2135
CAUTION
When in operation, the fog lights
consume large amounts of vehicleelectrical power. Only use the foglights when visibility is poor or unnecessary battery and generatordrain could occur.
OVQ03690N
Page 162 of 356
3 153
Features of your vehicle
Adjusting the driver and passenger side
temperature equally
1. Press the DUAL button again to deac-tivate DUAL mode. The passenger
side temperature will be set to the
same as the driver side temperature.
2. Press the left temperature control but- ton. The driver and passenger side
temperature will be adjusted equally.Temperature conversionIf the battery has been discharged or dis-
connected, the temperature mode dis-
play will reset to Centigrade.
This is normal condition and you can
switch the temperature mode between
Centigrade to Fahrenheit as follows;
While depressing the AUTO button,
depress the OFF button for 3 seconds or
more. The display will change from
Centigrade to Fahrenheit, or from
Fahrenheit to Centigrade.
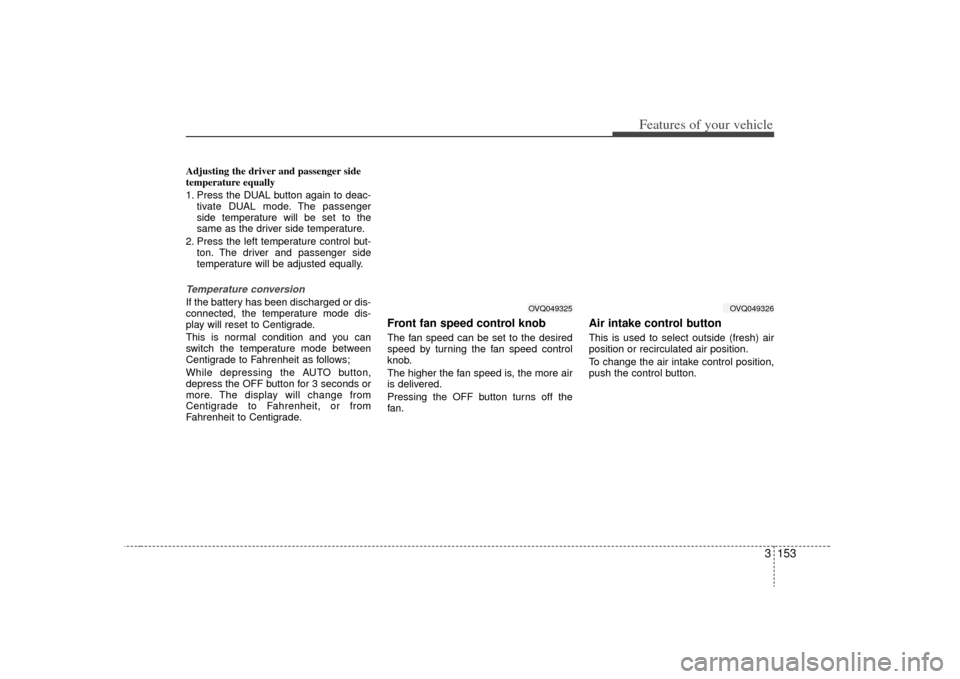
Front fan speed control knobThe fan speed can be set to the desired
speed by turning the fan speed control
knob.
The higher the fan speed is, the more air
is delivered.
Pressing the OFF button turns off the
fan.
Air intake control button This is used to select outside (fresh) air
position or recirculated air position.
To change the air intake control position,
push the control button.
OVQ049325
OVQ049326
Page 175 of 356
Features of your vehicle166
3Defogging logicManual climate control systemTo reduce the probability of fogging up
the inside of the windshield, the air intake
control is set to the outside (fresh) air
position automatically if any of following
occur. The mode is selected to the or
while the system is activated. The ignition switch is turned on while the
mode is selected to the or .
In this case, the air conditioning will auto-
matically operate if the mode is selected
to the or (while the fan is operat-
ed).
If you don’t want the air-conditioning or
outside (fresh) air position, press the cor-
responding button to cancel the opera-
tion. How to cancel or return defogging logic
of manual climate control system
1. Turn the ignition switch to the ON posi-
tion.
2. Turn the fan speed control knob to the OFF (0) position.
3. Turn the mode selection knob to the defrost position ( ).
4. Push the air intake control button ( ) at least 5 times within 3 sec-
onds. The indicator light in the air intake control
button will blink 3 times with 0.5 second
of interval. It indicates that the defogging
logic is canceled or returned to the pro-
grammed status.
If the battery has been discharged or dis-
connected, it is reset as the defog logic
status.
OVQ049341
Page 176 of 356
3 167
Features of your vehicle
Automatic climate control systemTo reduce the probability of fogging up
inside of the windshield, the air intake
control is set to outside (fresh) air posi-
tion automatically if any of following
occur.
The ignition switch is turned on whilethe mode is selected to the
,
.
The OFF button is pushed.
The mode is selected to the or position.
In this case, the air conditioning will auto-
matically operate if the mode is selected
to the (while the fan is operated) or .
If you don’t want the air-conditioning or
outside (fresh) air position, press the cor-
responding button to cancel the opera-
tion.
If the mode is selected to the posi-
tion, higher fan speed will be selected
automatically regardless of the fan speed
control knob adjustment. How to cancel or return defogging logic
of automatic climate control system
1. Turn the ignition switch to the ON posi-
tion.
2. Select the defrost position pressing defrost button ( ).
3. While holding the air conditioning but- ton (A/C) pressed, press the air intake
control button ( ) at least 5 times
within 3 seconds.
The display panel blinks 3 times with 0.5
second of interval. It indicates that the
defogging logic is canceled or returned to
the programmed status.
If the battery has been discharged or dis-
connected, it is reset as the defog logic
status. To keep items from shifting in the cargo
area, you can use the four holders locat-
ed in the cargo area to attach the lug-
gage net.
Contact your authorized Kia dealer to
obtain a luggage net.
OVQ049342
OVQ036085N
LUGGAGE NET HOLDER
(IF EQUIPPED)