Page 87 of 219

Knowing your vehicle78
3Sunshade The sunshade will be opened with the
glass panel automatically when the glass
panel is slid. You will have to close it man-
ually if you want it closed.
✽ ✽
NOTICE• Do not press any sunroof control but-
ton longer than necessary. Damage to
the motor or system components
could occur.
• Periodically remove any dirt that may accumulate on the guide rail.
• If you try to open the sunroof when the temperature is below freezing or
when the sunroof is covered with snow
or ice, the glass or the motor could be
damaged.
• The sunroof is made to slide together with sunshade. Do not leave the sun-
shade closed while the sunroof is open.
Resetting the sunroofWhenever the vehicle battery is discon-
nected or discharged, you have to reset
your sunroof system as follows:
1. Turn the ignition key to the ON posi-
tion.
2. Set the sunroof to the maximum TILT- UP position using the corresponding
sunroof switch.
3. Then, release it.
4. Press and hold the TILT UP button once again until the sunroof has
returned to the original position of TILT
UP after it is raised a little higher than
the maximum TILT UP position. This
may take several seconds.
When this is complete, the sunroof system is reset.
1JBA3110
WARNING
Do not extend face or arms out- side through the sunroof opening
while driving.
Make sure hand and face are safely out of the way before clos-
ing a sunroof.
Page 106 of 219

397
Knowing your vehicle
✽
✽NOTICE FOR USING iPod
DEVICE• Some iPod models might not sup- port the communication protocol
and the files will not be played.
(iPod models supported: Mini, 4G,
Photo, Nano, 5G)
• The order of search or playback of songs in the iPod can be different
from the order searched in the
audio system.
• If the iPod crashes due to its own trouble, reset the iPod. (Reset:
Refer to iPod manual)
• An iPod may not operate normally on low battery.
CAUTION IN USING
iPod DEVICE
You need the power cable exclu-
sive for an iPod in order to oper-ate an iPod with the buttons on the audio system. The PC cableprovided by Apple may cause amalfunction and do not use it for vehicle use.
When connecting the device with an iPod cable, push in the jackfully to not to interfere with com-munication.
When adjusting the sound effects of an iPod and the audio system,the sound effects of both deviceswill overlap and might reduce ordistort the quality of the sound.
Deactivate (turn off) the equalizer function of an iPod when adjust-ing the audio system’s volume, and turn off the equalizer of theaudio system when using the equalizer of an iPod.
(Continued)
(Continued) When the iPod cable is connected, the system can be switched to theAUX mode even without the iPod device and can cause noise.Disconnect the iPod cable when you are not using the iPod device.
When the iPod is not used for the audio system, the iPod cable hasto be separate from iPod device. Original display of iPod may not bedisplayed.
Page 108 of 219

Driving your vehicle24Ignition switch and anti-theft
steering column lock
Ignition switch positionLOCK
The steering wheel locks to protect
against theft. The ignition key can be
removed only in the LOCK position.
When turning the ignition switch to the
LOCK position, push the key inward at
the ACC position and turn the key toward
the LOCK position (manual transaxle).
ACC (Accessory)
The steering wheel is unlocked and elec-
trical accessories are operative.✽ ✽
NOTICEIf difficulty is experienced turning the
ignition switch to the ACC position, turn
the key while turning the steering wheel
right and left to release the tension.ON
This is the normal running position after
the engine is started. The warning lights
can be checked before the engine is
started.Do not leave the ignition switch ON if the
engine is not running to prevent batterydischarge.
START
Turn the ignition key to the START posi-
tion to start the engine. The engine will
crank until you release the key; then it
returns to the ON position. The brake
warning lamp can be checked in this
position.Automatic transaxleWhen turning the ignition switch to the
LOCK position, the shift lever must be in
the P (Park) position.
IGNITION SWITCH
1JBH32011JBN3201
Manual Transaxle
Automatic Transaxle
WARNING
When you intend to park or stop the
vehicle with the engine on, be care-
ful not to depress the accelerator
pedal for a long period of time. It
may overheat the engine or exhaust
system and cause fire.
Page 119 of 219

413
Driving your vehicle
✽
✽NOTICE• If the ABS warning light is on and
stays on, you may have a problem
with the ABS. In this case, however,
your regular brakes will work nor-
mally.
• The ABS warning light will stay on for approximately 3 seconds after the
ignition switch is ON. During that
time, the ABS will go through self-
diagnosis and the light will go off if
everything is normal. If the light stays
on, you may have a problem with your
ABS. Contact an authorized Kia deal-
er as soon as possible.
✽ ✽ NOTICE• When you drive on a road having
poor traction, such as an icy road, and
operate your brakes continuously, the
ABS will be active continuously and
the ABS warning light may illuminate.
Pull your car over to a safe place and
stop the engine.
• Restart the engine. If the ABS warn- ing light is off, then your ABS is nor-
mal. Otherwise, you may have a prob-
lem with the ABS. Contact an author-
ized Kia dealer as soon as possible.✽ ✽ NOTICEWhen you jump start your vehicle
because of a drained battery, the engine
may not run as smoothly and the ABS
warning light may turn on at the same
time. This happens because of the low
battery voltage. It does not mean your
ABS is malfunctioning.
• Do not pump your brakes!
• Have the battery recharged before
driving the vehicle.
ABS
W-78
Page 129 of 219

423
Driving your vehicle
Battery saver function
(if equipped) The purpose of this feature is to pre-vent the battery from being dis-
charged. The system automatically
turns off the headlights and parking
lights when the driver removes the igni-
tion key and opens the driver- side
door.
With this feature, the parklight will be turned off automatically if the driver
parks on the side of road at night.
If necessary, to keep the lights on when
the ignition key is removed, perform the
following :
1) Open the driver-side door.
2) Turn the parking lights OFF and ON again using the light switch on the
steering column.
Lighting control The light switch has a headlight and a
parking light position.
To operate the lights, turn the knob at the
end of the control lever to one of the fol-
lowing positions:
(1) OFF position
(2) Parking light position
(3) Headlight position
Parking light position ( )When the light switch is in the parking
light position (1st position), the tail, posi-
tion, license and instrument panel lights
are ON.
LIGHTING
OJB049012
OJB049011
Page 130 of 219
Driving your vehicle24
4Headlight position ( )When the light switch is in the headlight
position (2nd position) the head, tail,
position, license and instrument panel
lights are ON.
High - beam operation To turn on the high beam headlights,
push the lever away from you. Pull it back
for low beams.
The high-beam indicator will light when
the headlight high beams are switched
on.
To prevent the battery from being dis-
charged, do not leave the lights on for a
prolonged time while the engine is not
running.
Flashing headlights To flash the headlights, pull the lever
towards you. It will return to the normal
(low-beam) position when released. The
headlight switch does not need to be on
to use this flashing feature.
OJB049016
OJB049013
OJB049015
Page 131 of 219

425
Driving your vehicle
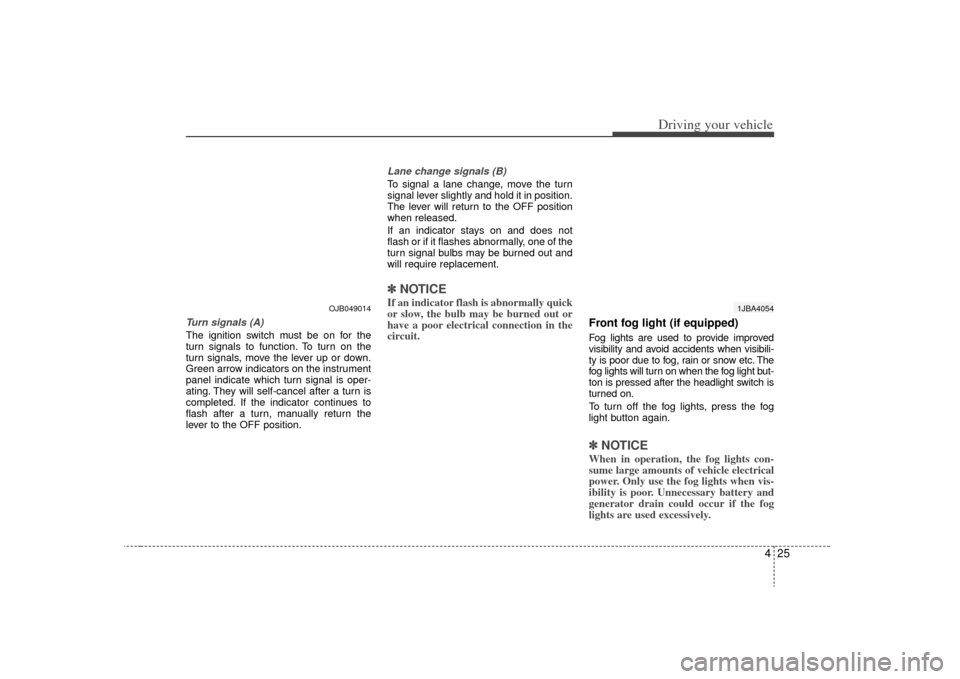
Turn signals (A)The ignition switch must be on for the
turn signals to function. To turn on the
turn signals, move the lever up or down.
Green arrow indicators on the instrument
panel indicate which turn signal is oper-
ating. They will self-cancel after a turn is
completed. If the indicator continues to
flash after a turn, manually return the
lever to the OFF position.
Lane change signals (B)To signal a lane change, move the turn
signal lever slightly and hold it in position.
The lever will return to the OFF position
when released.
If an indicator stays on and does not
flash or if it flashes abnormally, one of the
turn signal bulbs may be burned out and
will require replacement.✽ ✽NOTICEIf an indicator flash is abnormally quick
or slow, the bulb may be burned out or
have a poor electrical connection in the
circuit.
Front fog light (if equipped) Fog lights are used to provide improved
visibility and avoid accidents when visibili-
ty is poor due to fog, rain or snow etc. The
fog lights will turn on when the fog light but-
ton is pressed after the headlight switch is
turned on.
To turn off the fog lights, press the fog
light button again.✽ ✽NOTICEWhen in operation, the fog lights con-
sume large amounts of vehicle electrical
power. Only use the fog lights when vis-
ibility is poor. Unnecessary battery and
generator drain could occur if the fog
lights are used excessively.
1JBA4054
OJB049014
Page 135 of 219

429
Driving your vehicle
Rear window wiper and washerswitch (if equipped)The rear window wiper and washer
switch is located at the end of the wiper
and washer switch lever. Turn the switch
to desired position to operate the rear
wiper and washer.
- Spraying washer fluid and wiping
ON - Normal wiper operation
OFF - Wiper is not in operation The defroster heats the window to
remove frost, fog and thin ice from the
interior and exterior of the rear window,
while engine is running.
✽ ✽
NOTICE• To prevent damage to the conductors
bonded to the inside surface of the
rear window, never use sharp instru-
ments or window cleaners containing
abrasives to clean the window.
• To prevent the battery from being dis- charged, the rear window defroster
will only operate when the engine is
running. (Continued)(Continued)
• If you want to defrost and defog on
the front windshield, refer to
“Windshield Defrosting and
Defogging” in this section.
To activate the rear window defroster,
press the rear window defroster button
located in the center console switch
panel. The indicator on the rear window
defroster button illuminates when the
defroster is ON.
If there is heavy accumulation of snow on
the rear window, brush it off before oper-
ating the rear defroster.
The rear window defroster automatically
turns off after 20 minutes or when the
ignition switch is turned off. To turn off the
defroster, press the rear window
defroster button again.Outside mirror heater
(if equipped)There is no control button for the outside
mirror heater; instead the outside mirror
heater automatically turns on when the
rear window defroster is turned on.
OMC048906N
DEFROSTER
1JBN4022