Page 230 of 321

67
In case of an emergency
WARNING
- Fuse replace-ment
Never replace a fuse with any-
thing but another fuse of the
same rating.
A higher capacity fuse could cause damage and possibly a
fire.
Never install a wire instead of the proper fuse - even as a temporary
repair. It may cause extensive
wiring damage and possibly a
fire.
Do not use a screwdriver or any other metal object to remove
fuses because it may cause a
short circuit and damage the sys-
tem.
This vehicle has two fuse panels, one
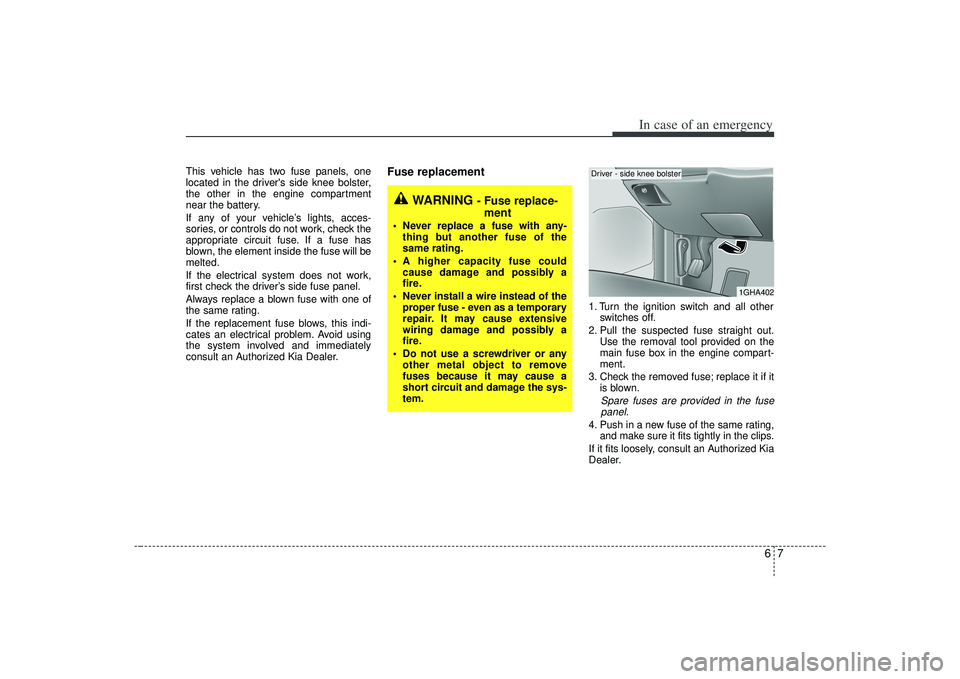
located in the driver's side knee bolster,
the other in the engine compartment
near the battery.
If any of your vehicle’s lights, acces-
sories, or controls do not work, check the
appropriate circuit fuse. If a fuse has
blown, the element inside the fuse will be
melted.
If the electrical system does not work,
first check the driver’s side fuse panel.
Always replace a blown fuse with one of
the same rating.
If the replacement fuse blows, this indi-
cates an electrical problem. Avoid using
the system involved and immediately
consult an Authorized Kia Dealer.
Fuse replacement
1. Turn the ignition switch and all other switches off.
2. Pull the suspected fuse straight out. Use the removal tool provided on the
main fuse box in the engine compart-
ment.
3. Check the removed fuse; replace it if it is blown.
Spare fuses are provided in the fusepanel.
4. Push in a new fuse of the same rating, and make sure it fits tightly in the clips.
If it fits loosely, consult an Authorized Kia
Dealer.
1GHA402
Driver - side knee bolster
Page 231 of 321
In case of an emergency86If you do not have a spare, use a fuse ofthe same rating from a circuit you maynot need for operating the vehicle, suchas the radio or room lamp fuse.If the headlights or other electrical com-
ponents do not work and the fuses are
OK, check the fuse block in the engine
compartment. If a fuse is blown, it must
be replaced. To check the fuse or relay in the engine
compartment, remove the engine com-
partment shroud.
1. Turn the ignition switch and all other
switches off.
2. Remove the fuse box cover by remov- ing the bolt on the cover and unhook-
ing the tab on one end and tilting the
cover back toward the other end.
3. Check the fuses. If one is blown, replace it with a new one of the same
rating.
✽ ✽NOTICEAfter checking the fuse box in the engine
compartment, securely install the fuse
box cover. If not, electrical failures may
occur from water leaking in.
1GHA403A
1GHA404
OGH056001
Engine compartment➀
➁
➀
Junction Box
➁ Main Fuse
Page 235 of 321

In case of an emergency12
6
Power connectorYour vehicle is equipped with a power connector to prevent bat-
tery discharge if your vehicle is parked without being operated
for prolonged periods. Use the following procedures before
parking the vehicle for prolonged period.
1. Turn off the engine.
2. Turn off the headlights and tail lights.
3. Open the driver-side knee bolster cover and pull up the
“POWER/CONN”.✽ ✽NOTICE• If the power connector is pulled up from the fuse panel, the
warning chime, AV system, clock and intetrior lamps, etc.,
will not operate. Some items must be reset after replace-
ment.
• Even though the power connector is pulled up, the battery can still be discharged by operation of the headlights or
other electrical devices.
Description Fuse rating Protected component
A/CON 10A Air-conditioning system
P/WDW(LH) 20A Power window (left)
TAIL LP(RH) 10A Taillight (right)
BACK WARN’G 10A Back warning
DR LP 10A Door courtesy lamp
MIRROR HTD 15A Outside review mirror defroster
ENG SNSR 10A
Power train control system sensors
T/REDUCER10A Seat belt tension reducer
CLOCK 10A Clock
WIPER(FR) 25A Wiper (front)
EPS 10A Electronic power steering
TAIL LP(LH) 10A Tail light (left)
ROOM LP 10A Room lamp
AV, CLOCK 15A Audio, Clock
LAN UNIT 10A Lan unit
TPMS 15A Tire pressure monitoring system
H/LP WASHER 20A Headlight washer
SHUNT CONN - Switch illumination
POWER/CONN - Power connector
1GHA403
Power
connector
Page 260 of 321

Maintenance10
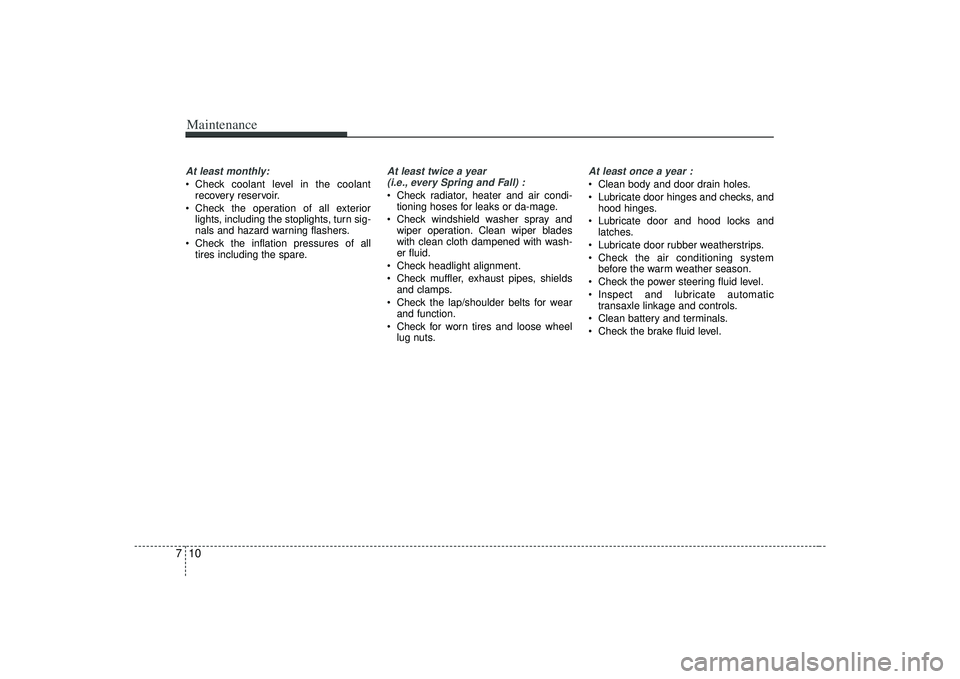
7At least monthly: Check coolant level in the coolant
recovery reservoir.
Check the operation of all exterior lights, including the stoplights, turn sig-
nals and hazard warning flashers.
Check the inflation pressures of all tires including the spare.
At least twice a year (i.e., every Spring and Fall) : Check radiator, heater and air condi- tioning hoses for leaks or da-mage.
Check windshield washer spray and wiper operation. Clean wiper blades
with clean cloth dampened with wash-
er fluid.
Check headlight alignment.
Check muffler, exhaust pipes, shields and clamps.
Check the lap/shoulder belts for wear and function.
Check for worn tires and loose wheel lug nuts.
At least once a year : Clean body and door drain holes.
Lubricate door hinges and checks, andhood hinges.
Lubricate door and hood locks and latches.
Lubricate door rubber weatherstrips.
Check the air conditioning system before the warm weather season.
Check the power steering fluid level.
Inspect and lubricate automatic transaxle linkage and controls.
Clean battery and terminals.
Check the brake fluid level.
Page 277 of 321

727
Maintenance
For best battery service : Keep the battery securely mounted.
Keep the battery top clean and dry.
Keep the terminals and connectionsclean, tight, and coated with petroleum
jelly or terminal grease.
Rinse any spilled electrolyte from the battery immediately with a solution of
water and baking soda.
If the vehicle is not going to be used for an extended time, disconnect the bat-
tery cables.
Battery recharging Your vehicle has a maintenance-free,
calcium-based battery.
If the battery becomes discharged in ashort time (because, for example, the
headlights or interior lights were left on
while the vehicle was not in use),
recharge it by slow charging (trickle)
for 10 hours.
If the battery gradually discharges because of high electric load while the
vehicle is being used, recharge it at 20-
30A for two hours.
Items to be reset after the battery hasbeen discharged or the battery has been disconnected. Driver seat position memory system (See Chapter 3)
Power window (See Chapter 3)
Clock (See Chapter 3)
Climate control system (See Chapter 4)
Audio (See Chapter 3)
Sunroof (See Chapter 3)
CBGQ0705
Page 291 of 321

741
Maintenance
BULB REPLACEMENT Use only the bulbs of the specifiedwattage.
Headlight bulb replacement ✽
✽ NOTICEAfter heavy, driving rain or washing,
headlight and taillight lenses could
appear frosty. This condition is caused by
the temperature difference between the
lamp inside and outside. This is similar
to the condensation on your windows
inside your vehicle during the rain and
doesn’t indicate a problem with your
vehicle. If the water leaks into the lamp
bulb circuitry, have the vehicle checked
by an Authorized Kia Dealer.
WARNING
- Working on
the lights
Prior to working on the light, firmly
apply the parking brake and ensure
that the ignition switch is turned to
the “LOCK” position to avoid sud-
den movement of the vehicle and
burning your fingers or receiving an
electric shock.
CAUTION
If you don’t have necessary tools,
the correct bulbs and the expertise,consult an Authorized Kia Dealer. In many cases, it is difficult to replacevehicle light bulbs because otherparts of the vehicle must beremoved before you can get the bulb. Especially if you must removethe front bumper to replace the lightbulbs in the front of the vehicle. This may result in damage to thevehicle.
OGH056016
➀ Headlight (High)
➁ Headlight (Low)
➂ Front fog light
➃ Position light
➄ Front turn signal light
\b Side mark light
WARNING
- Halogen bulbs
Halogen bulbs contain pressur-
ized gas that will produce flying
pieces of glass if broken.
Always handle them carefully, and avoid scratches and abra-
sions. If the bulbs are lit, avoid
contact with liquids. Never touch
the glass with bare hands.
Residual oil may cause the bulb
to overheat and burst when lit. A
bulb should be operated only
when installed in a headlight.
(Continued)
G270A03ON
Page 293 of 321
743
Maintenance
Interior light bulb replacement1. Using a flat-blade screwdriver, gentlypry the lens from the interior light
housing.
2. Remove the bulb by pulling it straight out.
3. Install a new bulb.
4. Align the lens tabs with the interior light housing notches and snap the
lens into place.
2GHA424
OFFDOORON
2GHA746
1GHA5611GHA4311GHA432
Front map lamp
Center dome lamp
Vanity mirror lampTrunk room lampGlove box lamp
WARNING
- HID Headlight
low beam (if equipped)
Prior to working on the Interior
Lights, ensure that the “OFF” but-
ton is depressed to avoid burning
your fingers or receiving an electric
shock.
Page 304 of 321

Specifications28DimensionsLight Bulbs
1)HID(High Intensity Discharge) type2)Sunroof type
Itemin (mm)
Overall length 196.9 (5,000)
Overall width 72.8 (1,850)
Overall height 58.5 (1,485)
Front tread 62.4 (1,585)
Rear tread 62.6 (1,590)
Wheelbase 110.2 (2,800)
SPECIFICATIONSThe specifications given here are for general information only. Although this information was accurate at the time of printing, Kia
reserves the right to change its vehicles or their specifications without notice. Please check with an authorized Kia dealer for more
precise and more up-to-date information.
Light Bulb Wattage
Headlight (High) 55
Headlight (Low) 55 or 35
1)
Front turn signal lights (LED type) 14.5
Position lights 5
Side mark lights 5
Front fog lights (if equipped) 55
Stop and tail lights 27/8
Rear turn signal lights 28
Back-up lights 18
High mounted stop light (LED type) 2.5
License plate lights 5
Front map lamp 8 or 10
2)
Center dome lamp 10
Door courtesy lamps 5
Vanity mirror lamps 1.5
Trunk room lamp 5
Foot lamp 5
Glove box lamp 5