Page 22 of 506
” under “Electronic Vehicle Information Center
(EVIC)” in Section 4.
The interior lights will fade to off after approximately
30 seco")
under “Personal Settings (Customer-Programmable Fea-
tures)” under “Electronic Vehicle Information Center
(EVIC)” in Section 4.
The interior lights will fade to off after approximately
30 seconds or they will immediately fade to off once the
ignition switch is turned ON.
NOTE:
•The Illuminated Entry system will not operate the
interior lights if the dimmer control is in the extreme
downward position.
REMOTE KEYLESS ENTRY (RKE)
This system allows you to lock or unlock the doors and
liftgate, open the liftgate flip-up window, or activate the
PANIC alarm from distances up to approximately 66 ft
(20 m) using a hand-held Remote Keyless Entry (RKE)
transmitter. The RKE transmitter does not need to be
pointed at the vehicle to activate the system. However,the line of transmission must not be blocked with metal
objects when using the RKE transmitter.
NOTE:
Inserting the key into the ignition switch dis-
ables all buttons on the RKE transmitter.
Vehicle Key
20 THINGS TO KNOW BEFORE STARTING YOUR VEHICLE
Page 60 of 506

•Airbag Warning Light
•Driver Airbag
•Front Passenger Airbag
•Side Curtain Airbags")
Airbag System Components
The airbag system consists of the following:
•Occupant Restraint Controller (ORC)
•Airbag Warning Light
•Driver Airbag
•Front Passenger Airbag
•Side Curtain Airbags above Side Windows
•Side Remote Acceleration Sensors
•Steering Wheel and Column
•Instrument Panel
•Interconnecting Wiring
•Front Acceleration Sensors
•Front Passenger Seat Belt Pretensioner and Retractor
— If Equipped
•Occupant Classification System (OCS) — Front Pas-
senger Seat Only
�Occupant Classification Module (OCM)
�Passenger Airbag Disable (PAD) Indicator Light
�Weight Sensors
How the Airbag System Works
•
TheOccupant Restraint Controller (ORC) determines
if a frontal, side, or rollover collision is severe enough
to require the airbags to inflate. The front airbag
inflators are designed to provide different rates of
airbag inflation from direction provided by the ORC.
The ORC may also modify the rate of inflation based
on the occupant size. The ORC receives this data from
the Occupant Classification Module (OCM). The ORC
will detect rollovers, but not rear impacts.
58 THINGS TO KNOW BEFORE STARTING YOUR VEHICLE
Page 88 of 506
 System —
If Equipped .......................... 122
▫ Voice Recognition (VR) System Operation . . . 122
▫ Commands ........................ 124
▫ Voice Training .......")
�Voice Recognition (VR) System —
If Equipped .......................... 122
▫ Voice Recognition (VR) System Operation . . . 122
▫ Commands ........................ 124
▫ Voice Training ...................... 127
� Seats .............................. 127
▫ Manual Front Seat Adjustments .......... 127
▫ Recliner Adjustment .................. 128
▫ Lumbar Support — If Equipped .......... 129
▫ Fold-Flat Front Passenger Seat — If
Equipped .......................... 129
▫ Power Seat — If Equipped .............. 130
▫ Head Restraints ..................... 131
▫ Heated Seats — If Equipped ............ 132▫
60/40 Split Folding Rear Seat With Fold-Flat
Feature ........................... 133
� Driver Memory Seat — If Equipped ........ 136
▫ Programming The Memory Feature ....... 136
▫ Linking And Unlinking The Remote Keyless
Entry Transmitter To Memory ........... 138
▫ Memory Position Recall ................ 138
▫ Easy Entry/Exit Seat (Available With
Memory Seat Only) ................... 139
� To Open And Close The Hood ............ 140
� Lights ............................. 142
▫ Exterior And Interior Lighting Control ..... 142
▫ Headlights And Parking Lights .......... 143
▫ Automatic Headlights — If Equipped ...... 143
86 UNDERSTANDING THE FEATURES OF YOUR VEHICLE
Page 149 of 506

High Beam/Low Beam Select Switch
Push the multifunction lever away from you to switch
the headlights to high beam. Pull the multifunction lever
toward you, to switch the headlights back to low beam.
Flash-To-Pass
You can signal another vehicle with your headlights by
lightly pulling the multifunction lever toward you. This will
turn on the high beam headlights until the lever is released.
NOTE:If the multifunction lever is held in the flash-to-
pass position for more than 15 seconds, the high beams
will shut off. If this occurs, wait 30 seconds before
activating the flash-to-pass function again.
Interior Lights
Map/Reading Lights
These lights are mounted between the sun visors on the
overhead console and above the rear doors by the grab
handles. Each light is turned on by pressing the lens.
Press the lens a second time to turn off the light. These
lights also turn on when a door is opened, or when the
UNLOCK button on the Remote Keyless Entry (RKE)
transmitter is pressed, or when the dimmer control is
turned completely upward to the second detent.
High Beam Functions
UNDERSTANDING THE FEATURES OF YOUR VEHICLE 147
3
Page 155 of 506

•Use of Rain-X�or products containing wax or silicone
may reduce rain sensor performance.
•The rain-sensing feature can be turned on and off
through the Electronic Vehicle Information Center
(EVIC) — if equipped. For details, refer to “Personal
Settings (Customer-Programmable Features)” under
“Electronic Vehicle Information Center (EVIC)” in
Section 4 of this manual.
The rain-sensing system has protective features for the
wiper blades and arms. It will not operate under the
following conditions:
•Low Temperature Wipe Inhibit — The rain-sensing
feature will not operate when the ignition is first
switched ON, the vehicle is stationary, and the outside
temperature is below 32° F (0° C). If the wiper control
is moved, the vehicle speed becomes greater than 0 mph (0 km/h), or the outside temperature rises
above freezing the rain-sensing feature will then op-
erate.
•Neutral Wipe Inhibit
— The rain-sensing feature will
not operate when the ignition is ON, and the shift
lever is in the NEUTRAL position, and the vehicle
speed is less than 5 mph (8 km/h), unless the wiper
control is moved or the shift lever is moved out of the
NEUTRAL position.
•Remote Start Wipe Inhibit (Vehicles Equipped with
Remote Start System) — The rain-sensing feature will
not operate when the vehicle is in remote start mode.
This feature will return to normal operation once
remote start mode is exited. Refer to “Remote Start
System” in Section 2 of this manual for information on
remote start operation.
UNDERSTANDING THE FEATURES OF YOUR VEHICLE 153
3
Page 167 of 506
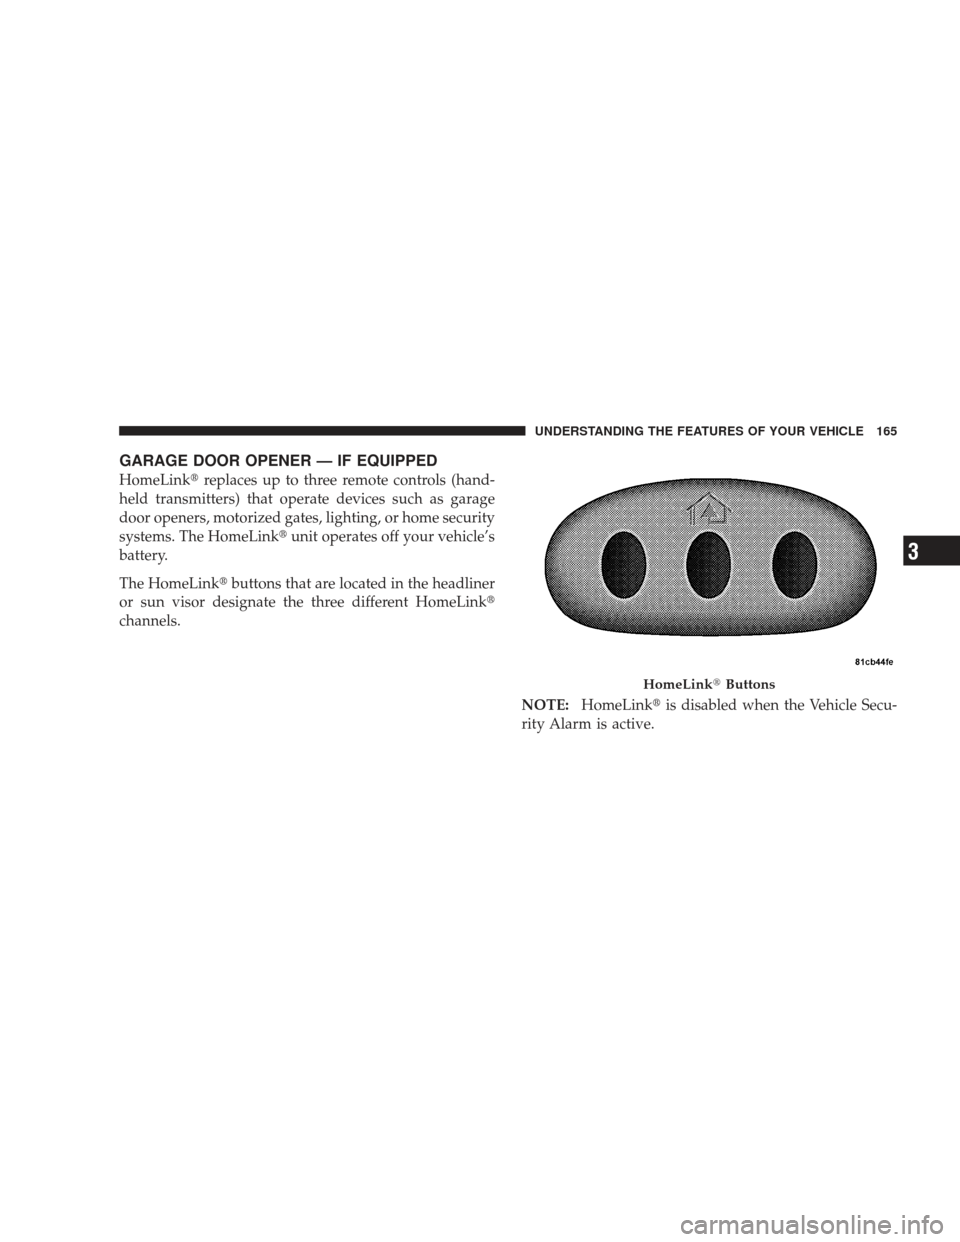
GARAGE DOOR OPENER — IF EQUIPPED
HomeLink�replaces up to three remote controls (hand-
held transmitters) that operate devices such as garage
door openers, motorized gates, lighting, or home security
systems. The HomeLink� unit operates off your vehicle’s
battery.
The HomeLink� buttons that are located in the headliner
or sun visor designate the three different HomeLink �
channels.
NOTE:HomeLink� is disabled when the Vehicle Secu-
rity Alarm is active.
HomeLink� Buttons
UNDERSTANDING THE FEATURES OF YOUR VEHICLE 165
3
Page 201 of 506
 ......... 266
▫ Selecting uconnect� studios
(Satellite) Mode ..................... 267
▫ Satellite Antenna .....................")
▫Electronic Serial Number/Sirius
Identification Number (ESN/SID) ......... 266
▫ Selecting uconnect� studios
(Satellite) Mode ..................... 267
▫ Satellite Antenna ..................... 267
▫ Reception Quality .................... 267
▫ Operating Instructions — uconnect� studios
(Satellite) Mode ..................... 268
▫ Operating Instructions — uconnect� phone
(If Equipped) ....................... 271
▫ Operating Instructions — Video
Entertainment System (VES)™
(If Equipped) ....................... 271 �
Remote Sound System Controls —
If Equipped .......................... 271
▫ Right-Hand Switch Functions ............ 272
▫ Left-Hand Switch Functions For Radio
Operation .......................... 272
▫ Left-Hand Switch Functions For Media
(i.e., CD) Operation ................... 272
� CD/DVD Maintenance ................. 273
� Climate Controls ...................... 274
▫ Manual Air Conditioning And Heating
System ............................ 274
▫ Automatic Temperature Control (ATC) —
If Equipped ........................ 277
▫ Operating Tips ...................... 283
UNDERSTANDING YOUR INSTRUMENT PANEL 199
4
Page 234 of 506

By pressing the SEEK button when the Music Type icon is
displayed, the radio will be tuned to the next frequency
station with the same selected Music Type name. The
Music Type function only operates when in the FM mode.
If a preset button is activated while in the Music Type
(Program Type) mode, the Music Type mode will be
exited and the radio will tune to the preset station.
SETUP Button
Pressing the SETUP button allows you to select between
the following items:
NOTE:Turn the TUNE/SCROLL control knob to scroll
through the entries. Push the AUDIO/SELECT button to
select an entry and make changes.
•DVD Enter - When the disc is in DVD Menu mode,
selecting DVD Enter will allow you to play the current
highlighted selection. Use the remote control to scroll
up and down the menu (if equipped).
•DISC Play/Pause - You can toggle between
playing the DVD and pausing the DVD by
pushing the SELECT button (if equipped).
•DVD Play Options - Selecting the DVD Play Options
will display the following:
•Subtitle – Repeatedly pressing SELECT will switch
subtitles to different subtitle languages that are
available on the disc (if equipped).
•Audio Stream – Repeatedly pressing SELECT will
switch to different audio languages (if supported on
the disc) (if equipped).
•Angle – Repeatedly pressing SELECT will change
the viewing angle if supported by the DVD disc (if
equipped).
232 UNDERSTANDING YOUR INSTRUMENT PANEL