Page 154 of 506

When this feature is active, the headlights will turn on
approximately 10 seconds after the wipers are turned on
if the multifunction lever")
Headlights with Wipers (Available with Auto
Headlights Only)
When this feature is active, the headlights will turn on
approximately 10 seconds after the wipers are turned on
if the multifunction lever (on the left side of the steering
column) is placed in the AUTO position. In addition, the
headlights will turn off when the wipers are turned off if
they were turned on by this feature.
The Headlights with Wipers feature can be turned on or
off through the Electronic Vehicle Information Center
(EVIC) — if equipped. For details, refer to ”Headlights
On with Wipers,” under “Personal Settings (Customer-
Programmable Features)” under “Electronic Vehicle In-
formation Center” in Section 4 of this manual.
Rain Sensing Wipers — If Equipped
This feature senses moisture on the windshield and
automatically activates the wipers for the driver. This
feature is especially useful for road splash or oversprayfrom the windshield washers of the vehicle ahead. Rotate
the end of the windshield wiper/washer control lever to
one of the five intermittent wiper settings to activate this
feature.
The sensitivity of the system is adjustable from the
windshield wiper/washer control lever. Wiper delay
position 1 is the least sensitive and wiper delay position
5 is the most sensitive. Choose position 3 for normal rain
conditions. Choose position 2 or 1 if you desire less wiper
sensitivity. Choose position 4 or 5 if you desire more
sensitivity. Place the lever in the off position when not
using the system.
NOTE:
•The rain-sensing feature will not operate when the
wiper speed is in the low or high position.
•The rain-sensing feature may not function properly
when ice or dried salt water is present on the wind-
shield.
152 UNDERSTANDING THE FEATURES OF YOUR VEHICLE
Page 159 of 506
, or normal brake
or clutch pressure while slowing the vehicle will deacti-
vate the speed")
To Deactivate
A soft tap on the brake pedal, or pulling the Electronic
Speed Control lever toward you (cancel), or normal brake
or clutch pressure while slowing the vehicle will deacti-
vate the speed control without erasing the set speed from
memory. Pressing the ON/OFF button or turning off the
ignition erases the set speed from memory.
NOTE:For vehicles equipped with a manual transmis-
sion, pressing the clutch pedal will disengage the speed
control. A slight increase in engine RPM before the
Electronic Speed Control disengages is normal.
To Resume Speed
If you deactivated the Electronic Speed Control without
erasing the set speed from memory and your vehicle
speed is above 20 mph (32 km/h) you can resume the
previous set speed. To do so, push the lever up and
release (Resume Accel), and then remove your foot from
the accelerator pedal.
To Vary the Speed Setting
When the Electronic Speed Control is set, you can in-
crease speed by pushing up and holding the RESUME
ACCEL lever. Release the lever when the desired speed is
reached and the new set speed will be established.
Tapping RESUME ACCEL once will result i na1mph
(2 km/h) speed increase. Each time the lever is tapped,
speed increases so that tapping the lever three times will
increase speed by 3 mph (5 km/h), etc.
To decrease speed while the Electronic Speed Control is
set, push down and hold the SET DECEL lever. Release
the lever when the desired speed is reached, and the new
set speed will be established.
Tapping the SET DECEL button once will result in a
1 mph (2 km/h) speed decrease. Each time the button is
tapped, speed decreases.
UNDERSTANDING THE FEATURES OF YOUR VEHICLE 157
3
Page 160 of 506

To Accelerate for Passing
Press the accelerator as you would normally. When the
pedal is released, the vehicle will return to the set speed.
Using Electronic Speed Control On Hills
NOTE:The Electronic Speed Control system maintains
speed up and down hills. A slight speed change on
moderate hills is normal.
On steep hills, a greater speed loss or gain may occur so
it may be preferable to drive without Electronic Speed
Control.
Vehicles equipped with a manual transmission may need
to be shifted into a lower gear to climb hills without
speed loss.
WARNING!
Electronic Speed Control can be dangerous where the
system cannot maintain a constant speed. Your ve-
hicle could go too fast for the conditions, and you
could lose control. An accident could be the result.
Do not use Electronic Speed Control in heavy traffic
or on roads that are winding, icy, snow-covered or
slippery.
REAR PARK ASSIST SYSTEM — IF EQUIPPED
The Rear Park Assist System is a driver aid that senses for
obstacles behind the vehicle and provides both visible
and audible warnings to indicate the range of the object.
158 UNDERSTANDING THE FEATURES OF YOUR VEHICLE
Page 167 of 506
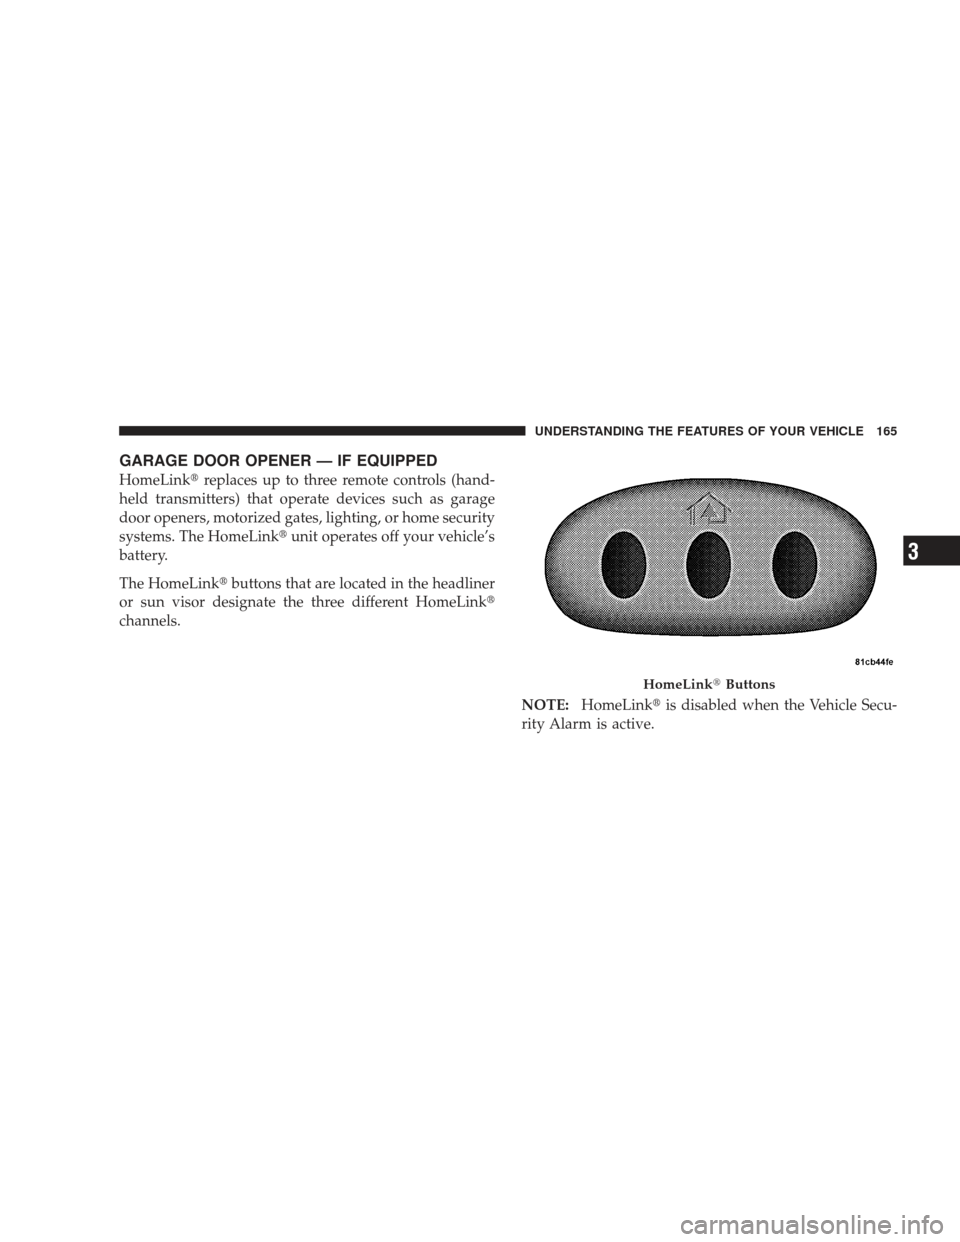
GARAGE DOOR OPENER — IF EQUIPPED
HomeLink�replaces up to three remote controls (hand-
held transmitters) that operate devices such as garage
door openers, motorized gates, lighting, or home security
systems. The HomeLink� unit operates off your vehicle’s
battery.
The HomeLink� buttons that are located in the headliner
or sun visor designate the three different HomeLink �
channels.
NOTE:HomeLink� is disabled when the Vehicle Secu-
rity Alarm is active.
HomeLink� Buttons
UNDERSTANDING THE FEATURES OF YOUR VEHICLE 165
3
Page 169 of 506
 away
from the HomeLink�button you wish to program while
keeping the indicator light in view.
3. Simultaneously press and hold both the chosen
HomeLink")
Place the hand-held transmitter 1–3 in (3-8 cm) away
from the HomeLink�button you wish to program while
keeping the indicator light in view.
3. Simultaneously press and hold both the chosen
HomeLink� button and the hand-held transmitter button
until the HomeLink� indicator changes from a slow to a
rapidly blinking light, then release both the HomeLink�
and hand-held transmitter buttons.
Watch for the HomeLink� indicator to change flash rates.
When it changes, it is programmed. It may take up to
30 seconds, or longer in rare cases. The garage door may
open and close while you train.
NOTE:
•Some gate operators and garage door openers may
require you to replace Step 3 with procedures noted in
the “Gate Operator/Canadian Programming” section.
•After training a HomeLink� channel, if the garage
door does not operate with HomeLink� and the ga-
rage door opener was manufactured after 1995, the
garage door opener may have a rolling code. If so,
proceed to the heading “Programming A Rolling Code
System.”
4. Press and hold the just-trained HomeLink� button
and observe the indicator light.
If the indicator light stays on constantly, programming is
complete and the garage door (or device) should activate
when the HomeLink� button is pressed.
If the indicator light blinks rapidly for two seconds, and
then turns to a constant light, continue with program-
ming for a Rolling Code.
5. PROGRAMMING A ROLLING CODE SYSTEM
At the garage door opener motor (in the garage), locate
the “Learn” or “Training” button.
UNDERSTANDING THE FEATURES OF YOUR VEHICLE 167
3
Page 171 of 506
 after several seconds of
transmission – which may not be long enough for
Ho")
Gate Operator/Canadian Programming
Canadian radio-frequency laws require transmitter sig-
nals to “time-out” (or quit) after several seconds of
transmission – which may not be long enough for
HomeLink�to pick up the signal during programming.
Similar to this Canadian law, some U.S. gate operators are
designed to “time-out” in the same manner.
It may be helpful to unplug the device during the cycling
process to prevent possible overheating of the garage
door or gate motor.
If you are having difficulties programming a garage door
opener or a gate operator, replace “Programming
HomeLink�” Step 3 with the following:
3. Continue to press and hold the HomeLink� button
while you press and release - every two seconds
(“cycle”) your hand-held transmitter until HomeLink �has successfully accepted the frequency signal. The
indicator light will flash slowly and then rapidly when
fully trained.
If you unplugged the device for training, plug it back in
at this time.
Then proceed with Step 4 under “Programming
HomeLink�” earlier in this section.
Using HomeLink�
To operate, simply press and release the programmed
HomeLink�
button. Activation will now occur for the
trained device (i.e., garage door opener, gate operator,
Security system, entry door lock, home/office lighting,
etc. The hand-held transmitter of the device may also be
used at any time.
UNDERSTANDING THE FEATURES OF YOUR VEHICLE 169
3
Page 172 of 506

Reprogramming A Single HomeLink�Button
To re-program a channel that has been previously
trained, follow these steps:
1. Turn the ignition switch to the ON/RUN position.
2. Press and hold the desired HomeLink� button until
the indicator light begins to flash after 20 seconds. Do not
release the button.
3. Without releasing the button, proceed with Program-
ming Homelink� Step 2 and follow all remaining steps.
Security
It is advised to erase all channels before you sell or turn
in your vehicle.
To do this, press and hold the two outside buttons for
20 seconds until the red indicator flashes. Note that all
channels will be erased. Individual channels cannot be
erased. The HomeLink�
Universal Transceiver is disabled when
the Vehicle Security Alarm is active.
Troubleshooting Tips
If you are having trouble programming HomeLink�, here
are some of the most common solutions:
•Replace the battery in the original transmitter.
•Press the “Learn” button on the Garage Door Opener
to complete the training for a Rolling Code.
•Did you unplug the device for training, and remember
to plug it back in?
If you have any problems, or require assistance, please
call toll-free 1–800–355–3515 or, on the Internet at
www.HomeLink.com for information or assistance.
170 UNDERSTANDING THE FEATURES OF YOUR VEHICLE
Page 182 of 506
ELECTRICAL POWER OUTLET
Your vehicle is equipped with a fused 12-Volt (DC) power
outlet. This power outlet is located on the instrument
panel, below the climate controls. It has power available
when the ignition switch is in the ON or ACC position.Insert the cigar lighter or accessory plug into the outlet
for use to ensure proper operation.
NOTE:
•To ensure proper operation a MOPAR�
knob and
element must be used.
•Do not exceed the maximum power of 160 Watts (13
Amps) at 12-Volts.
WARNING!
To avoid serious injury or death:
•Do not insert any objects into the receptacles.
•Do not touch with wet hands.
•Close the lid when not in use and while driving
the vehicle.
•If this outlet is mishandled, it may cause an
electric shock and failure.
Front Power Outlet
180 UNDERSTANDING THE FEATURES OF YOUR VEHICLE
 power
outlet. This power outlet is located on the instrument
panel, below the climate controls. It has power available
when t")