Page 3281 of 4171
FRONT SEATSE-49
< ON-VEHICLE REPAIR >
C
DE
F
G H
I
K L
M A
B
SE
N
O P
Passenger Seat
WIIA0476E
1. Headrest 2. Headrest holder with multi-position
lock 3. Seatback board
4. Armrest assembly 5. Lumbar switch bezel6. Fold flat link bar
7. Outboard reclining arm outer cover 8. Outboard reclining arm inner cover 9. Inboard reclining arm inner cover
10. Latch cover 11. Inner leg cover12. Outboard reclining arm inner cover
13. Seat cushion inner cover 14. Passenger seat wiring harness 15. Inner front leg cover
16. Power seat frame assembly 17. NVH assembly 18. Seat cushion front finisher
Revision: December 20092009 QX56
Page 3282 of 4171

SE-50
< ON-VEHICLE REPAIR >
FRONT SEAT
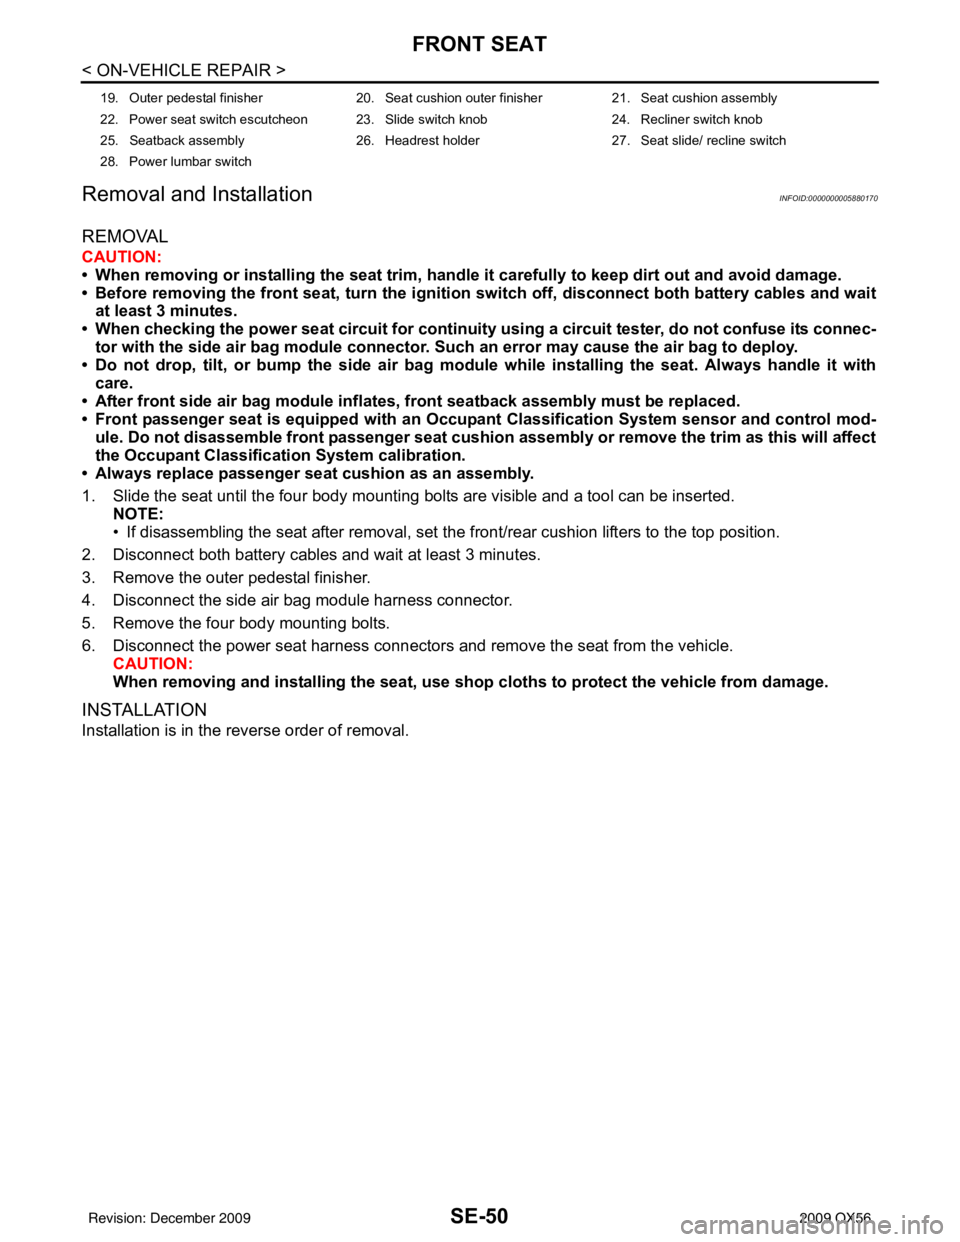
Removal and Installation
INFOID:0000000005880170
REMOVAL
CAUTION:
• When removing or installing the seat trim, handle it carefully to keep dirt out and avoid damage.
• Before removing the front seat, turn the ignition switch off, disconnect both battery cables and wait
at least 3 minutes.
• When checking the power seat circuit for continuity using a circuit tester, do not confuse its connec-
tor with the side air bag modul e connector. Such an error may cause the air bag to deploy.
• Do not drop, tilt, or bump the si de air bag module while installing the seat. Always handle it with
care.
• After front side air bag module inflates, front seatback assembly must be replaced.
• Front passenger seat is equipped with an Occupa nt Classification System sensor and control mod-
ule. Do not disassemble front passenger seat cushion assembly or remove the trim as this will affect
the Occupant Classification System calibration.
• Always replace passenger seat cushion as an assembly.
1. Slide the seat until the four body mounting bolts are visible and a tool can be inserted. NOTE:
• If disassembling the seat after removal, set the front/rear cushion lifters to the top position.
2. Disconnect both battery cables and wait at least 3 minutes.
3. Remove the outer pedestal finisher.
4. Disconnect the side air bag module harness connector.
5. Remove the four body mounting bolts.
6. Disconnect the power seat harness connectors and remove the seat from the vehicle.
CAUTION:
When removing and installing th e seat, use shop cloths to protect the vehicle from damage.
INSTALLATION
Installation is in the reverse order of removal.
19. Outer pedestal finisher 20. Seat cushion outer finisher21. Seat cushion assembly
22. Power seat switch escutcheon 23. Slide switch knob 24. Recliner switch knob
25. Seatback assembly 26. Headrest holder27. Seat slide/ recline switch
28. Power lumbar switch
Revision: December 20092009 QX56
Page 3283 of 4171
SECOND SEATSE-51
< ON-VEHICLE REPAIR >
C
DE
F
G H
I
K L
M A
B
SE
N
O P
SECOND SEAT
Exploded ViewINFOID:0000000003775471
Second Row RH
WIIA1013E
1. Headrest 2. Seatback pad 3. Seatback frame
4. Rear seat bezel 5. RH Headrest guide (free) 6. LH Headrest guide (locking)
7. Seat back panel 8. Seat actuator assembly 9. Reclining device inner cover
Revision: December 20092009 QX56
Page 3285 of 4171
SECOND SEATSE-53
< ON-VEHICLE REPAIR >
C
DE
F
G H
I
K L
M A
B
SE
N
O P
Second row LH
WIIA1015E
1. Seatback panel 2. RH headrest guide (free) 3. LH headrest guide (locking)
4. Rear seat bezel 5. Seatback pad 6. Seatback trim cover
7. Headrest 8. Seat latch and recliner release 9. Reclining device outer cover
10. Reclining device lever 11. Reclining device outer mid cover 12. Outer inboard reclining device cover
13. Inner inboard reclining device cover 14. Seat cushion trim cover 15. Seat cushion pad
16. Seat cushion frame assembly 17. Lower rear seat cover outer 18. Outboard cushion floor latch
Revision: December 20092009 QX56
Page 3287 of 4171

SECOND SEATSE-55
< ON-VEHICLE REPAIR >
C
DE
F
G H
I
K L
M A
B
SE
N
O P
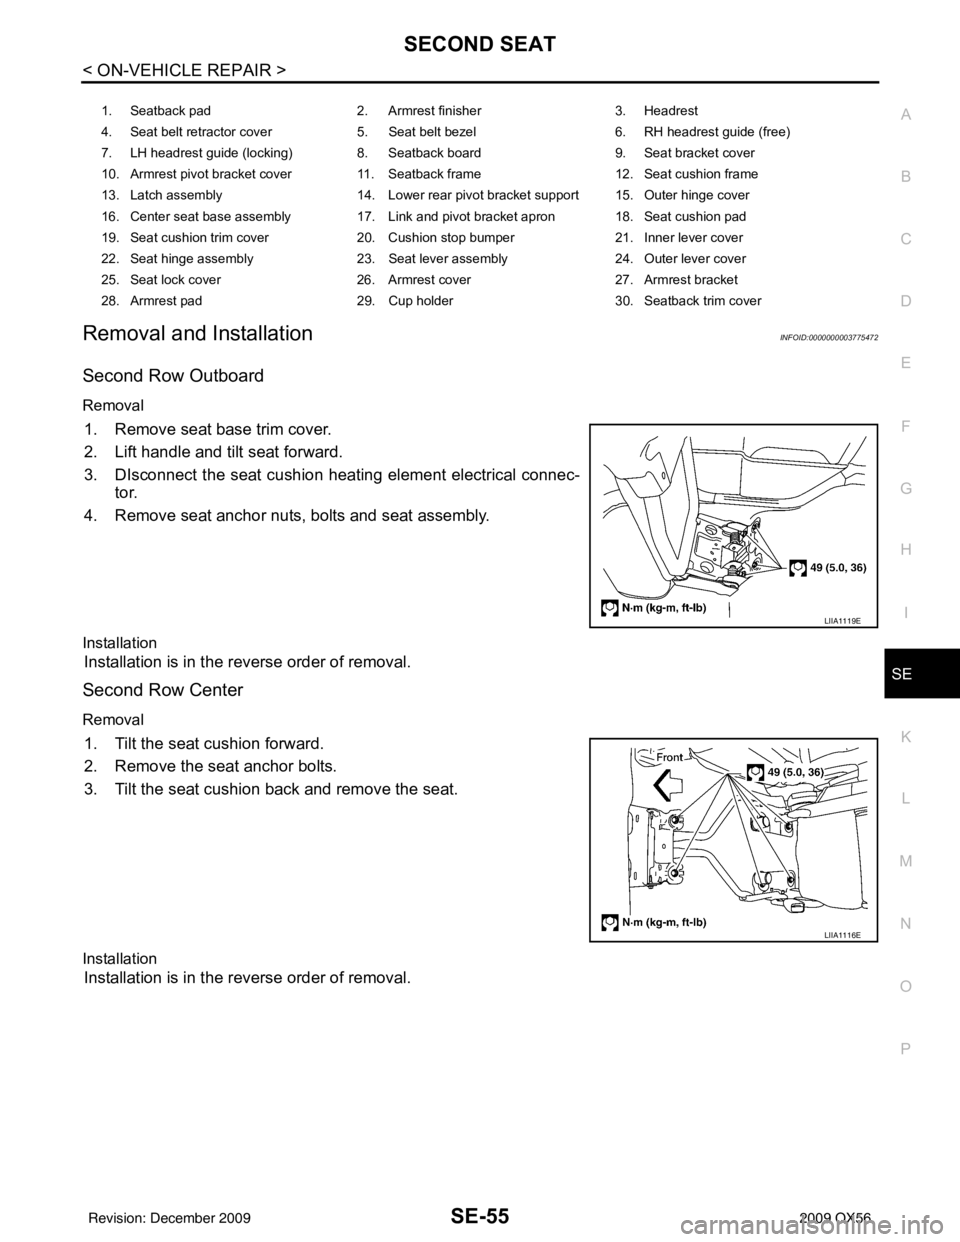
Removal and InstallationINFOID:0000000003775472
Second Row Outboard
Removal
1. Remove seat base trim cover.
2. Lift handle and tilt seat forward.
3. DIsconnect the seat cushion heating element electrical connec- tor.
4. Remove seat anchor nuts, bolts and seat assembly.
Installation
Installation is in the reverse order of removal.
Second Row Center
Removal
1. Tilt the seat cushion forward.
2. Remove the seat anchor bolts.
3. Tilt the seat cushion back and remove the seat.
Installation
Installation is in the reverse order of removal.
1. Seatback pad 2. Armrest finisher 3. Headrest
4. Seat belt retractor cover 5. Seat belt bezel 6. RH headrest guide (free)
7. LH headrest guide (locking) 8. Seatback board 9. Seat bracket cover
10. Armrest pivot bracket cover 11. Seatback frame 12. Seat cushion frame
13. Latch assembly 14. Lower rear pivot bracket support 15. Outer hinge cover
16. Center seat base assembly 17. Link and pivot bracket apron 18. Seat cushion pad
19. Seat cushion trim cover 20. Cushion stop bumper 21. Inner lever cover
22. Seat hinge assembly 23. Seat lever assembly 24. Outer lever cover
25. Seat lock cover 26. Armrest cover 27. Armrest bracket
28. Armrest pad 29. Cup holder 30. Seatback trim cover
LIIA1119E
LIIA1116E
Revision: December 20092009 QX56
Page 3288 of 4171
SE-56
< ON-VEHICLE REPAIR >
THIRD SEAT
THIRD SEAT
Exploded ViewINFOID:0000000003775478
Third seat RH
ALIIA0070GB
1. Headrest 2. Headrest holder, locking 3. Headrest holder, free
4. Seatback board 5. Seatback pad 6. Seatback frame assembly
7. Seatback cushion 8. Seatback trim cover 9. RH hinge cover
Revision: December 20092009 QX56
Page 3289 of 4171
THIRD SEATSE-57
< ON-VEHICLE REPAIR >
C
DE
F
G H
I
K L
M A
B
SE
N
O P
Third seat LH
10. Seat motor/hinge assembly 11. Seat cushion 12. Seat cushion trim cover
13. Front link covers 14. Flex mat 15. Flex mat springs
16. Seat cushion frame assembly 17. Side link cover 18. LH hinge cover
AWJIA0434GB
1. Headrest 2. Headrest holder, locking 3. Headrest holder, free
4. Seatback board 5. Seatback pad 6. Seatback frame assembly
7. Seatback cushion 8. Seatback trim cover 9. Seat cushion
Revision: December 20092009 QX56
Page 3298 of 4171
SE-66
< DISASSEMBLY AND ASSEMBLY >
FRONT SEAT
1. Headrest2. Headrest holder with multi-position
lock 3. Seatback assembly
4. Lumbar switch bezel 5. Power seat switch escutcheon 6. Recliner switch knob
7. Slide switch knob 8. Driver power seat frame assembly 9. Inner leg cover
10. Driver seat wiring harness 11. Bolt cover 12. Seat cushion outer finisher
13. Outer pedestal finisher 14. Seat cushion front finisher15. Seat cushion inner finisher
16. Seat cushion frame 17. Seat cushion heating element 18. Seat cushion pad
19. Seat cushion trim cover 20. Armrest assembly21. Headrest holder
22. Seat slide/ recline switch 23. Power lumbar switch
Revision: December 20092009 QX56