Page 26 of 273

1
FEATURES OF YOUR HYUNDAI
15
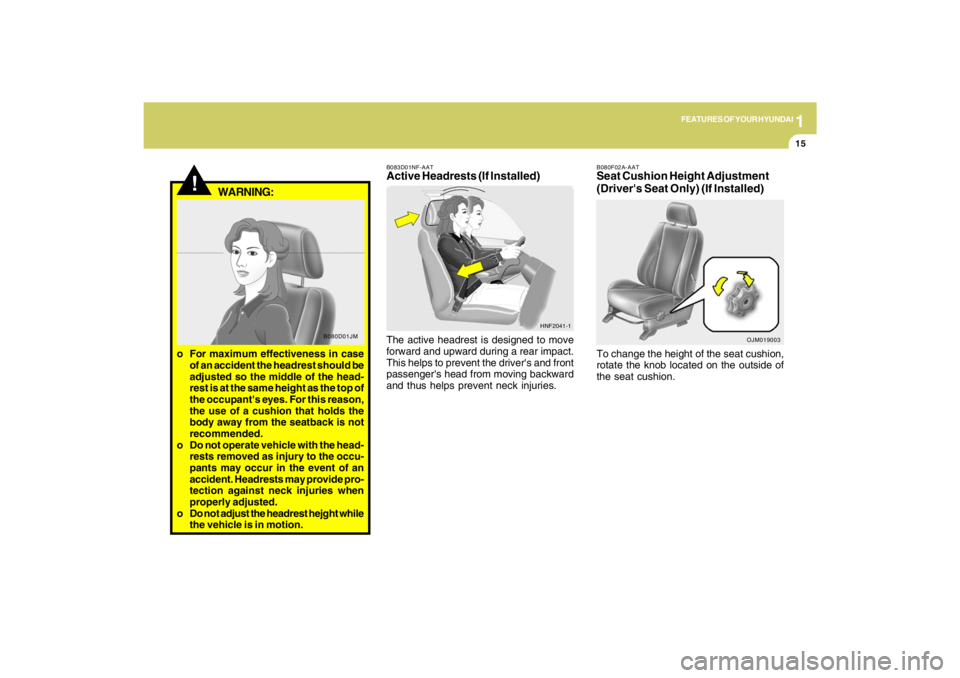
B080F02A-AATSeat Cushion Height Adjustment
(Driver's Seat Only) (If Installed)To change the height of the seat cushion,
rotate the knob located on the outside of
the seat cushion.
OJM019003
!
B080D01JM
WARNING:
o For maximum effectiveness in case
of an accident the headrest should be
adjusted so the middle of the head-
rest is at the same height as the top of
the occupant's eyes. For this reason,
the use of a cushion that holds the
body away from the seatback is not
recommended.
o Do not operate vehicle with the head-
rests removed as injury to the occu-
pants may occur in the event of an
accident. Headrests may provide pro-
tection against neck injuries when
properly adjusted.
o Do not adjust the headrest hejght while
the vehicle is in motion.
B083D01NF-AATActive Headrests (If Installed)The active headrest is designed to move
forward and upward during a rear impact.
This helps to prevent the driver's and front
passenger's head from moving backward
and thus helps prevent neck injuries.
HNF2041-1
Page 88 of 273

1
FEATURES OF YOUR HYUNDAI
77
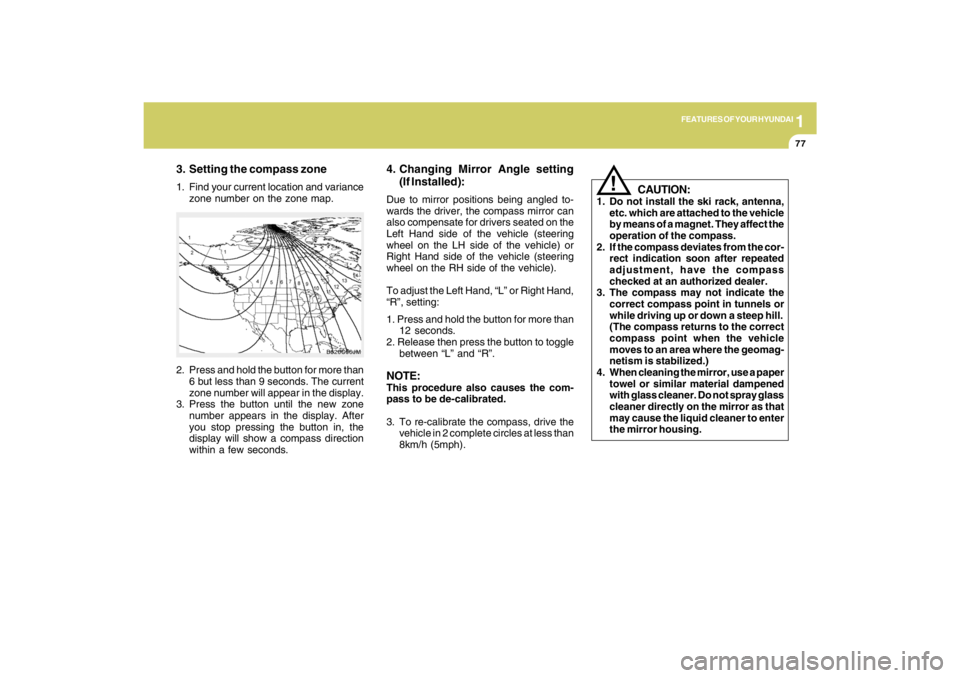
3. Setting the compass zone1. Find your current location and variance
zone number on the zone map.
2. Press and hold the button for more than
6 but less than 9 seconds. The current
zone number will appear in the display.
3. Press the button until the new zone
number appears in the display. After
you stop pressing the button in, the
display will show a compass direction
within a few seconds.
B520C06JM
4. Changing Mirror Angle setting
(If Installed):Due to mirror positions being angled to-
wards the driver, the compass mirror can
also compensate for drivers seated on the
Left Hand side of the vehicle (steering
wheel on the LH side of the vehicle) or
Right Hand side of the vehicle (steering
wheel on the RH side of the vehicle).
To adjust the Left Hand, “L” or Right Hand,
“R”, setting:
1. Press and hold the button for more than
12 seconds.
2. Release then press the button to toggle
between “L” and “R”.NOTE:This procedure also causes the com-
pass to be de-calibrated.
3. To re-calibrate the compass, drive the
vehicle in 2 complete circles at less than
8km/h (5mph).
CAUTION:
1. Do not install the ski rack, antenna,
etc. which are attached to the vehicle
by means of a magnet. They affect the
operation of the compass.
2. If the compass deviates from the cor-
rect indication soon after repeated
adjustment, have the compass
checked at an authorized dealer.
3. The compass may not indicate the
correct compass point in tunnels or
while driving up or down a steep hill.
(The compass returns to the correct
compass point when the vehicle
moves to an area where the geomag-
netism is stabilized.)
4. When cleaning the mirror, use a paper
towel or similar material dampened
with glass cleaner. Do not spray glass
cleaner directly on the mirror as that
may cause the liquid cleaner to enter
the mirror housing.
!
Page 229 of 273

6
DO-IT-YOURSELF MAINTENANCE
25
POWER STEERING FLUID
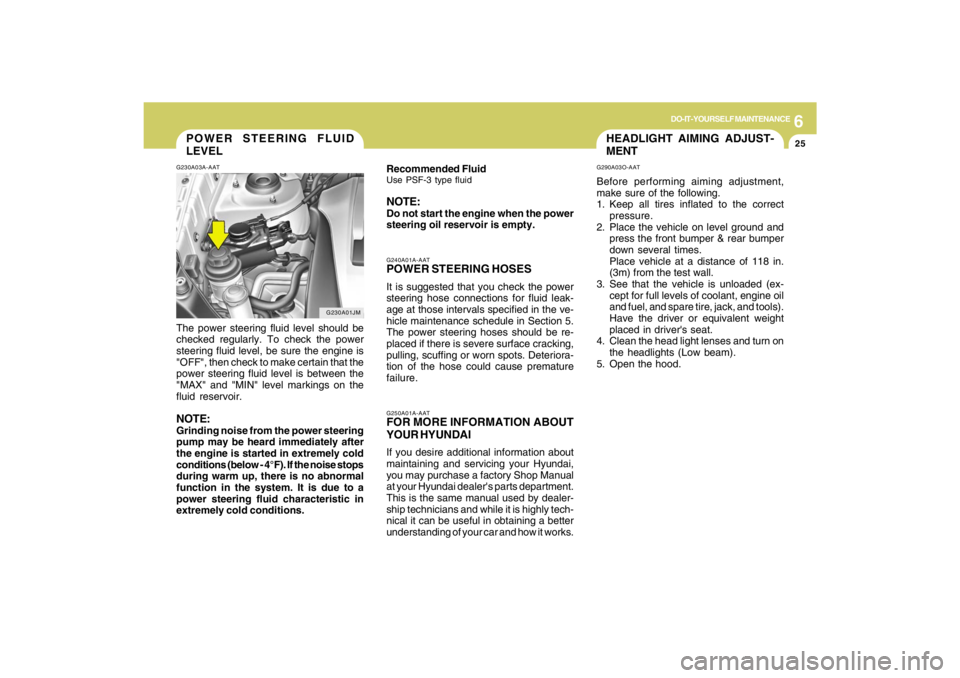
LEVELG230A03A-AATThe power steering fluid level should be
checked regularly. To check the power
steering fluid level, be sure the engine is
"OFF", then check to make certain that the
power steering fluid level is between the
"MAX" and "MIN" level markings on the
fluid reservoir.NOTE:Grinding noise from the power steering
pump may be heard immediately after
the engine is started in extremely cold
conditions (below - 4°F). If the noise stops
during warm up, there is no abnormal
function in the system. It is due to a
power steering fluid characteristic in
extremely cold conditions.
G230A01JM
HEADLIGHT AIMING ADJUST-
MENTG290A03O-AATBefore performing aiming adjustment,
make sure of the following.
1. Keep all tires inflated to the correct
pressure.
2. Place the vehicle on level ground and
press the front bumper & rear bumper
down several times.
Place vehicle at a distance of 118 in.
(3m) from the test wall.
3. See that the vehicle is unloaded (ex-
cept for full levels of coolant, engine oil
and fuel, and spare tire, jack, and tools).
Have the driver or equivalent weight
placed in driver's seat.
4. Clean the head light lenses and turn on
the headlights (Low beam).
5. Open the hood.
G250A01A-AATFOR MORE INFORMATION ABOUT
YOUR HYUNDAIIf you desire additional information about
maintaining and servicing your Hyundai,
you may purchase a factory Shop Manual
at your Hyundai dealer's parts department.
This is the same manual used by dealer-
ship technicians and while it is highly tech-
nical it can be useful in obtaining a better
understanding of your car and how it works.G240A01A-AATPOWER STEERING HOSESIt is suggested that you check the power
steering hose connections for fluid leak-
age at those intervals specified in the ve-
hicle maintenance schedule in Section 5.
The power steering hoses should be re-
placed if there is severe surface cracking,
pulling, scuffing or worn spots. Deteriora-
tion of the hose could cause premature
failure. Recommended FluidUse PSF-3 type fluidNOTE:Do not start the engine when the power
steering oil reservoir is empty.