2009 Hyundai Sonata air condition
[x] Cancel search: air conditionPage 216 of 286
6
Engine Compartment .................................................... 6-2
General Checks ............................................................ 6-4
Checking the Engine Oil ............................................... 6-4
Changing the Engine Oil and Filter ................................ 6-6
Checking and Changing the Engine Coolant ................ 6-8
Changing the Air Cleaner Filter ...................................6-11
Checking the Transaxle Oil (Manual) .........................6-14
Checking the Transaxle Fluid (Automatic)..................6-15
Checking the Brakes ..................................................6-17
Air Conditioning Care..................................................6-18
Changing the Climate Control Air Filter .......................6-19
Checking Drive Belts ..................................................6-22
Checking and Replacing Fuses..................................6-22
Checking the Battery..................................................6-24
Power Steering Fluid Level .........................................6-26
Headlight Aiming Adjustment......................................6-27
Replacement of Light Bulbs ........................................6-28
Bulb Wattages.............................................................6-36
Fuse Panel Description...............................................6-37
DO-IT-YOURSELF MAINTENANCE
6
Page 219 of 286
6
DO-IT-YOURSELF MAINTENANCE
4
G020C01A-AATVehicle InteriorThe following should be checked each
time when the vehicle is driven:
o Lights operation
o Windshield wiper operation
o Horn operation
o Defroster, heating system operation
(and air conditioning, if installed)
o Steering operation and condition
o Mirror condition and operation
o Turn signal operation
o Accelerator pedal operation
o Brake operation, including parking
brake
o Manual transaxle operation, including
clutch operation
o Automatic transaxle operation,
including "Park" mechanism operation
o Seat control condition and operation
o Seat belt condition and operation
o Sun visor operation
If you notice anything that does not operate
correctly or appears to be functioning
correctly, inspect it carefully and seek
assistance from your Hyundai dealer if
service is needed.
G020B01A-AATVehicle ExteriorThe following should be checked monthly:
o Overall appearance and condition
o Wheel condition and wheel nut torque
o Exhaust system condition
o Light condition and operation
o Windshield glass condition
o Wiper blade condition
o Paint condition and body corrosion
o Fluid leaks
o Door and hood lock condition
o Tire pressure and condition
(including spare tire)GENERAL CHECKSG020A01NF-AATEngine CompartmentThe following should be checked regu-
larly:
o Engine oil level and condition
o Transaxle fluid level and condition
o Brake fluid level
o Engine coolant level
o Windshield washer fluid level
o Accessory drive belt condition
o Engine coolant hose condition
o Fluid leaks (on or below components)
o Power steering fluid level
o Battery condition
o Air filter condition
o Engine vibration
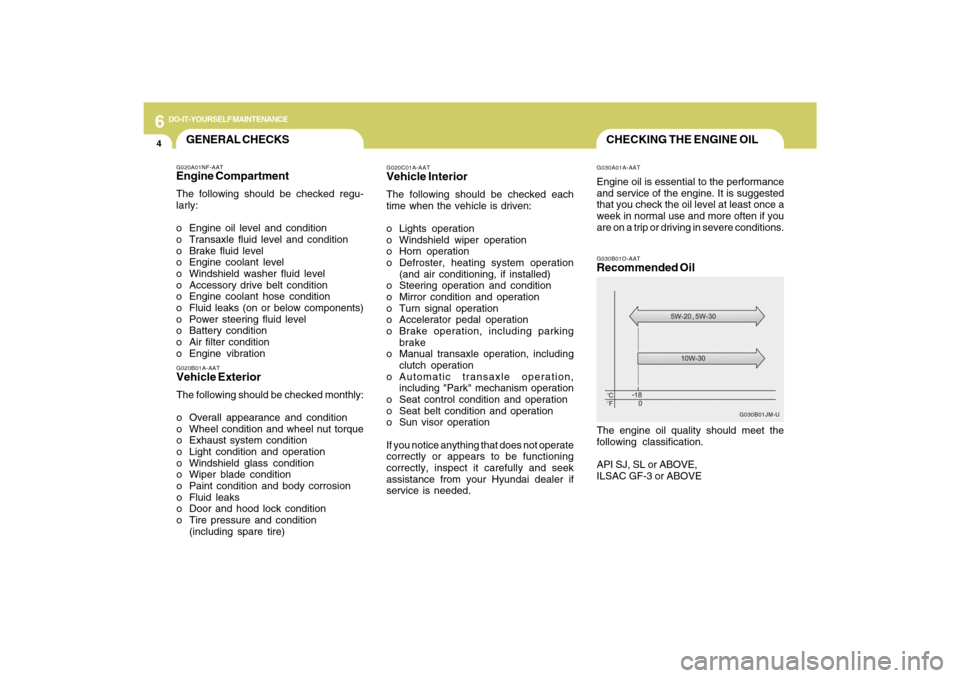
CHECKING THE ENGINE OILG030B01O-AATRecommended OilThe engine oil quality should meet the
following classification.
API SJ, SL or ABOVE,
ILSAC GF-3 or ABOVE
G030B01JM-U G030A01A-AAT
Engine oil is essential to the performance
and service of the engine. It is suggested
that you check the oil level at least once a
week in normal use and more often if you
are on a trip or driving in severe conditions.
Page 226 of 286
6
DO-IT-YOURSELF MAINTENANCE
11
!!
10. Replace the reservoir cap and check to
be sure the drain cock and the radiator
cap are fully closed and not leaking.
CAUTION:
Recheck after a few days and add the
coolant if the level is below the "L" level.
WARNING:
The cooling fan is controlled by engine
coolant temperature and may
sometimes operate even when the
engine is not running. Use extreme
caution when working near the blades of
the coolant fan so that you are not injured
by a rotating fan blade. As the engine
coolant temperature decreases, the fan
will automatically shut off. This is a
normal condition.
CAUTION:
o Operating your vehicle without using
a proper air cleaner filter in place can
result in excessive engine wear.
o When removing the air cleaner filter,
be careful that dust or dirt does not
enter the air intake. These may result
in damage to the air cleaner filter.
!
CHANGING THE AIR
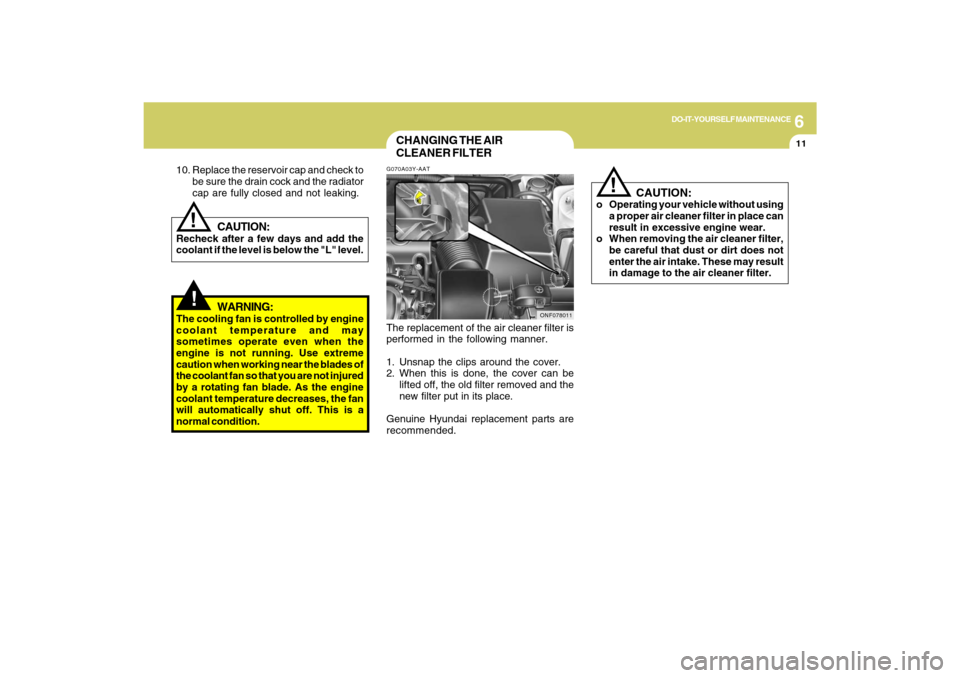
CLEANER FILTERG070A03Y-AATThe replacement of the air cleaner filter is
performed in the following manner.
1. Unsnap the clips around the cover.
2. When this is done, the cover can be
lifted off, the old filter removed and the
new filter put in its place.
Genuine Hyundai replacement parts are
recommended.
ONF078011
Page 233 of 286
6
DO-IT-YOURSELF MAINTENANCE
18
G140C01A-AATLubricationTo lubricate the compressor and the seals
in the system, the air conditioning should
be run for at least 10 minutes each week.
This is particularly important during cool
weather when the air conditioning system
is not otherwise in use.
!
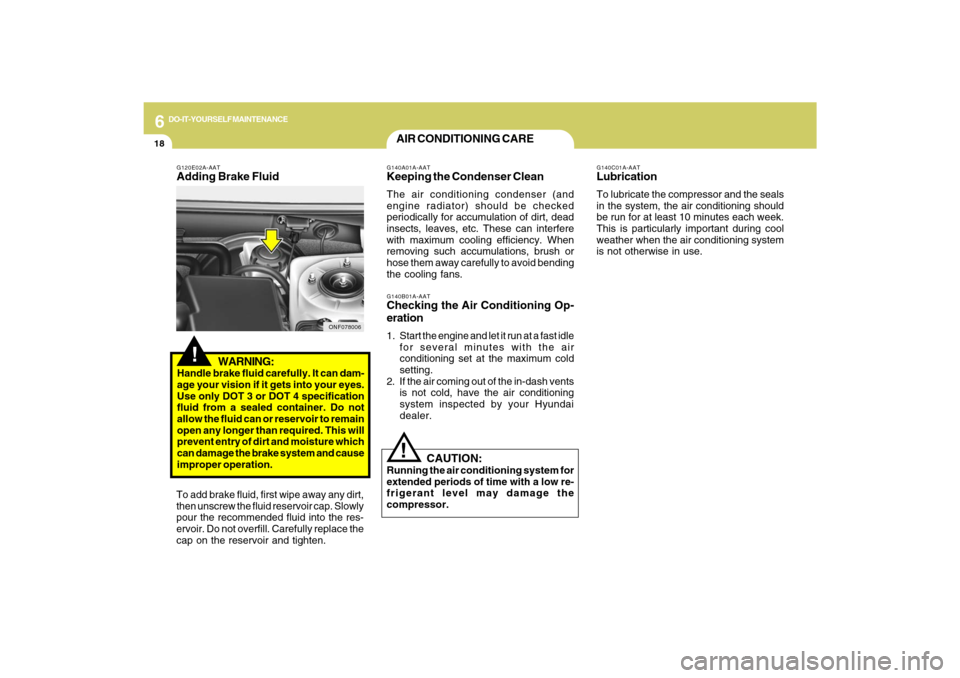
G120E02A-AATAdding Brake Fluid
WARNING:Handle brake fluid carefully. It can dam-
age your vision if it gets into your eyes.
Use only DOT 3 or DOT 4 specification
fluid from a sealed container. Do not
allow the fluid can or reservoir to remain
open any longer than required. This will
prevent entry of dirt and moisture which
can damage the brake system and cause
improper operation.
To add brake fluid, first wipe away any dirt,
then unscrew the fluid reservoir cap. Slowly
pour the recommended fluid into the res-
ervoir. Do not overfill. Carefully replace the
cap on the reservoir and tighten.
AIR CONDITIONING CARE!
G140A01A-AATKeeping the Condenser CleanThe air conditioning condenser (and
engine radiator) should be checked
periodically for accumulation of dirt, dead
insects, leaves, etc. These can interfere
with maximum cooling efficiency. When
removing such accumulations, brush or
hose them away carefully to avoid bending
the cooling fans.G140B01A-AATChecking the Air Conditioning Op-
eration1. Start the engine and let it run at a fast idle
for several minutes with the air
conditioning set at the maximum cold
setting.
2. If the air coming out of the in-dash vents
is not cold, have the air conditioning
system inspected by your Hyundai
dealer.
CAUTION:
Running the air conditioning system for
extended periods of time with a low re-
frigerant level may damage the
compressor.
ONF078006
Page 241 of 286
6
DO-IT-YOURSELF MAINTENANCE
26
G240A01A-AATPOWER STEERING HOSESIt is suggested that you check the power
steering hose connections for fluid leakage
at those intervals specified in the vehicle
maintenance schedule in Section 5.
The power steering hoses should be
replaced if there is severe surface crack-
ing, pulling, scuffing or worn spots.
Deterioration of the hose could cause
premature failure.
POWER STEERING FLUID
LEVELG230A01NF-AAT
Recommended FluidUse PSF-4 type fluidNOTE:Do not start the engine when the power
steering oil reservoir is empty.
ONF078007
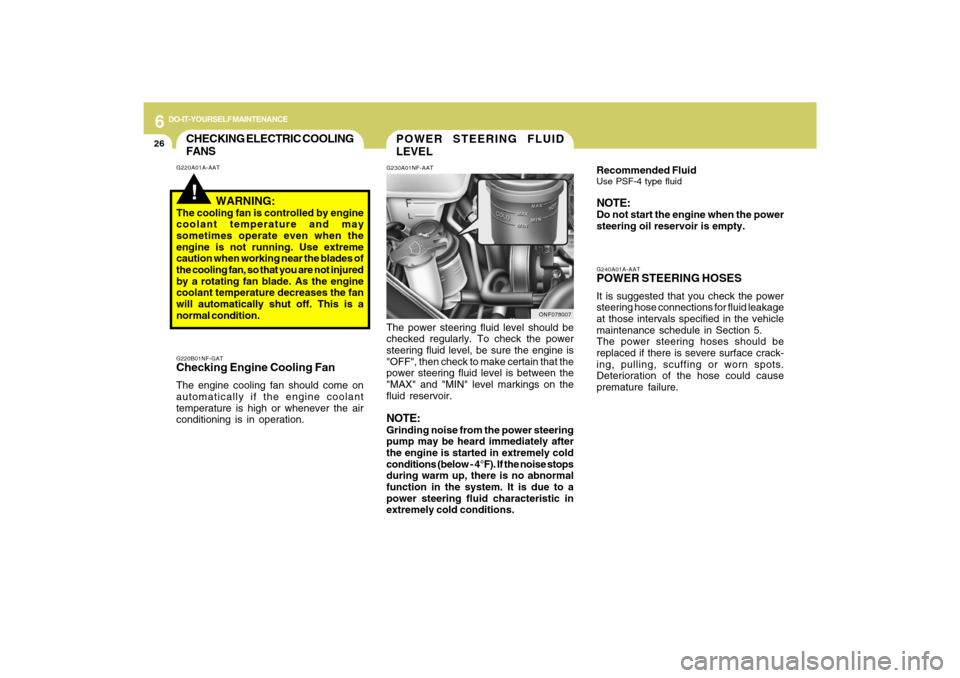
The power steering fluid level should be
checked regularly. To check the power
steering fluid level, be sure the engine is
"OFF", then check to make certain that the
power steering fluid level is between the
"MAX" and "MIN" level markings on the
fluid reservoir.NOTE:Grinding noise from the power steering
pump may be heard immediately after
the engine is started in extremely cold
conditions (below - 4°F). If the noise stops
during warm up, there is no abnormal
function in the system. It is due to a
power steering fluid characteristic in
extremely cold conditions.
CHECKING ELECTRIC COOLING
FANS!
G220A01A-AAT
WARNING:
The cooling fan is controlled by engine
coolant temperature and may
sometimes operate even when the
engine is not running. Use extreme
caution when working near the blades of
the cooling fan, so that you are not injured
by a rotating fan blade. As the engine
coolant temperature decreases the fan
will automatically shut off. This is a
normal condition.G220B01NF-GATChecking Engine Cooling FanThe engine cooling fan should come on
automatically if the engine coolant
temperature is high or whenever the air
conditioning is in operation.
Page 243 of 286
6
DO-IT-YOURSELF MAINTENANCE
28
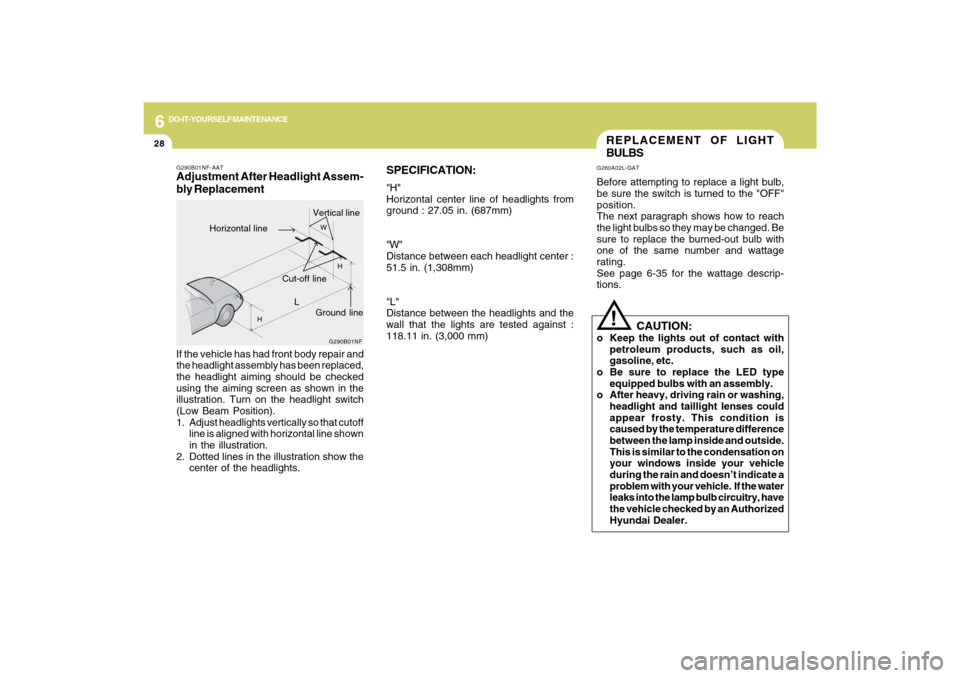
SPECIFICATION:"H"
Horizontal center line of headlights from
ground : 27.05 in. (687mm)
"W"
Distance between each headlight center :
51.5 in. (1,308mm)
"L"
Distance between the headlights and the
wall that the lights are tested against :
118.11 in. (3,000 mm)
REPLACEMENT OF LIGHT
BULBSG260A02L-GATBefore attempting to replace a light bulb,
be sure the switch is turned to the "OFF"
position.
The next paragraph shows how to reach
the light bulbs so they may be changed. Be
sure to replace the burned-out bulb with
one of the same number and wattage
rating.
See page 6-35 for the wattage descrip-
tions.
!
CAUTION:
o Keep the lights out of contact with
petroleum products, such as oil,
gasoline, etc.
o Be sure to replace the LED type
equipped bulbs with an assembly.
o After heavy, driving rain or washing,
headlight and taillight lenses could
appear frosty. This condition is
caused by the temperature difference
between the lamp inside and outside.
This is similar to the condensation on
your windows inside your vehicle
during the rain and doesn’t indicate a
problem with your vehicle. If the water
leaks into the lamp bulb circuitry, have
the vehicle checked by an Authorized
Hyundai Dealer.
G290B01NF-AATAdjustment After Headlight Assem-
bly Replacement
G290B01NF
L
W
H
H
Cut-off line
Ground line
Horizontal lineVertical line
If the vehicle has had front body repair and
the headlight assembly has been replaced,
the headlight aiming should be checked
using the aiming screen as shown in the
illustration. Turn on the headlight switch
(Low Beam Position).
1. Adjust headlights vertically so that cutoff
line is aligned with horizontal line shown
in the illustration.
2. Dotted lines in the illustration show the
center of the headlights.
Page 258 of 286
7
EMISSION CONTROL SYSTEMS
3
!
!
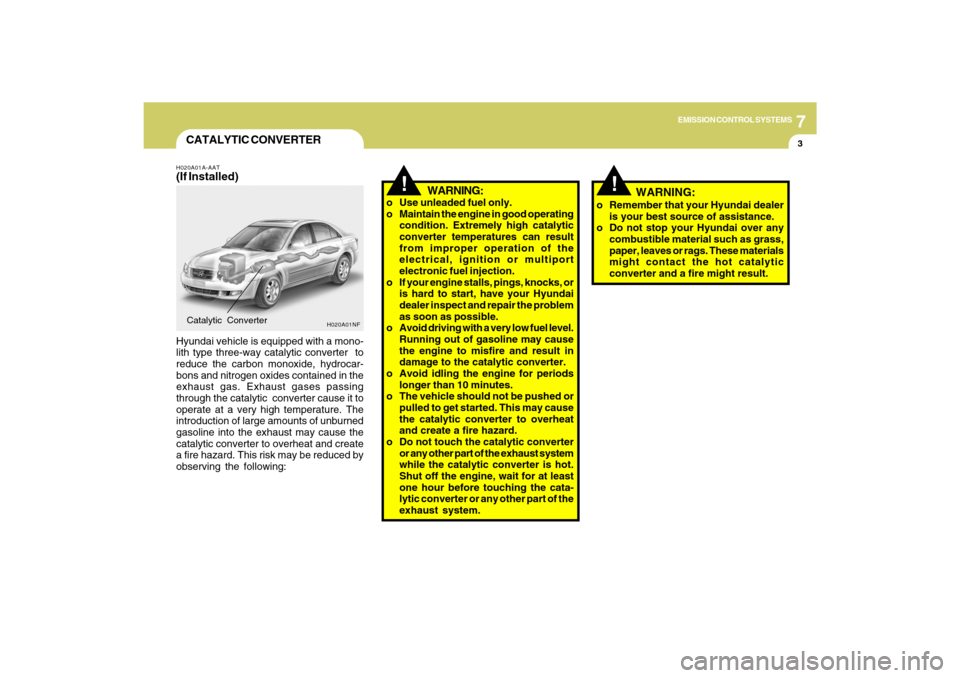
CATALYTIC CONVERTERH020A01A-AAT(If Installed)Hyundai vehicle is equipped with a mono-
lith type three-way catalytic converter to
reduce the carbon monoxide, hydrocar-
bons and nitrogen oxides contained in the
exhaust gas. Exhaust gases passing
through the catalytic converter cause it to
operate at a very high temperature. The
introduction of large amounts of unburned
gasoline into the exhaust may cause the
catalytic converter to overheat and create
a fire hazard. This risk may be reduced by
observing the following:Catalytic Converter
WARNING:
o Use unleaded fuel only.
o Maintain the engine in good operating
condition. Extremely high catalytic
converter temperatures can result
from improper operation of the
electrical, ignition or multiport
electronic fuel injection.
o If your engine stalls, pings, knocks, or
is hard to start, have your Hyundai
dealer inspect and repair the problem
as soon as possible.
o Avoid driving with a very low fuel level.
Running out of gasoline may cause
the engine to misfire and result in
damage to the catalytic converter.
o Avoid idling the engine for periods
longer than 10 minutes.
o The vehicle should not be pushed or
pulled to get started. This may cause
the catalytic converter to overheat
and create a fire hazard.
o Do not touch the catalytic converter
or any other part of the exhaust system
while the catalytic converter is hot.
Shut off the engine, wait for at least
one hour before touching the cata-
lytic converter or any other part of the
exhaust system.
H020A01NF
o Remember that your Hyundai dealer
is your best source of assistance.
o Do not stop your Hyundai over any
combustible material such as grass,
paper, leaves or rags. These materials
might contact the hot catalytic
converter and a fire might result.
WARNING:
Page 265 of 286
8
CONSUMER INFORMATION, REPORTING SAFETY DEFECTS & BINDING ARBITRATION OF WARRANTY CLAIMS
7
6. Maximum load rating
This number indicates the maximum
load in kilograms and pounds that
can be carried by the tire. When
replacing the tires on the vehicle,
always use a tire that has the same
load rating as the factory installed
tire.
7. Uniform Tire Quality Grading
(UTQG):
Tire manufacturers are required to
grade tires based on three perfor-
mance factors: treadwear, traction
and temperature resistance. For more
information, see Uniform Tire Qual-
ity Grading on page 8-14.
I030D01JM-AATTIRE TERMINOLOGY AND DEFINI-
TIONS
Air Pressure: The amount of air inside
the tire pressing outward on the tire. Air
pressure is expressed in pounds per
square inch (psi) or kilopascal (kPa).
Accessory Weight: This means the
combined weight of optional accesso-
ries. Some examples of optional ac-
cessories are, automatic transmission,
power seats, and air conditioning.
Aspect Ratio: The relationship of a
tire's height to its width.
Belt: A rubber coated layer of cords that
is located between the plies and the
tread. Cords may be made from steel or
other reinforcing materials.
Bead: The tire bead contains steel
wires wrapped by steel cords that hold
the tire onto the rim.
Bias Ply Tire: A pneumatic tire in which
the plies are laid at alternate angles
less than 90 degrees to the centerline of
the tread.Cold Tire Pressure: The amount of air
pressure in a tire, measured in pounds
per square inch (psi) or kilopascals
(kPa) before a tire has built up heat from
driving.
Curb Weight: This means the weight of
a motor vehicle with standard and op-
tional equipment including the maxi-
mum capacity of fuel, oil and coolant,
but without passengers and cargo.
DOT Markings: A code molded into the
sidewall of a tire signifying that the tire
is in compliance with the U.S. Depart-
ment of Transportation motor vehicle
safety standards. The DOT code in-
cludes the Tire Identification Number
(TIN), an alphanumeric designator which
can also identify the tire manufacturer,
production plant, brand and date of
production.
GVWR: Gross Vehicle Weight Rating
GAWR FRT: Gross Axle Weight Rating
for the front Axle.
GAWR RR: Gross Axle Weight Rating
for the rear axle.