Page 68 of 286

1
FEATURES OF YOUR HYUNDAI
55
!
B290A03A-AATENGINE COOLANT TEMPERATURE
GAUGE
WARNING:Never remove the radiator cap when the
engine is hot. The engine coolant is under
pressure and could erupt and cause
severe burns. Wait until the engine is
cool before adding coolant to the
reservoir.The normal range is approximately in the
middle between "H" and "C". If it moves
across the dial to "H" (HOT), pull over and
stop as soon as possible and turn off the
engine. Then open the hood and, after the
engine has cooled, check the coolant level
(See "If the engine overheats" on the page
3-4.) and the water pump drive belt. If you
suspect cooling system trouble, have your
cooling system checked by a Hyundai dealer
as soon as possible.
ONF048043N
INSTRUMENT CLUSTERB280A01NF-AATFUEL GAUGEThe needle on the gauge indicates the
approximate fuel level in the fuel tank. The
fuel capacity is given in section 9.NOTE:The "
" symbol means, the fuel filler
lid is located on the left side of the ve-
hicle.
ONF048044N
Page 98 of 286

1
FEATURES OF YOUR HYUNDAI
85
!
WARNING:
o If a person becomes locked in the
trunk, pull the emergency trunk
release lever of the inside panel in the
trunk to open the trunk lid.
o Keep cars locked and keys out of the
reach of children. HYUNDAI recom-
mends parents teach children about
the emergency trunk release lever in
their vehicle and how to open the trunk
lid if they are accidentally locked in
the trunk.
HIGH-MOUNTED REAR STOP
LIGHTB550A02Y-AATIn addition to the lower-mounted rear stop
lights on either side of the car, the high
mounted rear stop light in the center of the
rear window also lights when the brakes
are applied.
B550A01NF-A
REMOTE FUEL-FILLER LID RE-
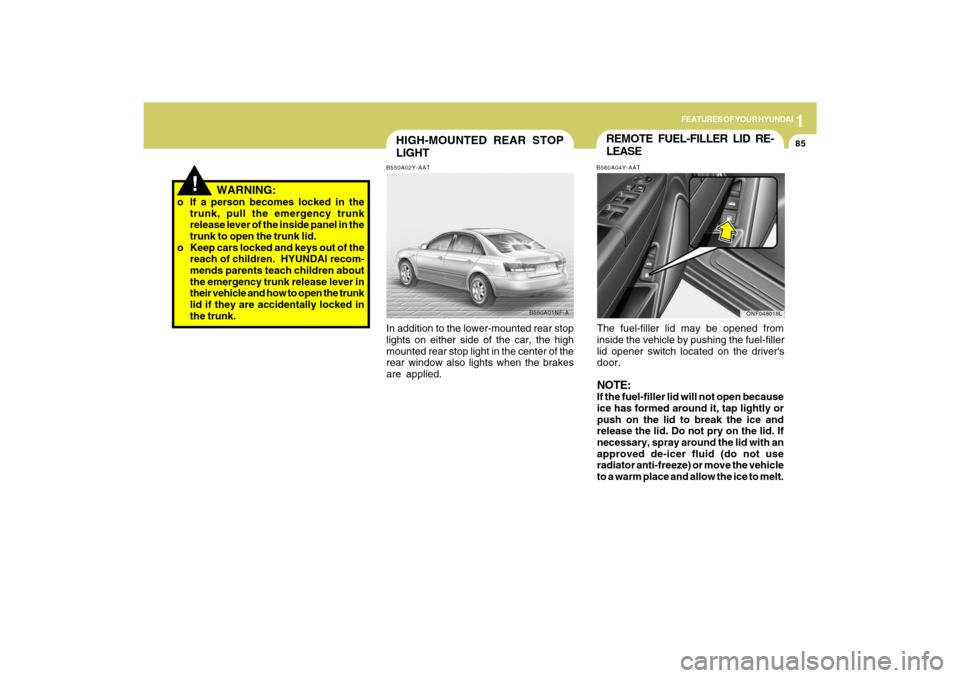
LEASEB560A04Y-AATThe fuel-filler lid may be opened from
inside the vehicle by pushing the fuel-filler
lid opener switch located on the driver's
door.NOTE:If the fuel-filler lid will not open because
ice has formed around it, tap lightly or
push on the lid to break the ice and
release the lid. Do not pry on the lid. If
necessary, spray around the lid with an
approved de-icer fluid (do not use
radiator anti-freeze) or move the vehicle
to a warm place and allow the ice to melt.
ONF048018L
Page 185 of 286

34WHAT TO DO IN AN EMERGENCY
IF THE ENGINE OVERHEATS
!!
!
WARNING:
While the engine is running, keep hair,
hands and clothing away from moving
parts such as the fan and drive belts to
prevent injury.
5. If the water pump drive belt is broken or
engine coolant is leaking out, stop the
engine immediately and call the nearest
Hyundai dealer for assistance.
WARNING:
Do not remove the radiator cap when the
engine is hot. This can allow coolant to be
blown out of the opening and cause se-
rious burns.6. If you cannot find the cause of the
overheat-ing, wait until the engine
temperature has returned to normal.
Then, if coolant has been lost, carefully
add coolant to the reservoir (page 6-9)
to bring the fluid level in the reservoir up
to the halfway mark.
7. Proceed with caution, keeping alert for
further signs of overheating. If
overheating happens again, call a
Hyundai dealer for assistance.
CAUTION:
Serious loss of coolant indicates there is
a leak in the cooling system and this
should be checked as soon as possible
by a Hyundai dealer.
D030A02A-AATIf your temperature gauge indicates over-
heating, you experience a loss of power, or
hear loud pinging or knocking, the engine
is probably too hot. If this happens, you
should:
1. Pull off the road and stop as soon as it
is safe to do so.
2. Place the gear selector lever in "P"
(automatic) or neutral (manual
transaxle) and set the parking brake. If
the air conditioning is on, turn it off.
3. If engine coolant is running out under
the car or steam is coming out from the
hood, stop the engine. Do not open the
hood until the coolant has stopped
running or the steaming has stopped. If
there is no visible loss of engine coolant
and no steam, leave the engine running
and check to be sure the engine cooling
fan is operating. If the fan is not running,
turn the engine off.
4. Check to see if the water pump drive belt
is missing. If it is not missing, check to
see that it is tight. If the drive belt seems
to be satisfactory, check for coolant
leaking from the radiator, hoses or under
the car. (If the air conditioning had been
in use, it is normal for cold water to be
draining from it when you stop).
Page 217 of 286
6
DO-IT-YOURSELF MAINTENANCE
2
G010B01NF-AATENGINE COMPARTMENT
ONF018003
CAUTION:
When inspecting or servicing the
engine, you should handle tools
and other heavy objects
carefully so that the plastic cover
of the engine is not damaged.
!
1. Engine coolant reservoir
2. Engine oil filler cap
3. Brake fluid reservoir
4. Air cleaner5. Fuse box
6. Negative battery terminal
7. Positive battery terminal
8. Auto transaxle oil dipstick*9. Radiator cap
10. Engine oil dipstick
11. Windshield washer fluid reservoir
12. Power steering fluid reservoir
* : if installedGasoline Engine (2.4L)
Page 218 of 286
6
DO-IT-YOURSELF MAINTENANCE
3
8G010A01NF
G010A01NF-AATGasoline Engine (3.3L)
CAUTION:
When inspecting or servicing the
engine, you should handle tools
and other heavy objects
carefully so that the plastic cover
of the engine is not damaged.
!
1. Engine coolant reservoir
2. Engine oil filler cap
3. Brake fluid reservoir
4. Air cleaner5. Fuse box
6. Negative battery terminal
7. Positive battery terminal
8. Auto transaxle oil dipstick*9. Radiator cap
10. Engine oil dipstick
11. Windshield washer fluid reservoir
12. Power steering fluid reservoir
* : if installed
Page 220 of 286
6
DO-IT-YOURSELF MAINTENANCE
5
G030C01JM-AATTo Check the Oil Level
Before checking the oil, warm up the engine
to the normal operating temperature and
be sure your car is parked on level ground.
Turn the engine off.
Wait five minutes, then remove the dipstick,
wipe it off, fully reinsert the dipstick and
withdraw it again. Then note the highest
level the oil has reached on the dipstick. It
should be between the upper ("F") and
lower ("L") range.
!
WARNING:
Be very careful not to touch the radiator
hose when checking the engine oil as it
may be hot enough to burn you.
ONF078002
G030C02NF
(2.4L)
(3.3L)
NOTE:o For good fuel economy, SAE 5W-20
(5W-30), ILSAC GF-3 engine oil is
preferred.
o If SAE 5W-20, ILSAC GF-3 engine oil is
not available, a secondary recom-
mended engine oil for corresponding
temperature range can be used. See
page 9-4
Page 221 of 286
6
DO-IT-YOURSELF MAINTENANCE
6
!!
G030D01O-AATAdding Oil
1. Remove the oil filler cap by turning it
counter-clockwise.
2. Add oil, then check the level again. Do
not overfill.
3. Replace the cap by turning it clockwise.
The distance between the "F" and "L" marks
is equal to about 1 quart of oil.
CAUTION:
Slowly pour the recommended oil into a
funnel. Do not overfill to avoid damage to
the engine.
WARNING:
Be very careful not to touch the radiator
hose when adding the engine oil as it may
be hot enough to burn you.
If the oil level is close to or below the "L"
mark, add oil until it reaches the "F" mark.
To add oil:
ONF078003
G030D02NF
(3.3L)(2.4L)
CHANGING THE ENGINE OIL AND
FILTERG040A02NF-AAT
HNF5005(3.3L)(2.4L)
G040A01NFOil filter
Oil filler
cap
Oil level
dipstick Oil filler
cap
Oil filter
Page 223 of 286

6
DO-IT-YOURSELF MAINTENANCE
8
CHECKING AND CHANGING THE
ENGINE COOLANT!
G050A01A-AAT
WARNING:
Do not remove the radiator cap when the
engine is hot. When the engine is hot, the
engine coolant is under pressure and
may erupt through the opening if the cap
is removed. You could be seriously
burned if you do not observe this
precaution. Do not remove the radiator
cap until the radiator is cool to the touch.
!
5. Remove the oil filter by turning it counter-
clockwise with a oil filter wrench of the
proper size. A certain amount of oil will
come out when you remove the filter. So be
sure to have your drain pan in place
underneath it.
6. Install a new oil filter in accordance with the
instructions on the carton or on the filter
itself. Do not over-tighten.
Tightening torque:
8.7 ~ 11.6 lb.ft (1.2 ~ 1.6 kgf.m)
Be sure that the mounting surface on the
engine is clean and that the old gasket is
removed completely. Lubricate the new
gasket on the filter with clean engine oil
before installation.
7. Remove the engine oil level dipstick.
8. Refill the crankcase with the recommended
engine oil. Refer to the specification in
chapter 9 for engine oil capacity.
CAUTION:
Slowly pour the recommended oil into a
funnel. Do not overfill to avoid damage to
the engine.
NOTE:Always dispose of used engine oil in an
environmentally acceptable manner. It
is suggested that it be placed in a sealed
container and taken to a service station
for reclamation. Do not pour the oil on the
ground or put it into the household trash.
PROPOSITION 65 WARNING:
This product contains a chemical known
to the State of California to cause cancer.
Used engine oil may cause irritation or
cancer of the skin if left in contact with
the skin for prolonged periods of time.
Used engine oil contains chemicals that
have caused cancer in laboratory
animals. Always protect your skin by
washing your hands thoroughly with
soap and warm water as soon as possible
after handling used oil.
!
9. Start the engine and check to be sure no
oil is leaking from the drain plug or oil
filter.
10. Shut off the engine and recheck the oil
level.