2009 Hyundai Santa Fe ESP
[x] Cancel search: ESPPage 2 of 353
Please consult your Owner's Handbook & Warranty Information booklet for your vehicle's spe-
cific warranty coverage.The maintenance requirements for your new Hyundai are found in Section 7. As the owner, it is your
responsibility to see that all maintenance operations specified by the manufacturer are carried out at
the appropriate intervals. When the vehicle is used in severe driving conditions, more frequent main-
tenance is required for some operations. Maintenance requirements for severe operating conditions
are also included in Section 7.
WARRANTIES FOR YOUR HYUNDAI VEHICLE
RESPONSIBILITY FOR MAINTENANCE
EN hma cover.qxd 11/27/2006 5:07 PM Page 2
Page 5 of 353
F4
A110A01A-AAT
VEHICLE DATA COLLECTION AND EVENT DATA RECORDERS
Your Hyundai vehicle is equipped with many high technology, electronically controlled systems
that help to ensure your vehicle operates properly and provides the performance that you
expect. These systems utilize computers to monitor the operation of various systems and
components and help to control their operation. These computerized system operations are
wide-ranging and involve components to reduce emissions, to continuously evaluate the
readiness of the air bag and seat belt pretensioner systems, to determine when the air bag and
seat belt pre-tensioner systems should be deployed and then to activate the deployment, and
if equipped, to operate anti-lock braking, traction control and electrical stability control to assist
the driver to control the vehicle in difficult driving situations. These systems electronically store
information that is useful to service technicians when they need to diagnose and repair these
systems. Additional information is stored only when a crash occurs that results in the
deployment of the air bags or seat belt pre-tensioners. This type of data storage is done by
devices called event data recorders(EDR).
After a crash event, the air bag and seat belt pre-tensioner computer system, known as the
Supplemental Restraint System Control Module (SRSCM) or Air bag Control Unit (ACU), may
record some information about the condition of the vehicle and how it was being operated. This
information consists of data related to seat belt usage and if there was diagnostic information
in the air bag or seat belt systems at the time that a crash occurred, and if the ACU sensed that
a crash of sufficient severity occurred to require seat belt pre-tensioner or air bag deployment.
To retrieve this information, special equipment is needed and access to the vehicle or the device
that stores the data is required. Hyundai will not access information about a crash event or share
it with others except:
o in response to an official request of police or similar government office, or
o with the consent of the vehicle owner or, if the vehicle is leased, with the consent of the lessee,
or
o as part of Hyundai’s defense of litigation, or
o as required by law.
Page 15 of 353
1FEATURES OF YOUR HYUNDAI4
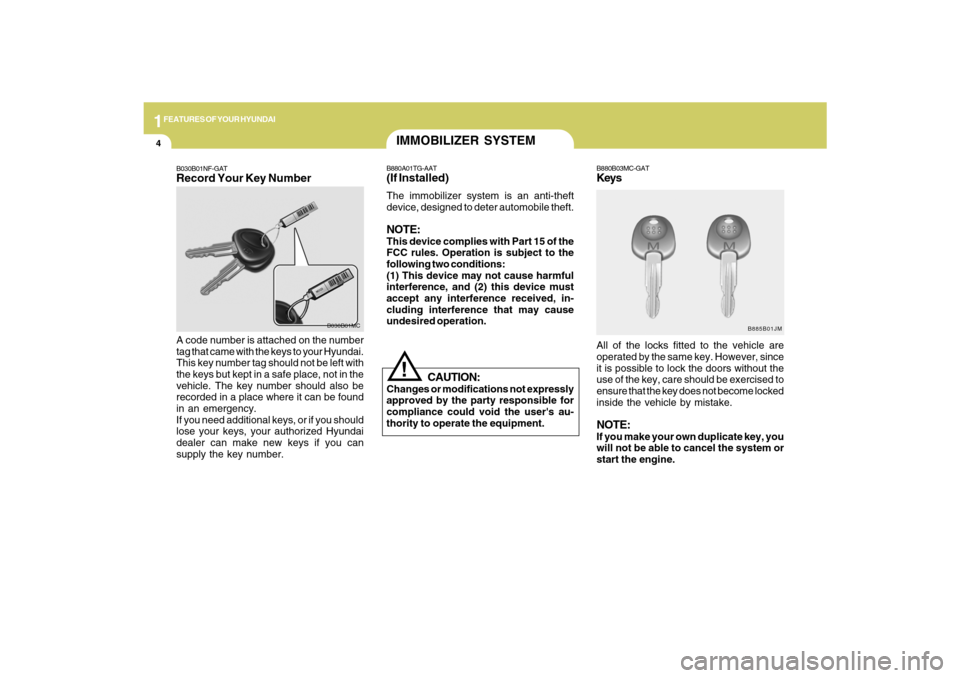
B030B01NF-GATRecord Your Key NumberA code number is attached on the number
tag that came with the keys to your Hyundai.
This key number tag should not be left with
the keys but kept in a safe place, not in the
vehicle. The key number should also be
recorded in a place where it can be found
in an emergency.
If you need additional keys, or if you should
lose your keys, your authorized Hyundai
dealer can make new keys if you can
supply the key number.
B030B01MC
IMMOBILIZER SYSTEMB880A01TG-AAT(If Installed)The immobilizer system is an anti-theft
device, designed to deter automobile theft.NOTE:This device complies with Part 15 of the
FCC rules. Operation is subject to the
following two conditions:
(1) This device may not cause harmful
interference, and (2) this device must
accept any interference received, in-
cluding interference that may cause
undesired operation.
CAUTION:
Changes or modifications not expressly
approved by the party responsible for
compliance could void the user's au-
thority to operate the equipment.
!
B880B03MC-GATKeysAll of the locks fitted to the vehicle are
operated by the same key. However, since
it is possible to lock the doors without the
use of the key, care should be exercised to
ensure that the key does not become locked
inside the vehicle by mistake.NOTE:If you make your own duplicate key, you
will not be able to cancel the system or
start the engine.
B885B01JM
Page 18 of 353
1
FEATURES OF YOUR HYUNDAI
7
B030C01E-1
DOOR LOCKS!
B040A01CM-AAT B030C01CM-AAT
Illuminated Ignition Switch
(If installed)Whenever either front door is opened, the
ignition switch will be illuminated for your
convenience, provided the ignition switch
is not in the "ON" position.
The light will go off approximately 30 sec-
onds after closing the door or when the
ignition switch is turned on.
WARNING:
o Unlocked doors can be dangerous.
Before you drive away (especially if
there are children in the car), be sure
that all the doors are securely closed
and locked so that the doors cannot
be opened from the inside.
o Before opening the door, always look
for and avoid oncoming traffic.
UNLOCK
LOCK
OCM052005
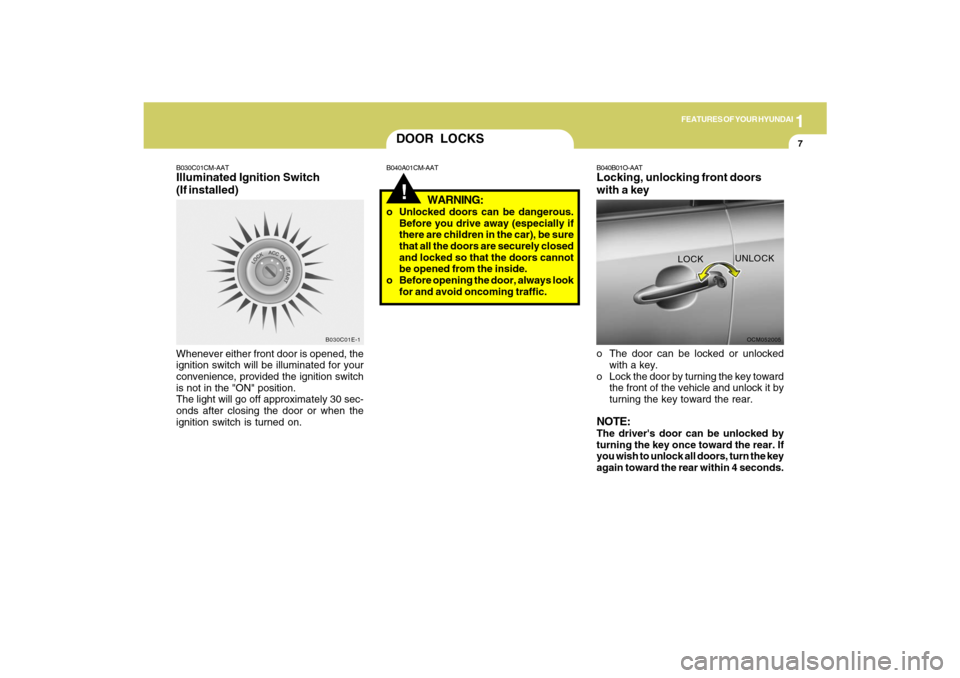
B040B01O-AATLocking, unlocking front doors
with a keyo The door can be locked or unlocked
with a key.
o Lock the door by turning the key toward
the front of the vehicle and unlock it by
turning the key toward the rear.NOTE:The driver's door can be unlocked by
turning the key once toward the rear. If
you wish to unlock all doors, turn the key
again toward the rear within 4 seconds.
Page 21 of 353
1FEATURES OF YOUR HYUNDAI10
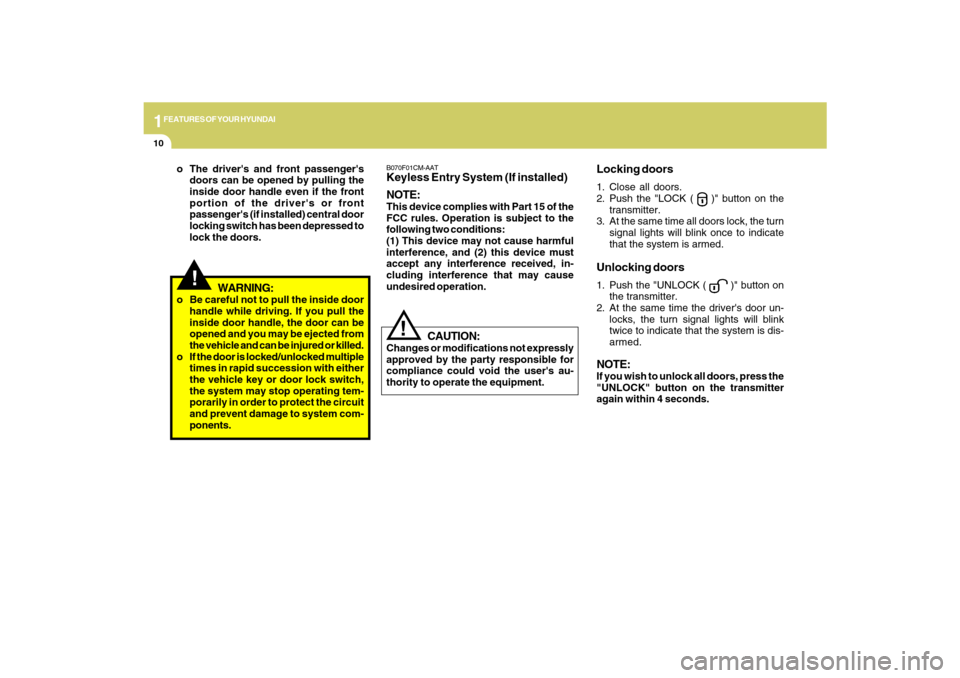
B070F01CM-AATKeyless Entry System (If installed)
NOTE:This device complies with Part 15 of the
FCC rules. Operation is subject to the
following two conditions:
(1) This device may not cause harmful
interference, and (2) this device must
accept any interference received, in-
cluding interference that may cause
undesired operation.
Locking doors1. Close all doors.
2. Push the "LOCK (
)" button on the
transmitter.
3. At the same time all doors lock, the turn
signal lights will blink once to indicate
that the system is armed.
Unlocking doors1. Push the "UNLOCK (
)" button on
the transmitter.
2. At the same time the driver's door un-
locks, the turn signal lights will blink
twice to indicate that the system is dis-
armed.
NOTE:If you wish to unlock all doors, press the
"UNLOCK" button on the transmitter
again within 4 seconds.
CAUTION:
Changes or modifications not expressly
approved by the party responsible for
compliance could void the user's au-
thority to operate the equipment.
!
!
WARNING:
o Be careful not to pull the inside door
handle while driving. If you pull the
inside door handle, the door can be
opened and you may be ejected from
the vehicle and can be injured or killed.
o If the door is locked/unlocked multiple
times in rapid succession with either
the vehicle key or door lock switch,
the system may stop operating tem-
porarily in order to protect the circuit
and prevent damage to system com-
ponents. o The driver's and front passenger's
doors can be opened by pulling the
inside door handle even if the front
portion of the driver's or front
passenger's (if installed) central door
locking switch has been depressed to
lock the doors.
Page 75 of 353

1FEATURES OF YOUR HYUNDAI64
B260W01CM-AAT
Low tire pressure telltale
Low tire pressure
position telltale
The low tire pressure and position telltales
illuminate for 3 seconds after the ignition
key is turned to the "ON" position.
If the warning lights do not illuminate, or
remain illuminate after the 3-second lamp
check when you turned the ignition key to
the "ON" position, the Tire Pressure Moni-
toring System is not working properly. If
this occurs, have your vehicle checked by
an authorized Hyundai dealer as soon as
possible.
This warning lights will also illuminate if
one or more of your tires is significantly
under-inflated. The low tire pressure posi-
tion telltale light will indicate which tire is
significantly under-inflated by illuminating
the corresponding position light.
You should stop and check your tires as
soon as possible. If the warning lights
illuminate while driving, reduce vehicle
speed immediately and stop the vehicle.
WARNING AND INDICATOR LIGHTSB260S01NF-GAT
Low Windshield Washer
Fluid Level Warning Light
The low windshield washer fluid warning
light comes on when the washer fluid res-
ervoir is approaching empty. When it
comes on, add washer fluid at your earliest
opportunity.B260N02A-AAT
Malfunction Indicator Light
This light illuminates when there is a mal-
function of an exhaust gas related compo-
nent, and the system is not functioning
properly so that the exhaust gas regulation
values are not satisfied. This light will also
illuminate when the ignition key is turned to
the "ON" position, and then it will go out in
a few seconds after the engine is started. If
it illuminates while driving, or does not illumi-
nate when the ignition key is turned to the
"ON" position, take your car to your nearest
authorized Hyundai dealer and have the
system checked.
!
B265W01JM-AAT
TPMS (Tire pressure
monitoring system)
malfunction indicator
TPMS malfunction indicator illuminates for
3 seconds after the ignition key is turned to
the "ON" position. If the warning light does
not illuminates, or remains when you turned
the ignition key to the "ON" position, the Tire
Pressure Monitoring System is not working
porperly. If this occurs, have your vehicle
checked by an authorized Hyundai dealer
as soon as possible. The warning light also
comes on and stays on when there is a
malfunction with the Tire Pressure Monitor-
ing System. If this happens, the system may
not monitor the tire pressure. Have the sys-
tem checked by an authorized Hyundai
dealer as soon as possible.
WARNING:
o The TPMS cannot alert you to severe
and sudden tire damage caused by
external factors.
o If you feel any vehicle instability, im-
mediately take your foot off the accel-
erator and slowly move to a safe po-
sition off the road.
Page 95 of 353
1FEATURES OF YOUR HYUNDAI84
INSTRUMENT PANEL LIGHT
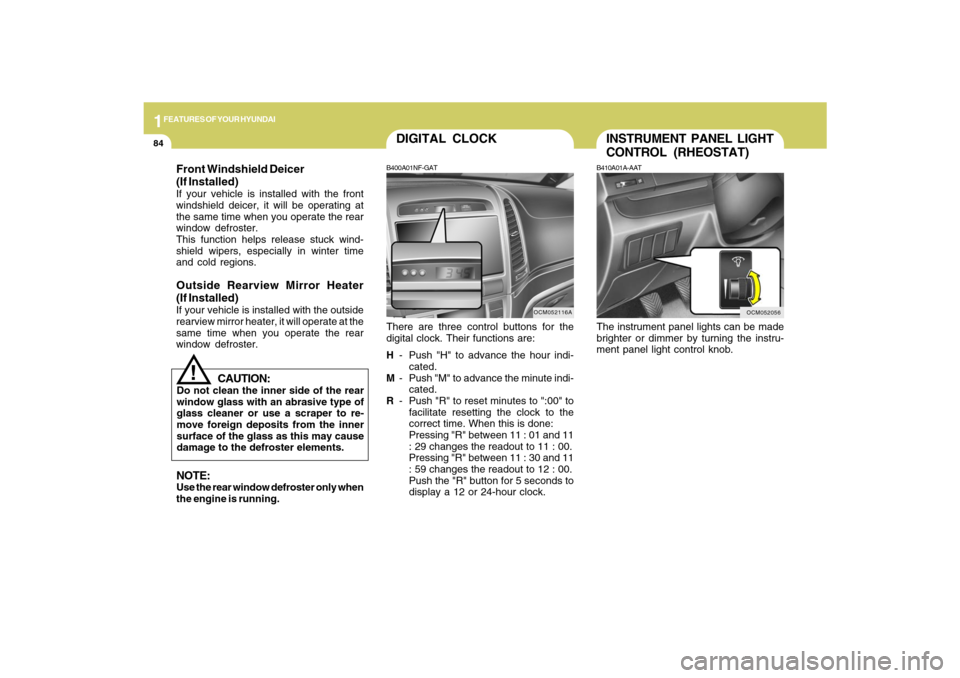
CONTROL (RHEOSTAT)B410A01A-AATThe instrument panel lights can be made
brighter or dimmer by turning the instru-
ment panel light control knob.
OCM052056
DIGITAL CLOCKB400A01NF-GATThere are three control buttons for the
digital clock. Their functions are:
H- Push "H" to advance the hour indi-
cated.
M- Push "M" to advance the minute indi-
cated.
R- Push "R" to reset minutes to ":00" to
facilitate resetting the clock to the
correct time. When this is done:
Pressing "R" between 11 : 01 and 11
: 29 changes the readout to 11 : 00.
Pressing "R" between 11 : 30 and 11
: 59 changes the readout to 12 : 00.
Push the "R" button for 5 seconds to
display a 12 or 24-hour clock.
OCM052116A
CAUTION:
Do not clean the inner side of the rear
window glass with an abrasive type of
glass cleaner or use a scraper to re-
move foreign deposits from the inner
surface of the glass as this may cause
damage to the defroster elements.
!
NOTE:Use the rear window defroster only when
the engine is running.Front Windshield Deicer
(If Installed)If your vehicle is installed with the front
windshield deicer, it will be operating at
the same time when you operate the rear
window defroster.
This function helps release stuck wind-
shield wipers, especially in winter time
and cold regions.Outside Rearview Mirror Heater
(If Installed)If your vehicle is installed with the outside
rearview mirror heater, it will operate at the
same time when you operate the rear
window defroster.
Page 108 of 353
1
FEATURES OF YOUR HYUNDAI
97
!
WARNING:
o Do not store cigarette lighters, pro-
pane cylinders, or other flammable/
explosive materials in the vehicle.
These items may catch fire and/or
explode if the vehicle is exposed to
hot temperatures for extended peri-
ods.
o To avoid the possibility of injury in
case of an accident or a sudden stop,
the center facia upper tray lid should
be kept closed when the car is in
motion.
OUTSIDE REARVIEW
MIRROR
CAUTION:
If the mirror is jammed with ice, do not
adjust the mirror by force. Use an ap-
proved spray de-icer (not radiator anti-
freeze) to release the frozen mecha-
nism or move the vehicle to a warm
place and allow the ice to melt.
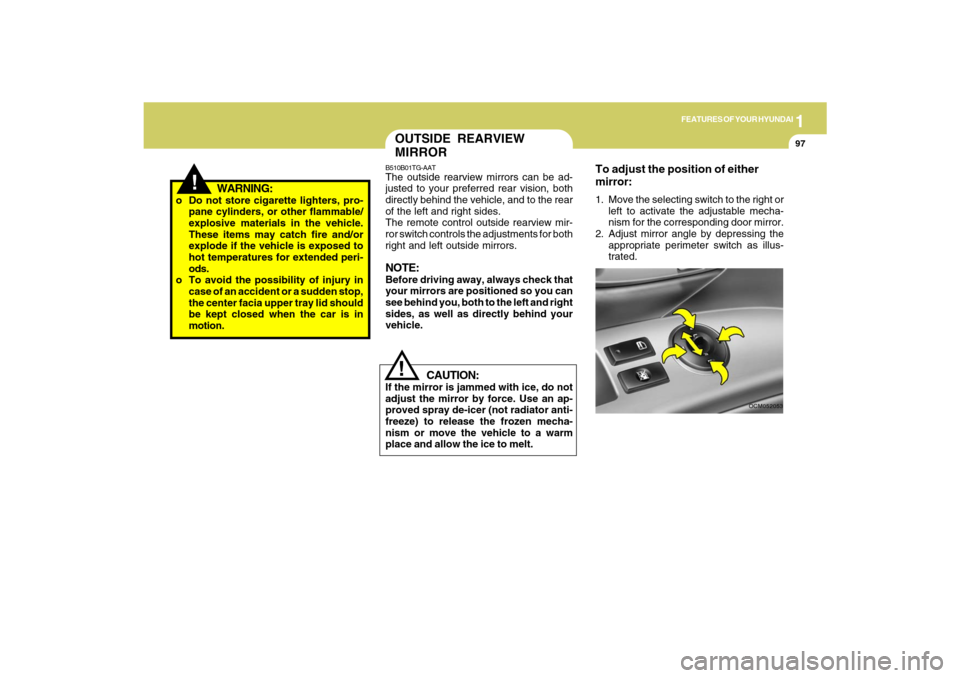
To adjust the position of either
mirror:1. Move the selecting switch to the right or
left to activate the adjustable mecha-
nism for the corresponding door mirror.
2. Adjust mirror angle by depressing the
appropriate perimeter switch as illus-
trated.
!
OCM052053
B510B01TG-AATThe outside rearview mirrors can be ad-
justed to your preferred rear vision, both
directly behind the vehicle, and to the rear
of the left and right sides.
The remote control outside rearview mir-
ror switch controls the adjustments for both
right and left outside mirrors.NOTE:Before driving away, always check that
your mirrors are positioned so you can
see behind you, both to the left and right
sides, as well as directly behind your
vehicle.