Page 197 of 308

535
Driving your vehicle
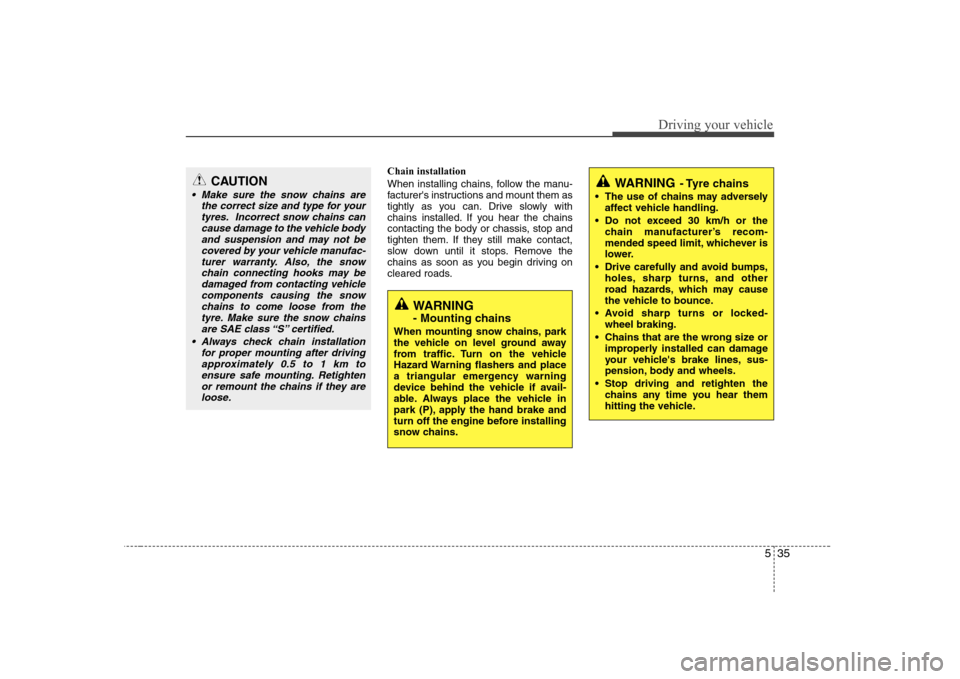
Chain installation
When installing chains, follow the manu-
facturer's instructions and mount them as
tightly as you can. Drive slowly with
chains installed. If you hear the chains
contacting the body or chassis, stop and
tighten them. If they still make contact,
slow down until it stops. Remove the
chains as soon as you begin driving on
cleared roads.CAUTION
Make sure the snow chains arethe correct size and type for yourtyres. Incorrect snow chains cancause damage to the vehicle body
and suspension and may not becovered by your vehicle manufac- turer warranty. Also, the snowchain connecting hooks may be
damaged from contacting vehicle components causing the snowchains to come loose from the tyre. Make sure the snow chains
are SAE class “S” certified.
Always check chain installation for proper mounting after drivingapproximately 0.5 to 1 km to
ensure safe mounting. Retightenor remount the chains if they areloose.
WARNING
- Mounting chains
When mounting snow chains, park
the vehicle on level ground away
from traffic. Turn on the vehicle
Hazard Warning flashers and place
a triangular emergency warning
device behind the vehicle if avail-
able. Always place the vehicle in
park (P), apply the hand brake and
turn off the engine before installing
snow chains.
WARNING - Tyre chains
The use of chains may adversely affect vehicle handling.
Do not exceed 30 km/h or the chain manufacturer’s recom-
mended speed limit, whichever is
lower.
Drive carefully and avoid bumps, holes, sharp turns, and other
road hazards, which may cause
the vehicle to bounce.
Avoid sharp turns or locked- wheel braking.
Chains that are the wrong size or improperly installed can damage
your vehicle's brake lines, sus-
pension, body and wheels.
Stop driving and retighten the chains any time you hear them
hitting the vehicle.
Page 235 of 308
Maintenance
10
7
Normal maintenance schedule (cont.)
I : Inspect and if necessary, adjust, correct, clean or replace.
R : Replace or change.
Number of months or driving distance, whichever comes first
Months 12 24 36 48 60 72 84 96
Km×1,000 15 30 45 60 75 90 105 120
Steering gear rack, linkage and boots I I I I I I I I
Driveshaft and boots I I I I
Tyre (pressure & tread wear) I I I I I I I I
Front suspension ball joints I I I I I I I I
Bolt and nuts on chassis and body I I I I I I I I
Air conditioner refrigerant (if equipped) I I I I I I I I
Air conditioner compressor (if equipped) I I I I I I I I
Climate control air filter R R R R R R R R
Manual transaxle fluid (if equipped) I I I I I I I I
Automatic transaxle fluid (if equipped)
III IIRI I
MAINTENANCE INTERVALS
MAINTENANCE ITEM
Page 237 of 308

Maintenance
12
7
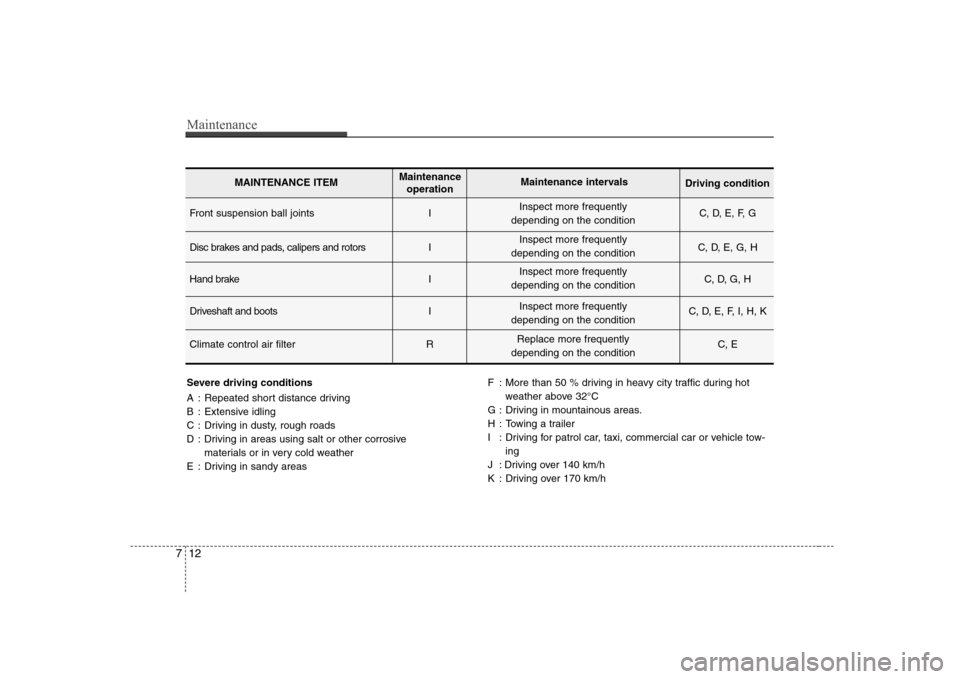
Severe driving conditions
A : Repeated short distance driving
B : Extensive idling
C : Driving in dusty, rough roads
D : Driving in areas using salt or other corrosive
materials or in very cold weather
E : Driving in sandy areas F : More than 50 % driving in heavy city traffic during hot
weather above 32°C
G : Driving in mountainous areas.
H : Towing a trailer
I : Driving for patrol car, taxi, commercial car or vehicle tow- ing
J : Driving over 140 km/h
K : Driving over 170 km/h
Front suspension ball joints I C, D, E, F, G
Disc brakes and pads, calipers and rotors I C, D, E, G, H
Hand brake I C, D, G, H
Driveshaft and boots I C, D, E, F, I, H, K
Climate control air filter R C, E
MAINTENANCE ITEMMaintenance
operation Maintenance intervals
Driving condition
Inspect more frequently
depending on the condition
Inspect more frequently
depending on the condition
Inspect more frequently
depending on the condition
Inspect more frequently
depending on the condition
Replace more frequently
depending on the condition
Page 240 of 308

715
Maintenance
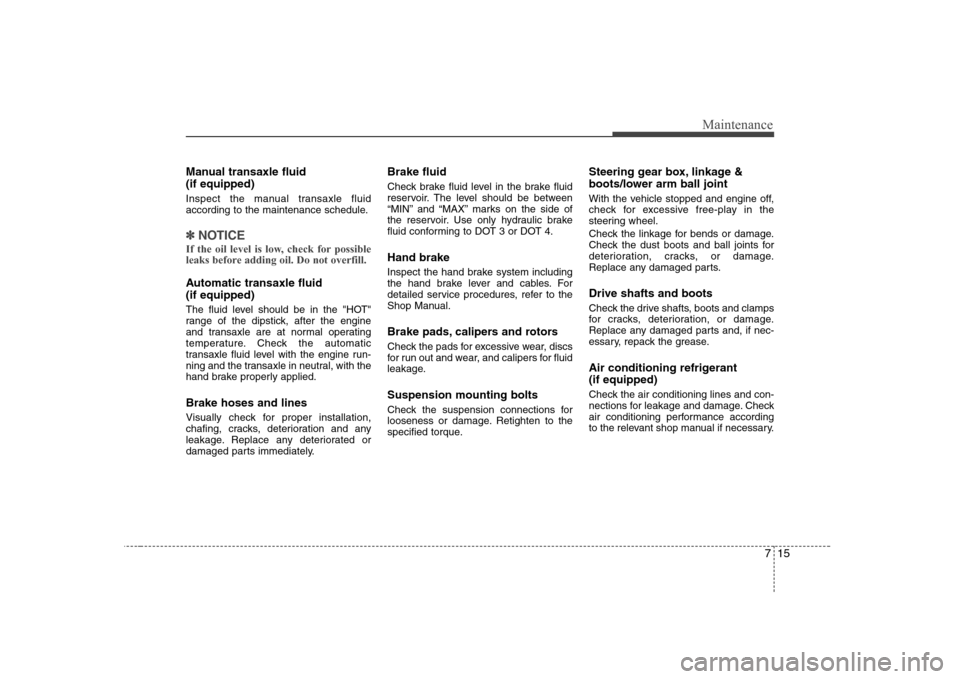
Manual transaxle fluid (if equipped)
Inspect the manual transaxle fluid
according to the maintenance schedule.
✽✽NOTICE
If the oil level is low, check for possible
leaks before adding oil. Do not overfill.
Automatic transaxle fluid (if equipped)
The fluid level should be in the "HOT"
range of the dipstick, after the engine
and transaxle are at normal operating
temperature. Check the automatic
transaxle fluid level with the engine run-
ning and the transaxle in neutral, with the
hand brake properly applied. Brake hoses and lines
Visually check for proper installation,
chafing, cracks, deterioration and any
leakage. Replace any deteriorated or
damaged parts immediately. Brake fluid
Check brake fluid level in the brake fluid
reservoir. The level should be between
“MIN” and “MAX” marks on the side of
the reservoir. Use only hydraulic brake
fluid conforming to DOT 3 or DOT 4. Hand brake
Inspect the hand brake system including
the hand brake lever and cables. For
detailed service procedures, refer to the
Shop Manual.
Brake pads, calipers and rotors
Check the pads for excessive wear, discs
for run out and wear, and calipers for fluid
leakage. Suspension mounting bolts
Check the suspension connections for
looseness or damage. Retighten to the
specified torque.
Steering gear box, linkage &
boots/lower arm ball joint
With the vehicle stopped and engine off,
check for excessive free-play in the
steering wheel.
Check the linkage for bends or damage.
Check the dust boots and ball joints for
deterioration, cracks, or damage.
Replace any damaged parts. Drive shafts and boots
Check the drive shafts, boots and clamps
for cracks, deterioration, or damage.
Replace any damaged parts and, if nec-
essary, repack the grease.
Air conditioning refrigerant (if equipped)
Check the air conditioning lines and con-
nections for leakage and damage. Check
air conditioning performance according
to the relevant shop manual if necessary.