Page 91 of 308
Features of your vehicle
36
4
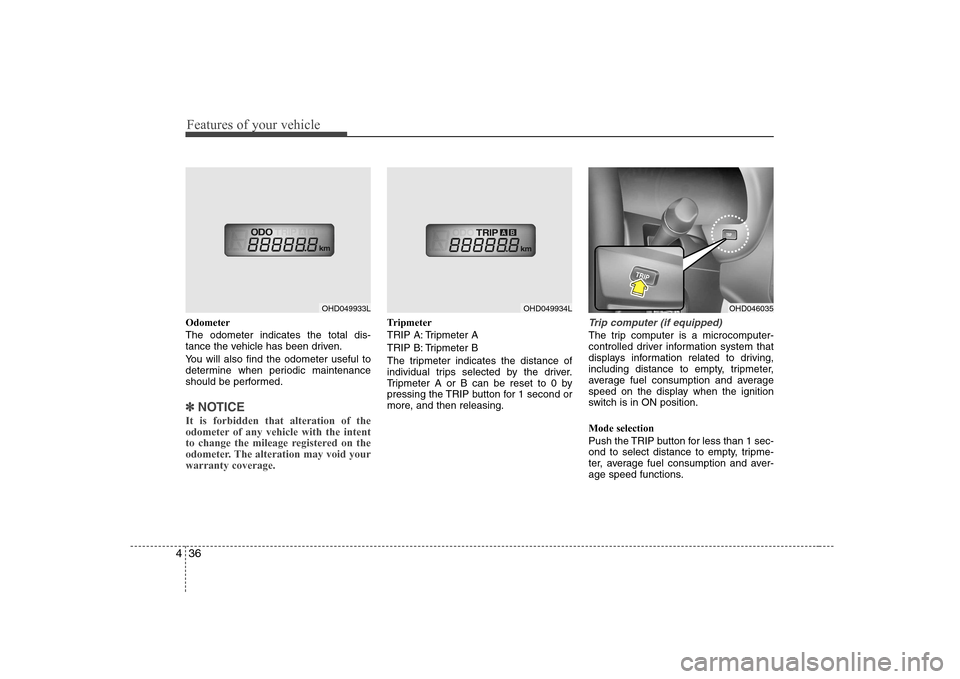
Odometer The odometer indicates the total dis-
tance the vehicle has been driven.
You will also find the odometer useful to
determine when periodic maintenance
should be performed.
✽✽
NOTICE
It is forbidden that alteration of the
odometer of any vehicle with the intent
to change the mileage registered on the
odometer. The alteration may void yourwarranty coverage.
Tripmeter
TRIP A: Tripmeter A
TRIP B: Tripmeter B
The tripmeter indicates the distance of
individual trips selected by the driver.
Tripmeter A or B can be reset to 0 by
pressing the TRIP button for 1 second or
more, and then releasing.Trip computer (if equipped)
The trip computer is a microcomputer-
controlled driver information system that
displays information related to driving,
including distance to empty, tripmeter,
average fuel consumption and average
speed on the display when the ignition
switch is in ON position. Mode selection
Push the TRIP button for less than 1 sec-
ond to select distance to empty, tripme-
ter, average fuel consumption and aver-
age speed functions.
OHD049933LOHD049934LOHD046035
Page 92 of 308
437
Features of your vehicle
Distance to empty (km) This mode indicates the estimated dis- tance to empty based on the current fuelin the fuel tank and the amount of fuel
delivered to the engine. When the
remaining distance is below 50 km, a
blinking “---” symbol will be displayed.
The meter’s working range is from 50 to 999 km.
✽✽NOTICE
Page 119 of 308
Features of your vehicle
64
4
AUTOMATIC CLIMATE CONTROL SYSTEM (IF EQUIPPED)
1. Front windshield defrost button
2. Rear window defrost button
3. Air conditioning button
4. Air intake control button 5. Temperature control button
6. Fan speed control button
7. AUTO (automatic control) button
8. OFF button 9. Mode selection button
10. A/C display
OHD047066
Page 120 of 308
465
Features of your vehicle
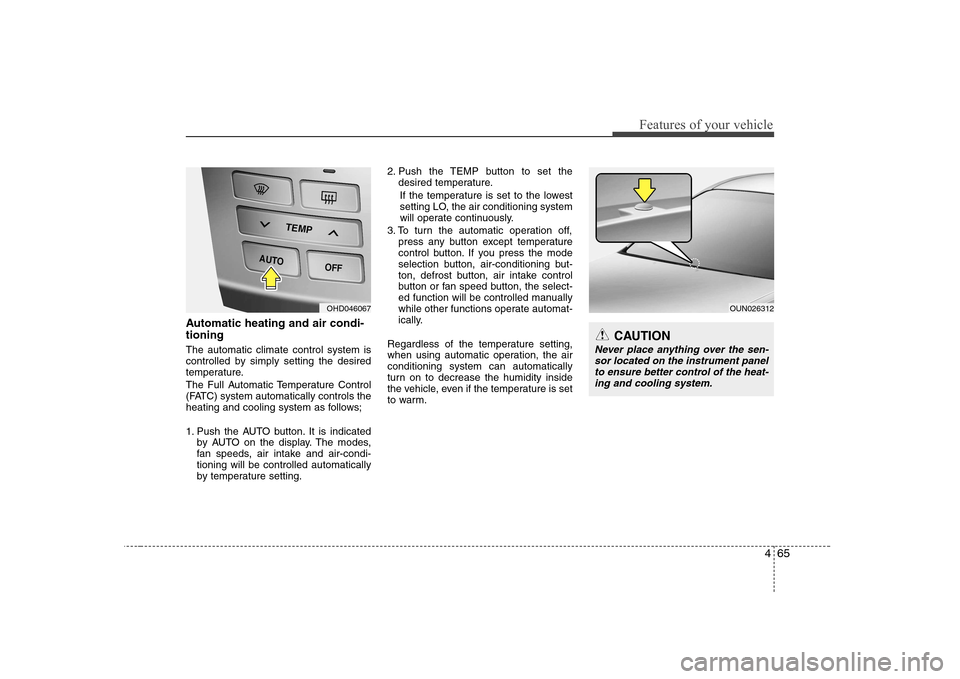
Automatic heating and air condi- tioning The automatic climate control system is
controlled by simply setting the desired
temperature.
The Full Automatic Temperature Control
(FATC) system automatically controls the
heating and cooling system as follows;
1. Push the AUTO button. It is indicatedby AUTO on the display. The modes,
fan speeds, air intake and air-condi-tioning will be controlled automatically
by temperature setting. 2. Push the TEMP button to set the
desired temperature.
If the temperature is set to the lowest
setting LO, the air conditioning system
will operate continuously.
3. To turn the automatic operation off, press any button except temperature
control button. If you press the mode
selection button, air-conditioning but-
ton, defrost button, air intake control
button or fan speed button, the select-
ed function will be controlled manually
while other functions operate automat-
ically.
Regardless of the temperature setting,
when using automatic operation, the airconditioning system can automatically
turn on to decrease the humidity inside
the vehicle, even if the temperature is set
to warm.
OUN026312
CAUTION
Never place anything over the sen- sor located on the instrument panel to ensure better control of the heat-
ing and cooling system.
OHD046067
Page 123 of 308
Features of your vehicle
68
4
Temperature conversion
If the battery has been discharged or dis-
connected, the temperature mode dis-
play will reset to Centigrade.
This is normal condition. You can switch
the temperature mode between
Centigrade to Fahrenheit as follows;
While depressing the AUTO button,
depress the OFF button for 3 seconds or
more. The display will change from
Centigrade to Fahrenheit, or from
Fahrenheit to Centigrade.
Air intake control
This is used to select outside (fresh) air position or recirculated air position.
To change the air intake control position,
push the control button. Recirculated air position
The indicator light on the but-ton is illuminated when therecirculated air position isselected.
With the recirculated air posi- tion selected, air from pas-
senger compartment will be
drawn through the heatingsystem and heated or cooledaccording to the function
selected.
OHD047071
Page 129 of 308
Features of your vehicle
74
4
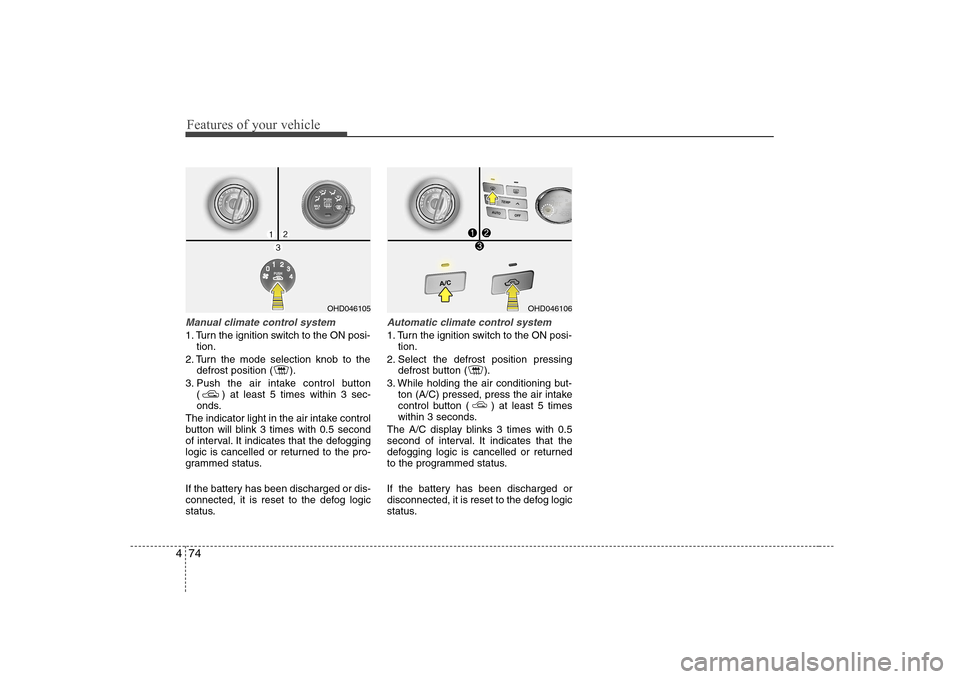
Manual climate control system
1. Turn the ignition switch to the ON posi-
tion.
2. Turn the mode selection knob to the defrost position ( ).
3. Push the air intake control button ( ) at least 5 times within 3 sec-
onds.
The indicator light in the air intake control
button will blink 3 times with 0.5 second
of interval. It indicates that the defogging
logic is cancelled or returned to the pro-
grammed status.
If the battery has been discharged or dis-
connected, it is reset to the defog logic
status.
Automatic climate control system
1. Turn the ignition switch to the ON posi- tion.
2. Select the defrost position pressing defrost button ( ).
3. While holding the air conditioning but- ton (A/C) pressed, press the air intake
control button ( ) at least 5 times
within 3 seconds.
The A/C display blinks 3 times with 0.5
second of interval. It indicates that the
defogging logic is cancelled or returned
to the programmed status.
If the battery has been discharged or
disconnected, it is reset to the defog logic
status.
OHD046105OHD046106
Page 135 of 308
Features of your vehicle
80
4
Pressing the “H” button (2) with your
finger, a pencil or similar object will
advance the time displayed by one
hour.
Pressing the “M” button (3) with your
finger, a pencil or similar object will
advance the time displayed by one
minute.
To clear away minutes, press the “R”
button (1) with your finger, a pencil or
similar object. Then the clock will be
set precisely on the hour.
For example, if the “R” button is
pressed while the time is between 9:01
and 9:29, the display will be reset to9:00.
9:01 ~ 9:29 display changed to 9:00
9:30 ~ 9:59 display changed to 10:00
To change the 12 hour format to the 24
hour format, press the “R” button (1) for
more than 4 seconds.
For example, if the “R” button is
pressed for more than 4 seconds while
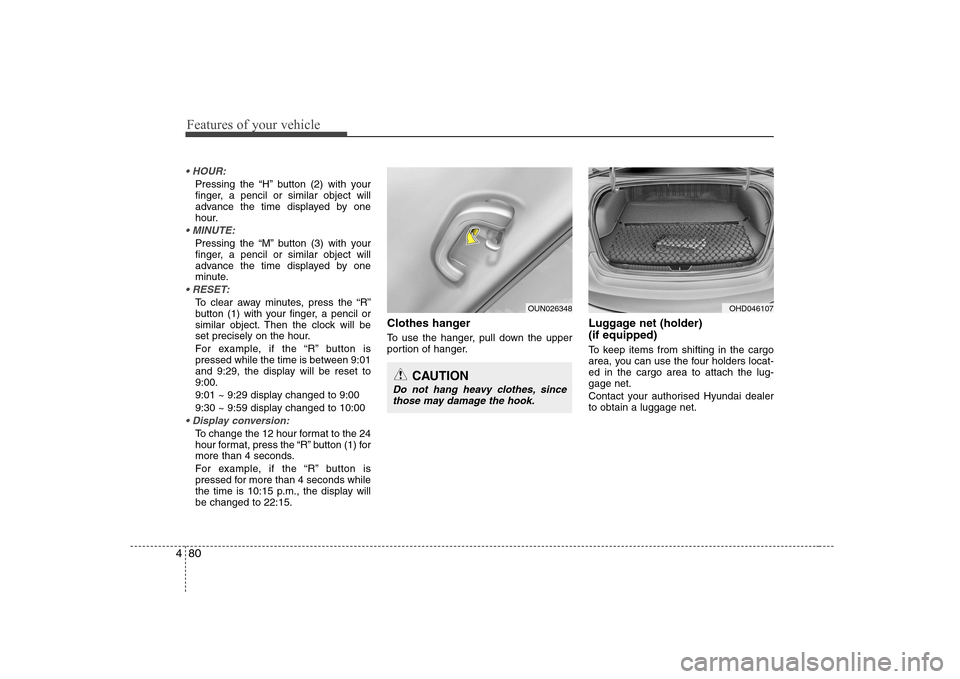
the time is 10:15 p.m., the display willbe changed to 22:15. Clothes hanger
To use the hanger, pull down the upper
portion of hanger.
Luggage net (holder) (if equipped)
To keep items from shifting in the cargo
area, you can use the four holders locat-ed in the cargo area to attach the lug-gage net.
Contact your authorised Hyundai dealer to obtain a luggage net.
OUN026348
CAUTION
Do not hang heavy clothes, since
those may damage the hook.
OHD046107
Page 151 of 308
Features of your vehicle
96
4
1. CD Loading Slot
Please face printed side upward and gen-
tly push in. When the ignition switch is on
ACC or ON and power is off, power is
automatically turned on if the CD is
loaded. This CDP supports only 12cm CD.If a video CD or Data CD is loaded,"Reading Error" message will appear andCD will be ejected.
2. CD Eject Button
Push button for less than 0.8 second
to eject the CD during CD playback.
This button is enabled when ignition
switch is off.
ALL EJECT(CDC Only)
Press this button for more than 0.8 sec-
ond to eject all discs inside the deck in
respective order. 3. CD/AUX Selection Button
If the auxiliary device is connected, it
switches to the AUX mode from the other
mode to play the sound from the auxiliary
player.
If the CD is loaded, turns to CD mode,
and if a device is connected to AUX then
it toggles. CD
➟
AUX ➟ CD... when the
button is pressed each time.(It will not
turn to AUX if the auxiliary device is notconnected)
If no CD and auxiliary device is not con-
nected, it displays "No Media" for 3 sec-
onds and returns to the previous mode.
4. Automatic Track Selection
Button
] button for less than 0.8 second to play from the beginning of current song.
] button for less than 0.8 second and press again within 1
second to play the previous song.
] button for less than 0.8 second to play the next song. 5. Fast Search Button
longer to initiate high speed sound search of current song.
longer to initiate reverse direction highspeed sound search of current song.
6. RANDOM Play Button
Press this button for less than 0.8 second
to activate ‘RDM’ mode and more than
0.8 second to activate ‘ALL RDM’ mode.
RDM : Only files/tracks in a folder/disc are played back in a random sequence.
ALL RDM(MP3/WMA Only) : All files in a disc are played back in the random
sequence.
7. REPEAT Button
Press this button for less than 0.8 second
to activate ‘RPT’ mode and more than 0.8
second to activate ‘FLD RPT’ mode.
Only a track(file) is repeatedly played back.
Only files in a folder are repeatedly played back.