2009 Hyundai Accent heating
[x] Cancel search: heatingPage 152 of 232
2
DRIVING YOUR HYUNDAI
25
2
DRIVING YOUR HYUNDAI
25
CAUTION:
If overheating should occur when towing, (temperature gauge readsnear red zone), taking the following action may reduce or eliminate the problem.
1. Turn off the air conditioner.
2. Reduce highway speed.
3. Select a lower gear when going uphill.
4. While in stop and go traffic, place
the gear selection in park or neu-tral and idle the engine at a higher speed.
!
14. When going down a hill, shift into a
lower gear and use the engine brak- ing effect. When ascending a long grade, downshift the transaxle to a lower gear and reduce speed toreduce chances of engine overload- ing and/or overheating.
15.If you have to stop while going uphill, do not hold the vehicle inplace by pressing on the accelera- tor. This can cause the automatictransaxle to overheat. Use the hand brake or footbrake.
NOTE: When towing, check transaxle fluid more frequently.
Page 156 of 232
3 WHAT TO DO IN AN EMERGENCY
4IF THE ENGINE OVERHEATS
D030A01A-DAT If your temperature gauge indicates overheating, you experience a loss of power, or hear loud pinging or knock- ing, the engine is probably too hot. Ifthis happens, you should:
1. Pull off the road and stop as soon as it is safe to do so.
2. Place the gear selector lever in "P"
(automatic), or neutral (manual transaxle) and set the hand brake. If the air conditioning is on, turn it off.
3. If coolant is running out under the car or steam is coming out from thebonnet, stop the engine. Do not open the bonnet until the coolant hasstopped running or the steaming has stopped. If there is no visible loss of coolant and no steam, leave theengine running and check to be sure the engine cooling fan is operating. If the fan is not running, turn the engineoff.
4. Check to see if the water pump drive
belt is missing. If it is not missing,check to see that it is tight. If the drive belt seems to be satisfactory, check for coolant leaking from theradiator, hoses or under the car.
6. Carefully remove the jumper cables
in the reverse order of attachment.
If you do not know why your batterybecame discharged (because the lightswere left on, etc.), have the charging system checked by your Hyundai dealer.
3. Attach the clamps of the jumper
cable in the exact order shown in theillustration. That is, first, attach one clamp of the jumper cable to the positive (+) post or cable of thedischarged battery. Then attach the other end of the same cable to the positive (+) post or cable of thebooster battery. Next, using the other cable, attach one clamp to the negative (-) post or cable of thebooster battery. Then attach the other end of that cable to a solid metal part of the engine away fromthe battery. Do not connect the cable to any moving part.
4. Start the engine in the car with the booster battery and let it run for afew minutes. This will help to as- sure that the booster battery is fullycharged. During the jumping opera- tion, run the engine in this vehicle at about 2,000 rpm.
5. Start the engine in the car with the discharged battery using the normalstarting procedure. After the enginestarts, leave the jumper cables con- nected and let the engine run at fast idle or about 2,000 rpm for severalminutes.
Page 157 of 232
3
WHAT TO DO IN AN EMERGENCY
5
!
!
SPARE TYRE
(If the air conditioning had been in use, it is normal for cold water to bedraining from it when you stop).
WARNING:
While the engine is running, keep hair, hands and clothing away from moving parts such as the fan anddrive belts to prevent injury. 6. If you cannot find the cause of the
overheating, wait until the enginetemperature has returned to normal. Then, if coolant has been lost, care- fully add engine coolant to the reser-voir (page 6-7) to bring the fluid level in the reservoir up to the halfway mark.
7. Proceed with caution, keeping alert for further signs of overheating. Ifoverheating happens again, call aHyundai dealer for assistance.
5. If the water pump drive belt is broken or coolant is leaking out, stop theengine immediately and call the near-est Hyundai dealer for assistance.
WARNING:
Do not remove the radiator cap when the engine is hot. This can allow coolant to be blown out of the open-ing and cause serious burns.
! CAUTION:
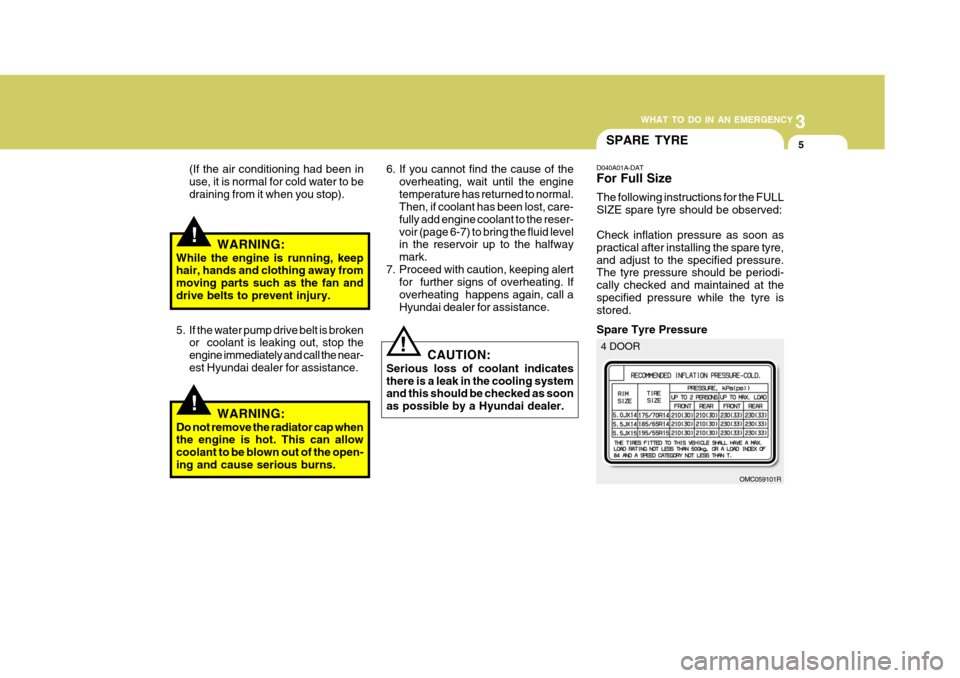
Serious loss of coolant indicates there is a leak in the cooling system and this should be checked as soon as possible by a Hyundai dealer. D040A01A-DAT For Full Size The following instructions for the FULL SIZE spare tyre should be observed: Check inflation pressure as soon as practical after installing the spare tyre,and adjust to the specified pressure. The tyre pressure should be periodi- cally checked and maintained at thespecified pressure while the tyre is stored. Spare Tyre Pressure
OMC059101R
4 DOOR
Page 184 of 232
6
DO-IT-YOURSELF MAINTENANCE
3GENERAL CHECKS
G020A01A-AAT Engine Compartment The following should be checked regu- larly:
o Engine oil level and condition
o Transaxle fluid level and condition
o Brake fluid level
o Clutch fluid level
o Engine coolant level
o Windshield washer fluid level
o Accessory drive belt condition
o Engine coolant hose condition
o Fluid leaks (on or below compo- nents)
o Power steering fluid level
o Battery condition
o Air cleaner filter condition G020C01A-DAT Vehicle Interior The following should be checked each time when the vehicle is driven:
o Lights operation
o Windshield wiper operation
o Horn operation
o Demister, heating system operation
(and air conditioning, if installed)
o Steering operation and condition
o Mirror condition and operation
o Turn signal light operation
o Accelerator pedal operation
o Brake operation, including hand
brake
o Manual transaxle operation, includ- ing clutch operation
o Automatic transaxle operation, in- cluding "Park" mechanism opera-tion
o Seat control condition and opera- tion
o Seat belt condition and operation
o Sunvisor operation If you notice anything that does not operate correctly or appears to befunctioning incorrectly, inspect it care- fully and seek assistance from your Hyundai dealer if service is needed.
G020B01A-DAT Vehicle Exterior The following should be checked monthly:
o Overall appearance and condition
o Wheel condition and wheel nut torque
o Exhaust system condition
o Light condition and operation
o Windshield glass condition
o Wiper blade condition
o Paint condition and body corrosion
o Fluid leaks
o Door and bonnet lock condition
o Tyre pressure and condition (includ-
ing spare tyre)
Page 189 of 232
6 DO-IT-YOURSELF MAINTENANCE
8CHANGING THE AIR CLEANER FILTER
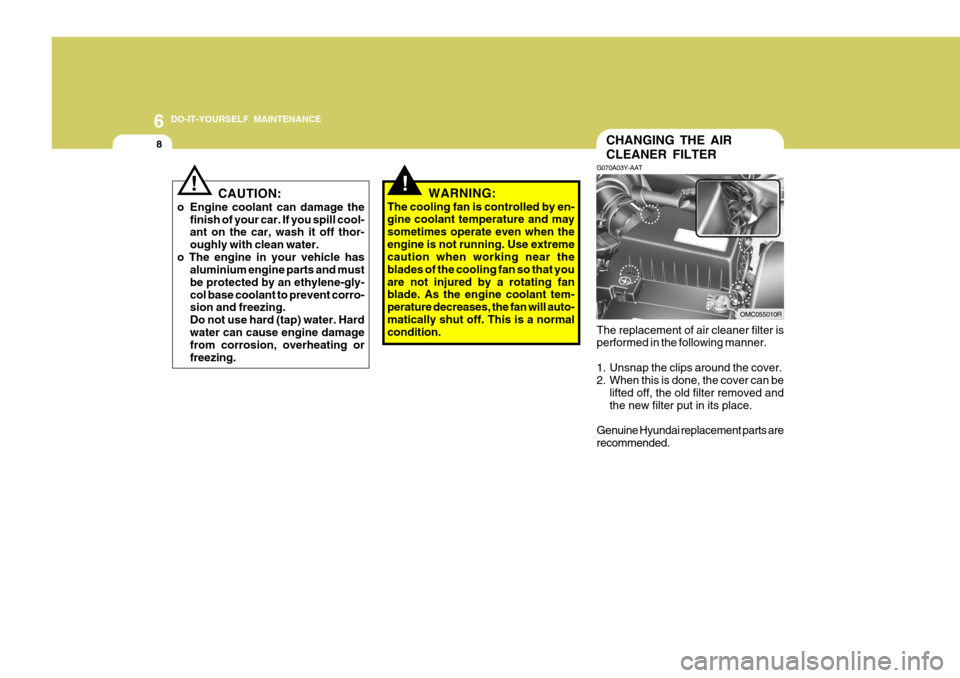
G070A03Y-AAT
The replacement of air cleaner filter is performed in the following manner.
1. Unsnap the clips around the cover.
2. When this is done, the cover can be lifted off, the old filter removed and the new filter put in its place.
Genuine Hyundai replacement parts arerecommended.
!! CAUTION:
o Engine coolant can damage the finish of your car. If you spill cool- ant on the car, wash it off thor- oughly with clean water.
o The engine in your vehicle has aluminium engine parts and mustbe protected by an ethylene-gly-col base coolant to prevent corro- sion and freezing. Do not use hard (tap) water. Hardwater can cause engine damage from corrosion, overheating or freezing. WARNING:
The cooling fan is controlled by en- gine coolant temperature and may sometimes operate even when theengine is not running. Use extreme caution when working near the blades of the cooling fan so that youare not injured by a rotating fan blade. As the engine coolant tem- perature decreases, the fan will auto-matically shut off. This is a normal condition.
OMC055010R
Page 200 of 232
6
DO-IT-YOURSELF MAINTENANCE
19
!
CHECKING THE BATTERY
o If battery fluid is on your skin, flushthe affected areas with water for at least 15 minutes and then seek medi- cal assistance.
o If battery fluid is in your eyes, rinse
out your eyes with water and getmedical assistance as soon as pos- sible. While you are being driven toget medical assistance, continue to rinse your eyes by using a sponge or soft cloth saturated with water.
o If you swallow battery fluid, drink a large quantity of water or milk fol-lowed by milk of magnesia, eat araw egg or drink vegetable oil. Get medical assistance as soon as pos- sible.
While batteries are being charged (ei- ther by a battery charger or by the vehicle's alternator), they produce ex-plosive gases. Always observe these warnings to reduce the risk of injury:
o Charge batteries only in a well ven- tilated area.
o Do not permit flames, sparks or smoking in the area.
o Keep children away from the area.
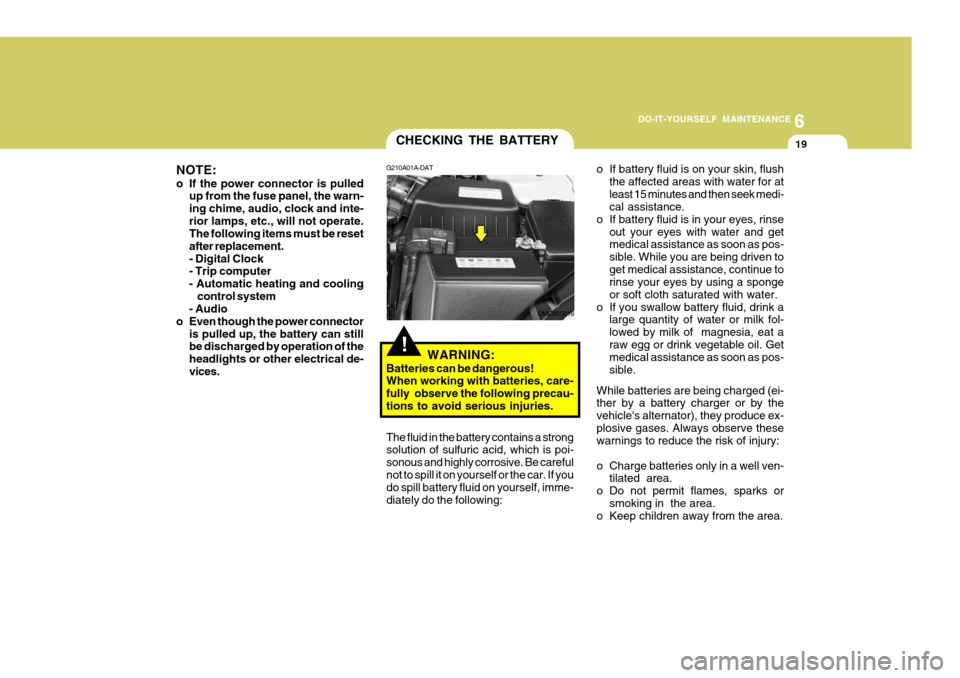
G210A01A-DAT
WARNING:
Batteries can be dangerous! When working with batteries, care- fully observe the following precau-tions to avoid serious injuries.
The fluid in the battery contains a strong solution of sulfuric acid, which is poi- sonous and highly corrosive. Be carefulnot to spill it on yourself or the car. If you do spill battery fluid on yourself, imme- diately do the following:
OMC055018
NOTE:
o If the power connector is pulled
up from the fuse panel, the warn- ing chime, audio, clock and inte-rior lamps, etc., will not operate. The following items must be reset after replacement.- Digital Clock - Trip computer
- Automatic heating and cooling control system
- Audio
o Even though the power connector is pulled up, the battery can stillbe discharged by operation of the headlights or other electrical de-vices.
Page 230 of 232
10
INDEX
3
E Electronic Stability Program (ESP) ...........................2-12
Emission Contro l System ............................................ 7-2
Engine Before starting the engine ........................................ 2-3Compartment ............................................................ 6-2
Coolant ..................................................................... 6-7
If the engine overheats ............................................. 3-4
Number ..................................................................... 8-3
Oil ............................................................................. 6-4 Starting ..................................................................... 2-5
Engine Exhaust Can Be Dangerous ............................ 2-2
FFog Light Front ....................................................................... 1-67
Rear ........................................................................ 1-67
Front Seats Adjustable front seats ............................................. 1-14
Adjustable headrests .............................................. 1-15
Adjusting seat forward and rearward .......................1-14
Adjusting seatback angle ....................................... 1-14
Fuel
Capacity ................................................................... 9-2
Gauge ..................................................................... 1-55
Recommendations .................................................... 1-2
Fuel Filler Lid
Remote release ...................................................... 1-80
Fuses ........................................................................ 6-17
Fuse Panel description .............................................. 6-30G General Checks
........................................................... 6-3
Glove Box ................................................................. 1-75
H Hand Brake ................................................................ 1-78
Hazard Warning System ............................................ 1-66
Headlight Aiming Adjustment..................................... 6-22
Heating and Cooling Control ......................................1-89
Heating and Ventilation .............................................. 1-90
Air flow control ........................................................ 1-91
Air intake control .................................................... 1-90
Bi-level heati ng ....................................................... 1-94
Demisting/Defogging ............................................... 1-94
Fan speed control ................................................... 1-90
Temperature control ................................................ 1-93
High-Mounted Rear Stop Light................................... 1-79
Horn ........................................................................... 1-87
IImmobiliser System ..................................................... 1-3
Instrument Cluster and Indicator Lights ..................... 1-46
Instrument Panel Light Control (Rheostat) .................1-66
Interior Light
Interior light ............................................................. 1-73
Map light ................................................................. 1-73
JJump Starting .............................................................. 3-3