Page 186 of 578
To use the sun visor, pull it down.
Whenusingthesunvisorforthe
side window, remove the support rod
f rom the clip, and swing it out.
In this position, the sun visor can be
adjusted by moving it on its slider.
Do not use the extended sun visor
over the inside mirror.
Make sure you put the sun visor
back in place when you are getting
into or out of the vehicle.
You may also store small items in
thisholder.Makesuretheyare
small enough to let the holder close
and latch, and that they are not
heavy enough to cause the holder to
pop open while driving.
The sunglasses holder uses a convex
mirror f or its bottom panel. You can
see all the vehicle passengers in this
mirror. To use the mirror, open the
sunglasses holder f ully, push it to the
f irst detent, and release it.On EX-L and Touring models
Interior Convenience Items
Sun Visor
Conversation Mirror
182
Slide
SUN VISOR
�����—�����—�
���y�
�������������y���
�(�/���������y���
�����y
2009 Pilot
Page 187 of 578
These hooks are not designed f or
large or heavy items.
Touseacoathook,slideitout
slightly, then pull it down.
Make sure the coat hook is f olded up
when you are not using it. This hook
is not designed f or large or heavy
items.
Tousethevanitymirrorontheback
of the sun visor, pull up the cover.
Interior Convenience Items
Coat Hooks
Vanity Mirror
Inst rument s and Cont rols
183
�����—�����—�
���y�
���������
���y���
�(�/���������y���
�����y
2009 Pilot
Page 196 of 578

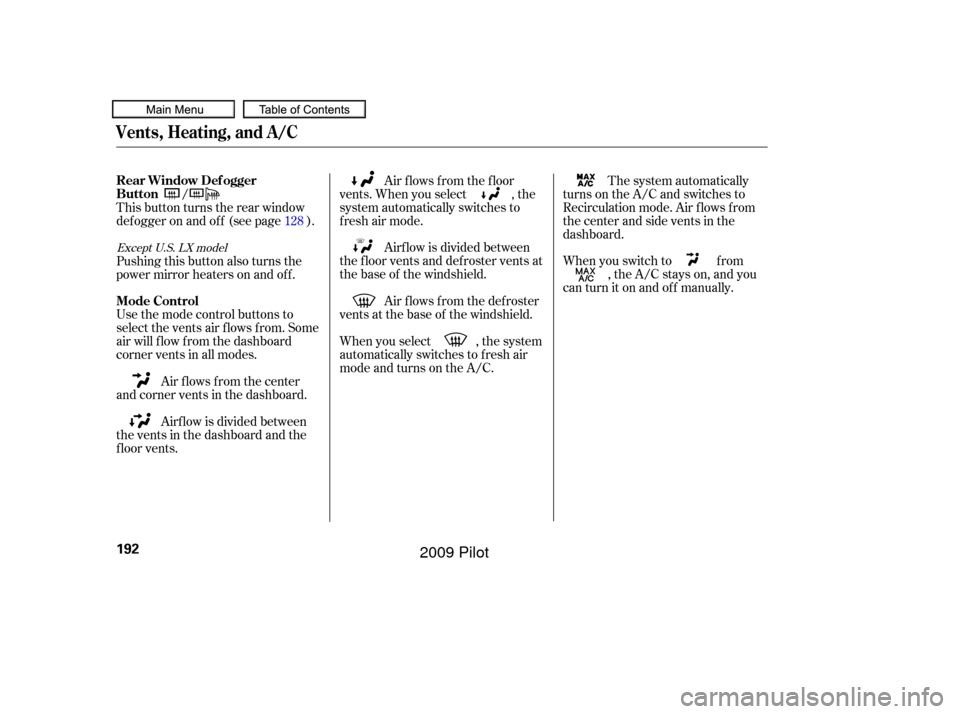
When you select , the system
automatically switches to f resh air
mode and turns on the A/C.Air f lows f rom the def roster
vents at the base of the windshield. Airf low is divided between
the f loor vents and def roster vents at
the base of the windshield. Air f lows f rom the f loor
vents. When you select , the
system automatically switches to
f resh air mode.
When you switch to f rom, the A/C stays on, and you
canturnitonandoff manually. The system automatically
turns on the A/C and switches to
Recirculation mode. Air f lows f rom
the center and side vents in the
dashboard.
Airf low is divided between
the vents in the dashboard and the
f loor vents. Air flows from the center
and corner vents in the dashboard. Use the mode control buttons to
select the vents air flows from. Some
air will f low f rom the dashboard
corner vents in all modes. Pushing this button also turns the
power mirror heaters on and of f . This button turns the rear window
def ogger on and of f (see page ). /
128
Except U.S. LX model
Vents, Heating, and A/C
Mode Control Rear Window Def ogger
Button
192
�����—�����—�
���y�
���������
���y���
�(�/���������y���
�����y
2009 Pilot
Page 201 of 578
Climate Control System
FRONT CONT ROL PA NELREA R CONT ROL PA NEL
Except L X models
Features
197
AUTO BUTTON
MODE BUTTON
MODE
BUTTON
RECIRCULATION
BUTTON FAN CONTROL
BUTTONS
WINDSHIELD DEFROSTER BUTTON
REAR WINDOW DEFOGGER/
HEATED MIRROR BUTTON
ON/OFF BUTTON
AUTO BUTTON
REAR PASSENGER
COMPARTMENT
TEMPERATURE
REAR PASSENGER
COMPARTMENT
TEMPERATURE
CONTROL BUTTONS
FAN CONTROL BUTTONRR (REAR) LOCK BUTTON
REAR PASSENGER
COMPARTMENT
TEMPERATURE
CONTROL BUTTONS
AIR CONDITIONING
(A/C) BUTTON DRIVER’S SIDE TEMPERATURE
CONTROL BUTTONS
FRONT PASSENGER’S SIDE
TEMPERATURE CONTROL BUTTONS
�����—�����—�
���y�
�������������y���
�(�/���������y���������y
2009 Pilot
Page 205 of 578

For your saf ety, make sure you have
a clear view through all the windows
bef ore driving.
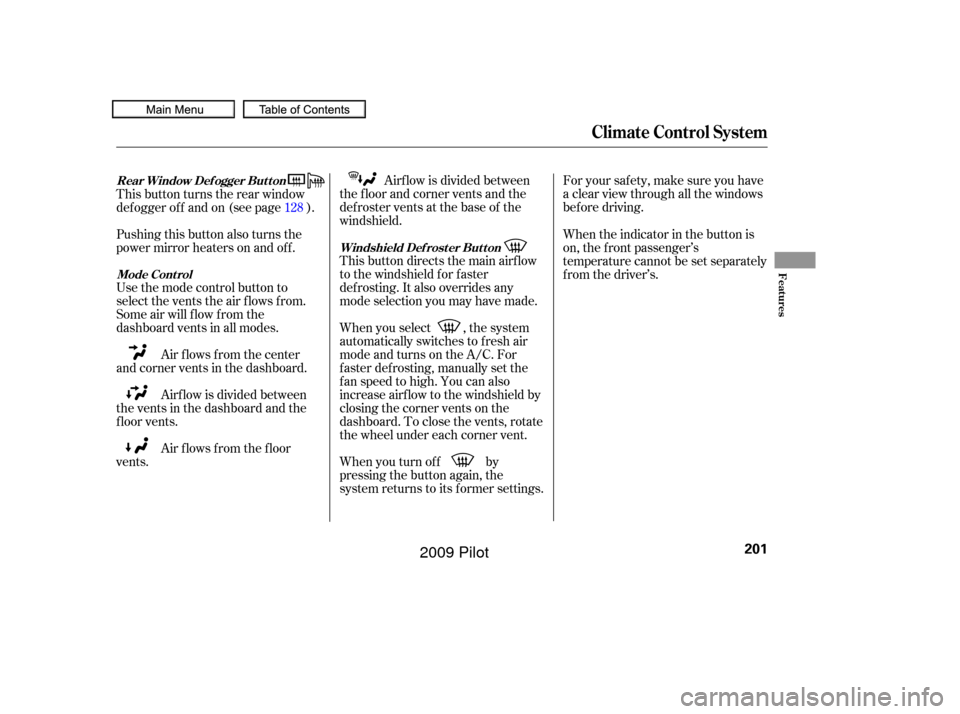
Airf low is divided between
the f loor and corner vents and the
defroster vents at the base of the
windshield.
This button directs the main airflow
to the windshield for faster
def rosting. It also overrides any
mode selection you may have made.
When you select , the system
automatically switches to f resh air
mode and turns on the A/C. For
f aster def rosting, manually set the
fanspeedtohigh.Youcanalso
increase airf low to the windshield by
closing the corner vents on the
dashboard. To close the vents, rotate
the wheel under each corner vent.
When you turn of f by
pressing the button again, the
system returns to its former settings.
This button turns the rear window
def ogger of f and on (see page ).
Pushing this button also turns the
power mirror heaters on and of f .
Use the mode control button to
select the vents the air flows from.
Some air will flow from the
dashboard vents in all modes.
Air flows from the center
and corner vents in the dashboard.
Airf low is divided between
the vents in the dashboard and the
f loor vents.
Air f lows f rom the f loor
vents. When the indicator in the button is
on, the f ront passenger’s
temperature cannot be set separately
f rom the driver’s.
128
Windshield Def rost er But t on
Rear Window Def ogger But t on
Mode Cont rol
Climate Control System
Features
201
�����—�����—�
���y�
�������������y���
�(�/���������y���������y
2009 Pilot
Page 398 of 578

For the best picture, always keep the
rearview camera clean, and do not
cover the camera lens. To avoid
scratching the lens when you clean it,
use a moist, sof t cloth.
Since the rearview camera display
area is limited, you should always
back up slowly and caref ully, and
look behind you f or obstacles.
When the system is af f ected by
some electrical equipment or
devices generating an ultrasonic
wave.
When operating the vehicle in bad
weather.
The system may not sense thin or
low objects, or sonic-absorptive
materials such as snow, cotton, or
sponge.
The system cannot sense objects
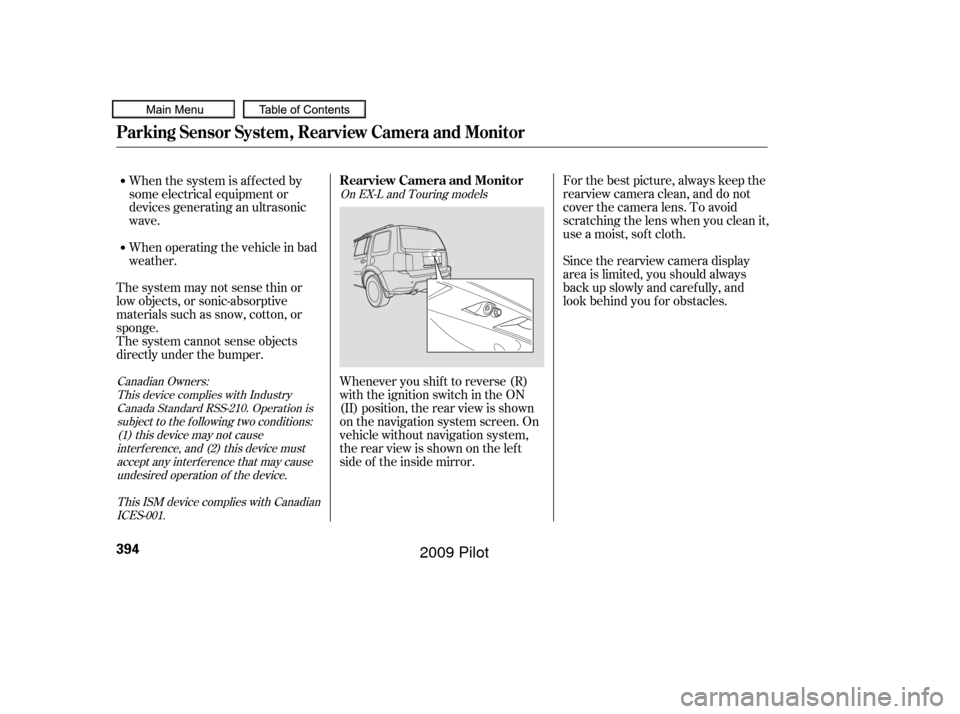
directly under the bumper. Whenever you shif t to reverse (R)
with the ignition switch in the ON
(II) position, the rear view is shown
on the navigation system screen. On
vehicle without navigation system,
the rear view is shown on the lef t
side of the inside mirror.
This device complies with IndustryCanada Standard RSS-210. Operation issubject to the f ollowing two conditions:(1) this device may not causeinterf erence, and (2) this device mustaccept any interf erence that may causeundesired operation of the device.
Canadian Owners:
This ISM device complies with CanadianICES-001. On EX-L and Touring models
Parking Sensor System, Rearview Camera and Monitor
Rearview Camera and Monitor
394
�����—�����—�
���y�
�������������y���
�(�/���������y���������y
2009 Pilot
Page 399 of 578
Monitor brightness is adjusted
automatically by sensors. If you use
the monitor continuously at high
temperature, the monitor will
gradually dim.
The inside mirror will be hot when
you use the monitor f or an extended
period of time.
If a bright light (such as sunlight) is
shining on the inside mirror, the
image may be dif f icult to see.
You can turn the monitor on and of f
by pressing the monitor of f button
when the shif t lever is in reverse.
The monitor turns on everytime you
shif t to reverse, even if you turned it
of f the last time.
When in reverse, the navigation
buttons are locked out, except the
interf ace dial on the dashboard. Turn
the dial clockwise to make the
camera image brighter, and counter-
clockwise to darken the image.On Touring models
On EX-L models
Rearview Camera and Monitor
Features
395
SENSOR
MONITOR OFF BUTTON
REARVIEW MONITOR
�����—�����—�
���y�
�������������y���
�(�/���������y���������y
2009 Pilot
Page 418 of 578

Because your vehicle rides higher
of f the ground, it has a high center
of gravity that can cause it to roll
over if you make abrupt turns. Utility
vehicles have a signif icantly higher
roll over rate than other types of
vehicles.
To prevent rollovers or loss of
control:Take corners at slower speeds
than you would with a passenger
vehicle.
Avoid sharp turns and abrupt
maneuvers whenever possible. Do not modif y your vehicle in any
way that would raise the center of
gravity.
Do not carry heavy cargo on the
roof .
Your vehicle has higher ground
clearance that allows you to travel
over bumps, obstacles, and rough
terrain. It also provides good
visibility so you can anticipate
problems earlier. Youshoulddothefollowingchecks
and adjustments bef ore you drive
your vehicle.
Make sure all windows, mirrors,
and outside lights are clean and
unobstructed. Remove f rost, snow,
or ice.
Check that the hood is f ully closed.
Visually check the tires. If a tire
looks low, use a gauge to check its
pressure.
Check that any items you may be
carrying are stored properly or
f astened down securely.
Check the seat adjustment (see
page ).
Your vehicle is equipped with a f our-
wheel drive (4WD) system. When
the system senses a loss of front-
wheel traction, it automatically
transf ers some power to the rear
wheels. This gives you better
traction and mobility.
You still need to exercise the same
care when accelerating, steering, and
brakingthatyouwouldinatwo-
wheel drive vehicle. 1.
2.
3.
4.
5.
152
See page f or of f -highway driving
guidelines.
4WD models only
453
Driving Guidelines, Preparing to Drive
Driving Guidelines Preparing to Drive
414
�����—�����—�
���y�
���������
���y���
�(�/���������y�����
���y
2009 Pilot