2009 GMC SAVANA PASSENGER TPMS reset
[x] Cancel search: TPMS resetPage 160 of 406

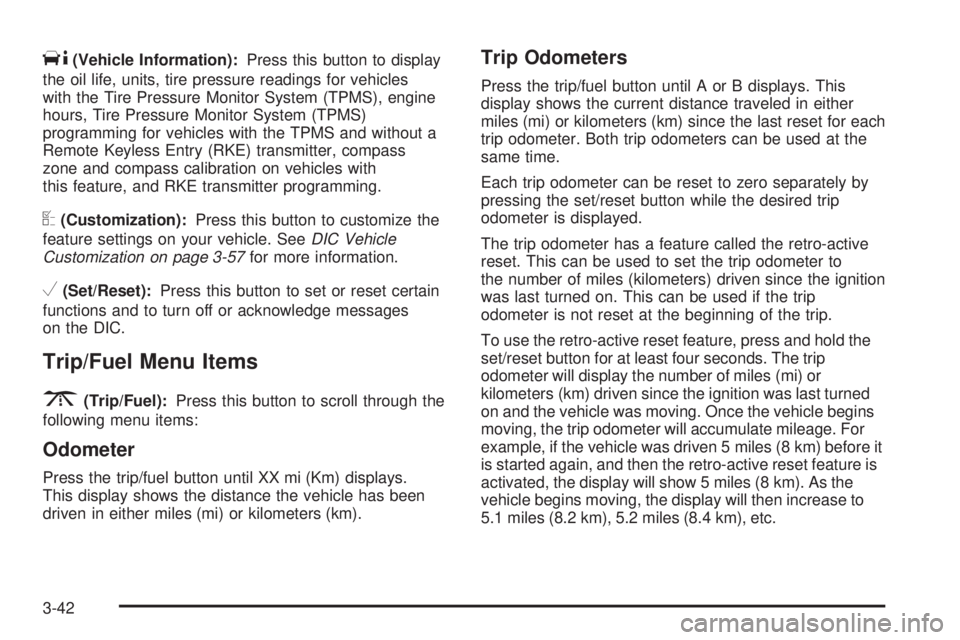
T(Vehicle Information):Press this button to display
the oil life, units, tire pressure readings for vehicles
with the Tire Pressure Monitor System (TPMS), engine
hours, Tire Pressure Monitor System (TPMS)
programming for vehicles with the TPMS and without a
Remote Keyless Entry (RKE) transmitter, compass
zone and compass calibration on vehicles with
this feature, and RKE transmitter programming.
U(Customization):Press this button to customize the
feature settings on your vehicle. SeeDIC Vehicle
Customization on page 3-57for more information.
V(Set/Reset):Press this button to set or reset certain
functions and to turn off or acknowledge messages
on the DIC.
Trip/Fuel Menu Items
3
(Trip/Fuel):Press this button to scroll through the
following menu items:
Odometer
Press the trip/fuel button until XX mi (Km) displays.
This display shows the distance the vehicle has been
driven in either miles (mi) or kilometers (km).
Trip Odometers
Press the trip/fuel button until A or B displays. This
display shows the current distance traveled in either
miles (mi) or kilometers (km) since the last reset for each
trip odometer. Both trip odometers can be used at the
same time.
Each trip odometer can be reset to zero separately by
pressing the set/reset button while the desired trip
odometer is displayed.
The trip odometer has a feature called the retro-active
reset. This can be used to set the trip odometer to
the number of miles (kilometers) driven since the ignition
was last turned on. This can be used if the trip
odometer is not reset at the beginning of the trip.
To use the retro-active reset feature, press and hold the
set/reset button for at least four seconds. The trip
odometer will display the number of miles (mi) or
kilometers (km) driven since the ignition was last turned
on and the vehicle was moving. Once the vehicle begins
moving, the trip odometer will accumulate mileage. For
example, if the vehicle was driven 5 miles (8 km) before it
is started again, and then the retro-active reset feature is
activated, the display will show 5 miles (8 km). As the
vehicle begins moving, the display will then increase to
5.1 miles (8.2 km), 5.2 miles (8.4 km), etc.
3-42
Page 163 of 406

Units
Press the vehicle information button until UNITS
displays. This display allows you to select between
English or Metric units of measurement. Once in this
display, press the set/reset button to select between
ENGLISH or METRIC units.
Tire Pressure
If your vehicle has the Tire Pressure Monitor System
(TPMS), the pressure for each tire can be viewed in the
DIC. The tire pressure will be shown in either pounds
per square inch (psi) or kilopascals (kPa). Press
the vehicle information button until the DIC displays
FRONT TIRES PSI (kPa) LEFT ## RIGHT ##. Press the
vehicle information button again until the DIC displays
REAR TIRES PSI (kPa) LEFT ## RIGHT ##.
If a low or high tire pressure condition is detected by
the system while driving, a message advising you
to check the pressure in a specific tire will appear in
the display. SeeInflation - Tire Pressure on page 5-63
andDIC Warnings and Messages on page 3-48for
more information.
If the tire pressure display shows dashes instead of
a value, there may be a problem with your vehicle. If this
consistently occurs, see your dealer/retailer for service.
Engine Hours
Press the vehicle information button until ENGINE
HOURS displays. This display shows the total number
of hours the engine has run.
Relearn Tire Positions
Your vehicle may have this display. To access this
display, the vehicle must be in P (Park). If your vehicle
has the Tire Pressure Monitor System (TPMS), after
rotating the tires or after replacing a tire or sensor, the
system must re-learn the tire positions. To re-learn
the tire positions, seeTire Pressure Monitor System on
page 5-65. SeeTire Inspection and Rotation on
page 5-70andDIC Warnings and Messages on
page 3-48for more information.
Change Compass Zone
Your vehicle may have this feature. To change the
compass zone through the DIC, seeDIC Compass on
page 3-46.
Calibrate Compass
Your vehicle may have this feature. The compass can
be manually calibrated. To calibrate the compass
through the DIC, seeDIC Compass on page 3-46.
3-45
Page 167 of 406

AUTOMATIC LIGHT CONTROL OFF
This message displays when the automatic headlamps
are turned off. SeeExterior Lamps on page 3-12for
more information.
AUTOMATIC LIGHT CONTROL ON
This message displays when the automatic headlamps
are turned on. SeeExterior Lamps on page 3-12for
more information.
CALIBRATING: DRIVE IN CIRCLES
This message displays when calibrating the compass.
Drive the vehicle in circles at less than 5 mph (8 km/h) to
complete the calibration. SeeDIC Compass on
page 3-46for more information.
CALIBRATION COMPLETE
This message displays when the compass calibration is
complete. SeeDIC Compass on page 3-46for more
information.
CARGO DOOR OPEN
This message displays and a chime sounds if the cargo
door is open while the ignition is in ON/RUN. Turn off
the vehicle and check the cargo door. Restart the
vehicle and check for the message on the DIC display.
CHANGE ENGINE OIL SOON
This message displays when the engine oil needs to be
changed. When you change the engine oil, be sure
to reset the CHANGE ENGINE OIL SOON message.
SeeEngine Oil Life System on page 5-18for information
on how to reset the message. SeeEngine Oil on
page 5-15andScheduled Maintenance on page 6-4for
more information.
CHECK TIRE PRESSURE
If your vehicle has the Tire Pressure Monitor System
(TPMS), this message displays when the pressure
in one or more of the vehicle’s tires needs to be
checked. This message also displays LEFT FRONT,
RIGHT FRONT, LEFT REAR, or RIGHT REAR to
indicate which tire needs to be checked. You can
receive more than one tire pressure message at a time.
To read the other messages that may have been
sent at the same time, press the set/reset button. If a
tire pressure message appears on the DIC, stop as soon
as you can. Have the tire pressures checked and set
to those shown on the Tire Loading Information
label. SeeTires on page 5-55,Loading the Vehicle on
page 4-18, andInflation - Tire Pressure on page 5-63.
The DIC also shows the tire pressure values. See
DIC Operation and Displays on page 3-41. If the tire
pressure is low, the low tire pressure warning light
comes on. SeeTire Pressure Light on page 3-34.
3-49
Page 311 of 406

The TPMS sensor matching process is outlined below:
1. Set the parking brake.
2. Turn the ignition switch to ON/RUN with the
engine off.
3. Press the Remote Keyless Entry (RKE) transmitter’s
LOCK and UNLOCK buttons at the same time
for approximately five seconds. The horn sounds
twice to signal the receiver is in relearn mode and
TIRE LEARNING ACTIVE message displays on the
DIC screen.
If your vehicle does not have RKE, press the Driver
Information Center (DIC) vehicle information button
until the PRESS
VTO RELEARN TIRE POSITIONS
message displays. The horn sounds twice to signal
the receiver is in relearn mode and TIRE LEARNING
ACTIVE message displays on the DIC screen.
If your vehicle does not have RKE or DIC buttons,
press the trip odometer reset stem located on the
instrument panel cluster until the PRESS
VTO
RELEARN TIRE POSITIONS message displays.
The horn sounds twice to signal the receiver is in
relearn mode and TIRE LEARNING ACTIVE
message displays on the DIC screen.
4. Start with the driver side front tire.5. Remove the valve cap from the valve cap stem.
Activate the TPMS sensor by increasing or
decreasing the tire’s air pressure for five seconds,
or until a horn chirp sounds. The horn chirp,
which may take up to 30 seconds to sound,
confirms that the sensor identification code has
been matched to this tire and wheel position.
6. Proceed to the passenger side front tire, and repeat
the procedure in Step 5.
7. Proceed to the passenger side rear tire, and repeat
the procedure in Step 5.
8. Proceed to the driver side rear tire, and repeat the
procedure in Step 5. The horn sounds two times to
indicate the sensor identification code has been
matched to the driver side rear tire, and that the
TPMS sensor matching process is no longer active.
The TIRE LEARNING ACTIVE message on the DIC
display screen goes off.
9. Turn the ignition switch to LOCK/OFF.
10. Set all four tires to the recommended air pressure
level as indicated on the Tire and Loading
Information label.
11. Put the valve caps back on the valve stems.
5-69
Page 314 of 406

SeeInflation - Tire Pressure on page 5-63and
Loading the Vehicle on page 4-18. Make certain
that all wheel nuts are properly tightened.
See “Wheel Nut Torque” underCapacities
and Specifications on page 5-110.
{CAUTION:
Rust or dirt on a wheel, or on the parts to
which it is fastened, can make wheel nuts
become loose after time. The wheel could
come off and cause an accident. When you
change a wheel, remove any rust or dirt from
places where the wheel attaches to the
vehicle. In an emergency, you can use a cloth
or a paper towel to do this; but be sure to use a
scraper or wire brush later, if needed, to get all
the rust or dirt off. SeeChanging a Flat Tire on
page 5-80.
If your vehicle has a Tire Pressure Monitor
System (TPMS), reset the TPMS sensors after
rotating the tires. SeeTire Pressure Monitor
Operation on page 5-66.
Make sure the spare tire is stored securely.
Push, pull, and then try to rotate or turn the tire.
If it moves, tighten the cable. SeeStoring a
Flat or Spare Tire and Tools on page 5-94.
When It Is Time for New Tires
Various factors, such as maintenance, temperatures,
driving speeds, vehicle loading, and road conditions,
influence when you need new tires.
One way to tell when it
is time for new tires is to
check the treadwear
indicators, which appear
when your tires have only
1/16 inch (1.6 mm) or less
of tread remaining.
Some commercial truck tires, including Goodyear
LT225/75R16 G949 RSA and Goodyear LT225/75R16
G933 RSD, may not have treadwear indicators.
If the tires do not have treadwear indicators, replace
the tires when the tread depth is down to 1/8 inch
(3.2 mm) for the front tires, or 1/16 inch (1.6 mm)
for the rear tires.
5-72