2009 GMC ACADIA wheel
[x] Cancel search: wheelPage 1 of 24

Congratulations on your purchase of a GMC Acadia. Please read this information and your Owner Manual to
ensure an outstanding ownership experience. Note that your vehicle may not include all the features described in
this booklet. Keep this booklet with your Owner Manual for easy reference.
DRIVER INFORMATIONInstrument Panel . . . . . . . . . . . . .2
Instrument Panel Cluster . . . . . . .3
Driver Information Center . . . . . . .4
Head-Up Display . . . . . . . . . . . . . .5
SAFETY & SECURITYRemote Keyless Entry . . . . . . . . .6
OnStar® . . . . . . . . . . . . . . . . . . . . . .6
Child Restraints (LATCH) . . . . . . .7
COMFORT Seat Adjustments . . . . . . . . . . . . .7
2nd-Row Seats . . . . . . . . . . . . . . .8
3rd-Row Seats . . . . . . . . . . . . . . . .9
Heated Seat Controls . . . . . . . . . .9
Heated and Cooled Seat
Controls . . . . . . . . . . . . . . . . . . . . .9
Memory Seat and Mirrors . . . . . . .9
Steering Wheel Adjustment . . . .10
Dual Automatic Climate
Controls . . . . . . . . . . . . . . . . . . . .10Manual Climate Controls . . . . . .11
Rear Seat Climate Controls . . . .12
ENTERTAINMENT Audio System Features . . . . . . .12
XM®Radio . . . . . . . . . . . . . . . . . .14
Navigation Entertainment
System . . . . . . . . . . . . . . . . . . . . .14
Rear Seat Audio and DVD
Rear Seat Entertainment
Systems . . . . . . . . . . . . . . . . . . . .15
Audio Steering Wheel Controls .16
Bluetooth
®System . . . . . . . . . . .16
CONVENIENCE Automatic Headlamp System . . .16
Interior Lighting Features . . . . . .17
Outside Power Foldaway
Mirrors . . . . . . . . . . . . . . . . . . . . .17
Power Windows . . . . . . . . . . . . . .17
Sunroof . . . . . . . . . . . . . . . . . . . . .18
Windshield Wipers and Washer .18Heated Washer Fluid . . . . . . . . . .19
Cruise Control . . . . . . . . . . . . . . .19
115-Volt Outlet . . . . . . . . . . . . . . .19
Center Console Features . . . . . .20
2nd-Row Console Features . . . .20
Ultrasonic Rear Park Assist . . . .20
Power Liftgate . . . . . . . . . . . . . . .21
Remote Vehicle Start . . . . . . . . .21
PERFORMANCE & MAINTENANCE Refueling the Vehicle . . . . . . . . .22
Automatic Transmission
Operation . . . . . . . . . . . . . . . . . . .22
StabiliTrak
® – Stability Control
System . . . . . . . . . . . . . . . . . . . . .22
Trailer Towing . . . . . . . . . . . . . . .22
Tire Pressure Monitor . . . . . . . . .23
Resetting the Oil Life System . .23
OWNER INFORMATIONRoadside Assistance . . . . . . . . .24
My GMLink . . . . . . . . . . . . . . . . . .24
Page 2 of 24

Getting to Know Your Acadia2
The main features of the instrument
panel include:
A. Air Outlets
B. Turn Signal/Windshield Wipers/
Multifunction Lever
C. Instrument Panel Cluster
D. Driver Information Center Buttons
(if equipped)
E. Audio System/Navigation System
(if equipped)
F. Hazard Warning Flashers Button
G. Passenger Airbag Status Indicator
H. Exterior Lamps Control
I. Instrument Panel Brightness Control
J. Hood ReleaseK. Cruise Control Buttons
L. Tilt and Telescopic Steering Wheel
Lever
M. Horn
N. Audio Steering Wheel Controls
(if equipped)
O. Climate Controls
P. Heated Seat Buttons (if equipped)
Q. Shift Lever
R. Traction Control Button
S. Tow/Haul Mode Button (if equipped)
T. Power Liftgate Button (if equipped)
U. Accessory Power Outlet
V. Glove Box
See Section 3 of your Owner Manual.
Instrument Panel
DRIVER INFORMATION
ABDEAFAGC
HIJKLMNOPVQRSPTU
Page 5 of 24

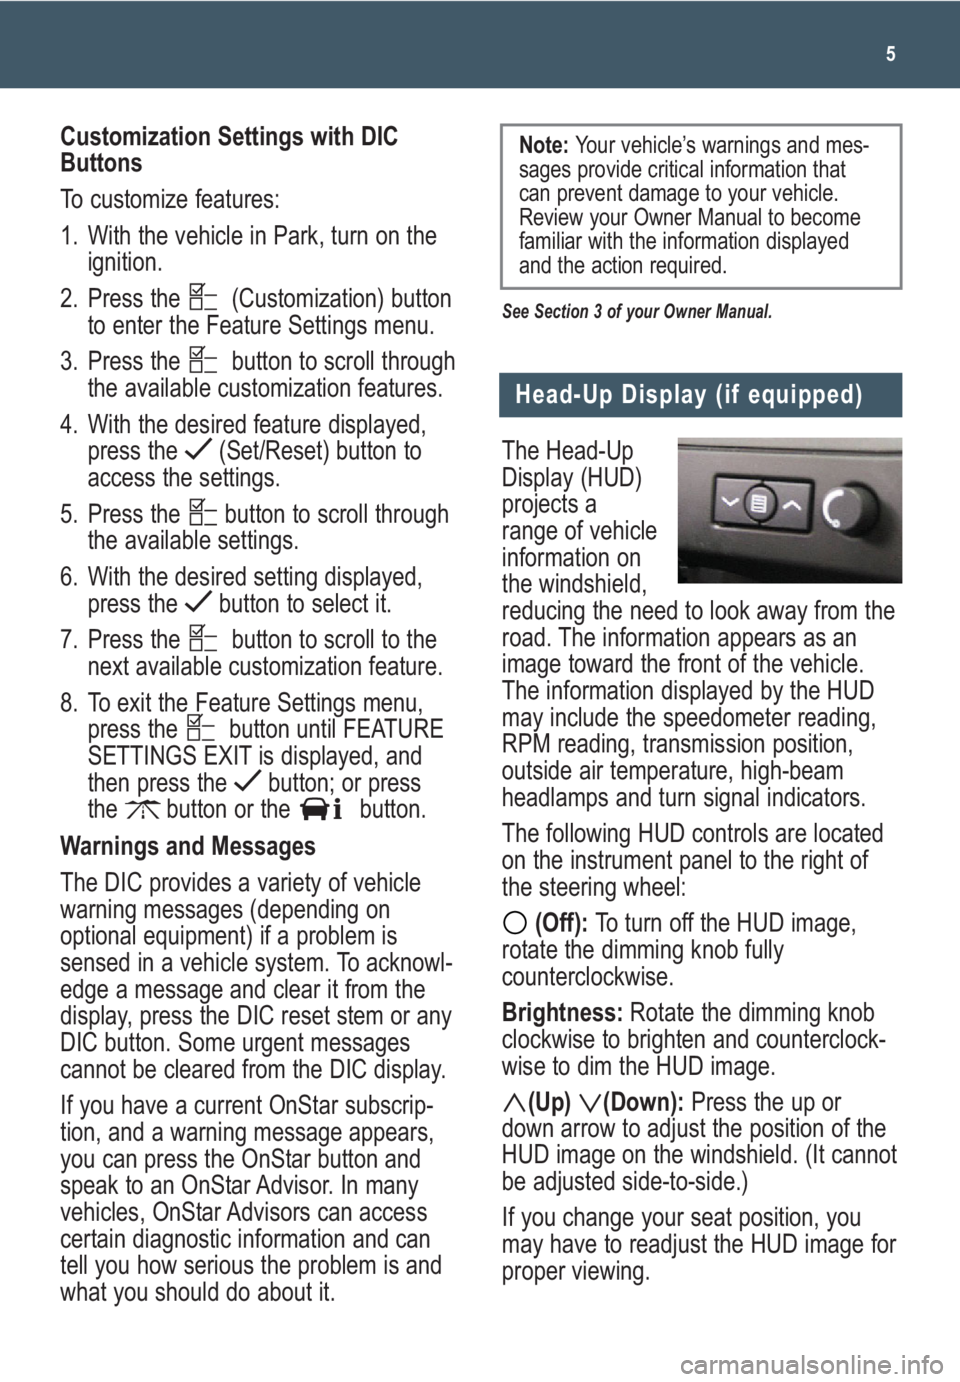
The Head-Up
Display (HUD)
projects a
range of vehicle
information on
the windshield,
reducing the need to look away from the
road. The information appears as an
image toward the front of the vehicle.
The information displayed by the HUD
may include the speedometer reading,
RPM reading, transmission position,
outside air temperature, high-beam
headlamps and turn signal indicators.
The following HUD controls are located
on the instrument panel to the right of
the steering wheel:
(Off): To turn off the HUD image,
rotate the dimming knob fully
counterclockwise.
Brightness: Rotate the dimming knob
clockwise to brighten and counterclock-
wise to dim the HUD image.
(Up) (Down):Press the up or
down arrow to adjust the position of the
HUD image on the windshield. (It cannot
be adjusted side-to-side.)
If you change your seat position, you
may have to readjust the HUD image for
proper viewing.
5
Head-Up Display (if equipped)
Customization Settings with DIC
Buttons
To customize features:
1. With the vehicle in Park, turn on the
ignition.
2. Press the (Customization) button
to enter the Feature Settings menu.
3. Press the button to scroll through
the available customization features.
4. With the desired feature displayed,
press the (Set/Reset) button to
access the settings.
5. Press the button to scroll through
the available settings.
6. With the desired setting displayed,
press the button to select it.
7. Press the button to scroll to the
next available customization feature.
8. To exit the Feature Settings menu,
press the button until FEATURE
SETTINGS EXIT is displayed, and
then press the button; or press
the button or the button.
Warnings and Messages
The DIC provides a variety of vehicle
warning messages (depending on
optional equipment) if a problem is
sensed in a vehicle system. To acknowl-
edge a message and clear it from the
display, press the DIC reset stem or any
DIC button. Some urgent messages
cannot be cleared from the DIC display.
If you have a current OnStar subscrip-
tion, and a warning message appears,
you can press the OnStar button and
speak to an OnStar Advisor. In many
vehicles, OnStar Advisors can access
certain diagnostic information and can
tell you how serious the problem is and
what you should do about it.
See Section 3 of your Owner Manual.
Note: Your vehicle’s warnings and mes-
sages provide critical information that
can prevent damage to your vehicle.
Review your Owner Manual to become
familiar with the information displayed
and the action required.
Page 10 of 24

Getting to Know Your Acadia10
Dual Automatic Climate
Controls (if equipped)
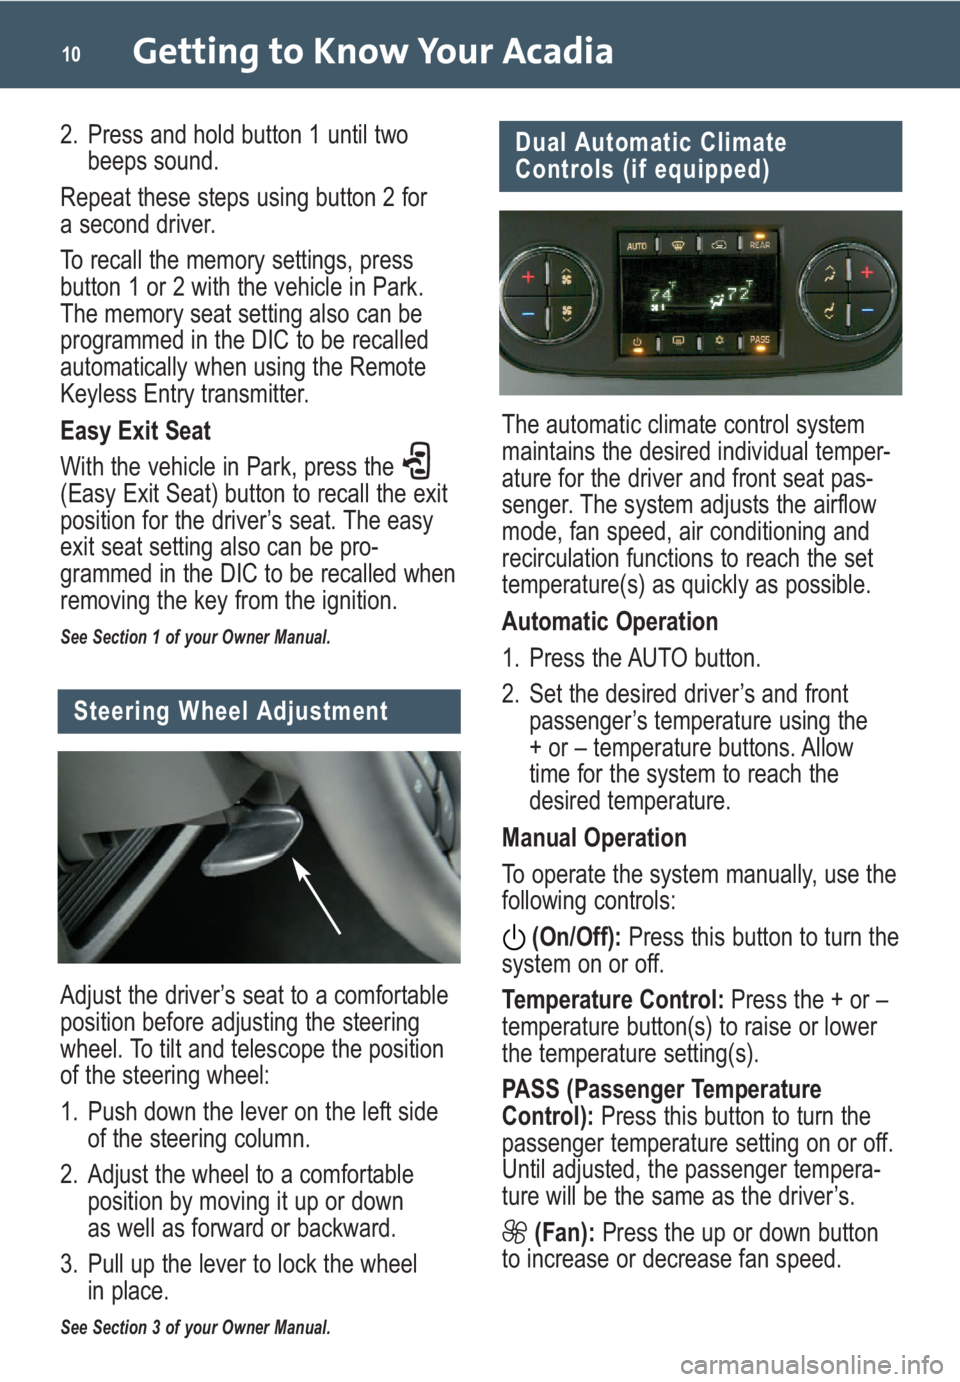
The automatic climate control system
maintains the desired individual temper-
ature for the driver and front seat pas-
senger. The system adjusts the airflow
mode, fan speed, air conditioning and
recirculation functions to reach the set
temperature(s) as quickly as possible.
Automatic Operation
1. Press the AUTO button.
2. Set the desired driver’s and front
passenger’s temperature using the
+ or – temperature buttons. Allow
time for the system to reach the
desired temperature.
Manual Operation
To operate the system manually, use the
following controls:
(On/Off):Press this button to turn the
system on or off.
Temperature Control:Press the + or –
temperature button(s) to raise or lower
the temperature setting(s).
PASS (Passenger Temperature
Control): Press this button to turn the
passenger temperature setting on or off.
Until adjusted, the passenger tempera-
ture will be the same as the driver’s.
(Fan):Press the up or down button
to increase or decrease fan speed.
Adjust the driver’s seat to a comfortable
position before adjusting the steering
wheel. To tilt and telescope the position
of the steering wheel:
1. Push down the lever on the left side
of the steering column.
2. Adjust the wheel to a comfortable
position by moving it up or down
as well as forward or backward.
3. Pull up the lever to lock the wheel
in place.
See Section 3 of your Owner Manual.
Steering Wheel Adjustment
2. Press and hold button 1 until two
beeps sound.
Repeat these steps using button 2 for
a second driver.
To recall the memory settings, press
button 1 or 2 with the vehicle in Park.
The memory seat setting also can be
programmed in the DIC to be recalled
automatically when using the Remote
Keyless Entry transmitter.
Easy Exit Seat
With the vehicle in Park, press the
(Easy Exit Seat) button to recall the exit
position for the driver’s seat. The easy
exit seat setting also can be pro-
grammed in the DIC to be recalled when
removing the key from the ignition.
See Section 1 of your Owner Manual.
Page 16 of 24

Getting to Know Your Acadia16
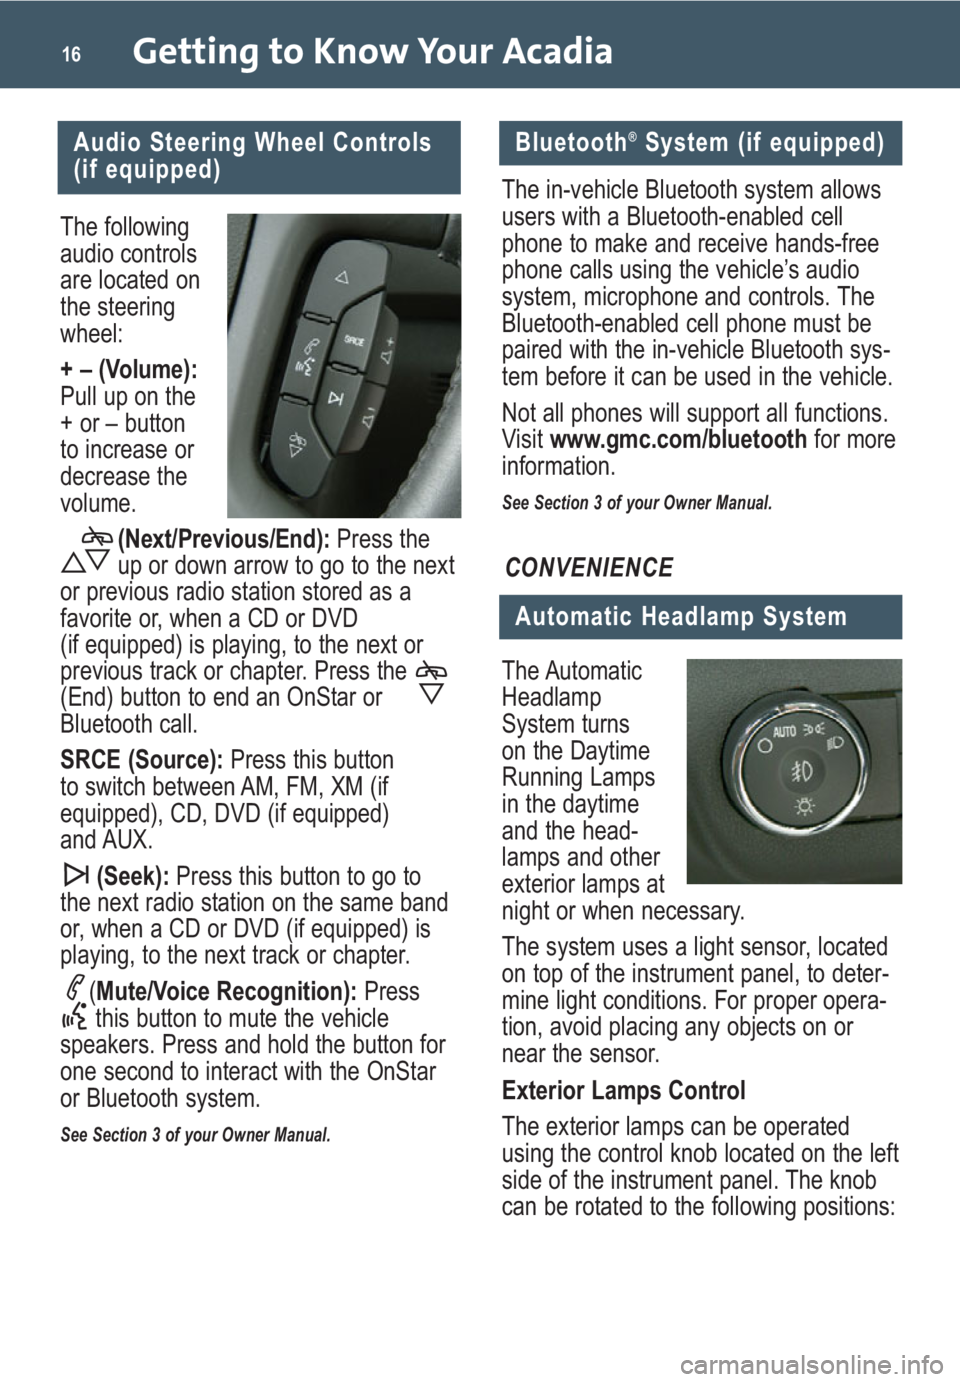
The following
audio controls
are located on
the steering
wheel:
+ – (Volume):
Pull up on the
+ or – button
to increase or
decrease the
volume.(Next/Previous/End): Press the
up or down arrow to go to the next
or previous radio station stored as a
favorite or, when a CD or DVD
(if equipped) is playing, to the next or
previous track or chapter. Press the
(End) button to end an OnStar or
Bluetooth call.
SRCE (Source): Press this button
to switch between AM, FM, XM (if
equipped), CD, DVD (if equipped)
and AUX.
(Seek): Press this button to go to
the next radio station on the same band
or, when a CD or DVD (if equipped) is
playing, to the next track or chapter.
(Mute/Voice Recognition): Press
this button to mute the vehicle
speakers. Press and hold the button for
one second to interact with the OnStar
or Bluetooth system.
See Section 3 of your Owner Manual.
Audio Steering Wheel Controls
(if equipped)
The Automatic
Headlamp
System turns
on the Daytime
Running Lamps
in the daytime
and the head-
lamps and other
exterior lamps at
night or when necessary.
The system uses a light sensor, located
on top of the instrument panel, to deter-
mine light conditions. For proper opera-
tion, avoid placing any objects on or
near the sensor.
Exterior Lamps Control
The exterior lamps can be operated
using the control knob located on the left
side of the instrument panel. The knob
can be rotated to the following positions:
Automatic Headlamp System
CONVENIENCE
The in-vehicle Bluetooth system allows
users with a Bluetooth-enabled cell
phone to make and receive hands-free
phone calls using the vehicle’s audio
system, microphone and controls. The
Bluetooth-enabled cell phone must be
paired with the in-vehicle Bluetooth sys-
tem before it can be used in the vehicle.
Not all phones will support all functions.
Visit www.gmc.com/bluetooth for more
information.
See Section 3 of your Owner Manual.
Bluetooth®System (if equipped)
Page 19 of 24

(On/Off):
Press this button
to enable the
cruise control
system.
SET– (Set): Press
this button to set
a speed. If the
system is active,
press and release
this button to
decrease speed 1 mph, or press and
hold the button to decrease speed more
than 1 mph. When the cruise control is
set, the (Cruise Control) symbol will
illuminate in the instrument panel cluster.
RES+ (Resume):Press this button to
resume a set speed. If the system is
active, press and release this button to
increase speed 1 mph, or press and
hold the button to increase speed more
than 1 mph.
(Cancel): Press this button to can-
cel the cruise control but retain the set
speed in memory.
See Section 3 of your Owner Manual.
19
Heated Washer Fluid
(if equipped)
Press the (Heated
Washer Fluid) button
on the left side of the
instrument panel to
spray heated washer
fluid on the windshield.
This will help clear ice,
tree sap or bugs from the windshield. It
may take up to 40 seconds to heat the
washer fluid, after which the wipers will
automatically turn on for four heated
wash cycles. Press the button again to
cancel any remaining cycles.
See Section 3 of your Owner Manual.
Rear Wiper and Washer
The rear wiper
and washer
button, located
on the center
console in front
of the shift lever,
includes the fol-
lowing functions:
(Rear Wiper):Press the top of
the button (A) to turn the rear wiper
on or off.
(Washer):Press the bottom of the
button (B) to spray washer fluid on the
rear window.
See Section 3 of your Owner Manual.
Cruise Control
The cruise control buttons are located on
the steering wheel. They include the
following functions:
B
A
The 115-volt
power outlet is
located on the
back of the
center console.
With the igni-
tion turned to
Accessory or On, it provides convenient
plug-in power to run electronic equip-
ment such as video games or a cell
phone charger.
See Section 3 of your Owner Manual.
115-Volt Outlet (if equipped)
Page 22 of 24

The Tow/Haul mode (if equipped) assists
when pulling a heavy trailer by reducing
the frequency of transmission shifts and
improves the control of vehicle speed.
To turn on this feature,
press the (Tow/
Haul) button located on
the center console in
front of the shift lever.
Press it again to turn off the feature.
See Section 4 of your Owner Manual.
Getting to Know Your Acadia22
Trailer Towing
PERFORMANCE & MAINTENANCE
Refueling the Vehicle
To open the fuel door, press the center
of the rear edge of the door and it will
pop open slightly. Pull the door to open
it fully.
When closing the fuel door, press the
center of the rear edge of the door until
it is flush with the side of the vehicle.
See Section 5 of your Owner Manual.
Automatic Transmission
Operation
The automatic transmission has an
Electronic Range Select mode that
enables the driver to select the top-gear
limit desired for
the current driving
conditions, such
as when driving
on downhill
grades. This pro-
vides engine brak-
ing and reduces
brake wear.
To use this feature, move the shift lever
to the Low (L) range position and select
a lower or higher driving gear using the
+ / – button on the side of the shift lever.
The display on the instrument panel clus-
ter will show the current gear selection.
The transmission will be limited to the
gear selected and lower gears. Gears
higher than the gear selected will not be
available.
If current vehicle speed is too high or
too low for the requested gear, the shift
will not occur.
See Section 2 of your Owner Manual.
StabiliTrak®– Stability Control
System
StabiliTrak is an advanced computer-
controlled vehicle stability and traction
enhancement system that assists with
directional control of the vehicle in
difficult driving conditions. It turns on
automatically every time you start your
vehicle.
To limit wheelspin and help maintain
directional control, you should always
leave the system on. However, if your
vehicle becomes stuck and rocking the
vehicle is required,
the system should be
turned off.
To turn off the traction
control part of the
system, press the
(Traction Control) button located on the
center console in front of the shift lever.
When the system is turned off, the
Traction Control light will illuminate.
See Section 4 of your Owner Manual.