Page 92 of 336
Replacing fog lamp bulbs
1. Make sure the fog lamp switch is
in the off position.
2. Remove the bulb socket from the
fog lamp by turning
counterclockwise.
3. Disconnect the electrical
connector.
Install the new bulb in reverse order.
2009 Taurus(500)
Owners Guide, 1st Printing
USA(fus)
Lights
92
Page 94 of 336
TILT STEERING WHEEL
To adjust the steering wheel:
1. Pull down and hold the steering
wheel release control.
2. Move the steering wheel up or
down until you find the desired
location.
3. Pull the steering wheel release
control up. This will lock the
steering wheel in position.
WARNING:Never adjust the steering wheel when the vehicle is
moving.
ILLUMINATED VISOR MIRROR (IF EQUIPPED)
Lift the mirror cover to turn on the
visor mirror lamp.
Slide on rod feature
The visor will slide back and forth
on the rod for increased sunlight
coverage. Rotate the visor towards
the side window and extend it
rearward for additional sunlight
coverage.
Note:To stow the visor back into
the headliner, visor must be
retracted before moving it back
towards the windshield.
2009 Taurus(500)
Owners Guide, 1st Printing
USA(fus)
Driver Controls
94
Page 95 of 336
INSTRUMENT PANEL STORAGE COMPARTMENT
The storage compartment may be
used to secure sunglasses or similar
sized objects. Press the control to
open the storage compartment.
OVERHEAD CONSOLE
The appearance of your vehicle’s overhead console will vary according to
your option package.
Storage compartment
The storage compartment may be
used to store a pair of sunglasses.
Press the release area on the rear
edge of the bin door to open the
storage compartment. The door will
open to full open position.
CLOCK (IF EQUIPPED)
Press and release the button to
adjust forward.
Press and hold to fast forward.
2009 Taurus(500)
Owners Guide, 1st Printing
USA(fus)
Driver Controls
95
Page 99 of 336

direction and move down. This is known as “bounce-back”. If the ignition
is turned off (without accessory delay being active) during bounce-back,
the window will move down until the bounce-back position is reached.
Security Override
To override a bounce-back condition, within two seconds after the
window reaches the bounce-back position, pull and hold the switch up
andthe window will travel up with no bounce-back or pinch
protection.If the switch is released before the window is fully closed,
the window will stop. For example, this can be used to overcome the
resistance of ice on the window or seals.
Window lock
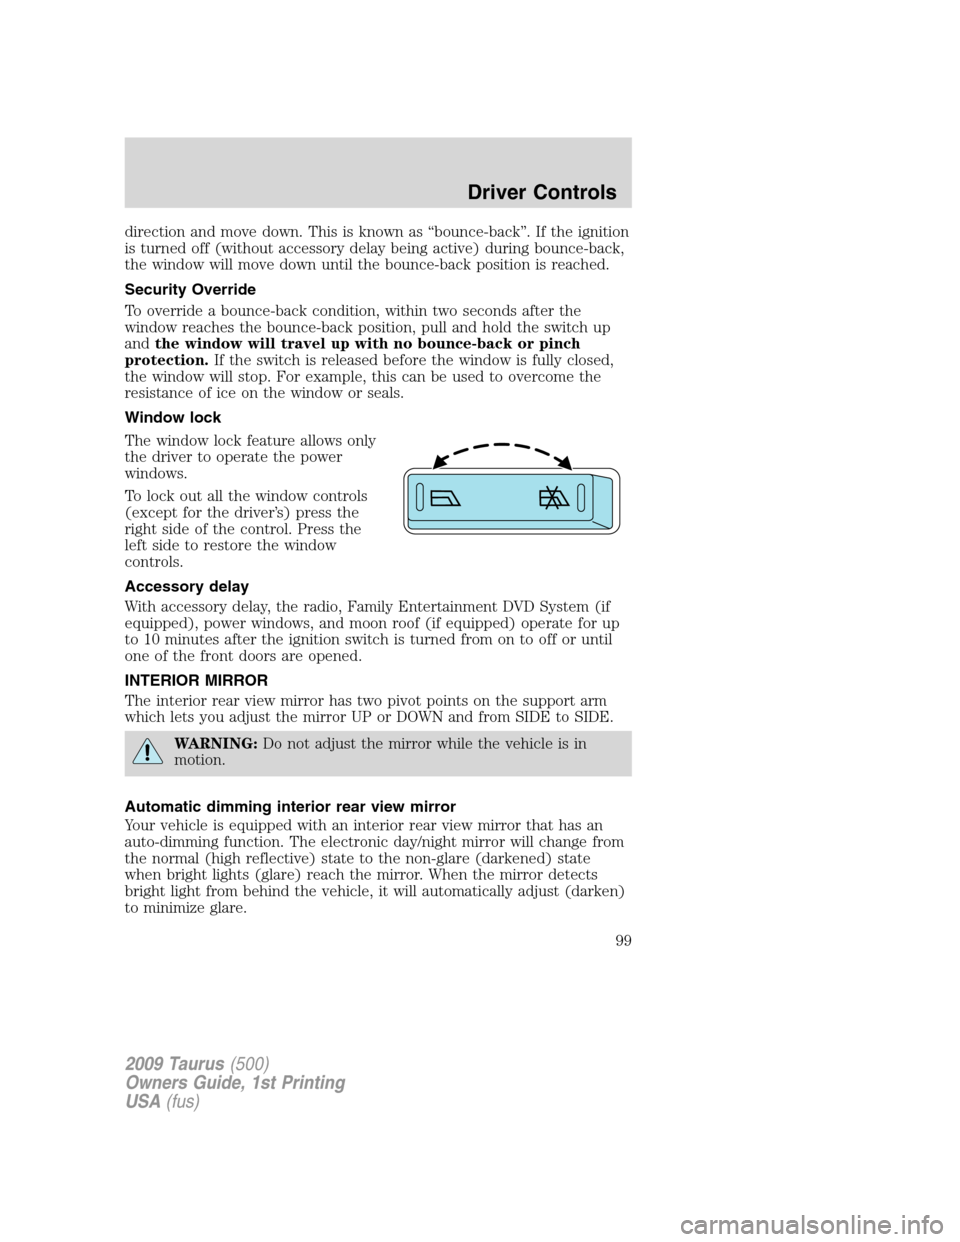
The window lock feature allows only
the driver to operate the power
windows.
To lock out all the window controls
(except for the driver’s) press the
right side of the control. Press the
left side to restore the window
controls.
Accessory delay
With accessory delay, the radio, Family Entertainment DVD System (if
equipped), power windows, and moon roof (if equipped) operate for up
to 10 minutes after the ignition switch is turned from on to off or until
one of the front doors are opened.
INTERIOR MIRROR
The interior rear view mirror has two pivot points on the support arm
which lets you adjust the mirror UP or DOWN and from SIDE to SIDE.
WARNING:Do not adjust the mirror while the vehicle is in
motion.
Automatic dimming interior rear view mirror
Your vehicle is equipped with an interior rear view mirror that has an
auto-dimming function. The electronic day/night mirror will change from
the normal (high reflective) state to the non-glare (darkened) state
when bright lights (glare) reach the mirror. When the mirror detects
bright light from behind the vehicle, it will automatically adjust (darken)
to minimize glare.
2009 Taurus(500)
Owners Guide, 1st Printing
USA(fus)
Driver Controls
99
Page 100 of 336
Without microphone
With microphone
The mirror will automatically return to the normal state whenever the
vehicle is placed in R (Reverse) to ensure a bright clear view when
backing up.
Do not block the sensors on the front and back of the interior
rear view mirror since this may impair proper mirror
performance.
Do not clean the housing or glass of any mirror with harsh
abrasives, fuel or other petroleum-based cleaning products.
EXTERIOR MIRRORS
Power side view mirrors
WARNING:Do not adjust the mirror while the vehicle is in
motion.
To adjust your mirrors:
1. Rotate the control clockwise to
adjust the right mirror and rotate
the control counterclockwise to
adjust the left mirror.
2. Move the control in the direction
you wish to tilt the mirror.
3. Return to the center position to lock mirrors in place.
2009 Taurus(500)
Owners Guide, 1st Printing
USA(fus)
Driver Controls
100
Page 108 of 336

The moon roof has a built-in sliding shade that can be manually opened
or closed when the glass panel is shut. To close the shade, pull it toward
the front of the vehicle.
HOMELINK�WIRELESS CONTROL SYSTEM (IF EQUIPPED)
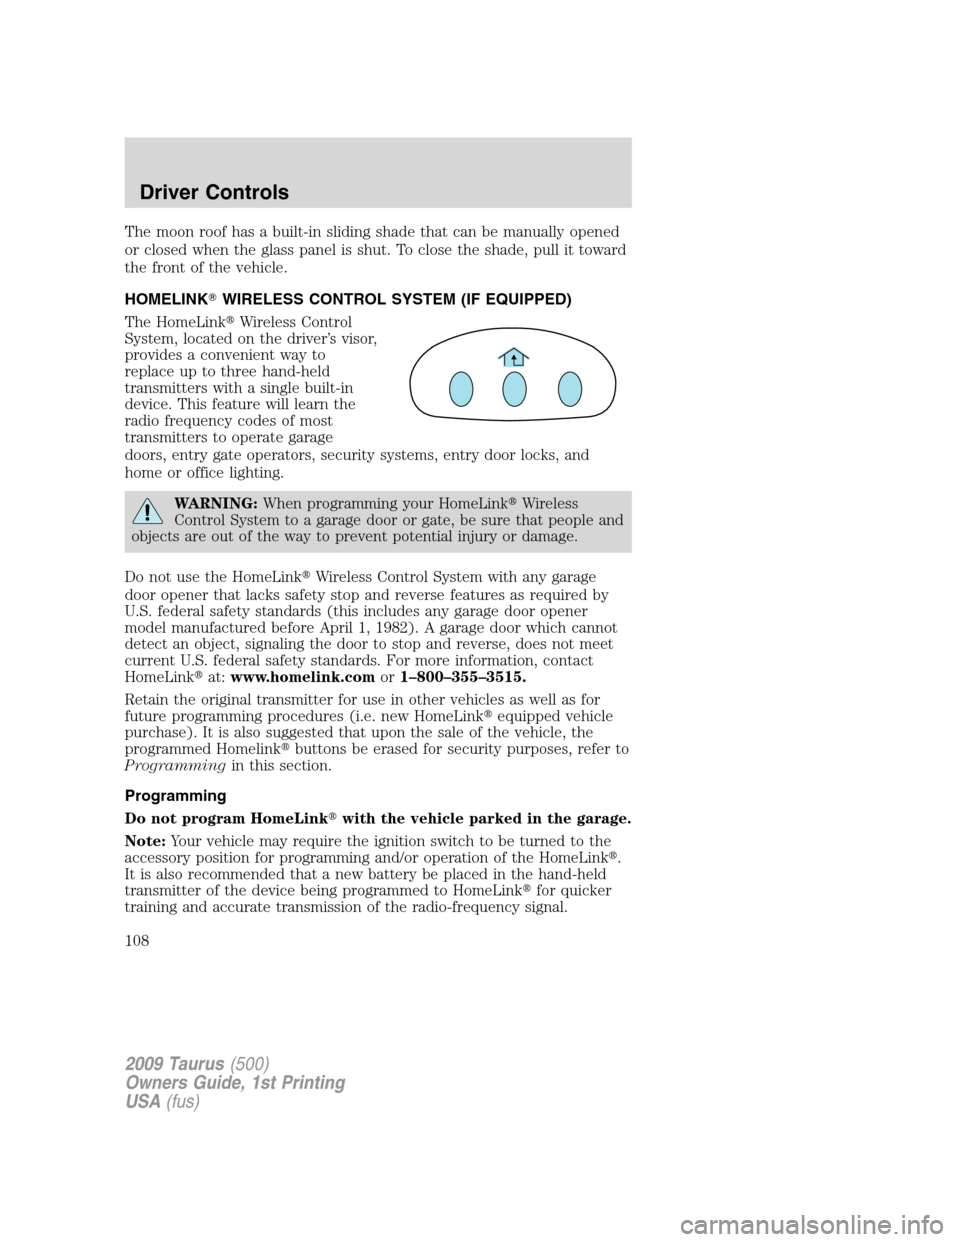
The HomeLink�Wireless Control
System, located on the driver’s visor,
provides a convenient way to
replace up to three hand-held
transmitters with a single built-in
device. This feature will learn the
radio frequency codes of most
transmitters to operate garage
doors, entry gate operators, security systems, entry door locks, and
home or office lighting.
WARNING:When programming your HomeLink�Wireless
Control System to a garage door or gate, be sure that people and
objects are out of the way to prevent potential injury or damage.
Do not use the HomeLink�Wireless Control System with any garage
door opener that lacks safety stop and reverse features as required by
U.S. federal safety standards (this includes any garage door opener
model manufactured before April 1, 1982). A garage door which cannot
detect an object, signaling the door to stop and reverse, does not meet
current U.S. federal safety standards. For more information, contact
HomeLink�at:www.homelink.comor1–800–355–3515.
Retain the original transmitter for use in other vehicles as well as for
future programming procedures (i.e. new HomeLink�equipped vehicle
purchase). It is also suggested that upon the sale of the vehicle, the
programmed Homelink�buttons be erased for security purposes, refer to
Programmingin this section.
Programming
Do not program HomeLink�with the vehicle parked in the garage.
Note:Your vehicle may require the ignition switch to be turned to the
accessory position for programming and/or operation of the HomeLink�.
It is also recommended that a new battery be placed in the hand-held
transmitter of the device being programmed to HomeLink�for quicker
training and accurate transmission of the radio-frequency signal.
2009 Taurus(500)
Owners Guide, 1st Printing
USA(fus)
Driver Controls
108
Page 110 of 336

Gate Operator & Canadian Programming
During programming, your
hand-held transmitter may
automatically stop transmitting —
not allowing enough time for
HomeLink�to accept the signal
from the hand-held transmitter.
After completing Step 1 outlined in
theProgrammingsection, replace
Step 2 with the following:
Note:If programming a garage door opener or gate operator, it is
advised to unplug the device during the “cycling” process to prevent
overheating.
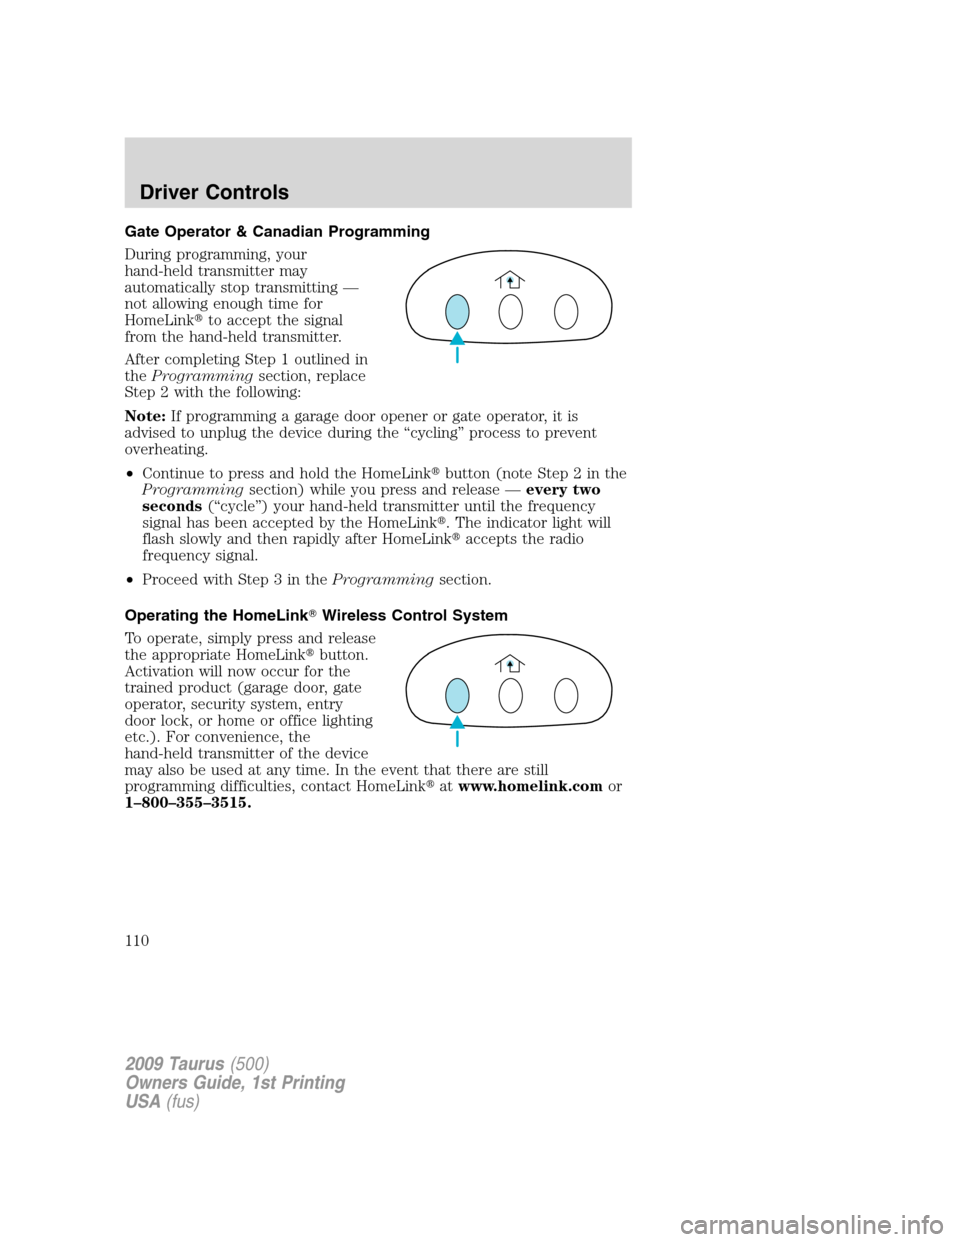
•Continue to press and hold the HomeLink�button (note Step 2 in the
Programmingsection) while you press and release —every two
seconds(“cycle”) your hand-held transmitter until the frequency
signal has been accepted by the HomeLink�. The indicator light will
flash slowly and then rapidly after HomeLink�accepts the radio
frequency signal.
•Proceed with Step 3 in theProgrammingsection.
Operating the HomeLink�Wireless Control System
To operate, simply press and release
the appropriate HomeLink�button.
Activation will now occur for the
trained product (garage door, gate
operator, security system, entry
door lock, or home or office lighting
etc.). For convenience, the
hand-held transmitter of the device
may also be used at any time. In the event that there are still
programming difficulties, contact HomeLink�atwww.homelink.comor
1–800–355–3515.
2009 Taurus(500)
Owners Guide, 1st Printing
USA(fus)
Driver Controls
110
Page 116 of 336

Setup menu
Press this control for the following
displays:
•System Check
•Oil Life
•Language
•Units (English/Metric)
•Autolamp Delay (if equipped)
•Autolock (if equipped)
•Autounlock (if equipped)
•Easy entry/exit seat (if equipped)
System check
Selecting this function from the
SETUP menu causes the message
center to cycle through each of the
systems being monitored. For each
of the monitored systems, the
message center will indicate either
an OK message or a warning message for two to four seconds.
Pressing the RESET control cycles the message center through each of
the systems being monitored.
The sequence of the system check report is as follows:
1. OIL LIFE
2. CHARGING SYSTEM
3. WASHER FLUID LEVEL
4. DOORS CLOSED
5. TRUNK CLOSED
6. BRAKE SYSTEM
7. TIRE PRESSURE MONITORING SYSTEM (if equipped and warning is
present)
8. DISTANCE TO EMPTY
Oil life
An oil change is required whenever indicated by the message center.
USE ONLY RECOMMENDED ENGINE OILS.
2009 Taurus(500)
Owners Guide, 1st Printing
USA(fus)
Driver Controls
116