2009 FORD TAURUS key battery
[x] Cancel search: key batteryPage 132 of 336
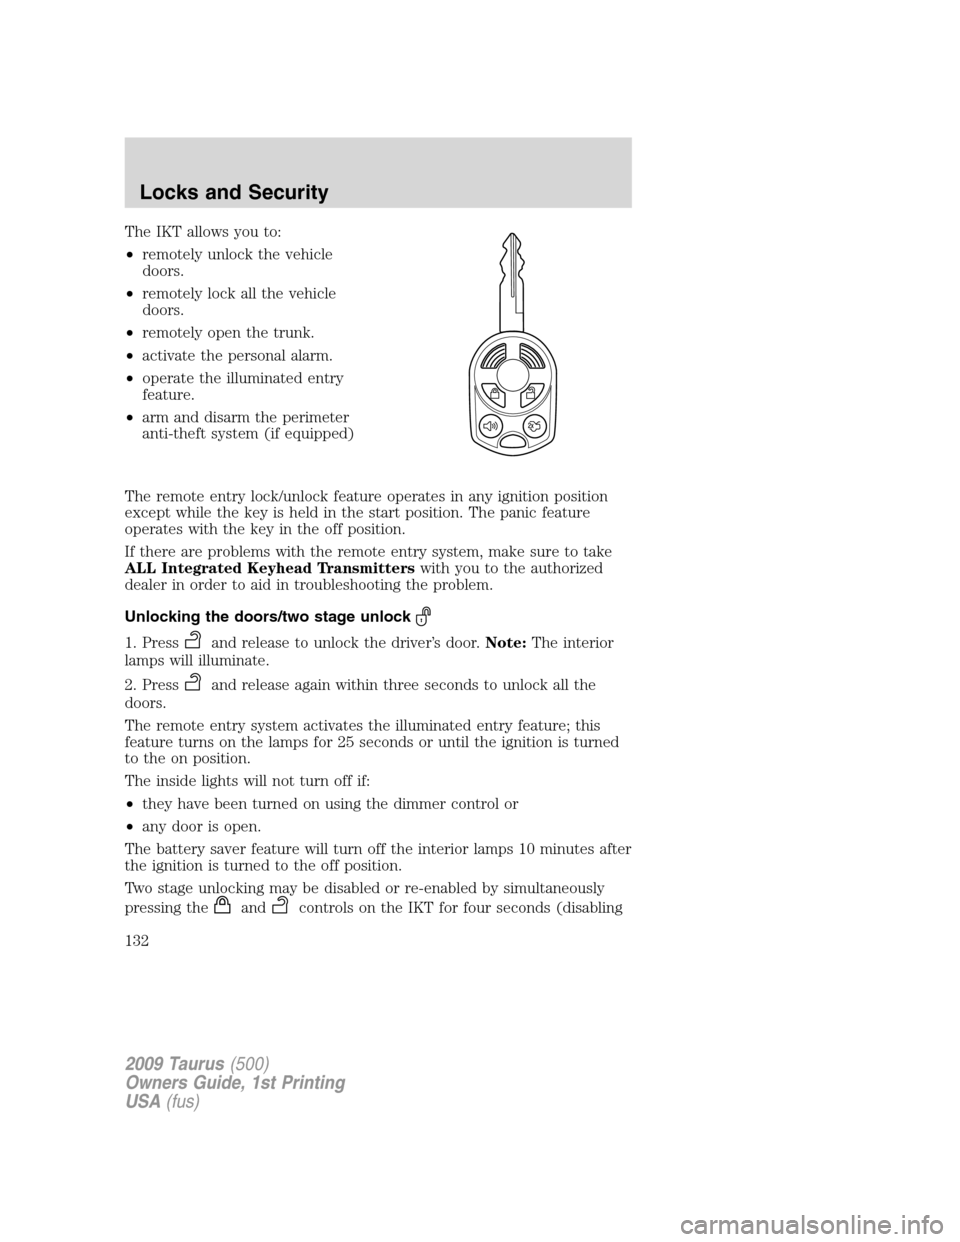
The IKT allows you to:
•remotely unlock the vehicle
doors.
•remotely lock all the vehicle
doors.
•remotely open the trunk.
•activate the personal alarm.
•operate the illuminated entry
feature.
•arm and disarm the perimeter
anti-theft system (if equipped)
The remote entry lock/unlock feature operates in any ignition position
except while the key is held in the start position. The panic feature
operates with the key in the off position.
If there are problems with the remote entry system, make sure to take
ALL Integrated Keyhead Transmitterswith you to the authorized
dealer in order to aid in troubleshooting the problem.
Unlocking the doors/two stage unlock
1. Pressand release to unlock the driver’s door.Note:The interior
lamps will illuminate.
2. Press
and release again within three seconds to unlock all the
doors.
The remote entry system activates the illuminated entry feature; this
feature turns on the lamps for 25 seconds or until the ignition is turned
to the on position.
The inside lights will not turn off if:
•they have been turned on using the dimmer control or
•any door is open.
The battery saver feature will turn off the interior lamps 10 minutes after
the ignition is turned to the off position.
Two stage unlocking may be disabled or re-enabled by simultaneously
pressing the
andcontrols on the IKT for four seconds (disabling
2009 Taurus(500)
Owners Guide, 1st Printing
USA(fus)
Locks and Security
132
Page 134 of 336
Activating the memory feature
To activate this feature:
1. Position the seat, mirrors and adjustable pedals to the desired
positions.
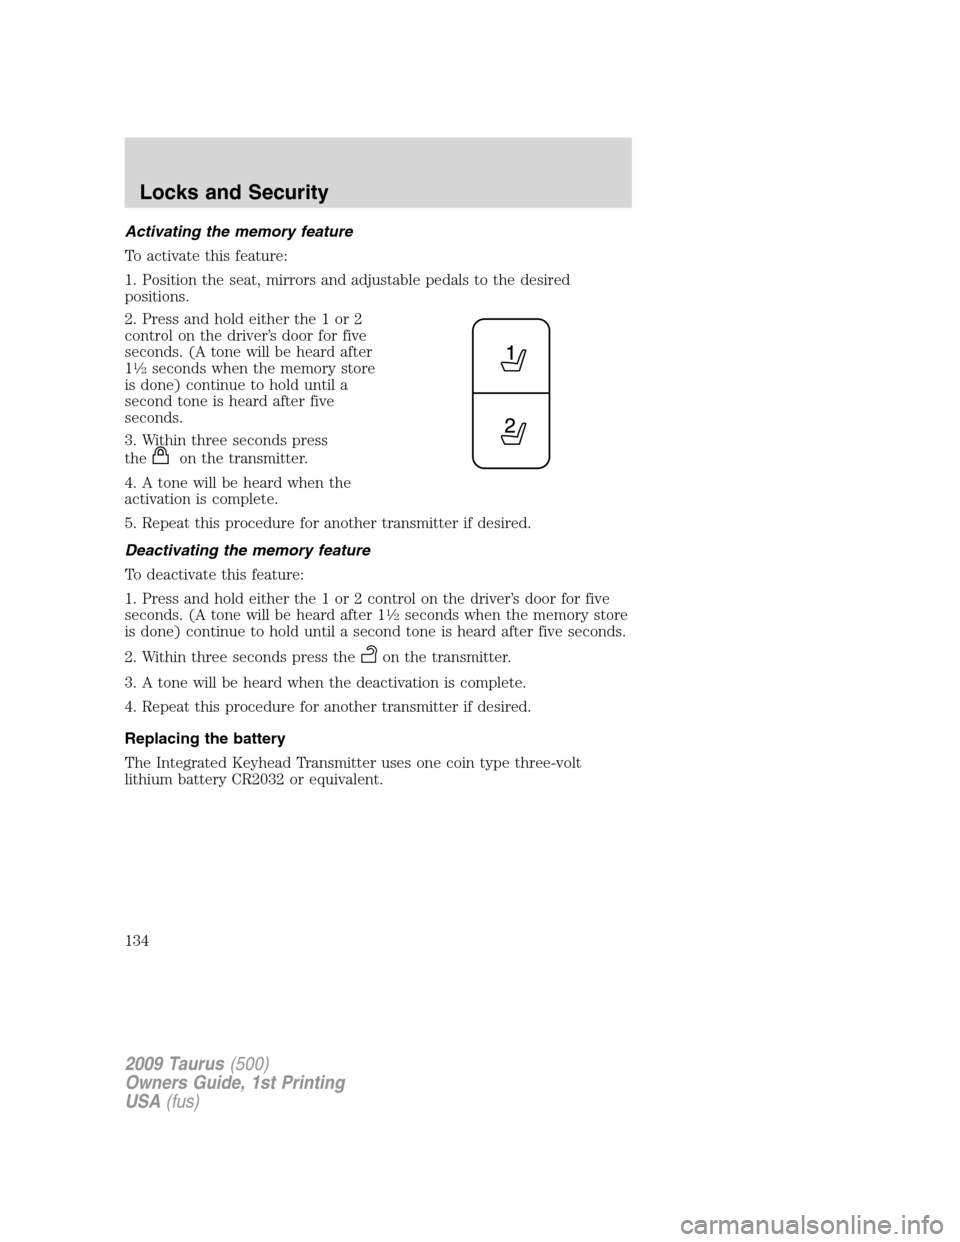
2. Press and hold either the 1 or 2
control on the driver’s door for five
seconds. (A tone will be heard after
1
1�2seconds when the memory store
is done) continue to hold until a
second tone is heard after five
seconds.
3. Within three seconds press
the
on the transmitter.
4. A tone will be heard when the
activation is complete.
5. Repeat this procedure for another transmitter if desired.
Deactivating the memory feature
To deactivate this feature:
1. Press and hold either the 1 or 2 control on the driver’s door for five
seconds. (A tone will be heard after 1
1�2seconds when the memory store
is done) continue to hold until a second tone is heard after five seconds.
2. Within three seconds press the
on the transmitter.
3. A tone will be heard when the deactivation is complete.
4. Repeat this procedure for another transmitter if desired.
Replacing the battery
The Integrated Keyhead Transmitter uses one coin type three-volt
lithium battery CR2032 or equivalent.
2009 Taurus(500)
Owners Guide, 1st Printing
USA(fus)
Locks and Security
134
Page 135 of 336
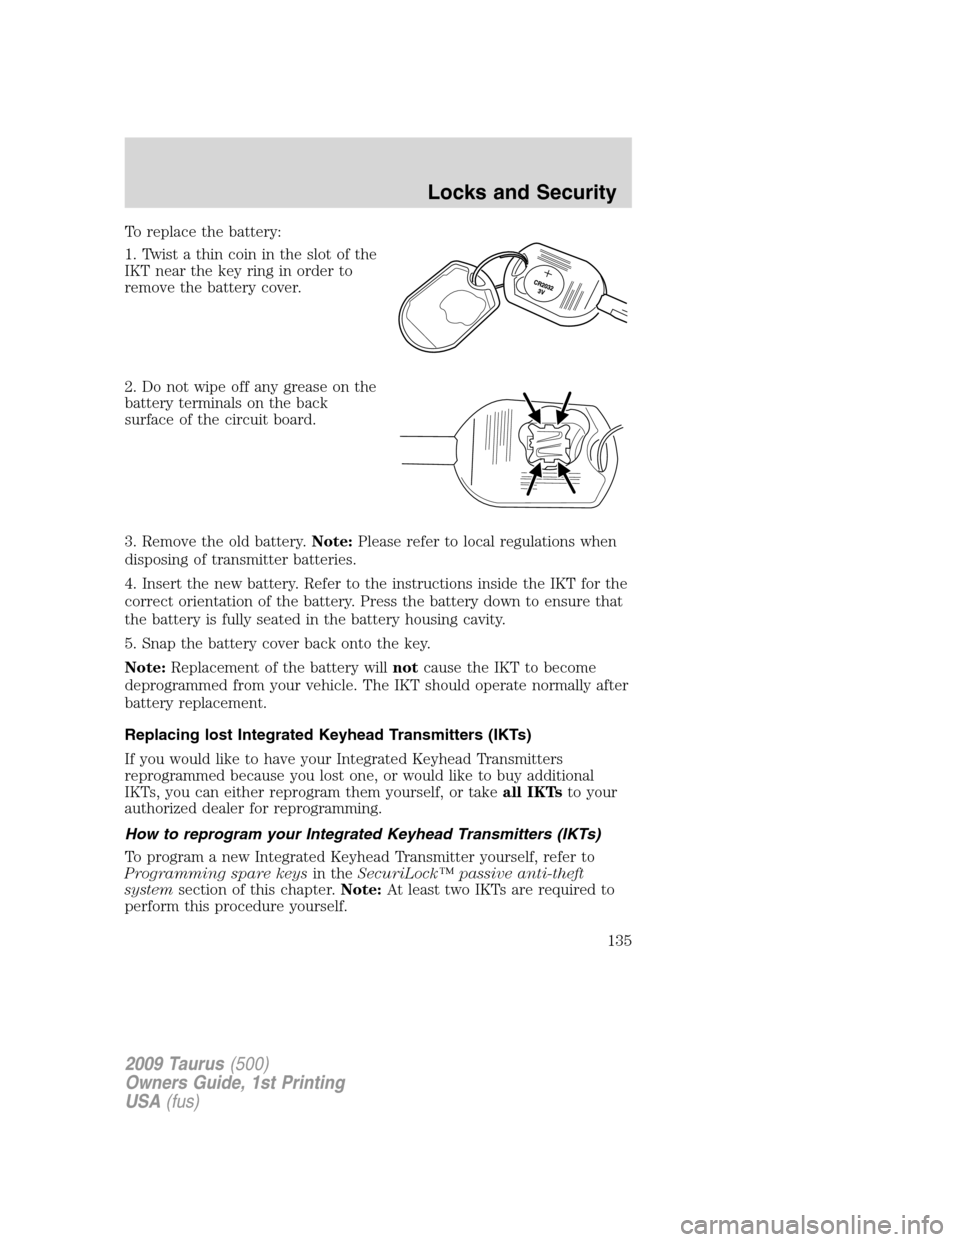
To replace the battery:
1. Twist a thin coin in the slot of the
IKT near the key ring in order to
remove the battery cover.
2. Do not wipe off any grease on the
battery terminals on the back
surface of the circuit board.
3. Remove the old battery.Note:Please refer to local regulations when
disposing of transmitter batteries.
4. Insert the new battery. Refer to the instructions inside the IKT for the
correct orientation of the battery. Press the battery down to ensure that
the battery is fully seated in the battery housing cavity.
5. Snap the battery cover back onto the key.
Note:Replacement of the battery willnotcause the IKT to become
deprogrammed from your vehicle. The IKT should operate normally after
battery replacement.
Replacing lost Integrated Keyhead Transmitters (IKTs)
If you would like to have your Integrated Keyhead Transmitters
reprogrammed because you lost one, or would like to buy additional
IKTs, you can either reprogram them yourself, or takeall IKTsto your
authorized dealer for reprogramming.
How to reprogram your Integrated Keyhead Transmitters (IKTs)
To program a new Integrated Keyhead Transmitter yourself, refer to
Programming spare keysin theSecuriLock™ passive anti-theft
systemsection of this chapter.Note:At least two IKTs are required to
perform this procedure yourself.
2009 Taurus(500)
Owners Guide, 1st Printing
USA(fus)
Locks and Security
135
Page 137 of 336
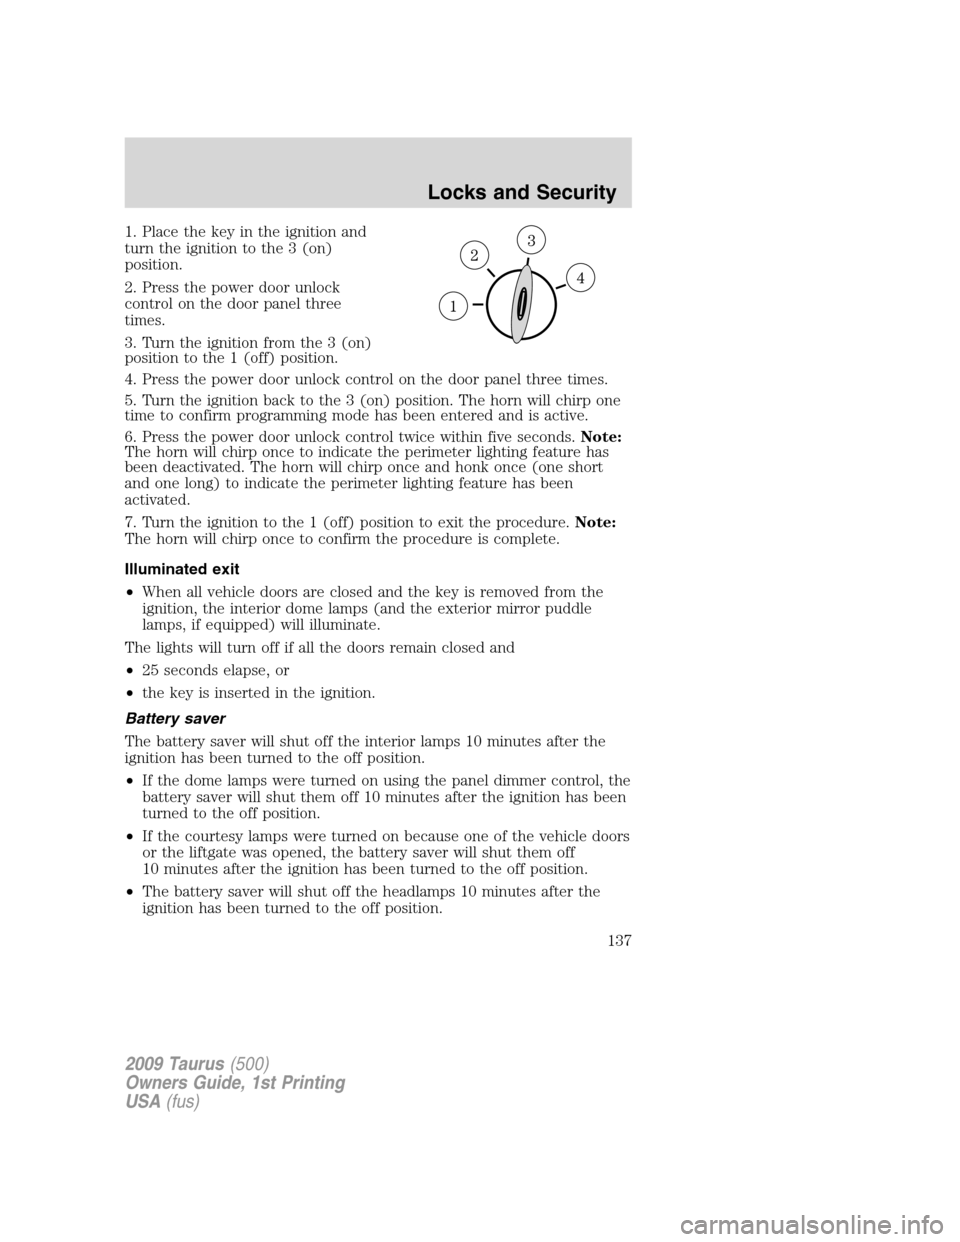
1. Place the key in the ignition and
turn the ignition to the 3 (on)
position.
2. Press the power door unlock
control on the door panel three
times.
3. Turn the ignition from the 3 (on)
position to the 1 (off) position.
4. Press the power door unlock control on the door panel three times.
5. Turn the ignition back to the 3 (on) position. The horn will chirp one
time to confirm programming mode has been entered and is active.
6. Press the power door unlock control twice within five seconds.Note:
The horn will chirp once to indicate the perimeter lighting feature has
been deactivated. The horn will chirp once and honk once (one short
and one long) to indicate the perimeter lighting feature has been
activated.
7. Turn the ignition to the 1 (off) position to exit the procedure.Note:
The horn will chirp once to confirm the procedure is complete.
Illuminated exit
•When all vehicle doors are closed and the key is removed from the
ignition, the interior dome lamps (and the exterior mirror puddle
lamps, if equipped) will illuminate.
The lights will turn off if all the doors remain closed and
•25 seconds elapse, or
•the key is inserted in the ignition.
Battery saver
The battery saver will shut off the interior lamps 10 minutes after the
ignition has been turned to the off position.
•If the dome lamps were turned on using the panel dimmer control, the
battery saver will shut them off 10 minutes after the ignition has been
turned to the off position.
•If the courtesy lamps were turned on because one of the vehicle doors
or the liftgate was opened, the battery saver will shut them off
10 minutes after the ignition has been turned to the off position.
•The battery saver will shut off the headlamps 10 minutes after the
ignition has been turned to the off position.
2009 Taurus(500)
Owners Guide, 1st Printing
USA(fus)
Locks and Security
137
Page 242 of 336
WARNING:Do not drive your vehicle until you verify that the
brakelamps are working.
WARNING:Always set the parking brake fully and make sure
the gearshift is latched in P (Park). Turn the ignition to the off
position and remove the key whenever you leave your vehicle.
WARNING:If the parking brake is fully released, but the brake
warning lamp remains illuminated, the brakes may not be
working properly. See your authorized dealer as soon as possible.
Automatic Transmission Adaptive Learning
Your transmission is equipped with an adaptive learning strategy found in
the vehicle computer. This feature is designed to increase durability and
provide consistent shift feel over the life of the vehicle. A new vehicle or
transmission may have firm and/or soft shifts. This operation is
considered normal and will not affect function or durability of the
transmission. Over time, the adaptive learning process will fully update
transmission operation. Additionally, whenever the battery is
disconnected or a new battery installed, the strategy must be relearned.
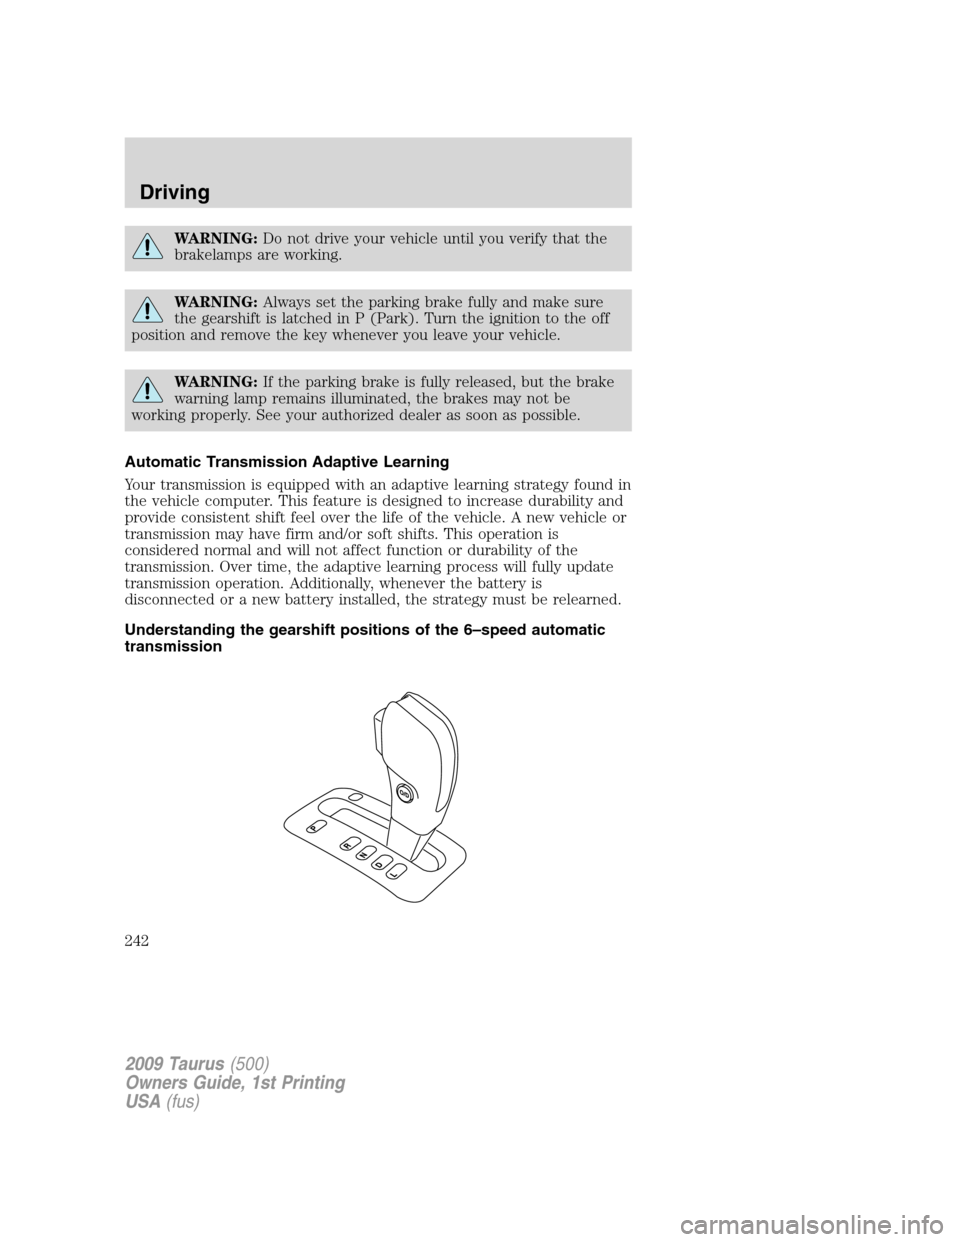
Understanding the gearshift positions of the 6–speed automatic
transmission
2009 Taurus(500)
Owners Guide, 1st Printing
USA(fus)
Driving
242
Page 253 of 336
ROADSIDE ASSISTANCE
Getting roadside assistance
To fully assist you should you have a vehicle concern, Ford Motor
Company offers a complimentary roadside assistance program. This
program is separate from the New Vehicle Limited Warranty. The service
is available:
•24–hours, seven days a week
•for the coverage period listed on the Roadside Assistance Card
included in your Owner Guide portfolio.
Roadside assistance will cover:
•a flat tire change with a good spare (except vehicles that have been
supplied with a tire inflation kit)
•battery jump start
•lock-out assistance (key replacement cost is the customer’s
responsibility)
•fuel delivery – Independent Service Contractors, if not prohibited by
state, local or municipal law shall deliver up to 2.0 gallons (7.5L) of
gasoline or 5 gallons (18.9L) of diesel fuel to a disabled vehicle. Fuel
delivery service is limited to two no-charge occurrences within a
12-month period.
•winch out – available within 100 feet (30.5 meters) of a paved or
county maintained road, no recoveries.
•towing – Ford/Mercury/Lincoln eligible vehicle towed to an authorized
dealer within 35 miles (56.3 km) of the disablement location or to the
nearest authorized dealer. If a member requests to be towed to an
authorized dealer more than 35 miles (56.3 km) from the disablement
location, the member shall be responsible for any mileage costs in
excess of 35 miles (56.3 km).
Trailers shall be covered up to $200 if the disabled eligible vehicle
requires service at the nearest authorized dealer. If the trailer is disabled,
but the towing vehicle is operational, the trailer does not qualify for any
roadside services.
Canadian customers refer to your Customer Information Guide
for information on:
•coverage period
•exact fuel amounts
2009 Taurus(500)
Owners Guide, 1st Printing
USA(fus)
Roadside Emergencies
253
Page 254 of 336
•towing of your disabled vehicle
•emergency travel expense reimbursement
•travel planning benefits
In Canada, for uninterrupted Roadside Assistance coverage, you may
purchase extended coverage prior to your Basic Warranty’s Roadside
Assistance expiring. For more information and enrollment, contact
1–877–294–2582 or visit our website at www.ford.ca.
Using roadside assistance
Complete the roadside assistance identification card and place it in your
wallet for quick reference. In the United States, this card is found in the
Owner Guide portfolio in the glove compartment. In Canada, the card is
found in theCustomer Information Guidein the glove compartment.
U.S. Ford, Mercury and Lincoln vehicle customers who require Roadside
Assistance, call 1-800-241-3673.
Canadian customers who require roadside assistance, call
1-800-665-2006.
If you need to arrange roadside assistance for yourself, Ford Motor
Company will reimburse a reasonable amount for towing to the nearest
dealership within 35 miles. To obtain reimbursement information, U.S.
Ford, Mercury and Lincoln vehicle customers call 1-800-241-3673.
Customers will be asked to submit their original receipts.
Canadian customers who need to obtain reimbursement information, call
1–800–665–2006.
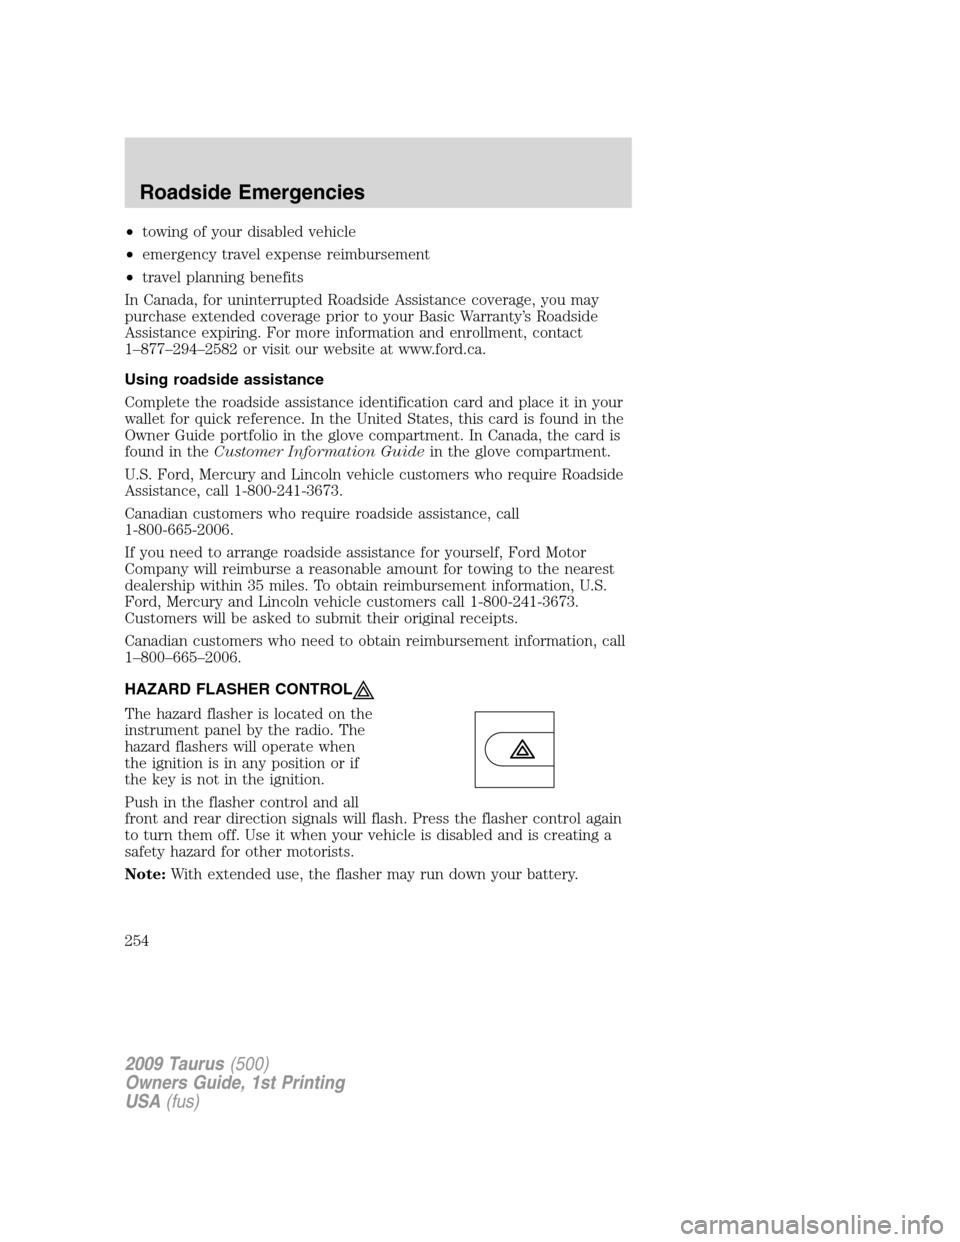
HAZARD FLASHER CONTROL
The hazard flasher is located on the
instrument panel by the radio. The
hazard flashers will operate when
the ignition is in any position or if
the key is not in the ignition.
Push in the flasher control and all
front and rear direction signals will flash. Press the flasher control again
to turn them off. Use it when your vehicle is disabled and is creating a
safety hazard for other motorists.
Note:With extended use, the flasher may run down your battery.
2009 Taurus(500)
Owners Guide, 1st Printing
USA(fus)
Roadside Emergencies
254
Page 292 of 336
SERVICE RECOMMENDATIONS
To help you service your vehicle, we providescheduled maintenance
informationwhich makes tracking routine service easy.
If your vehicle requires professional service, your authorized dealer can
provide the necessary parts and service. Check yourWarranty
Guide/Customer Information Guideto find out which parts and
services are covered.
Use only recommended fuels, lubricants, fluids and service parts
conforming to specifications. Motorcraft parts are designed and built to
provide the best performance in your vehicle.
PRECAUTIONS WHEN SERVICING YOUR VEHICLE
•Do not work on a hot engine.
•Make sure that nothing gets caught in moving parts.
•Do not work on a vehicle with the engine running in an enclosed
space, unless you are sure you have enough ventilation.
•Keep all open flames and other burning (cigarettes) material away
from the battery and all fuel related parts.
Working with the engine off
1. Set the parking brake and shift to P (Park).
2. Turn off the engine and remove the key.
3. Block the wheels.
Working with the engine on
1. Set the parking brake and shift to P (Park).
2. Block the wheels.
WARNING:To reduce the risk of vehicle damage and/or
personal burn injuries, do not start your engine with the air
cleaner removed and do not remove it while the engine is running.
2009 Taurus(500)
Owners Guide, 1st Printing
USA(fus)
Maintenance and Specifications
292