Page 109 of 418
Rear Window Buffeting:When one or both of the rear windows are
open, the vehicle may demonstrate a wind throb or buffeting noise; this
noise can be alleviated by:
•Lowering a front window approximately two to three inches or
•Opening a 3rd Row Power Quarter Glass, for vehicles equipped with
this option
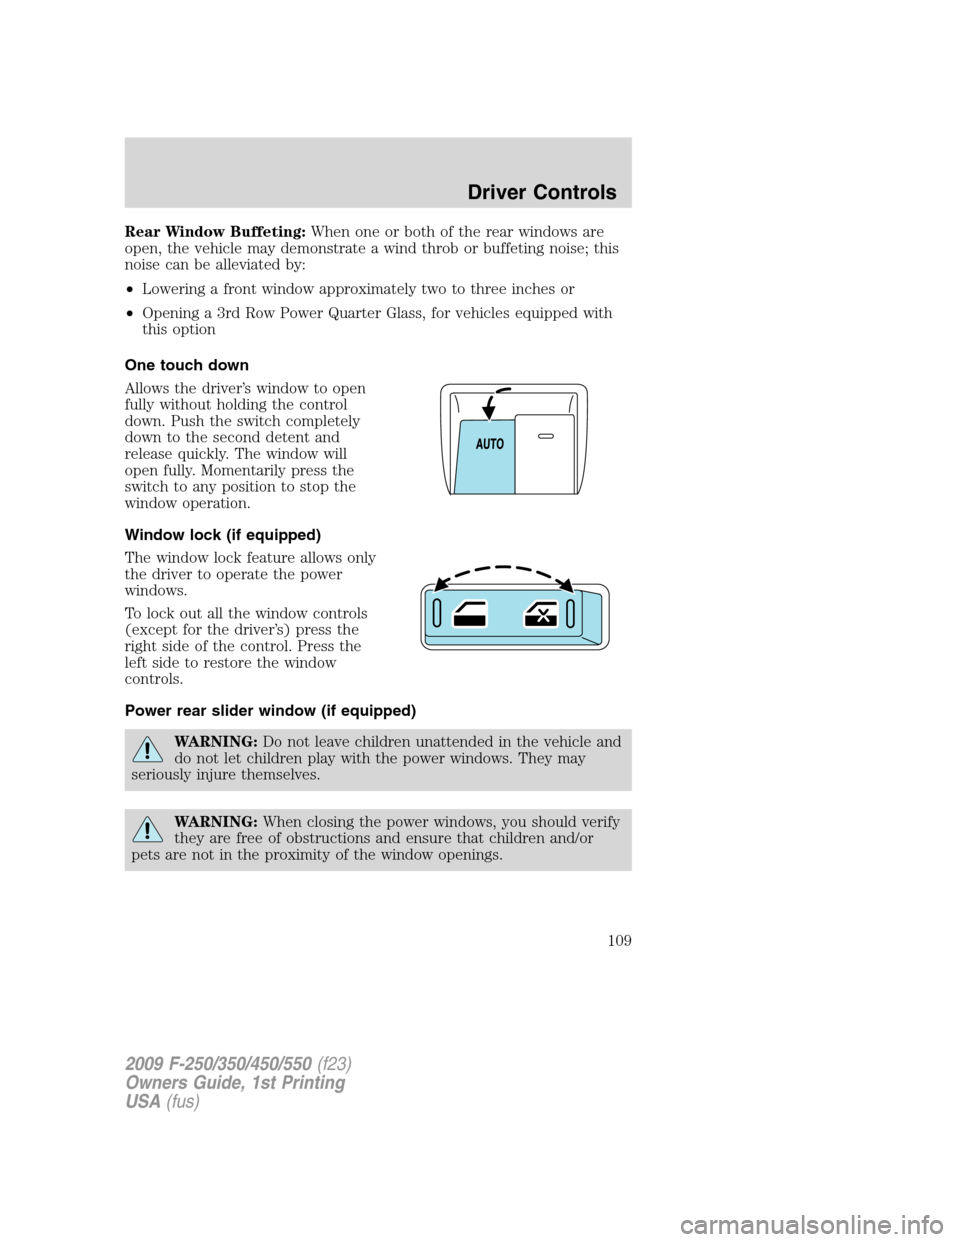
One touch down
Allows the driver’s window to open
fully without holding the control
down. Push the switch completely
down to the second detent and
release quickly. The window will
open fully. Momentarily press the
switch to any position to stop the
window operation.
Window lock (if equipped)
The window lock feature allows only
the driver to operate the power
windows.
To lock out all the window controls
(except for the driver’s) press the
right side of the control. Press the
left side to restore the window
controls.
Power rear slider window (if equipped)
WARNING:Do not leave children unattended in the vehicle and
do not let children play with the power windows. They may
seriously injure themselves.
WARNING:When closing the power windows, you should verify
they are free of obstructions and ensure that children and/or
pets are not in the proximity of the window openings.
2009 F-250/350/450/550(f23)
Owners Guide, 1st Printing
USA(fus)
Driver Controls
109
Page 110 of 418
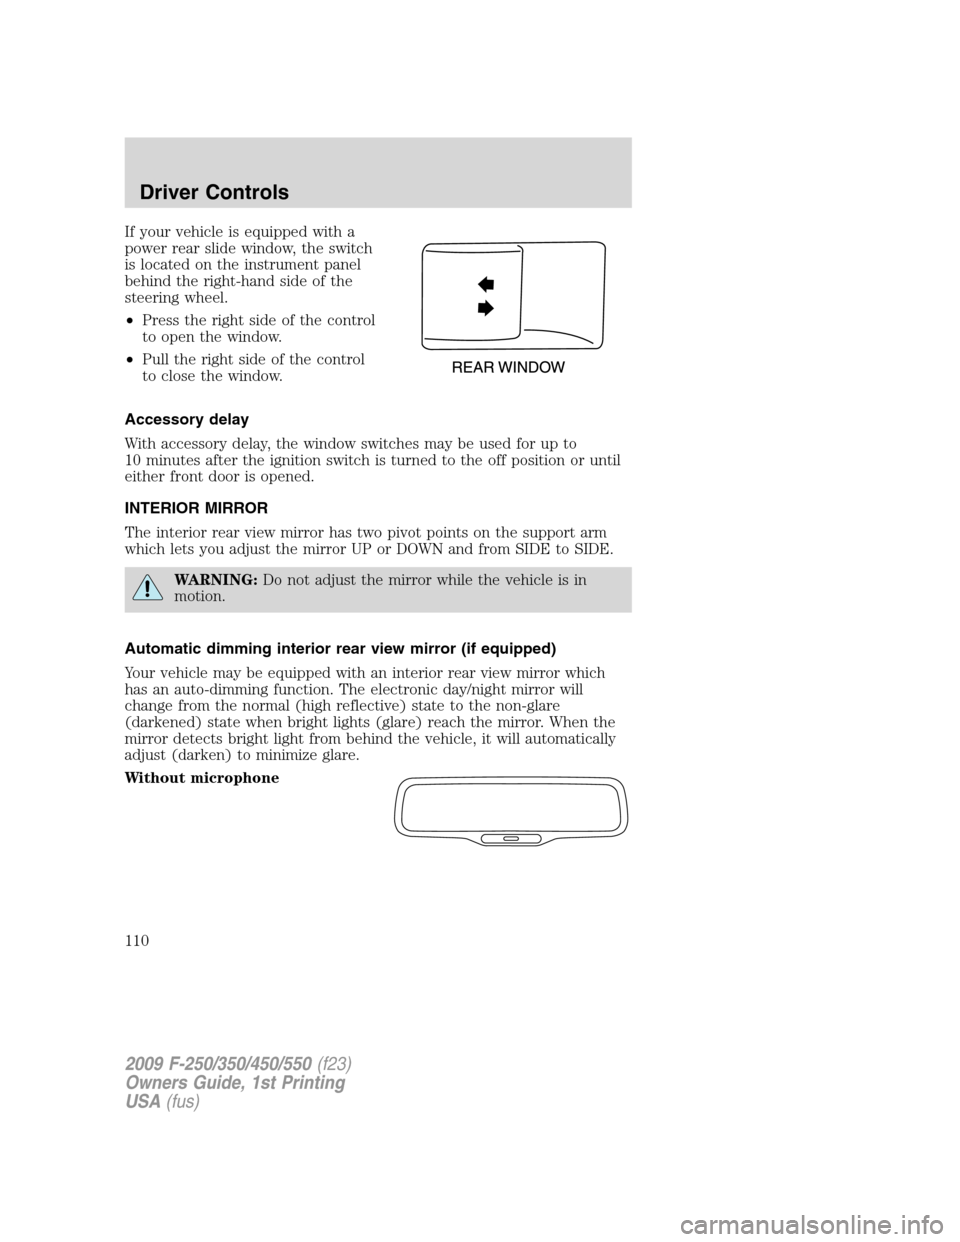
If your vehicle is equipped with a
power rear slide window, the switch
is located on the instrument panel
behind the right-hand side of the
steering wheel.
•Press the right side of the control
to open the window.
•Pull the right side of the control
to close the window.
Accessory delay
With accessory delay, the window switches may be used for up to
10 minutes after the ignition switch is turned to the off position or until
either front door is opened.
INTERIOR MIRROR
The interior rear view mirror has two pivot points on the support arm
which lets you adjust the mirror UP or DOWN and from SIDE to SIDE.
WARNING:Do not adjust the mirror while the vehicle is in
motion.
Automatic dimming interior rear view mirror (if equipped)
Your vehicle may be equipped with an interior rear view mirror which
has an auto-dimming function. The electronic day/night mirror will
change from the normal (high reflective) state to the non-glare
(darkened) state when bright lights (glare) reach the mirror. When the
mirror detects bright light from behind the vehicle, it will automatically
adjust (darken) to minimize glare.
Without microphone
2009 F-250/350/450/550(f23)
Owners Guide, 1st Printing
USA(fus)
Driver Controls
110
Page 115 of 418
Mirror mounted side turn signal indicator (if equipped)
When the vehicle turn signals are
activated, the outer portion of the
mirror housing will blink amber.
The turn signal feature can be seen
by other drivers who may approach
from the rear of the vehicle.
Clearance lamps (if equipped)
Illuminates when the headlamps or
parking lamps are switched on.
This provides additional visibility of
your vehicle to other drivers on the
road.
POWER ADJUSTABLE FOOT PEDALS (IF EQUIPPED)
The accelerator and brake pedal
should only be adjusted when the
vehicle is stopped and the gearshift
lever is in the P (Park) position.
Press and hold the rocker control to
adjust accelerator and brake pedal
toward you or away from you.
WARNING:Never adjust the accelerator and brake pedal with
feet on the pedals while the vehicle is moving.
2009 F-250/350/450/550(f23)
Owners Guide, 1st Printing
USA(fus)
Driver Controls
115
Page 116 of 418
The accelerator and brake pedal positions are saved when doing a
memory set function and can be recalled along with the vehicle
personality features when a memory position is selected through the
remote entry transmitter, keyless entry keypad or memory switch on the
driver’s door (if equipped with memory feature). Refer toMemory
seats/power mirrors/adjustable pedalsin theSeating and Safety
Restraintschapter.
SPEED CONTROL (IF EQUIPPED)
With speed control set, you can maintain a set speed without keeping
your foot on the accelerator pedal.
WARNING:Do not use the speed control in heavy traffic or on
roads that are winding, slippery or unpaved.
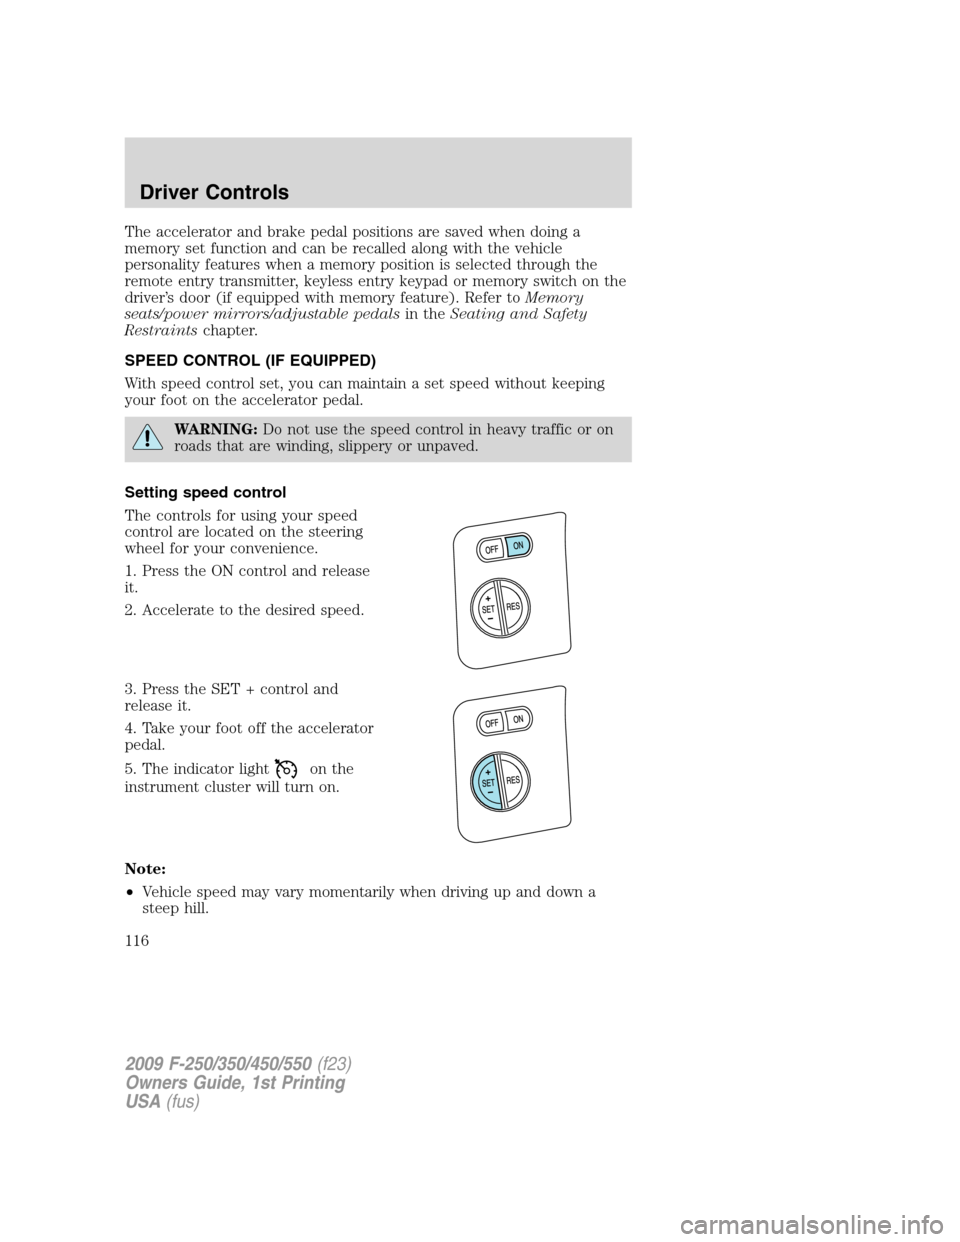
Setting speed control
The controls for using your speed
control are located on the steering
wheel for your convenience.
1. Press the ON control and release
it.
2. Accelerate to the desired speed.
3. Press the SET + control and
release it.
4. Take your foot off the accelerator
pedal.
5. The indicator light
on the
instrument cluster will turn on.
Note:
•Vehicle speed may vary momentarily when driving up and down a
steep hill.
2009 F-250/350/450/550(f23)
Owners Guide, 1st Printing
USA(fus)
Driver Controls
116
Page 122 of 418
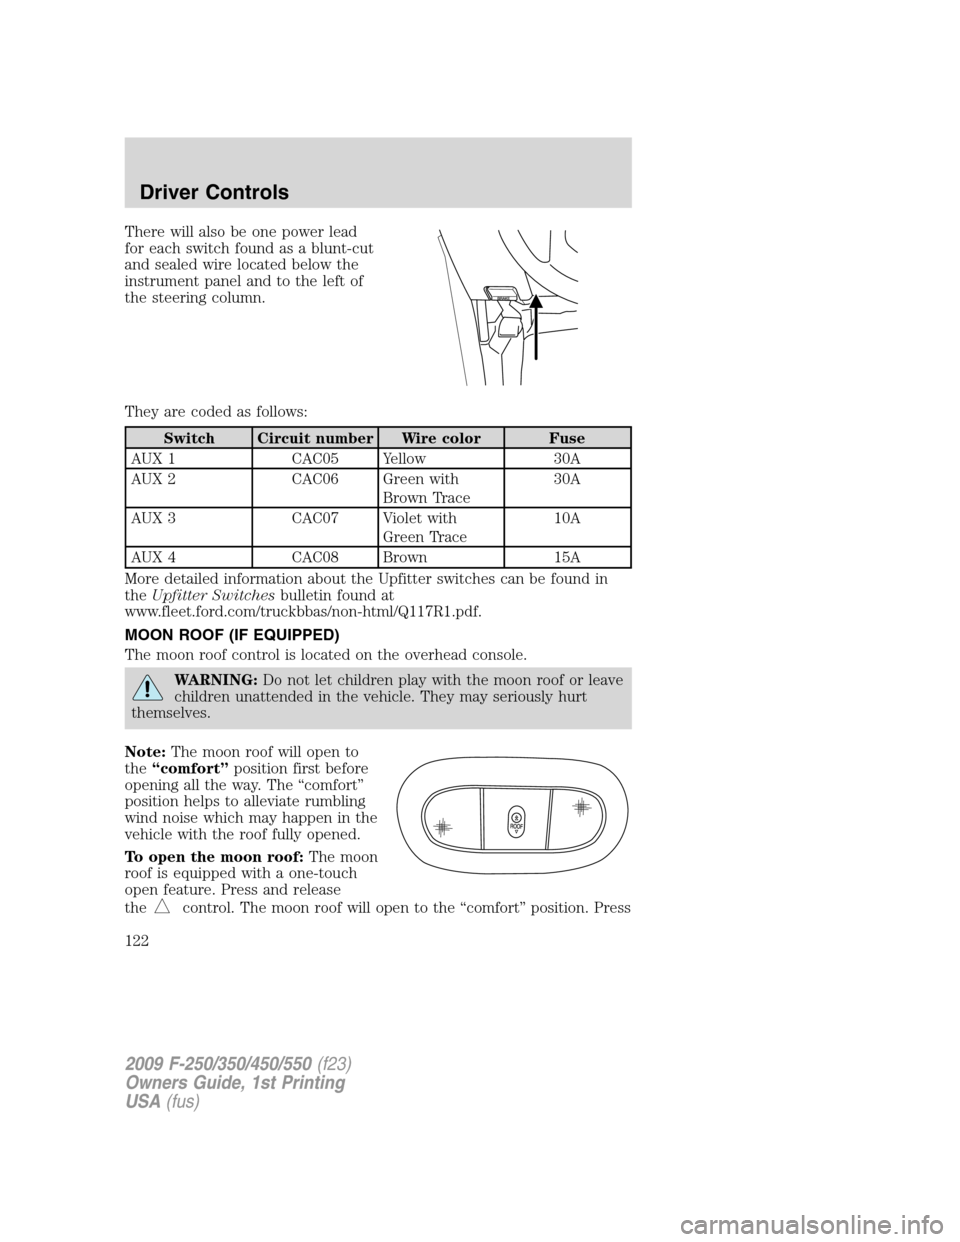
There will also be one power lead
for each switch found as a blunt-cut
and sealed wire located below the
instrument panel and to the left of
the steering column.
They are coded as follows:
Switch Circuit number Wire color Fuse
AUX 1 CAC05 Yellow 30A
AUX 2 CAC06 Green with
Brown Trace30A
AUX 3 CAC07 Violet with
Green Trace10A
AUX 4 CAC08 Brown 15A
More detailed information about the Upfitter switches can be found in
theUpfitter Switchesbulletin found at
www.fleet.ford.com/truckbbas/non-html/Q117R1.pdf.
MOON ROOF (IF EQUIPPED)
The moon roof control is located on the overhead console.
WARNING:Do not let children play with the moon roof or leave
children unattended in the vehicle. They may seriously hurt
themselves.
Note:The moon roof will open to
the“comfort”position first before
opening all the way. The “comfort”
position helps to alleviate rumbling
wind noise which may happen in the
vehicle with the roof fully opened.
To open the moon roof:The moon
roof is equipped with a one-touch
open feature. Press and release
the
control. The moon roof will open to the “comfort” position. Press
2009 F-250/350/450/550(f23)
Owners Guide, 1st Printing
USA(fus)
Driver Controls
122
Page 123 of 418
and release the control again to fully open. To stop the one-touch open
feature, press either the
orcontrol again.
WARNING:When closing the moon roof, you should verify that
it is free of obstructions and ensure that children and/or pets are
not in the proximity of the moon roof opening.
To close the moon roof:Press and hold the
control until the glass
panel stops at the “comfort” position. Press and hold the control again
until the glass stops moving (the moon roof does not go to the comfort
position). When fully closed, the rear portion of the glass panel will
appear higher than the front portion.
To vent the moon roof:Press and hold the
control.The moon
roof must be in the closed position in order to move it into the
vent position.To close, press and hold the
control until the glass
panel stops moving.
The moon roof has a built-in sliding shade that can be manually opened
or closed when the glass panel is shut. To close the shade, pull it toward
the front of the vehicle.
HOMELINK�WIRELESS CONTROL SYSTEM (IF EQUIPPED)
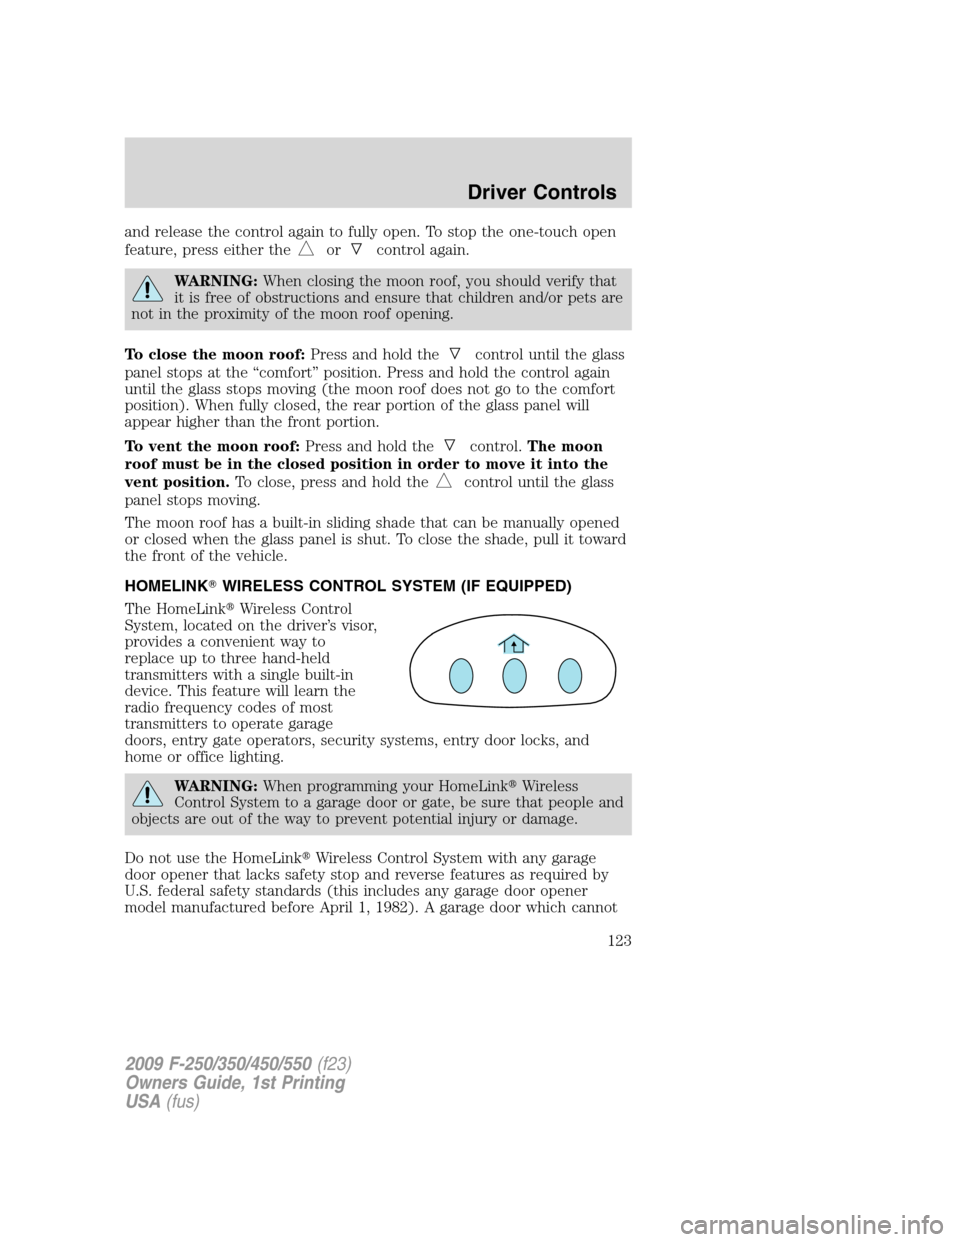
The HomeLink�Wireless Control
System, located on the driver’s visor,
provides a convenient way to
replace up to three hand-held
transmitters with a single built-in
device. This feature will learn the
radio frequency codes of most
transmitters to operate garage
doors, entry gate operators, security systems, entry door locks, and
home or office lighting.
WARNING:When programming your HomeLink�Wireless
Control System to a garage door or gate, be sure that people and
objects are out of the way to prevent potential injury or damage.
Do not use the HomeLink�Wireless Control System with any garage
door opener that lacks safety stop and reverse features as required by
U.S. federal safety standards (this includes any garage door opener
model manufactured before April 1, 1982). A garage door which cannot
2009 F-250/350/450/550(f23)
Owners Guide, 1st Printing
USA(fus)
Driver Controls
123
Page 127 of 418

STANDARD MESSAGE CENTER (IF EQUIPPED)
With the ignition in the on position,
the message center, located on your
instrument cluster, displays text
messages that alert you to possible
problems or malfunctions in your
vehicle’s operating systems. All
warning messages will also provide
an indicator chime.
For improved message center readability, if your vehicle is equipped with
Autolamp control, the message center brightness cannot be adjusted
when parking lamps or headlamps are on in bright daytime ambient
conditions, refer toAutolamp controlin theLightschapter. In lower
ambient light conditions, the message center brightness can be adjusted
using the panel dimmer control when parking lamps or headlamps are
on, refer toPanel dimmer controlin theLightschapter.
Selectable features
Press and release the SELECT/RESET control switch, located in the
speedometer, to scroll and reset the following functions. Select or reset
the function by holding the SELECT/RESET button for more than
2 seconds.
Info menu
This menu displays the following control displays:
•Odometer/Trip Odometer (Trip A and Trip B)
•Engine hour meter (if equipped)
•Distance to Empty
•Average Fuel Economy
•Setup Menu
•System check
•Blank
Odometer/Trip odometer
Refer toGaugesin theInstrument Clusterchapter.
Engine hour meter (if equipped)
Refer toGaugesin theInstrument Clusterchapter.
2009 F-250/350/450/550(f23)
Owners Guide, 1st Printing
USA(fus)
Driver Controls
127
Page 128 of 418
Distance to empty (DTE)
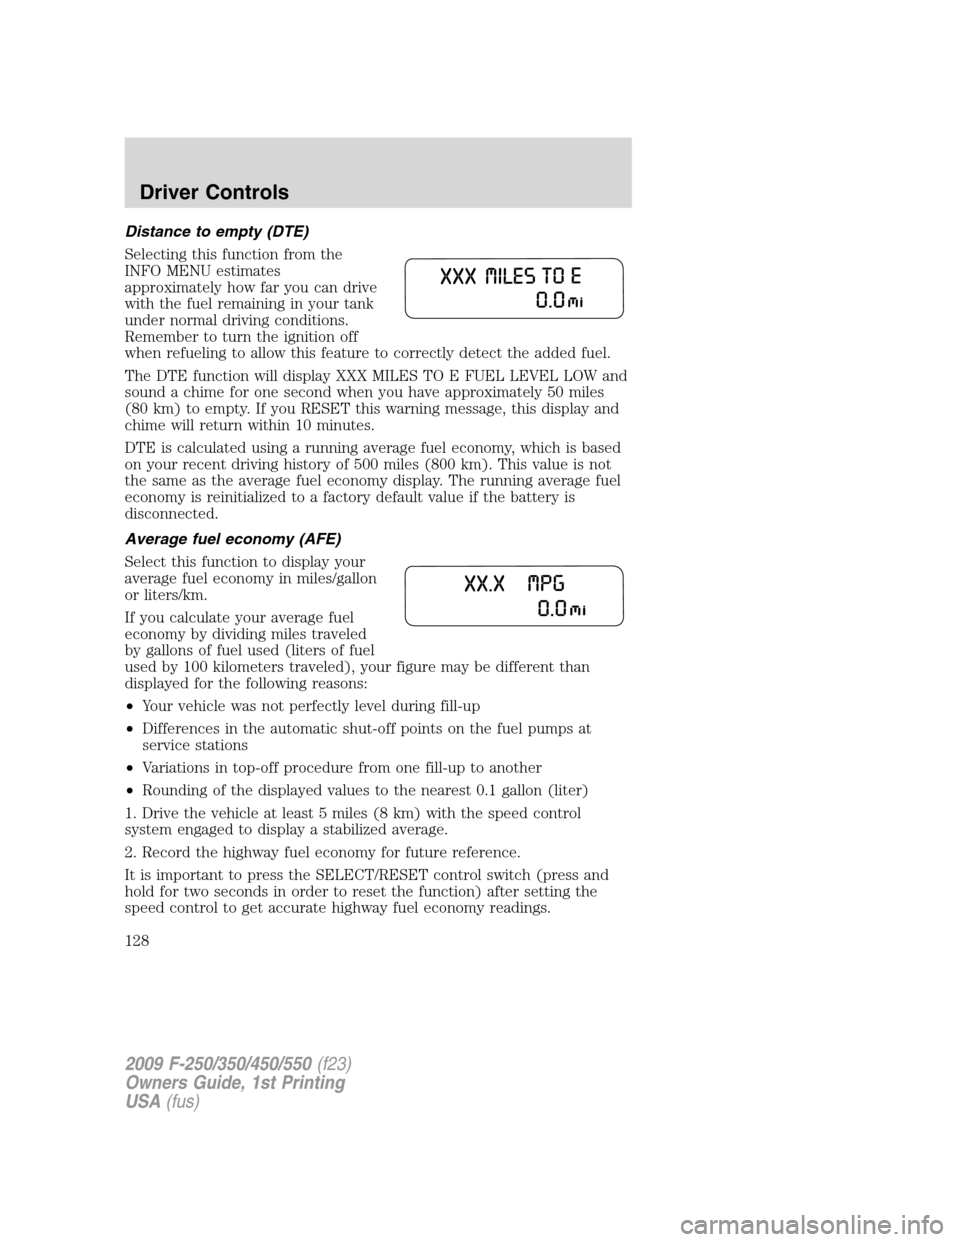
Selecting this function from the
INFO MENU estimates
approximately how far you can drive
with the fuel remaining in your tank
under normal driving conditions.
Remember to turn the ignition off
when refueling to allow this feature to correctly detect the added fuel.
The DTE function will display XXX MILES TO E FUEL LEVEL LOW and
sound a chime for one second when you have approximately 50 miles
(80 km) to empty. If you RESET this warning message, this display and
chime will return within 10 minutes.
DTE is calculated using a running average fuel economy, which is based
on your recent driving history of 500 miles (800 km). This value is not
the same as the average fuel economy display. The running average fuel
economy is reinitialized to a factory default value if the battery is
disconnected.
Average fuel economy (AFE)
Select this function to display your
average fuel economy in miles/gallon
or liters/km.
If you calculate your average fuel
economy by dividing miles traveled
by gallons of fuel used (liters of fuel
used by 100 kilometers traveled), your figure may be different than
displayed for the following reasons:
•Your vehicle was not perfectly level during fill-up
•Differences in the automatic shut-off points on the fuel pumps at
service stations
•Variations in top-off procedure from one fill-up to another
•Rounding of the displayed values to the nearest 0.1 gallon (liter)
1. Drive the vehicle at least 5 miles (8 km) with the speed control
system engaged to display a stabilized average.
2. Record the highway fuel economy for future reference.
It is important to press the SELECT/RESET control switch (press and
hold for two seconds in order to reset the function) after setting the
speed control to get accurate highway fuel economy readings.
2009 F-250/350/450/550(f23)
Owners Guide, 1st Printing
USA(fus)
Driver Controls
128