Page 108 of 418

fuse may have blown. Refer toFuses and relaysin theRoadside
Emergencieschapter for information on checking and replacing fuses.
To have full capacity usage of your power point, the engine is required to
be running to avoid unintentional discharge of the battery. To prevent
the battery from being discharged:
•do not use the power point longer than necessary when the engine is
not running,
•do not leave battery chargers, video game adapters, computers and
other devices plugged in overnight or when the vehicle is parked for
extended periods.
Always keep the power point caps closed when not being used.
Cigar lighter (if equipped)
Do not plug optional electrical accessories into the cigarette lighter
socket.
Do not hold the lighter in with your hand while it is heating, this will
damage the lighter element and socket. The lighter will be released from
its heating position when it is ready to be used.
Note:Improper use of the lighter can cause damage not covered by your
warranty, and can result in fire or serious injury.
POWER WINDOWS
WARNING:Do not leave children unattended in the vehicle and
do not let children play with the power windows. They may
seriously injure themselves.
WARNING:When closing the power windows, you should verify
they are free of obstructions and ensure that children and/or
pets are not in the proximity of the window openings.
Press and pull the window switches
to open and close windows.
•Push down (to the first detent)
and hold the switch to open.
•Pull up (to the first detent) and
hold the switch to close.
A
U
T
O
2009 F-250/350/450/550(f23)
Owners Guide, 1st Printing
USA(fus)
Driver Controls
108
Page 110 of 418
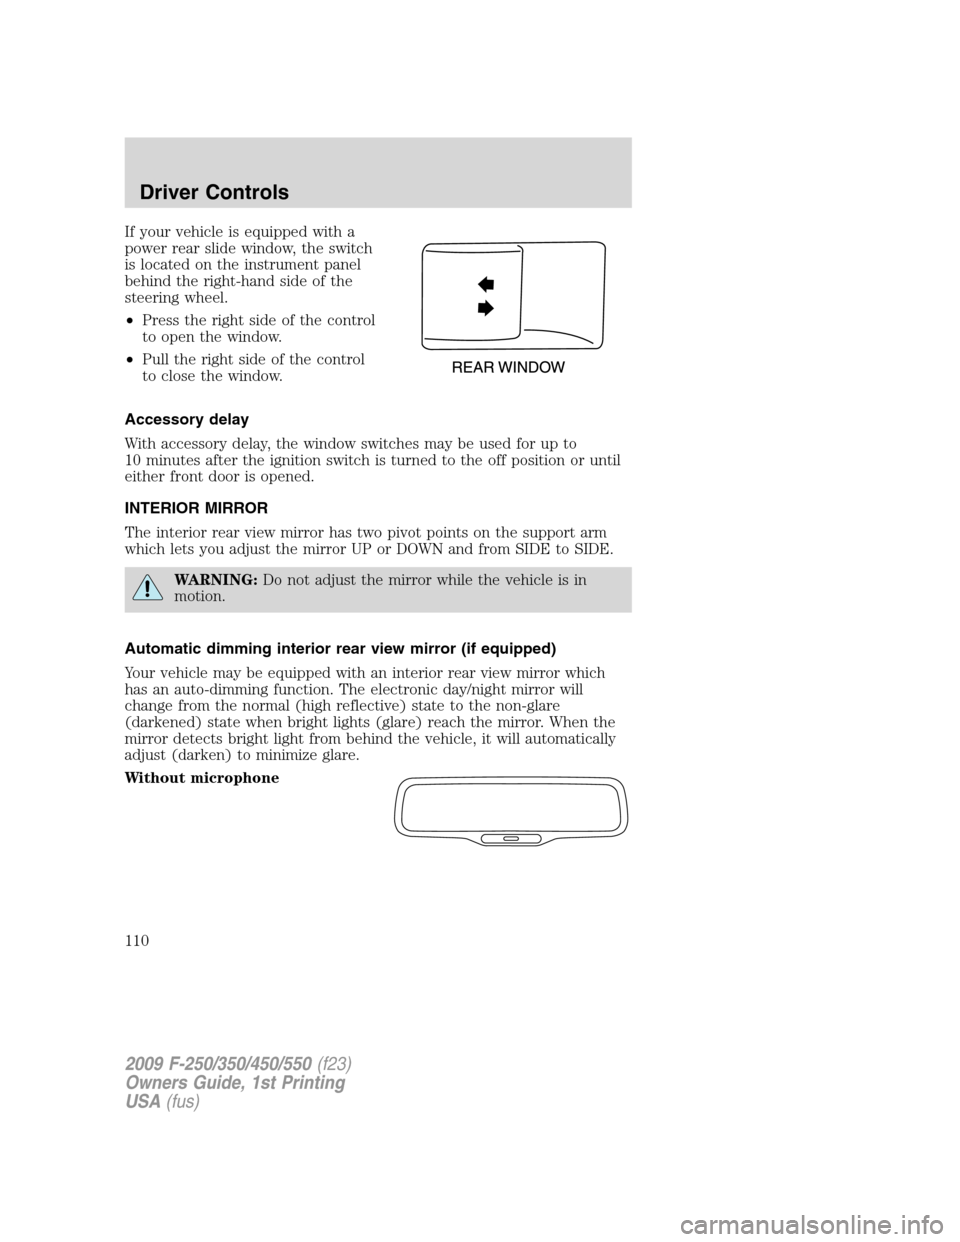
If your vehicle is equipped with a
power rear slide window, the switch
is located on the instrument panel
behind the right-hand side of the
steering wheel.
•Press the right side of the control
to open the window.
•Pull the right side of the control
to close the window.
Accessory delay
With accessory delay, the window switches may be used for up to
10 minutes after the ignition switch is turned to the off position or until
either front door is opened.
INTERIOR MIRROR
The interior rear view mirror has two pivot points on the support arm
which lets you adjust the mirror UP or DOWN and from SIDE to SIDE.
WARNING:Do not adjust the mirror while the vehicle is in
motion.
Automatic dimming interior rear view mirror (if equipped)
Your vehicle may be equipped with an interior rear view mirror which
has an auto-dimming function. The electronic day/night mirror will
change from the normal (high reflective) state to the non-glare
(darkened) state when bright lights (glare) reach the mirror. When the
mirror detects bright light from behind the vehicle, it will automatically
adjust (darken) to minimize glare.
Without microphone
2009 F-250/350/450/550(f23)
Owners Guide, 1st Printing
USA(fus)
Driver Controls
110
Page 116 of 418
The accelerator and brake pedal positions are saved when doing a
memory set function and can be recalled along with the vehicle
personality features when a memory position is selected through the
remote entry transmitter, keyless entry keypad or memory switch on the
driver’s door (if equipped with memory feature). Refer toMemory
seats/power mirrors/adjustable pedalsin theSeating and Safety
Restraintschapter.
SPEED CONTROL (IF EQUIPPED)
With speed control set, you can maintain a set speed without keeping
your foot on the accelerator pedal.
WARNING:Do not use the speed control in heavy traffic or on
roads that are winding, slippery or unpaved.
Setting speed control
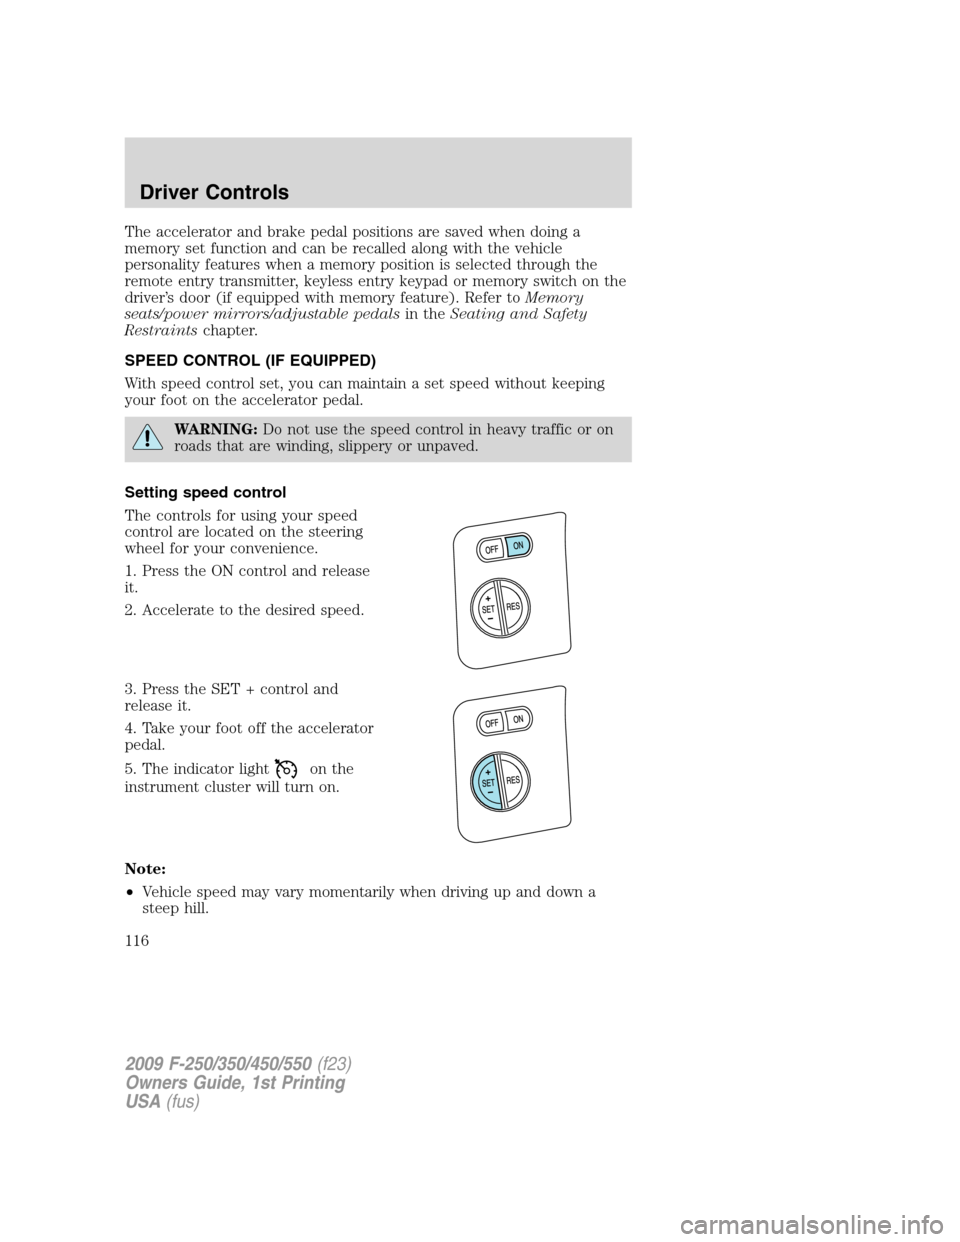
The controls for using your speed
control are located on the steering
wheel for your convenience.
1. Press the ON control and release
it.
2. Accelerate to the desired speed.
3. Press the SET + control and
release it.
4. Take your foot off the accelerator
pedal.
5. The indicator light
on the
instrument cluster will turn on.
Note:
•Vehicle speed may vary momentarily when driving up and down a
steep hill.
2009 F-250/350/450/550(f23)
Owners Guide, 1st Printing
USA(fus)
Driver Controls
116
Page 123 of 418
and release the control again to fully open. To stop the one-touch open
feature, press either the
orcontrol again.
WARNING:When closing the moon roof, you should verify that
it is free of obstructions and ensure that children and/or pets are
not in the proximity of the moon roof opening.
To close the moon roof:Press and hold the
control until the glass
panel stops at the “comfort” position. Press and hold the control again
until the glass stops moving (the moon roof does not go to the comfort
position). When fully closed, the rear portion of the glass panel will
appear higher than the front portion.
To vent the moon roof:Press and hold the
control.The moon
roof must be in the closed position in order to move it into the
vent position.To close, press and hold the
control until the glass
panel stops moving.
The moon roof has a built-in sliding shade that can be manually opened
or closed when the glass panel is shut. To close the shade, pull it toward
the front of the vehicle.
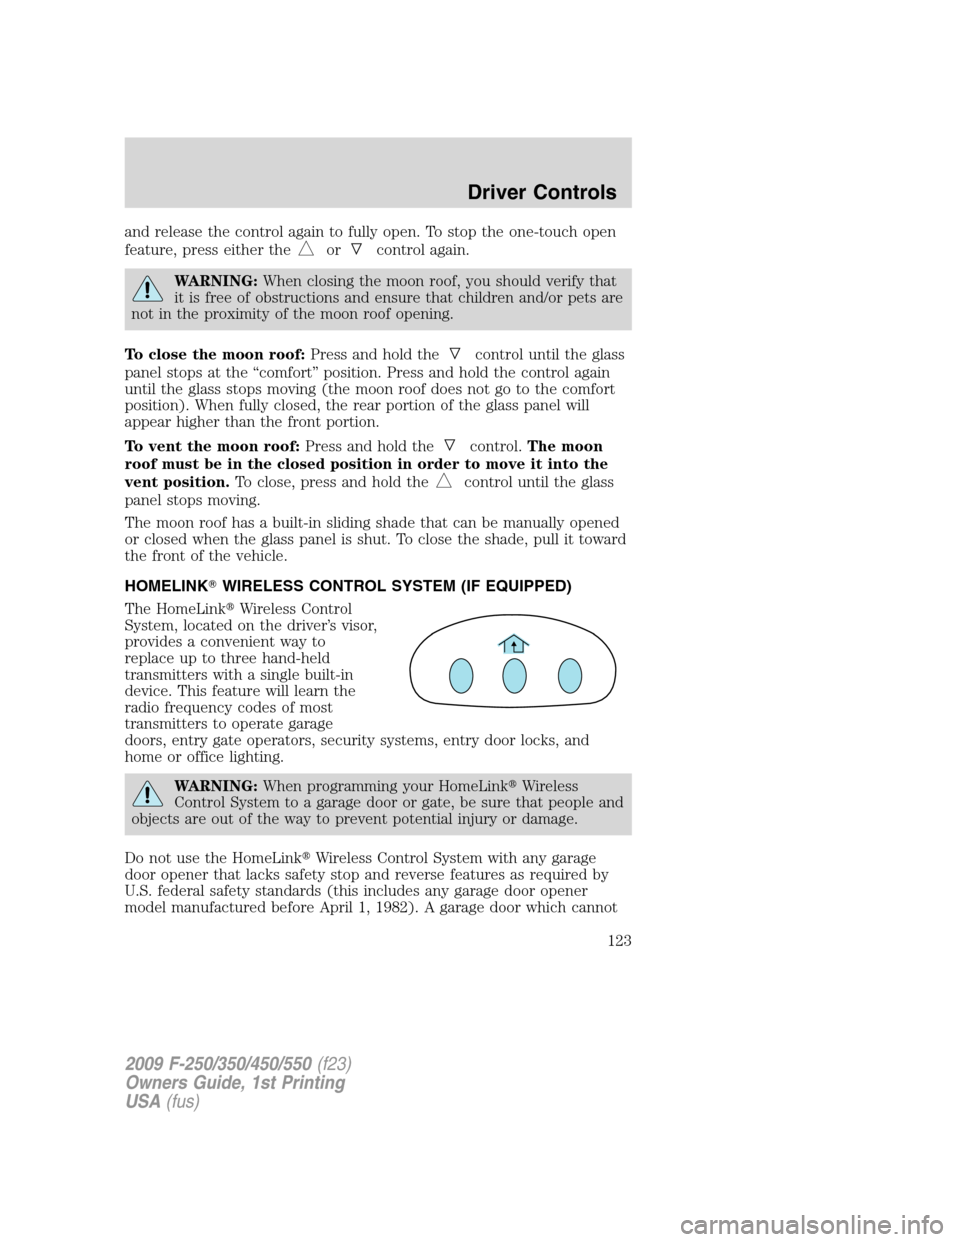
HOMELINK�WIRELESS CONTROL SYSTEM (IF EQUIPPED)
The HomeLink�Wireless Control
System, located on the driver’s visor,
provides a convenient way to
replace up to three hand-held
transmitters with a single built-in
device. This feature will learn the
radio frequency codes of most
transmitters to operate garage
doors, entry gate operators, security systems, entry door locks, and
home or office lighting.
WARNING:When programming your HomeLink�Wireless
Control System to a garage door or gate, be sure that people and
objects are out of the way to prevent potential injury or damage.
Do not use the HomeLink�Wireless Control System with any garage
door opener that lacks safety stop and reverse features as required by
U.S. federal safety standards (this includes any garage door opener
model manufactured before April 1, 1982). A garage door which cannot
2009 F-250/350/450/550(f23)
Owners Guide, 1st Printing
USA(fus)
Driver Controls
123
Page 127 of 418

STANDARD MESSAGE CENTER (IF EQUIPPED)
With the ignition in the on position,
the message center, located on your
instrument cluster, displays text
messages that alert you to possible
problems or malfunctions in your
vehicle’s operating systems. All
warning messages will also provide
an indicator chime.
For improved message center readability, if your vehicle is equipped with
Autolamp control, the message center brightness cannot be adjusted
when parking lamps or headlamps are on in bright daytime ambient
conditions, refer toAutolamp controlin theLightschapter. In lower
ambient light conditions, the message center brightness can be adjusted
using the panel dimmer control when parking lamps or headlamps are
on, refer toPanel dimmer controlin theLightschapter.
Selectable features
Press and release the SELECT/RESET control switch, located in the
speedometer, to scroll and reset the following functions. Select or reset
the function by holding the SELECT/RESET button for more than
2 seconds.
Info menu
This menu displays the following control displays:
•Odometer/Trip Odometer (Trip A and Trip B)
•Engine hour meter (if equipped)
•Distance to Empty
•Average Fuel Economy
•Setup Menu
•System check
•Blank
Odometer/Trip odometer
Refer toGaugesin theInstrument Clusterchapter.
Engine hour meter (if equipped)
Refer toGaugesin theInstrument Clusterchapter.
2009 F-250/350/450/550(f23)
Owners Guide, 1st Printing
USA(fus)
Driver Controls
127
Page 136 of 418
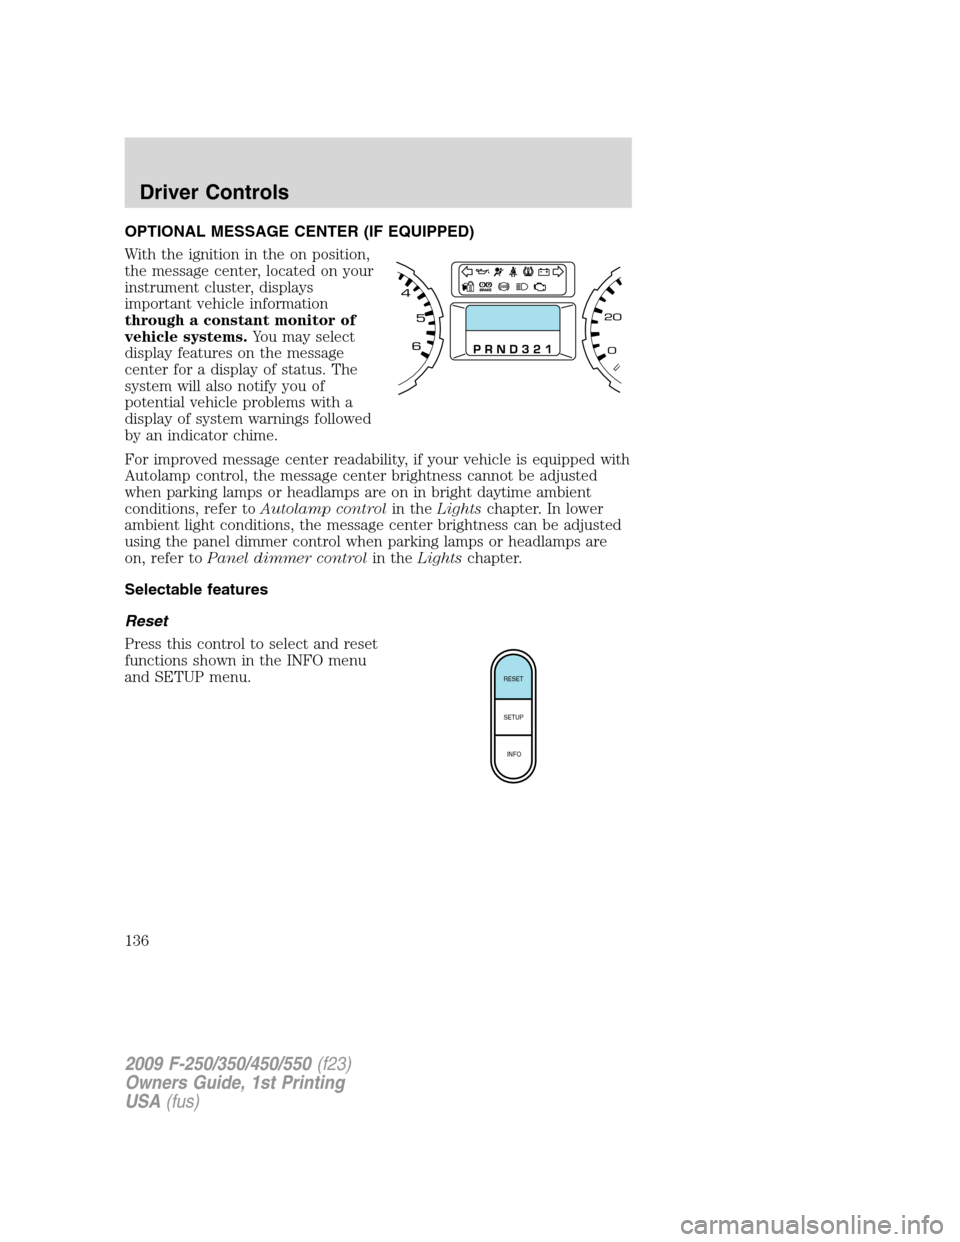
OPTIONAL MESSAGE CENTER (IF EQUIPPED)
With the ignition in the on position,
the message center, located on your
instrument cluster, displays
important vehicle information
through a constant monitor of
vehicle systems.You may select
display features on the message
center for a display of status. The
system will also notify you of
potential vehicle problems with a
display of system warnings followed
by an indicator chime.
For improved message center readability, if your vehicle is equipped with
Autolamp control, the message center brightness cannot be adjusted
when parking lamps or headlamps are on in bright daytime ambient
conditions, refer toAutolamp controlin theLightschapter. In lower
ambient light conditions, the message center brightness can be adjusted
using the panel dimmer control when parking lamps or headlamps are
on, refer toPanel dimmer controlin theLightschapter.
Selectable features
Reset
Press this control to select and reset
functions shown in the INFO menu
and SETUP menu.
RESET
SETUP
INFO
2009 F-250/350/450/550(f23)
Owners Guide, 1st Printing
USA(fus)
Driver Controls
136
Page 174 of 418
WARNING:Persons who are unable to feel pain to the skin
because of advanced age, chronic illness, diabetes, spinal cord
injury, medication, alcohol use, exhaustion, or other physical
conditions, must exercise care when using the seat heater. The seat
heater may cause burns even at low temperatures, especially if used
for long periods of time. Do not place anything on the seat that
insulates against heat, such as a blanket or cushion, because this may
cause the seat heater to overheat. Do not puncture the seat with pins,
needles, or other pointed objects because this may damage the heating
element which may cause the seat heater to overheat. An overheated
seat may cause serious personal injury.
Note:Do not do the following:
•Place heavy objects on the seat.
•Operate the seat heater if water or any other liquid is spilled on the
seat. Allow the seat to dry thoroughly.
To operate the heated seats, do the following (engine must be running):
Push
to activate; pushagain to deactivate.
The indicator light on the control will illuminate when activated.
Memory seats/power mirrors/adjustable pedals (if equipped)
This system allows automatic
positioning of the driver seat, power
mirrors, and adjustable pedals to
two programmable positions.
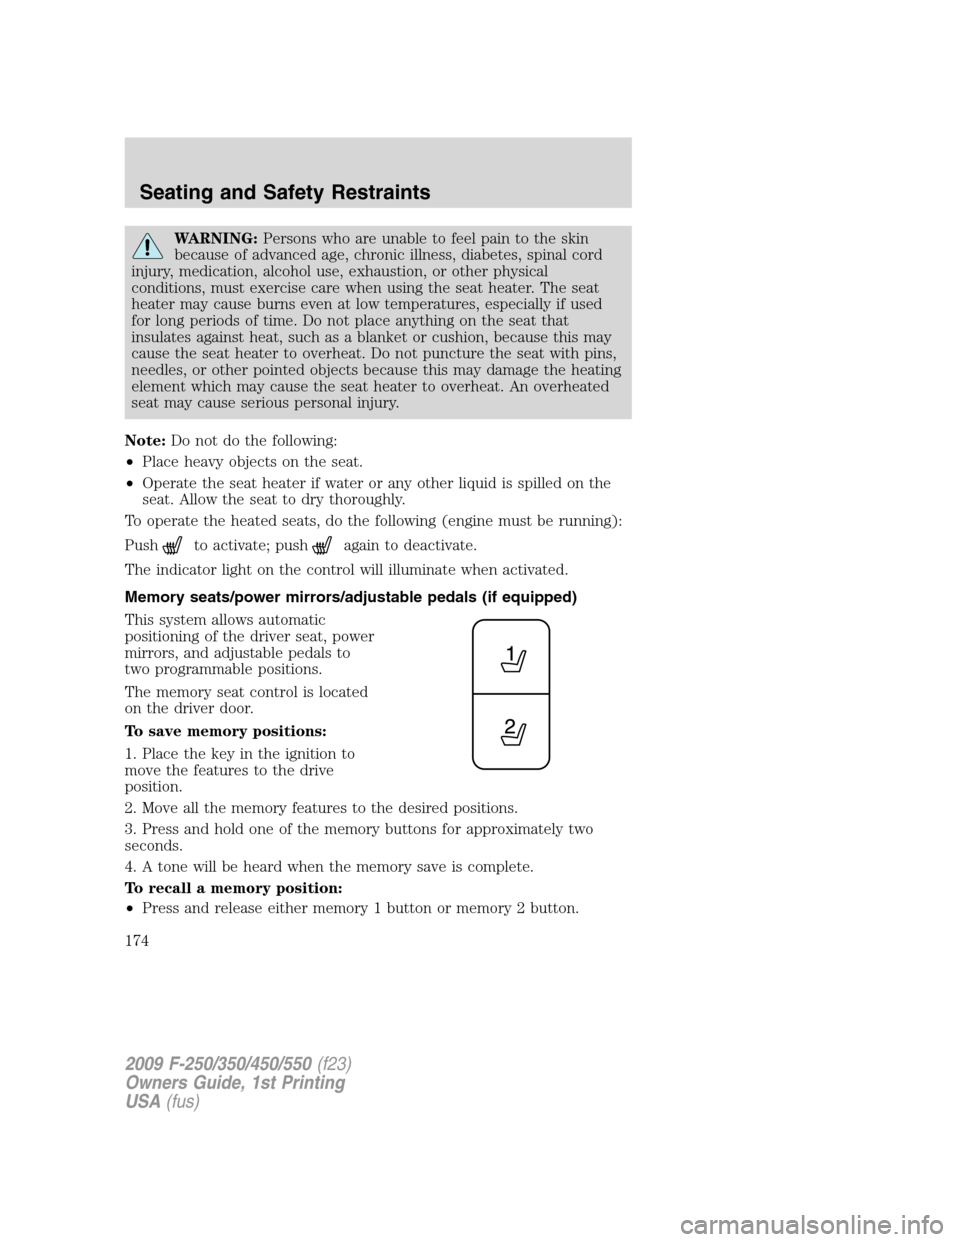
The memory seat control is located
on the driver door.
To save memory positions:
1. Place the key in the ignition to
move the features to the drive
position.
2. Move all the memory features to the desired positions.
3. Press and hold one of the memory buttons for approximately two
seconds.
4. A tone will be heard when the memory save is complete.
To recall a memory position:
•Press and release either memory 1 button or memory 2 button.
2009 F-250/350/450/550(f23)
Owners Guide, 1st Printing
USA(fus)
Seating and Safety Restraints
174
Page 185 of 418
Insert the tongue into the correct
buckle (the buckle closest to the
direction the tongue is coming
from). To lengthen the belt, turn the
tongue at a right angle to the belt
and pull across your lap until it
reaches the buckle. To tighten the
belt, pull the loose end of the belt
through the tongue until it fits
snugly across the hips.
Shorten and fasten the belt when
not in use.
Safety belt warning light and indicator chime
The safety belt warning light illuminates in the instrument cluster and a
chime sounds to remind the occupants to fasten their safety belts.
2009 F-250/350/450/550(f23)
Owners Guide, 1st Printing
USA(fus)
Seating and Safety Restraints
185