Page 66 of 312
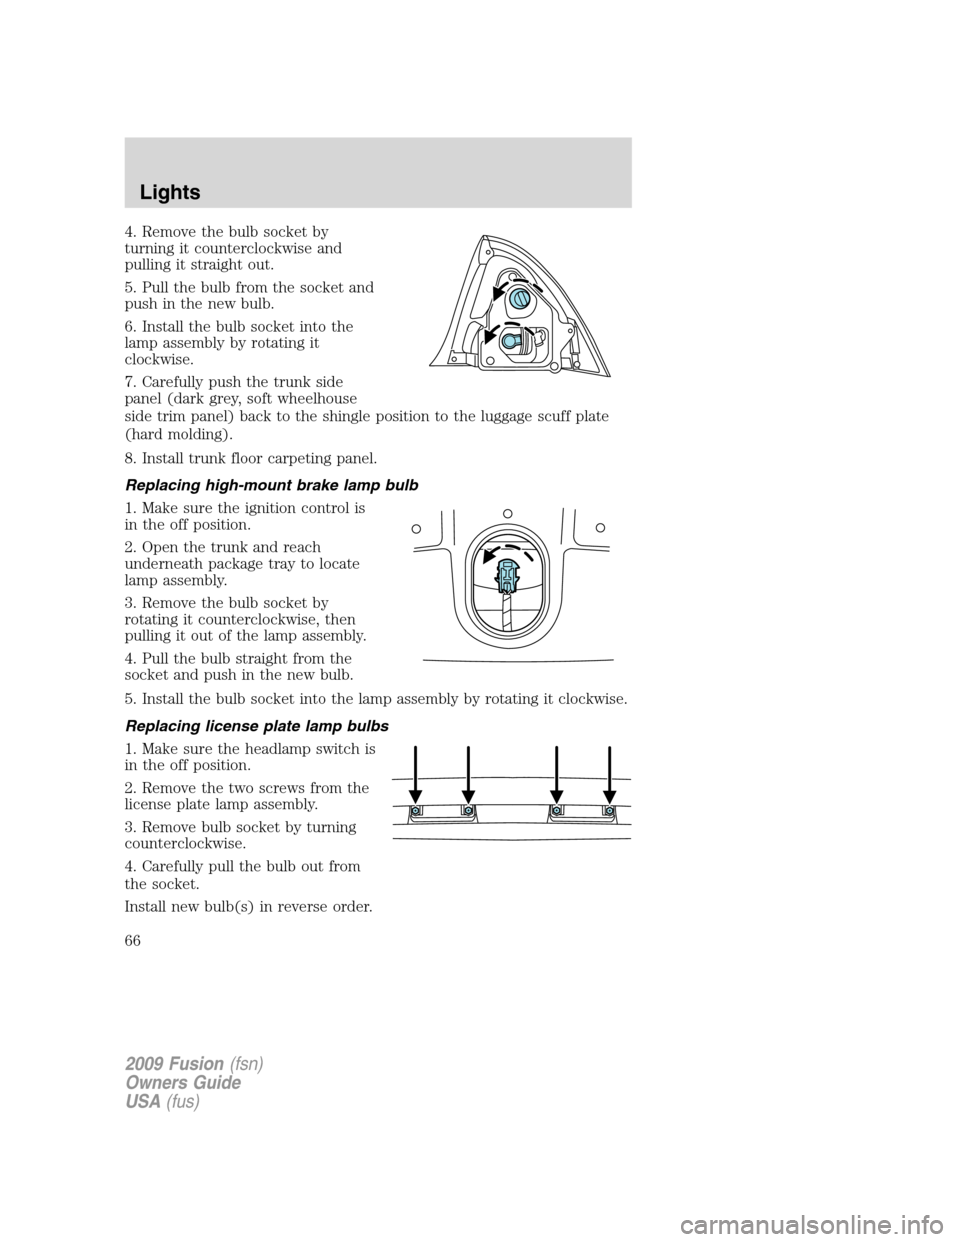
4. Remove the bulb socket by
turning it counterclockwise and
pulling it straight out.
5. Pull the bulb from the socket and
push in the new bulb.
6. Install the bulb socket into the
lamp assembly by rotating it
clockwise.
7. Carefully push the trunk side
panel (dark grey, soft wheelhouse
side trim panel) back to the shingle position to the luggage scuff plate
(hard molding).
8. Install trunk floor carpeting panel.
Replacing high-mount brake lamp bulb
1. Make sure the ignition control is
in the off position.
2. Open the trunk and reach
underneath package tray to locate
lamp assembly.
3. Remove the bulb socket by
rotating it counterclockwise, then
pulling it out of the lamp assembly.
4. Pull the bulb straight from the
socket and push in the new bulb.
5. Install the bulb socket into the lamp assembly by rotating it clockwise.
Replacing license plate lamp bulbs
1. Make sure the headlamp switch is
in the off position.
2. Remove the two screws from the
license plate lamp assembly.
3. Remove bulb socket by turning
counterclockwise.
4. Carefully pull the bulb out from
the socket.
Install new bulb(s) in reverse order.
2009 Fusion(fsn)
Owners Guide
USA(fus)
Lights
66
Page 76 of 312
Setting speed control
Note: The appearance of your vehicle’s speed control switches
may vary according to your option package.
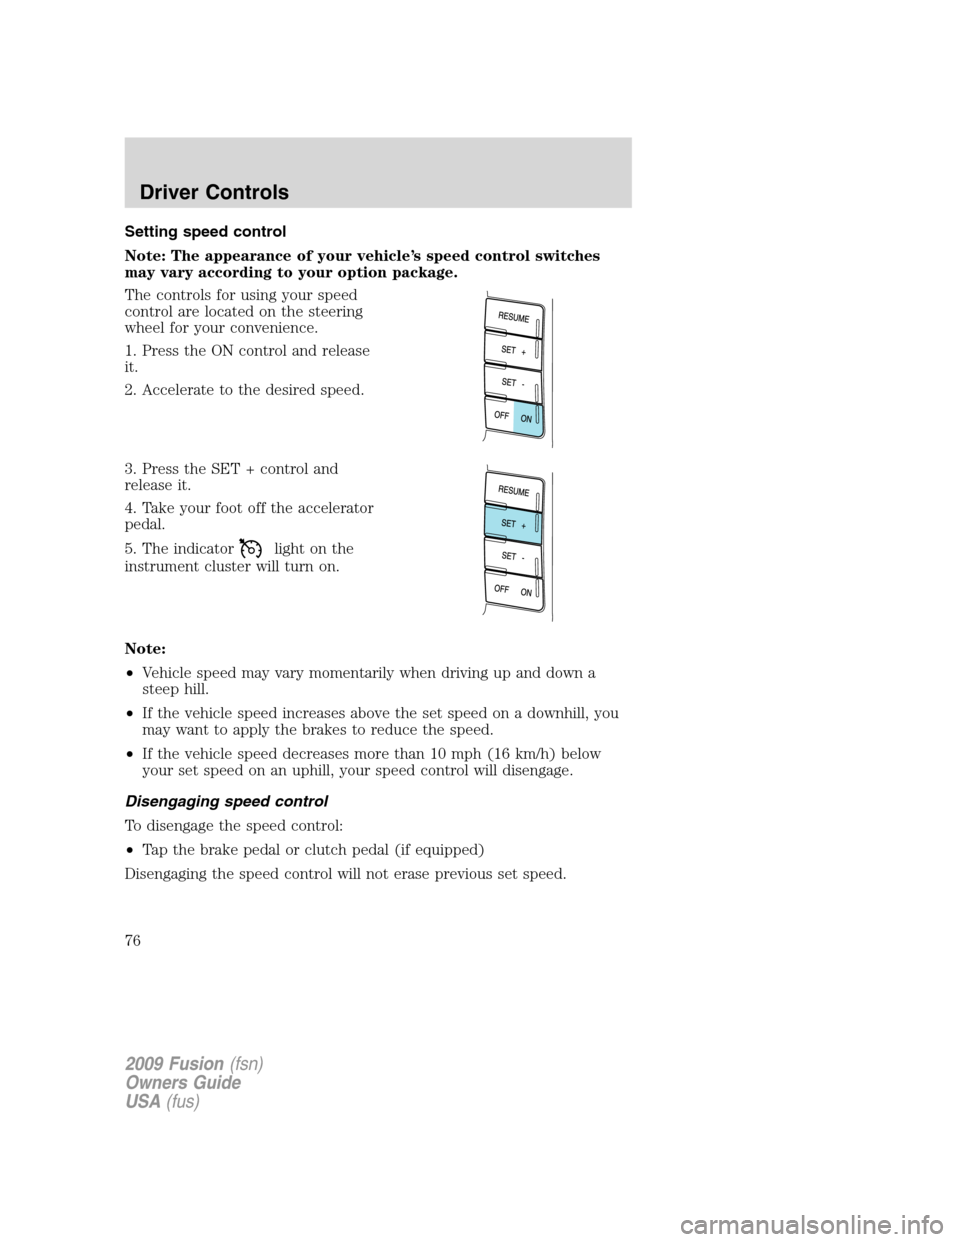
The controls for using your speed
control are located on the steering
wheel for your convenience.
1. Press the ON control and release
it.
2. Accelerate to the desired speed.
3. Press the SET + control and
release it.
4. Take your foot off the accelerator
pedal.
5. The indicator
light on the
instrument cluster will turn on.
Note:
•Vehicle speed may vary momentarily when driving up and down a
steep hill.
•If the vehicle speed increases above the set speed on a downhill, you
may want to apply the brakes to reduce the speed.
•If the vehicle speed decreases more than 10 mph (16 km/h) below
your set speed on an uphill, your speed control will disengage.
Disengaging speed control
To disengage the speed control:
•Tap the brake pedal or clutch pedal (if equipped)
Disengaging the speed control will not erase previous set speed.
2009 Fusion(fsn)
Owners Guide
USA(fus)
Driver Controls
76
Page 77 of 312
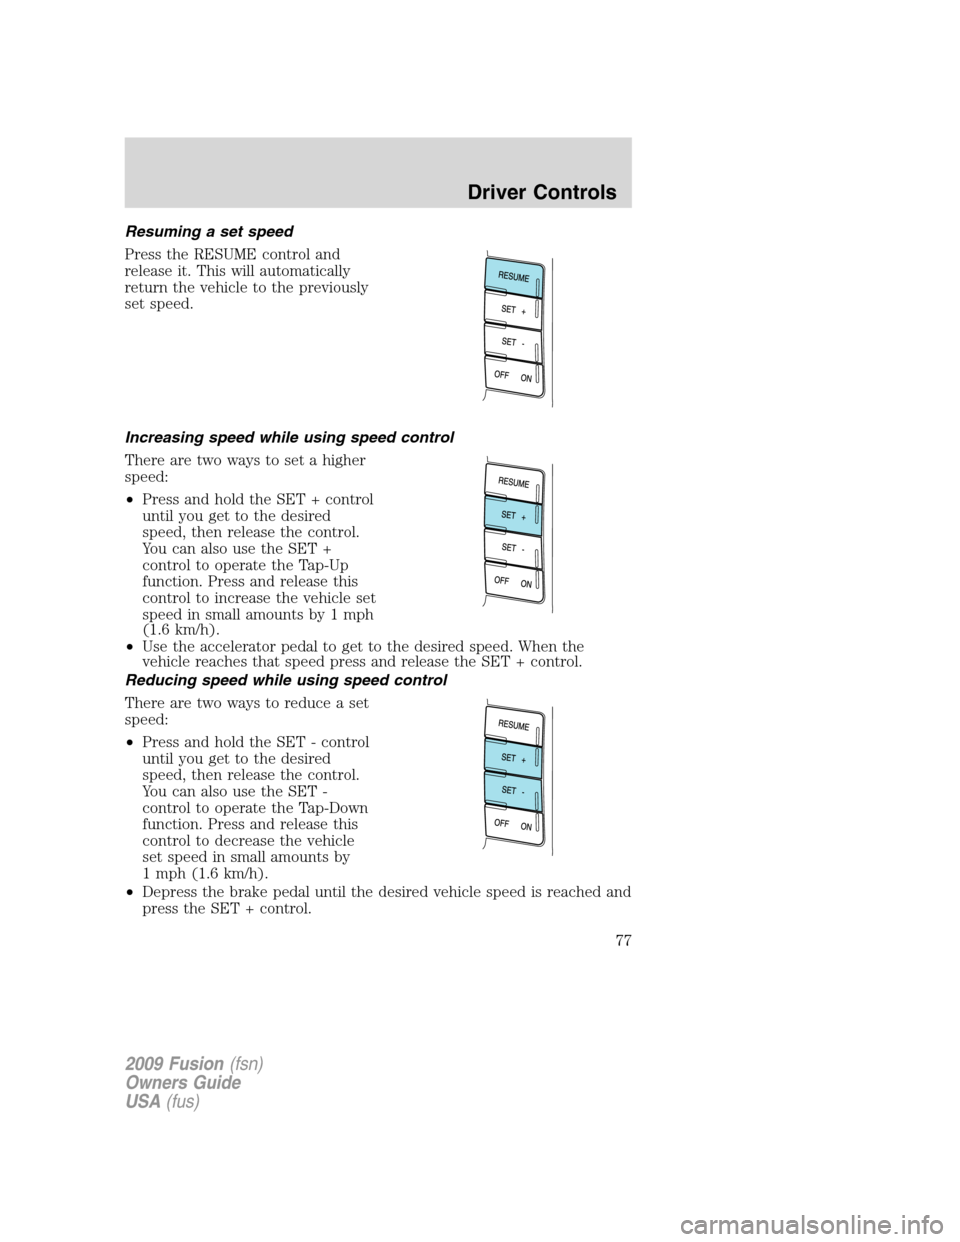
Resuming a set speed
Press the RESUME control and
release it. This will automatically
return the vehicle to the previously
set speed.
Increasing speed while using speed control
There are two ways to set a higher
speed:
•Press and hold the SET + control
until you get to the desired
speed, then release the control.
You can also use the SET +
control to operate the Tap-Up
function. Press and release this
control to increase the vehicle set
speed in small amounts by 1 mph
(1.6 km/h).
•Use the accelerator pedal to get to the desired speed. When the
vehicle reaches that speed press and release the SET + control.
Reducing speed while using speed control
There are two ways to reduce a set
speed:
•Press and hold the SET - control
until you get to the desired
speed, then release the control.
You can also use the SET -
control to operate the Tap-Down
function. Press and release this
control to decrease the vehicle
set speed in small amounts by
1 mph (1.6 km/h).
•Depress the brake pedal until the desired vehicle speed is reached and
press the SET + control.
2009 Fusion(fsn)
Owners Guide
USA(fus)
Driver Controls
77
Page 86 of 312
Setup menu
Press this control for the following
displays:
•System Check
•Units (English/Metric)
•Language
•Easy entry/exit seat (if equipped)
•Reverse sensing system (Park Aid) (if equipped)
System check
Selecting this function from the
SETUP menu causes the message
center to cycle through each of the
systems being monitored.
Pressing the RESET control cycles
the message center through each of the systems being monitored.
Some monitored systems show message only if a warning is present.
The sequence of the system check report is as follows:
1. DOORS CLOSED
2. ENGINE TEMPERATURE
3. OIL PRESSURE
4. BRAKE FLUID LEVEL
5. TIRE PRESSURE MONITORING SYSTEM (if equipped and warning is
present)
6. EXTERIOR LAMPS (if equipped)
7. REMOVE OBJECT NEAR PASSENGER SEAT (if warning is present)
8. PARKING AID (if equipped and warning is present)
9. FUEL LEVEL
10. DISTANCE TO EMPTY
2009 Fusion(fsn)
Owners Guide
USA(fus)
Driver Controls
86
Page 88 of 312
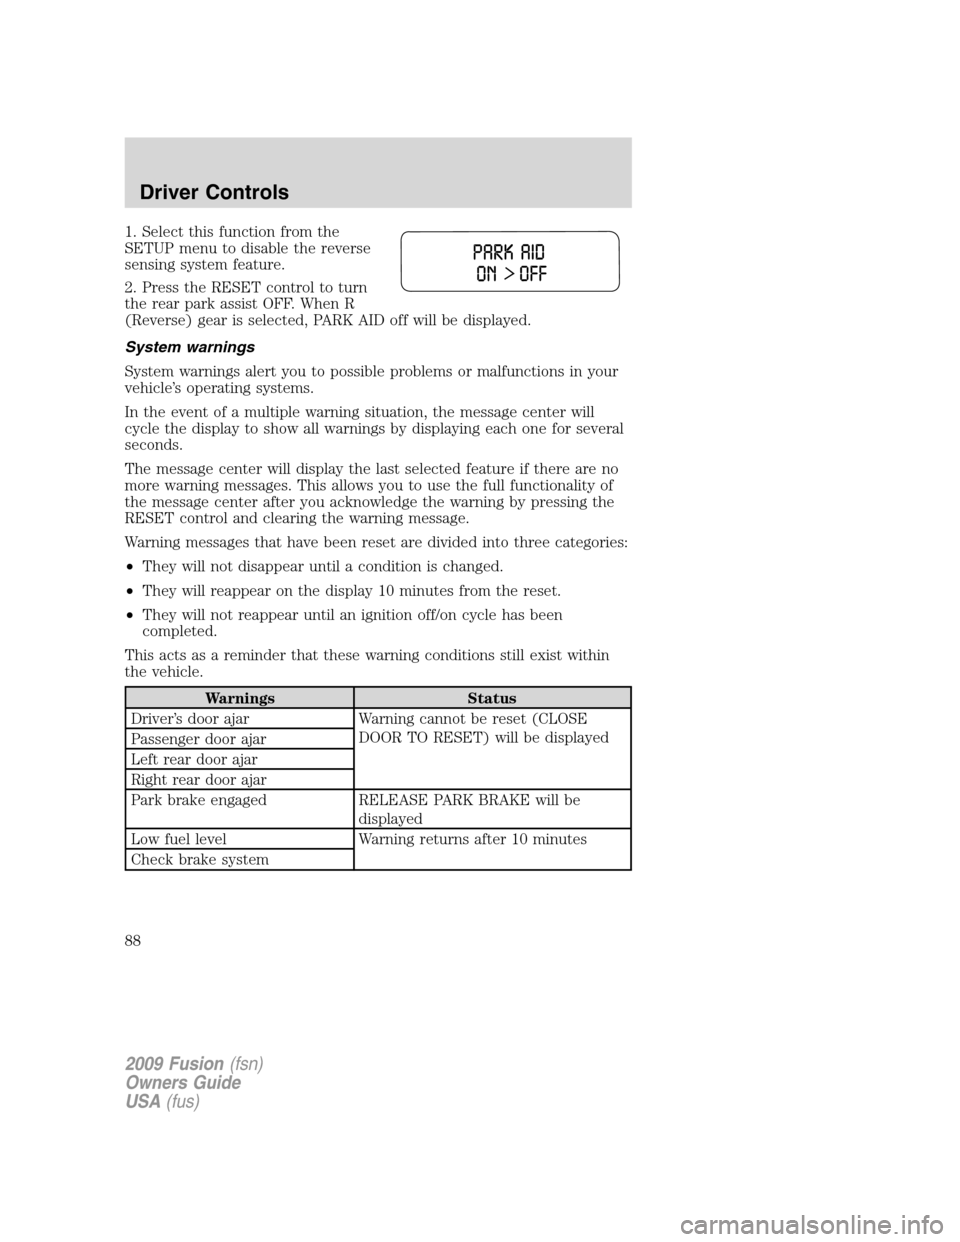
1. Select this function from the
SETUP menu to disable the reverse
sensing system feature.
2. Press the RESET control to turn
the rear park assist OFF. When R
(Reverse) gear is selected, PARK AID off will be displayed.
System warnings
System warnings alert you to possible problems or malfunctions in your
vehicle’s operating systems.
In the event of a multiple warning situation, the message center will
cycle the display to show all warnings by displaying each one for several
seconds.
The message center will display the last selected feature if there are no
more warning messages. This allows you to use the full functionality of
the message center after you acknowledge the warning by pressing the
RESET control and clearing the warning message.
Warning messages that have been reset are divided into three categories:
•They will not disappear until a condition is changed.
•They will reappear on the display 10 minutes from the reset.
•They will not reappear until an ignition off/on cycle has been
completed.
This acts as a reminder that these warning conditions still exist within
the vehicle.
Warnings Status
Driver’s door ajar Warning cannot be reset (CLOSE
DOOR TO RESET) will be displayed
Passenger door ajar
Left rear door ajar
Right rear door ajar
Park brake engaged RELEASE PARK BRAKE will be
displayed
Low fuel level Warning returns after 10 minutes
Check brake system
2009 Fusion(fsn)
Owners Guide
USA(fus)
Driver Controls
88
Page 89 of 312
Warnings Status
Check park aid (if equipped) Warning returns after the ignition key
is turned from off to on
Brake fluid level low
Low tire pressure
Tire pressure monitor fault
Tire pressure sensor fault
Trunk ajar
Remove objects near pass seat
Compass error
Intkey could not program Maximum number of Integrated Keys
exceeded
DRIVER DOOR AJAR— Displayed when the driver’s door is not
completely closed.
PASSENGER DOOR AJAR— Displayed when the passenger side door
is not completely closed.
REAR LEFT DOOR AJAR— Displayed when the rear left door is not
completely closed.
REAR RIGHT DOOR AJAR— Displayed when the rear right door is
not completely closed.
PARK BRAKE ENGAGED— Displayed when the park brake is
engaged. If the warning stays on after the park brake is off, contact your
authorized dealer as soon as possible.
CHECK BRAKE SYSTEM— Displayed when the brake system needs
servicing. If the warning stays on or continues to come on, contact your
authorized dealer as soon as possible.
FUEL LEVEL LOW— Displayed as an early reminder of a low fuel
condition.
BRAKE FLUID LEVEL LOW— Indicates the brake fluid level is low
and the brake system should be inspected immediately. Refer toBrake
fluidin theMaintenance and Specificationschapter.
CHECK PARK AID(if equipped)— Displayed when the transmission
is in R (Reverse) and the Reverse Sensing System (Park Aid) is disabled.
Refer toReverse Sensing System (Park Aid)in this section to enable.
LOW TIRE PRESSURE— Displayed when one or more tires on your
vehicle have low tire pressure. Refer toInflating your tiresin theTires,
Wheels and Loadingchapter.
2009 Fusion(fsn)
Owners Guide
USA(fus)
Driver Controls
89
Page 126 of 312
Combination lap and shoulder belts
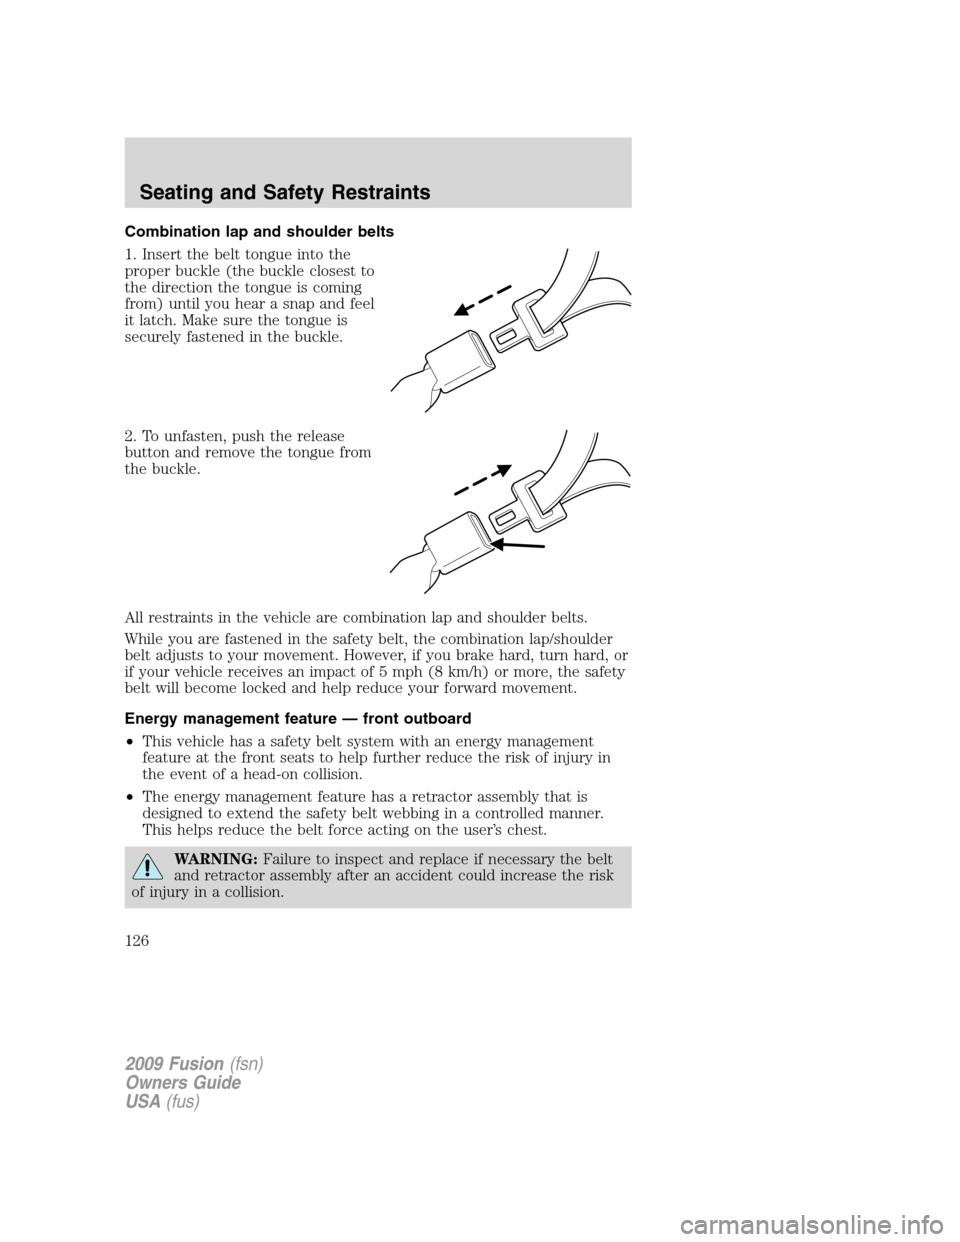
1. Insert the belt tongue into the
proper buckle (the buckle closest to
the direction the tongue is coming
from) until you hear a snap and feel
it latch. Make sure the tongue is
securely fastened in the buckle.
2. To unfasten, push the release
button and remove the tongue from
the buckle.
All restraints in the vehicle are combination lap and shoulder belts.
While you are fastened in the safety belt, the combination lap/shoulder
belt adjusts to your movement. However, if you brake hard, turn hard, or
if your vehicle receives an impact of 5 mph (8 km/h) or more, the safety
belt will become locked and help reduce your forward movement.
Energy management feature — front outboard
•This vehicle has a safety belt system with an energy management
feature at the front seats to help further reduce the risk of injury in
the event of a head-on collision.
•The energy management feature has a retractor assembly that is
designed to extend the safety belt webbing in a controlled manner.
This helps reduce the belt force acting on the user’s chest.
WARNING:Failure to inspect and replace if necessary the belt
and retractor assembly after an accident could increase the risk
of injury in a collision.
2009 Fusion(fsn)
Owners Guide
USA(fus)
Seating and Safety Restraints
126
Page 127 of 312
All safety restraints in the vehicle are combination lap and shoulder
belts. All of the passenger combination lap and shoulder belts have two
types of locking modes described below:
Vehicle sensitive mode
This is the normal retractor mode, which allows free shoulder belt length
adjustment to your movements and locking in response to vehicle
movement. For example, if the driver brakes suddenly or turns a corner
sharply, or the vehicle receives an impact of approximately 5 mph
(8 km/h) or more, the combination safety belts will lock to help reduce
forward movement of the driver and passengers.
Automatic locking mode
How to use the automatic locking mode
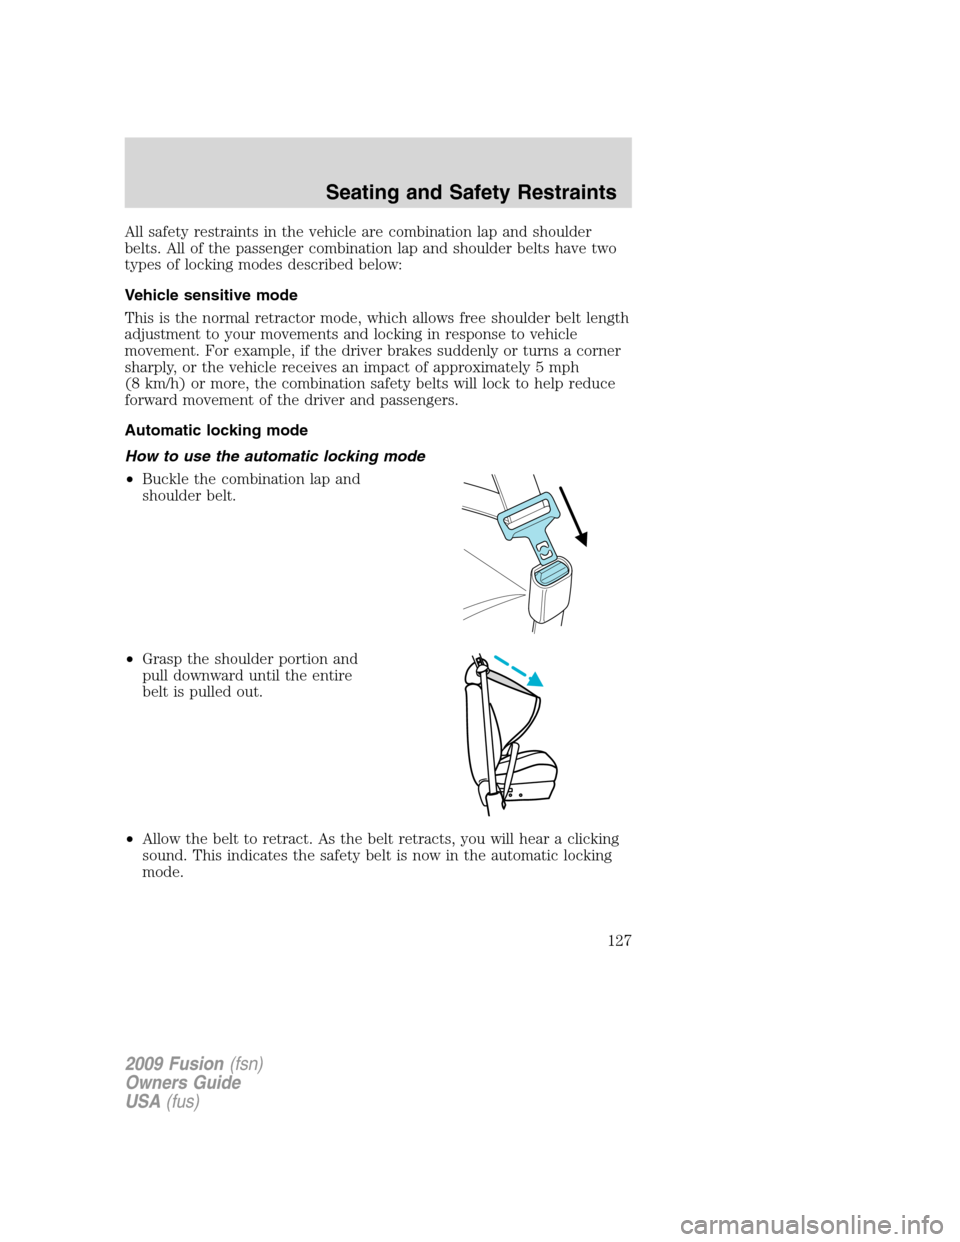
•Buckle the combination lap and
shoulder belt.
•Grasp the shoulder portion and
pull downward until the entire
belt is pulled out.
•Allow the belt to retract. As the belt retracts, you will hear a clicking
sound. This indicates the safety belt is now in the automatic locking
mode.
2009 Fusion(fsn)
Owners Guide
USA(fus)
Seating and Safety Restraints
127