2009 FORD F350 maintenance schedule
[x] Cancel search: maintenance schedulePage 25 of 419

Transmission fluid temperature gauge (automatic transmission
only):If the gauge is in the:
Normal area–the transmission
fluid is within the normal operating
temperature (between “H” and “C”).
Yellow area–the transmission fluid
is higher than normal operating
temperature. This can be caused by
special operating conditions (i.e.
snowplowing, towing or off road
use). Refer toSpecial Operating
Conditionsin thescheduled
maintenance informationfor
instructions. Operating the transmission for extended periods of time
with the gauge in the yellow area may cause internal transmission
damage.
Altering the severity of the operating conditions is recommended to
lower the transmission temperature into the normal range.
Red area–the transmission fluid is
overheating. Stop the vehicle to
allow the temperature to return to
normal range.
If the gauge is operating in the Yellow or Red area, stop the vehicle and
verify the airflow is not restricted such as snow or debris blocking airflow
through the grill. If the gauge continues to show high temperatures, see
your authorized dealer.
2009 F-250/350/450/550(f23)
Owners Guide, 3rd Printing
USA(fus)
Instrument Cluster
25
ProCarManuals.com
Page 129 of 419

Setup menu
Press and hold the SELECT/RESET
button to get into the SETUP MENU
sequence from the INFO MENU for
the following displays:
•Oil Life
•Units (English/Metric)
•Language
•Reset to English (if in another language) (See Note below)
Note:When returning to the
SETUP menu and a non-English
language has been selected, HOLD
RESET FOR ENGLISH will be
displayed to change back to English.
Press and hold the SELECT/RESET
button to change back to English.
Oil Life XXX% HOLD RESET = NEW
An oil change is required whenever indicated by the message center and
according to the recommended maintenance schedule. USE ONLY
RECOMMENDED ENGINE OILS.
To reset the oil monitoring system to 100% after each oil change
(approximately 7,500 miles [12,000 km] or six months) perform the
following:
1. Press and release the
SELECT/RESET button to display
“OIL LIFE XXX% HOLD RESET =
NEW”.
2. Press and hold the
SELECT/RESET button for two
seconds and release. Oil life is set to
100% and “OIL LIFE SET TO 100%”
is displayed.
Note:To change oil life 100% miles value from 7,500 miles (12,000 km)
or six months to another value, proceed to Step 3.
3. Once “OIL LIFE SET TO XXX%” is displayed, release and press the
SELECT/RESET button to change the oil life start value. Each release
and press will reduce the value by 10%.
2009 F-250/350/450/550(f23)
Owners Guide, 3rd Printing
USA(fus)
Driver Controls
129
ProCarManuals.com
Page 131 of 419

5. AIR FILTER (Diesel engine only)
6. DOOR AJAR
7. BRAKE SYSTEM
8. TBC GAIN = XX.X
NO TRAILER (if equipped and no trailer connected)
9. TBC GAIN = XX.X
OUTPUT = ////// (if equipped and trailer connected)
10. XX MILES TO E FUEL LEVEL XXX
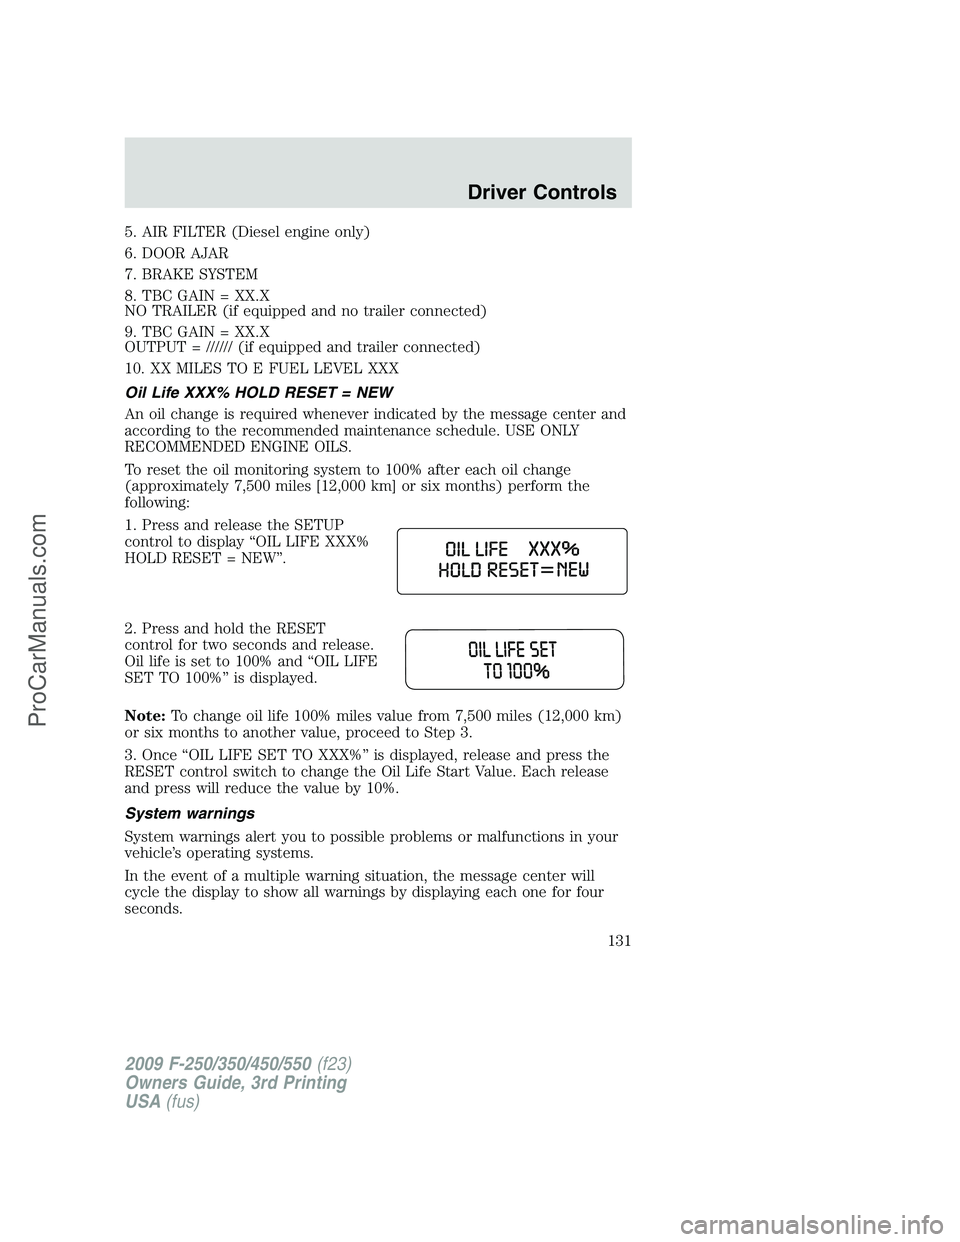
Oil Life XXX% HOLD RESET = NEW
An oil change is required whenever indicated by the message center and
according to the recommended maintenance schedule. USE ONLY
RECOMMENDED ENGINE OILS.
To reset the oil monitoring system to 100% after each oil change
(approximately 7,500 miles [12,000 km] or six months) perform the
following:
1. Press and release the SETUP
control to display “OIL LIFE XXX%
HOLD RESET = NEW”.
2. Press and hold the RESET
control for two seconds and release.
Oil life is set to 100% and “OIL LIFE
SET TO 100%” is displayed.
Note:To change oil life 100% miles value from 7,500 miles (12,000 km)
or six months to another value, proceed to Step 3.
3. Once “OIL LIFE SET TO XXX%” is displayed, release and press the
RESET control switch to change the Oil Life Start Value. Each release
and press will reduce the value by 10%.
System warnings
System warnings alert you to possible problems or malfunctions in your
vehicle’s operating systems.
In the event of a multiple warning situation, the message center will
cycle the display to show all warnings by displaying each one for four
seconds.
2009 F-250/350/450/550(f23)
Owners Guide, 3rd Printing
USA(fus)
Driver Controls
131
ProCarManuals.com
Page 141 of 419

5. AIR FILTER (Diesel engine only)
6. DOOR AJAR
7. BRAKE SYSTEM
8. TBC GAIN = XX.X
NO TRAILER (if equipped and no trailer connected)
9. TBC GAIN = XX.X
OUTPUT = ////// (if equipped and trailer connected)
10. FUEL LEVEL
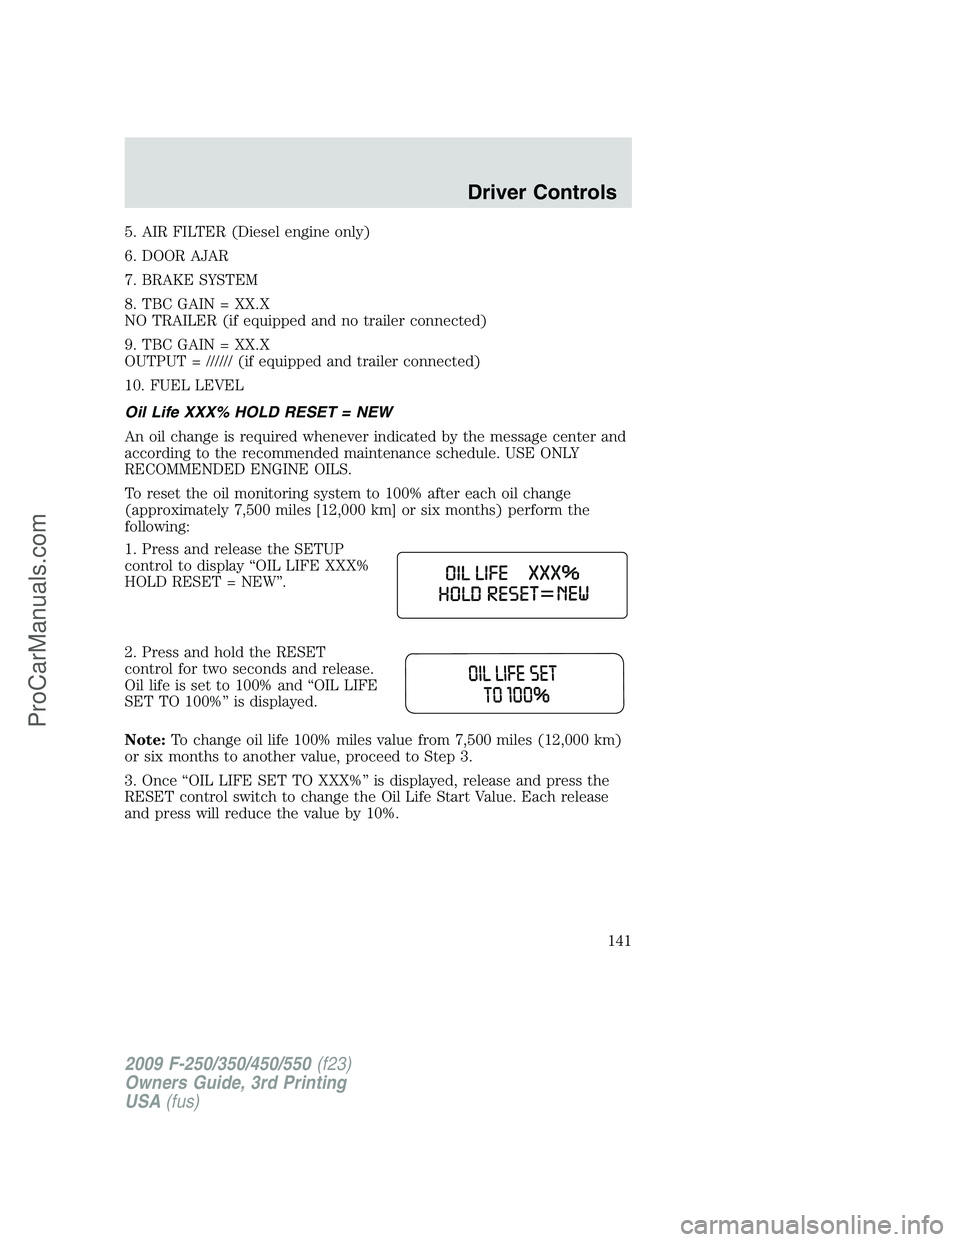
Oil Life XXX% HOLD RESET = NEW
An oil change is required whenever indicated by the message center and
according to the recommended maintenance schedule. USE ONLY
RECOMMENDED ENGINE OILS.
To reset the oil monitoring system to 100% after each oil change
(approximately 7,500 miles [12,000 km] or six months) perform the
following:
1. Press and release the SETUP
control to display “OIL LIFE XXX%
HOLD RESET = NEW”.
2. Press and hold the RESET
control for two seconds and release.
Oil life is set to 100% and “OIL LIFE
SET TO 100%” is displayed.
Note:To change oil life 100% miles value from 7,500 miles (12,000 km)
or six months to another value, proceed to Step 3.
3. Once “OIL LIFE SET TO XXX%” is displayed, release and press the
RESET control switch to change the Oil Life Start Value. Each release
and press will reduce the value by 10%.
2009 F-250/350/450/550(f23)
Owners Guide, 3rd Printing
USA(fus)
Driver Controls
141
ProCarManuals.com
Page 238 of 419

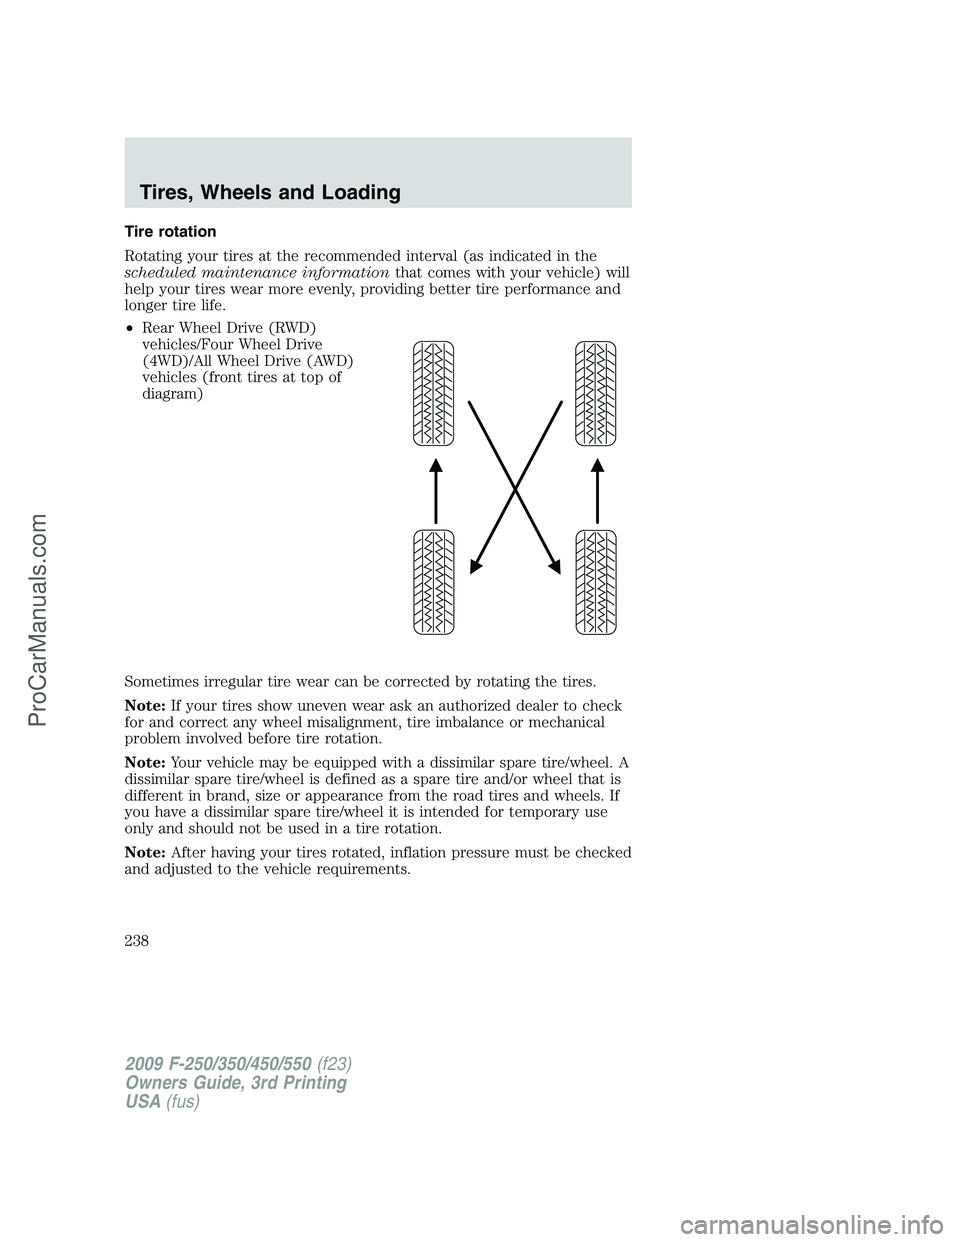
Tire rotation
Rotating your tires at the recommended interval (as indicated in the
scheduled maintenance informationthat comes with your vehicle) will
help your tires wear more evenly, providing better tire performance and
longer tire life.
•Rear Wheel Drive (RWD)
vehicles/Four Wheel Drive
(4WD)/All Wheel Drive (AWD)
vehicles (front tires at top of
diagram)
Sometimes irregular tire wear can be corrected by rotating the tires.
Note:If your tires show uneven wear ask an authorized dealer to check
for and correct any wheel misalignment, tire imbalance or mechanical
problem involved before tire rotation.
Note:Your vehicle may be equipped with a dissimilar spare tire/wheel. A
dissimilar spare tire/wheel is defined as a spare tire and/or wheel that is
different in brand, size or appearance from the road tires and wheels. If
you have a dissimilar spare tire/wheel it is intended for temporary use
only and should not be used in a tire rotation.
Note:After having your tires rotated, inflation pressure must be checked
and adjusted to the vehicle requirements.
2009 F-250/350/450/550(f23)
Owners Guide, 3rd Printing
USA(fus)
Tires, Wheels and Loading
238
ProCarManuals.com
Page 272 of 419

type (All-Season or All-Terrain) or is from a different manufacturer
other than the road tires on your vehicle, your spare tire is considered
“temporary”. Consult information on the spare Tire Label or Safety
Compliance Certification Label for limitations when using.
Servicing after towing
If you tow a trailer for long distances, your vehicle will require more
frequent service intervals. Refer to yourscheduled maintenance
informationfor more information.
Trailer towing safety tips
General
•Ensure that the trailer, safety chains and 7–pin electrical connectors
are securely fastened.
•Make sure the truck receiver, draw bar, and coupler are properly
connected and adjusted.
•Check rear view and side mirrors for proper visibility especially when
towing trailer wider than the truck.
•When towing, operate the vehicle at lower speeds than you would
when not towing a trailer. The likelihood of trailer sway is greater at
higher speeds.
•If you will be towing a trailer frequently in hot weather, hilly
conditions, at GCWR, or any combination of these factors, consider
refilling your rear axle with synthetic gear lubricant if not already so
equipped. Refer toMaintenance Product Specifications and
Capacitiesin theMaintenance and Specificationschapter for the
proper axle lubricant. Remember that regardless of the rear axle
lubricant used, do not tow a trailer for the first 500 miles (800 km) of
a new vehicle, and that the first 500 miles of towing be done at no
faster than 70 mph (113 km/h) with no full-throttle starts.
•When turning make wide turns to allow trailer tires to properly clear
any obstacles.
•Be prepared for trailer sway due to buffeting when larger vehicles
pass in either direction.
Loading
•Keep the center-of-gravity low for best handling.
•Trailer loads should be evenly distributed front to back and left to
right.
2009 F-250/350/450/550(f23)
Owners Guide, 3rd Printing
USA(fus)
Tires, Wheels and Loading
272
ProCarManuals.com
Page 313 of 419

•The snow plow prep package includes a unique powertrain control
strategy which is required for diesel engine cooling during highway
driving with the snowplow raised.
Operating the vehicle with the snowplow attached
Do not use your vehicle for snow removal until it has been driven at
least 500 miles (800 km).
The attached snowplow blade restricts airflow to the radiator, and may
cause the engine to run at a higher temperature: Attention to engine
temperature is especially important when outside temperatures are
above freezing. Angle the blade to maximize airflow to the radiator and
monitor engine temperature to determine whether a left or right angle
provides the best performance.
Follow the severe duty schedule in yourscheduled maintenance
informationfor engine oil and transmission fluid change intervals.
Snowplowing with your airbag-equipped vehicle
Your vehicle is equipped with a driver and passenger airbag
Supplemental Restraint System (SRS) The SRS is designed to activate in
certain frontal and offset frontal collisions when the vehicle sustains
sufficient longitudinal deceleration.
Careless or high speed driving while plowing snow which results in
sufficient vehicle decelerations can deploy the airbag. Such driving also
increases the risk of accidents.
WARNING:All occupants of the vehicle, including the driver,
should always properly wear their safety belts, even when an air
bag supplemental restraint system (SRS) is provided.
Never remove or defeat the “tripping mechanisms” designed into the
snow removal equipment by its manufacturer. Doing so may cause
damage to the vehicle and the snow removal equipment as well as
possible airbag deployment.
WARNING:Do not attempt to service, repair, or modify the air
bag supplemental restraint system (SRS) or its fuses. See your
Ford or Lincoln Mercury dealer.
2009 F-250/350/450/550(f23)
Owners Guide, 3rd Printing
USA(fus)
Driving
313
ProCarManuals.com
Page 342 of 419

5. Repeat this tightness check procedure when servicing the spare tire
pressure (every six months, perscheduled maintenance information),
or at any time that the spare tire is disturbed through service of other
components.
6. If removed, install the spare tire lock (if equipped) into the bumper
drive tube with the spare tire lock key (if equipped) and jack handle.
WHEEL LUG NUT TORQUE SPECIFICATIONS
On vehicles equipped with single rear wheels, retighten the lug nuts to
the specified torque at 500 miles (800 km) after any wheel disturbance
(tire rotation, changing a flat tire, wheel removal, etc.).
On vehicles equipped with dual rear wheels, retighten the wheel lug nuts
to the specified torque at 100 miles (160 km), and again at 500 miles
(800 km) of new vehicle operation and after any wheel disturbance (tire
rotation, changing a flat tire, wheel removal, etc.).
Bolt size Wheel lug nut torque*
lb.ft. N•m
M14 x 1.5 165 224
* Torque specifications are for nut and bolt threads free of dirt and
rust. Use only Ford recommended replacement fasteners.
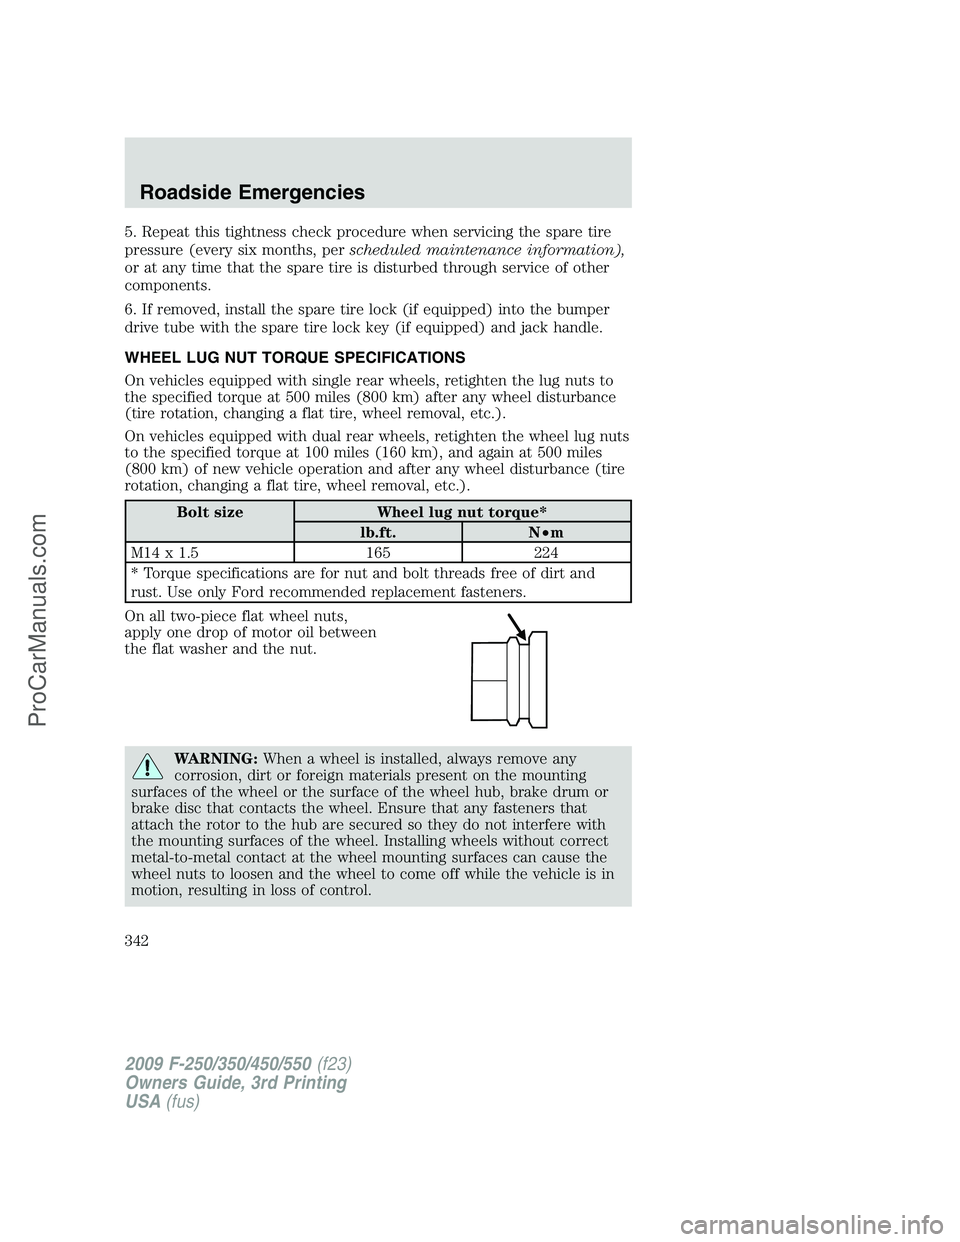
On all two-piece flat wheel nuts,
apply one drop of motor oil between
the flat washer and the nut.
WARNING:When a wheel is installed, always remove any
corrosion, dirt or foreign materials present on the mounting
surfaces of the wheel or the surface of the wheel hub, brake drum or
brake disc that contacts the wheel. Ensure that any fasteners that
attach the rotor to the hub are secured so they do not interfere with
the mounting surfaces of the wheel. Installing wheels without correct
metal-to-metal contact at the wheel mounting surfaces can cause the
wheel nuts to loosen and the wheel to come off while the vehicle is in
motion, resulting in loss of control.
2009 F-250/350/450/550(f23)
Owners Guide, 3rd Printing
USA(fus)
Roadside Emergencies
342
ProCarManuals.com