Page 99 of 419
Replacing headlamp bulbs (sealed beam)
1. Make sure that the headlamps are off and open the hood.
2. Remove the three screws and one
bolt from the top and bottom of the
park lamp/bezel assembly.
3. Remove the four screws and the
headlamp retaining ring from
headlamp.
4. Disconnect the electrical
connector from the headlamp.
Install the new bulb(s) in reverse order.
Replacing park/turn/sidemarker bulbs (sealed beam)
1. Make sure that the headlamps are off and open the hood.
2009 F-250/350/450/550(f23)
Owners Guide, 3rd Printing
USA(fus)
Lights
99
ProCarManuals.com
Page 100 of 419
2. Remove the three screws and one
bolt from the top and bottom of the
park lamp/bezel assembly.
3. Pull the assembly straight out
disengaging snap clip.
4. Remove the bulb assembly,
sidemarker or park/turn by turning
it counterclockwise. (Top view of
assembly shown.)
5. Pull the old bulb out from the
socket.
Install the new bulb(s) in reverse order.
Replacing brake/tail/turn/back-up lamp bulbs - Pick-ups only
1. Make sure the headlamps are off
and then open the tailgate to expose
the lamp assemblies.
2. Remove the two bolts from the
tail lamp assembly and carefully pull
the lamp assembly from the tailgate
pillar by releasing the two retaining
tabs.
2009 F-250/350/450/550(f23)
Owners Guide, 3rd Printing
USA(fus)
Lights
100
ProCarManuals.com
Page 101 of 419
3. Rotate the bulb socket counterclockwise and remove from lamp
assembly.
4. Pull the bulb straight out of the socket.
Install the new bulb(s) in reverse order.
Replacing brake/tail/turn/back-up lamp bulbs - Chassis cabs only
(if equipped)
1. Make sure the headlamps are off.
2. Remove the four screws and the
lamp lens from lamp assembly.
3. Carefully pull the bulb straight
out of the socket and push in the
new bulb.
Replacing cargo lamp and high-mount brakelamp bulbs
1. Make sure the headlamps are off.
2. Remove the two screws and lamp
assembly from vehicle as wiring
permits.
3. Remove the bulb socket by
rotating counterclockwise.
4. Pull the bulb straight out of the
socket.
2009 F-250/350/450/550(f23)
Owners Guide, 3rd Printing
USA(fus)
Lights
101
ProCarManuals.com
Page 102 of 419

Replacing front clearance and identification lamp bulbs
1. Make sure the headlamps are off.
2. Remove the screw and lens from
the lamp assembly.
3. Pull the bulb straight out of the
socket.
Install the bulb(s) in reverse order.
Replacing fog lamp bulbs (if equipped)
1. Make sure the headlamps are off.
2. Remove the bulb socket from the
fog lamp by turning
counterclockwise.
3. Disconnect the electrical
connector from the fog lamp bulb.
Install the new bulb(s) in reverse order.
Replacing license plate lamp bulbs
The license plate bulbs are located
behind the rear bumper. To change
the license plate lamp bulbs:
1. Reach behind the rear bumper to
locate the bulb.
2. Twist the bulb socket
counterclockwise and carefully pull
to remove it from the lamp
assembly.
3. Pull out the old bulb from the
socket and push in the new bulb.
4. Install the bulb socket in lamp assembly by turning it clockwise.
2009 F-250/350/450/550(f23)
Owners Guide, 3rd Printing
USA(fus)
Lights
102
ProCarManuals.com
Page 110 of 419

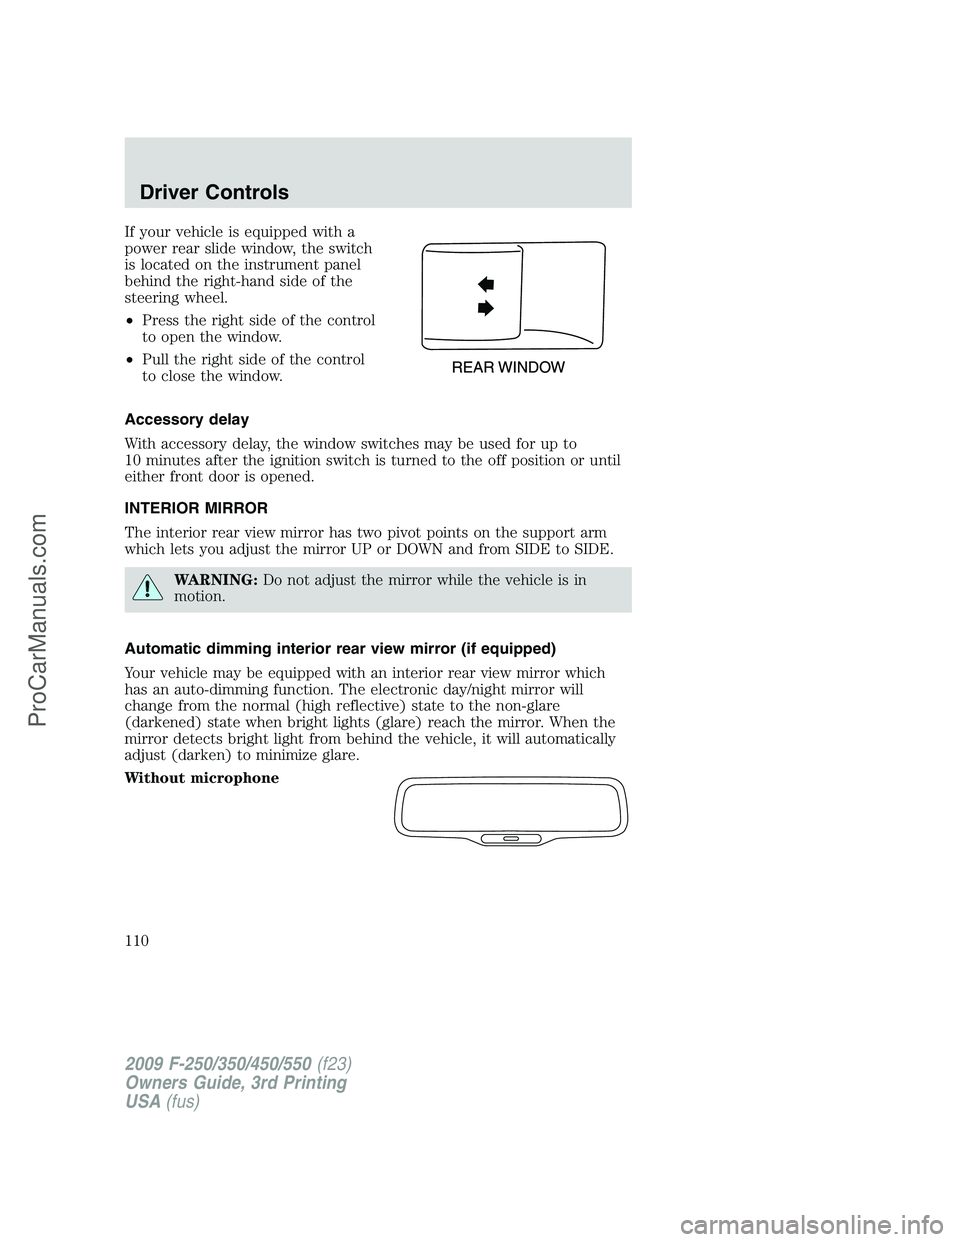
If your vehicle is equipped with a
power rear slide window, the switch
is located on the instrument panel
behind the right-hand side of the
steering wheel.
•Press the right side of the control
to open the window.
•Pull the right side of the control
to close the window.
Accessory delay
With accessory delay, the window switches may be used for up to
10 minutes after the ignition switch is turned to the off position or until
either front door is opened.
INTERIOR MIRROR
The interior rear view mirror has two pivot points on the support arm
which lets you adjust the mirror UP or DOWN and from SIDE to SIDE.
WARNING:Do not adjust the mirror while the vehicle is in
motion.
Automatic dimming interior rear view mirror (if equipped)
Your vehicle may be equipped with an interior rear view mirror which
has an auto-dimming function. The electronic day/night mirror will
change from the normal (high reflective) state to the non-glare
(darkened) state when bright lights (glare) reach the mirror. When the
mirror detects bright light from behind the vehicle, it will automatically
adjust (darken) to minimize glare.
Without microphone
2009 F-250/350/450/550(f23)
Owners Guide, 3rd Printing
USA(fus)
Driver Controls
110
ProCarManuals.com
Page 124 of 419

Do not use the HomeLink�Wireless Control System with any garage
door opener that lacks safety stop and reverse features as required by
U.S. federal safety standards (this includes any garage door opener
model manufactured before April 1, 1982). A garage door which cannot
detect an object, signaling the door to stop and reverse, does not meet
current U.S. federal safety standards. For more information, contact
HomeLink�at:www.homelink.comor1–800–355–3515.
Retain the original transmitter for use in other vehicles as well as for
future programming procedures (i.e. new HomeLink�equipped vehicle
purchase). It is also suggested that upon the sale of the vehicle, the
programmed Homelink�buttons be erased for security purposes, refer to
Programmingin this section.
Programming
Do not program HomeLink�with the vehicle parked in the garage.
Note:Your vehicle may require the ignition switch to be turned to the
accessory position for programming and/or operation of the HomeLink�.
It is also recommended that a new battery be placed in the hand-held
transmitter of the device being programmed to HomeLink�for quicker
training and accurate transmission of the radio-frequency signal.
1. Position the end of your
hand-held transmitter 1–3 inches
(2–8 cm) away from the HomeLink�
button you wish to program (located
on your visor) while keeping the
indicator light in view.
2. Simultaneously press and hold
both the chosen HomeLink�and
hand-held transmitter buttons until the HomeLink�indicator light
changes from a slow to a rapidly blinking light. Now you may release
both the HomeLink�and hand-held transmitter buttons.
Note:Some entry gates and garage door openers may require you to
replace Step 2 with procedures noted in theGate Operator and
Canadian Programmingin this section for Canadian residents.
3. Firmlypress and hold for five seconds and releasethe
programmed HomeLink�button up to two separate times to activate the
door. If the door does not activate, press and hold the just-trained
HomeLink�button and observe the indicator light.
•If the indicator lightstays on constantly, programming is complete
and your device should activate when the HomeLink�button is pressed
and released.
2009 F-250/350/450/550(f23)
Owners Guide, 3rd Printing
USA(fus)
Driver Controls
124
ProCarManuals.com
Page 127 of 419

STANDARD MESSAGE CENTER (IF EQUIPPED)
With the ignition in the on position,
the message center, located on your
instrument cluster, displays text
messages that alert you to possible
problems or malfunctions in your
vehicle’s operating systems. All
warning messages will also provide
an indicator chime.
For improved message center readability, if your vehicle is equipped with
Autolamp control, the message center brightness cannot be adjusted
when parking lamps or headlamps are on in bright daytime ambient
conditions, refer toAutolamp controlin theLightschapter. In lower
ambient light conditions, the message center brightness can be adjusted
using the panel dimmer control when parking lamps or headlamps are
on, refer toPanel dimmer controlin theLightschapter.
Selectable features
Press and release the SELECT/RESET button, located in the
speedometer, to scroll and reset the following functions. Select or reset
the function by holding the SELECT/RESET button for more than
2 seconds.
Info menu
This menu displays the following items:
•Odometer/Trip Odometer (Trip A and Trip B)
•Engine hour meter (if equipped)
•Distance to Empty
•Average Fuel Economy
•Setup Menu
•System check
•Blank
Odometer/Trip odometer
Refer toGaugesin theInstrument Clusterchapter.
Engine hour meter (if equipped)
Refer toGaugesin theInstrument Clusterchapter.
2009 F-250/350/450/550(f23)
Owners Guide, 3rd Printing
USA(fus)
Driver Controls
127
ProCarManuals.com
Page 137 of 419

OPTIONAL MESSAGE CENTER (IF EQUIPPED)
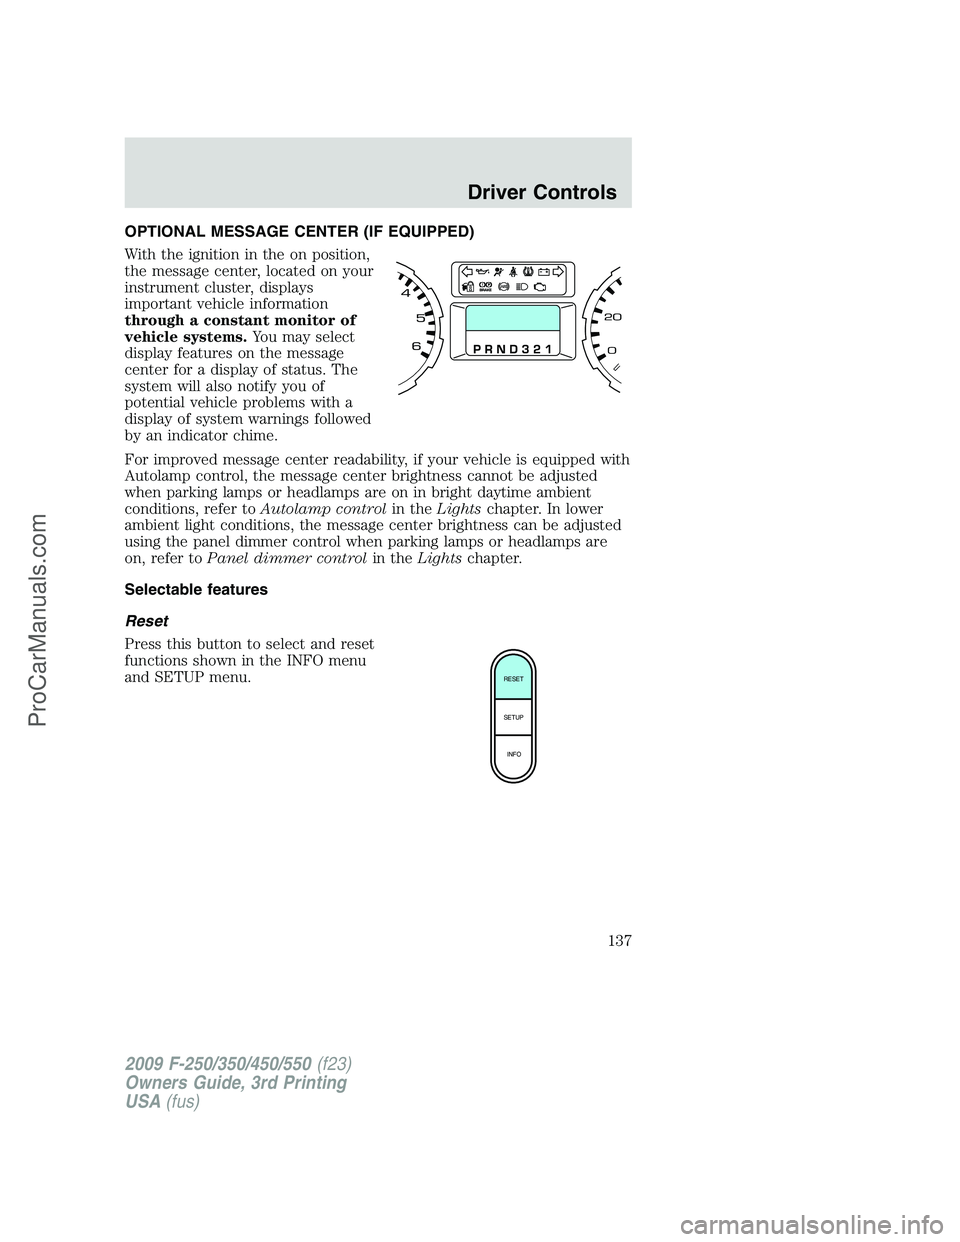
With the ignition in the on position,
the message center, located on your
instrument cluster, displays
important vehicle information
through a constant monitor of
vehicle systems.You may select
display features on the message
center for a display of status. The
system will also notify you of
potential vehicle problems with a
display of system warnings followed
by an indicator chime.
For improved message center readability, if your vehicle is equipped with
Autolamp control, the message center brightness cannot be adjusted
when parking lamps or headlamps are on in bright daytime ambient
conditions, refer toAutolamp controlin theLightschapter. In lower
ambient light conditions, the message center brightness can be adjusted
using the panel dimmer control when parking lamps or headlamps are
on, refer toPanel dimmer controlin theLightschapter.
Selectable features
Reset
Press this button to select and reset
functions shown in the INFO menu
and SETUP menu.
RESET
SETUP
INFO
2009 F-250/350/450/550(f23)
Owners Guide, 3rd Printing
USA(fus)
Driver Controls
137
ProCarManuals.com