2009 FORD F350 phone
[x] Cancel search: phonePage 43 of 419

Your vehicle may be equipped with
an Auxiliary Input Jack (AIJ). The
Auxiliary Input Jack, located on the
instrument panel below the power
point, provides a way to connect
your portable music player to the
in-vehicle audio system. This allows
the audio from a portable music
player to be played through the
vehicle speakers with high fidelity.
To achieve optimal performance,
please observe the following instructions when attaching your portable
music device to the audio system.
If your vehicle is equipped with a navigation system, refer toAuxiliary
input jacksection in theAudio featureschapter of yourNavigation
systemsupplement.
Required equipment:
1. Any portable music player designed to be used with headphones
2. An audio extension cable with stereo male 1/8 in. (3.5 mm)
connectors at each end
To play your portable music player using the auxiliary input jack:
1. Begin with the vehicle parked and the radio turned off.
2. Ensure that the battery in your portable music player is new or fully
charged and that the device is turned off.
3. Attach one end of the audio extension cable to the headphone output
of your player and the other end of the audio extension cable to the AIJ
in your vehicle.
4. Turn the radio on, using either a tuned FM station or a CD loaded into
the system. Adjust the volume to a comfortable listening level.
5. Turn the portable music player on and adjust the volume to 1/2 the
volume.
6. Press AUX on the vehicle radio repeatedly until LINE, LINE IN or
SYNC LINE IN appears in the display.
You should hear audio from your portable music player although it may
be low.
7. Adjust the sound on your portable music player until it reaches the
level of the FM station or CD by switching back and forth between the
AUX and FM or CD controls.
2009 F-250/350/450/550(f23)
Owners Guide, 3rd Printing
USA(fus)
Entertainment Systems
43
ProCarManuals.com
Page 44 of 419

Troubleshooting:
1. Do not connect the audio input jack to a line level output. Line level
outputs are intended for connection to a home stereo and are not
compatible with the AIJ. The AIJ will only work correctly with devices
that have a headphone output with a volume control.
2. Do not set the portable music player’s volume level higher than is
necessary to match the volume of the CD or FM radio in your audio
system as this will cause distortion and will reduce sound quality. Many
portable music players have different output levels, so not all players
should be set at the same levels. Some players will sound best at full
volume and others will need to be set at a lower volume.
3. If the music sounds distorted at lower listening levels, turn the
portable music player volume down. If the problems persist, replace or
recharge the batteries in the portable music player.
4. The portable music player must be controlled in the same manner
when it is used with headphones as the AIJ does not provide control
(play, pause, etc.) over the attached portable music player.
5. For safety reasons, connecting or adjusting the settings on your
portable music player should not be attempted while the vehicle is
moving. Also, the portable music player should be stored in a secure
location, such as the center console or the glove box, when the vehicle is
in motion. The audio extension cable must be long enough to allow the
portable music player to be safely stored while the vehicle is in motion.
USB port (if equipped)
WARNING:Driving while distracted can result in loss of vehicle
control, accident and injury. Ford strongly recommends that
drivers use extreme caution when using any device that may take their
focus off the road. The driver’s primary responsibility is the safe
operation of their vehicle. Only use cell phones and other devices not
essential to the driving task when it is safe to do so.
2009 F-250/350/450/550(f23)
Owners Guide, 3rd Printing
USA(fus)
Entertainment Systems
44
ProCarManuals.com
Page 51 of 419

Radio Display Condition Action Required
NO SIGNAL Loss of signal
from the SIRIUS
satellite or
SIRIUS tower to
the vehicle
antenna.You are in a location that is
blocking the SIRIUS signal (i.e.,
tunnel, under an overpass, dense
foliage, etc). The system is
working properly. When you move
into an open area, the signal
should return.
UPDATING Update of
channel
programming in
progress.No action required. The process
may take up to three minutes.
CALL SIRIUS
1–888–539–7474Satellite service
has been
deactivated by
SIRIUS Satellite
Radio.Call SIRIUS at 1–888–539–7474 to
re-activate or resolve subscription
issues.
FAMILY ENTERTAINMENT DVD SYSTEM (IF EQUIPPED)
WARNING:Driving while distracted can result in loss of vehicle
control, accident and injury. Ford strongly recommends that
drivers use extreme caution when using any device that may take their
focus off the road. The driver’s primary responsibility is the safe
operation of their vehicle. Only use cell phones and other devices not
essential to the driving task when it is safe to do so.
Your vehicle may be equipped with a Family Entertainment System
(FES) which allows you to listen to audio CDs, MP3 discs, watch DVDs
and to plug in and play a variety of standard video game systems. The
DVD player is capable of playing standard DVDs, CDs, MP3s and is
compatible with CD-R/W, CD-R and certain CD-ROM media.
Please review this material to become familiar with the FES features and
controls as well as the very important safety information.
Quick start
Your Family Entertainment System includes a DVD system, two sets of
wireless infrared (IR) headphones and a wireless infrared (IR) remote
control.
2009 F-250/350/450/550(f23)
Owners Guide, 3rd Printing
USA(fus)
Entertainment Systems
51
ProCarManuals.com
Page 54 of 419

2. Press the power button to turn
the DVD system on. The indicator
light next to the power button will
illuminate.
3. Connect an auxiliary audio/video
source by connecting RCA cords
(not included) to the RCA jacks on
the left hand side of the system.
•Yellow (1) — video input
•White (2) — left channel audio
input
•Red (3) — right channel audio
input
4. Press MEDIA on the DVD system to change the media source to AUX.
5. Press VIDEO on the DVD system to change the video source to
DVD-AUX. If your source is properly plugged in, it will appear on the
LCD (Liquid Crystal Display) screen. If your auxiliary source does not
have a video signal, or if the DVD system does not detect a video signal
from the auxiliary source, the screen will remain black. If the video
source is set to DVD-AUX, the display will automatically turn on if a
video signal is detected.
To listen to audio over the headphones (Dual play mode):
You may listen to channels A and B over wired or wireless headphones.
Refer toUsing the infrared wireless headphonesandUsing wired
headphonesfor further information.
•Black (4) — wired headphone output (wired headphones not
included)
1. Press the
headphone/speaker
/button
on the DVD player or press the 2
and 4 memory presets on the radio at the same time.
A green light will illuminate next to either the A or B Headphone Control
Button to indicate which channel is active (able to be controlled).
2. Press MEDIA to change the audio source of the active channel (A or
B). The audio source will be shown on the display. You may change the
active channel by pressing the A or B headphone control button.
2009 F-250/350/450/550(f23)
Owners Guide, 3rd Printing
USA(fus)
Entertainment Systems
54
ProCarManuals.com
Page 55 of 419

Note:Channel A can access any possible media source (AM, FM1, FM2,
SAT (if equipped), CD, DVD, AUX). Channel B can only access DVD and
AUX sources.
Note:Refer toSingle play/Dual playfor more information.
Using the infrared (IR) wireless headphones:
1. Press the power control on the earpiece to turn the headphones ON.
2. Select Channel A or B for each set of wireless headphones by using
the A/B control on the ear piece.
3. Adjust the headphone volume using the rotary dial on the earpiece.
Using wired headphones (not included):
WARNING:Do not leave children unattended in the vehicle and
do not let children operate the system while unsupervised. If
wired headphones or auxiliary systems are used, children may become
entangled in the cords and seriously injure themselves.
1. Connect the wired headphones in to the headphone jacks on either
side of the DVD system. Each side is labeled
AorB. Headphones
plugged into jack A will listen to Channel A and headphones plugged into
jack B will listen to Channel B.
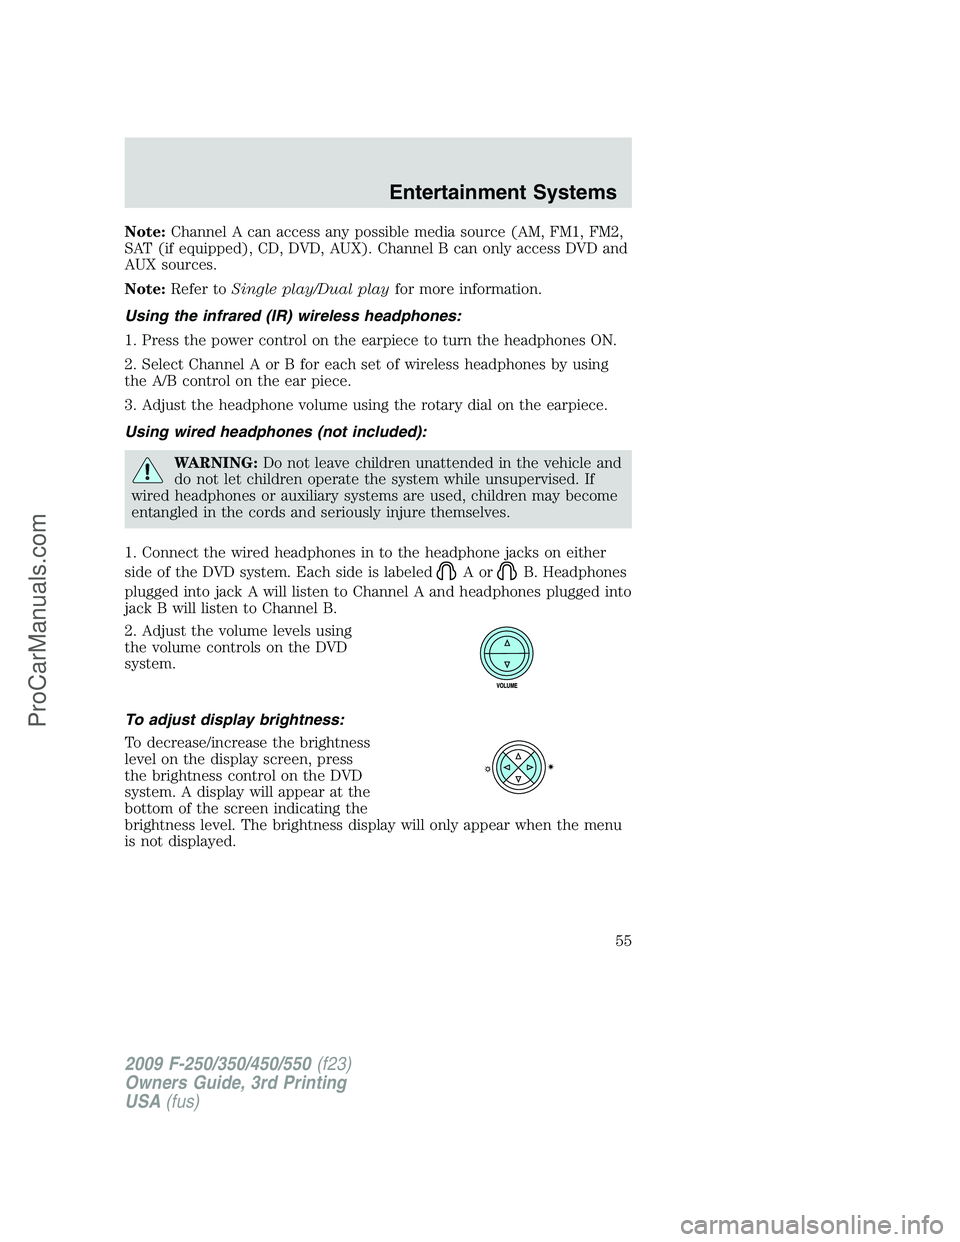
2. Adjust the volume levels using
the volume controls on the DVD
system.
To adjust display brightness:
To decrease/increase the brightness
level on the display screen, press
the brightness control on the DVD
system. A display will appear at the
bottom of the screen indicating the
brightness level. The brightness display will only appear when the menu
is not displayed.
2009 F-250/350/450/550(f23)
Owners Guide, 3rd Printing
USA(fus)
Entertainment Systems
55
ProCarManuals.com
Page 56 of 419

DVD player controls
1.Headphone control A/B:Press
to select either the A or B
headphone source. Then press
MEDIA to select the desired playing
media for that headset. When a
headphone channel has been selected (A or B), selections will affect the
source on that channel only.
Note:Headphone A can access any possible media (AM, FM1, FM2, SAT
(if equipped), CD, DVD, DVD-AUX). Headphone B can only access DVD
and DVD-AUX.
For further information, refer toSingle play/Dual playlater in this
section.
2.
/(Stop/Eject):Press
once to stop and press a second
time to eject a disc from the DVD
system.
3.
(Reverse):Press and
release for the previous chapter or
track. Press and hold to reverse
search a DVD, Video CD, or FES CD in DVD/CD mode.
A
BVIDEOVOLUME MEDIA RETURN MENU ENTER
1
7
2
3
4
5
6
9
10
11
12
13
14
15
16
8
2009 F-250/350/450/550(f23)
Owners Guide, 3rd Printing
USA(fus)
Entertainment Systems
56
ProCarManuals.com
Page 57 of 419

4.(Fast forward):Press and
release for the next chapter or
track. Press and hold to forward
search a DVD, Video CD, or FES CD in DVD/CD mode.
5.
/(Play/Pause):Press
(Play) to select DVD mode (and to
turn the DVD system on if it is off).
If a disc is present, it will resume or begin to play. Press (Pause) while
playing a disc to pause a DVD or CD.
6.On/Off:Press to turn the DVD
system On/Off.
7.VIDEO:Press repeatedly to cycle
through the following video state
options which will be indicated on
the bottom right hand corner of the
display: DVD DISC, DVD-AUX,
NON-DVD and Off (no indicator). If you select the DVD-AUX video
source, the display will turn off if there is no video signal detected. When
a video signal is detected on the auxiliary video input, and the display is
in the DVD-AUX video mode, the display will automatically turn on.
8.Infrared (IR) Receiver & Transmitter:System sensor which reads
the signals from the remote control and sends audio signals to the
infrared (IR) wireless headphones.
9.LCD screen:The eight inch diagonal screen rotates down to view and
up into housing to store when not in use. Ensure that the screen is
latched into the housing when being stored.
10.Volume:When in single play
mode, press to increase (
)or
decrease (
) the volume over all
speakers. When in Dual Play, press
to increase (
) or decrease ()
the volume for the wired headphones. (Wireless headphone volume is
controlled with the rotary dial on the right ear piece.)
2009 F-250/350/450/550(f23)
Owners Guide, 3rd Printing
USA(fus)
Entertainment Systems
57
ProCarManuals.com
Page 58 of 419

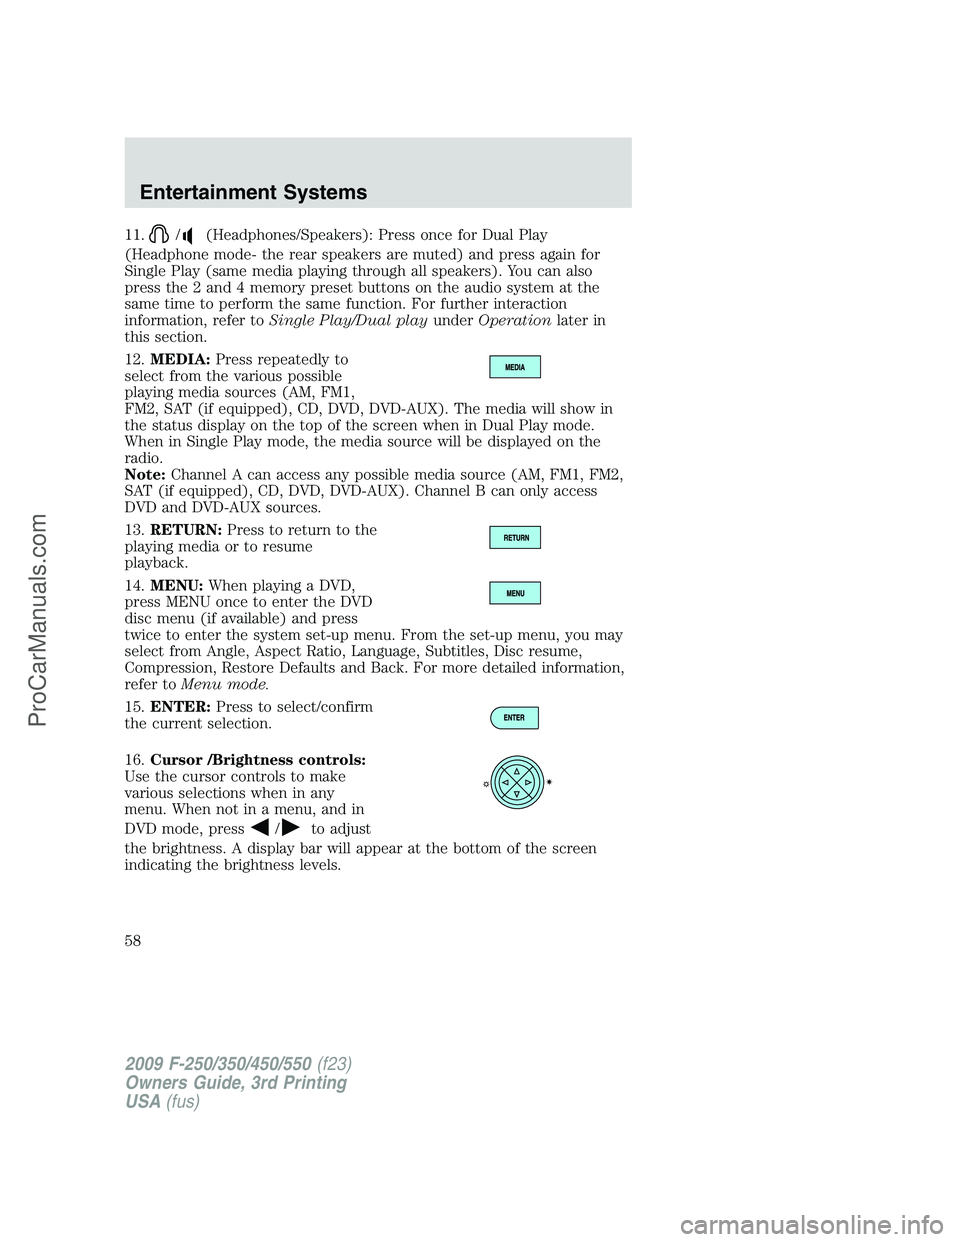
11./(Headphones/Speakers): Press once for Dual Play
(Headphone mode- the rear speakers are muted) and press again for
Single Play (same media playing through all speakers). You can also
press the 2 and 4 memory preset buttons on the audio system at the
same time to perform the same function. For further interaction
information, refer toSingle Play/Dual playunderOperationlater in
this section.
12.MEDIA:Press repeatedly to
select from the various possible
playing media sources (AM, FM1,
FM2, SAT (if equipped), CD, DVD, DVD-AUX). The media will show in
the status display on the top of the screen when in Dual Play mode.
When in Single Play mode, the media source will be displayed on the
radio.
Note:Channel A can access any possible media source (AM, FM1, FM2,
SAT (if equipped), CD, DVD, DVD-AUX). Channel B can only access
DVD and DVD-AUX sources.
13.RETURN:Press to return to the
playing media or to resume
playback.
14.MENU:When playing a DVD,
press MENU once to enter the DVD
disc menu (if available) and press
twice to enter the system set-up menu. From the set-up menu, you may
select from Angle, Aspect Ratio, Language, Subtitles, Disc resume,
Compression, Restore Defaults and Back. For more detailed information,
refer toMenu mode.
15.ENTER:Press to select/confirm
the current selection.
16.Cursor /Brightness controls:
Use the cursor controls to make
various selections when in any
menu. When not in a menu, and in
DVD mode, press
/to adjust
the brightness. A display bar will appear at the bottom of the screen
indicating the brightness levels.
2009 F-250/350/450/550(f23)
Owners Guide, 3rd Printing
USA(fus)
Entertainment Systems
58
ProCarManuals.com