Page 2 of 136
Customer Assistance
88
Reporting safety defects (U.S. only) 93
Reporting safety defects (Canada only) 94
Cleaning
95
Maintenance and Specifications
96
Engine compartment 97
Engine oil 97
Battery 100
Engine coolant 102
Fuel information 108
Air filter(s) 125
Part numbers 127
Maintenance product specifications and capacities 128
Engine data 131
Index
133
All rights reserved. Reproduction by any means, electronic or mechanical
including photocopying, recording or by any information storage and retrieval
system or translation in whole or part is not permitted without written
authorization from Ford Motor Company. Ford may change the contents without
notice and without incurring obligation.
Copyright © 2008 Ford Motor Company
Table of Contents
2
2009 Motorhome(mot)
Supplement, 1st Printing
USA(fus)
Page 9 of 136
Vehicle Symbol Glossary
Power Windows
Front/Rear
Power Window Lockout
Child Safety Door
Lock/UnlockInterior Luggage
Compartment Release
Panic AlarmEngine Oil
Engine CoolantEngine Coolant
Temperature
Do Not Open When HotBattery
Avoid Smoking, Flames,
or SparksBattery Acid
Explosive GasFan Warning
Power Steering FluidMaintain Correct Fluid
LevelMAX
MIN
Service Engine SoonEngine Air Filter
Passenger Compartment
Air FilterJack
Check Fuel CapLow Tire Pressure
Warning
2009 Motorhome(mot)
Supplement, 1st Printing
USA(fus)
Introduction
9
Page 12 of 136
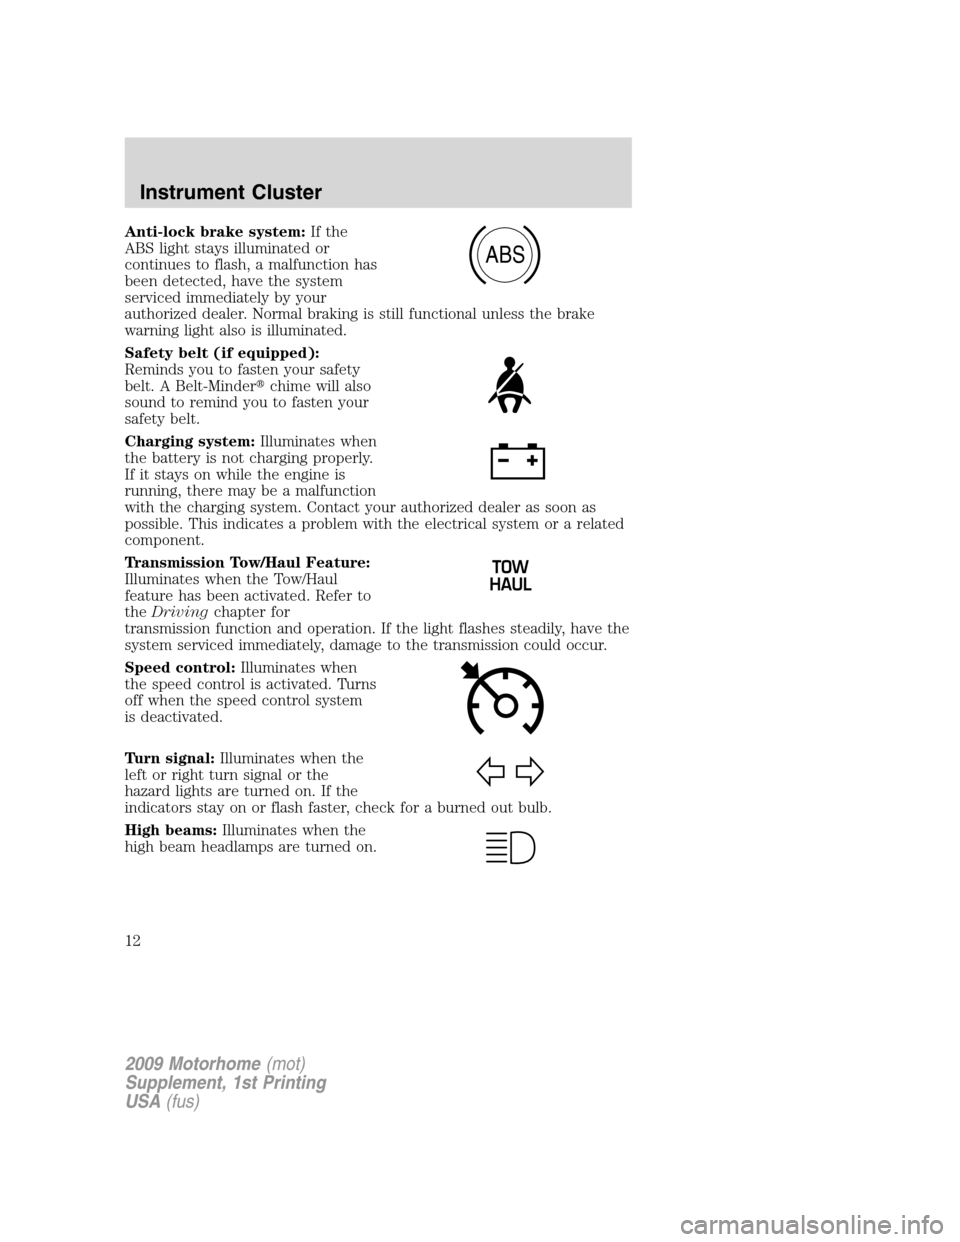
Anti-lock brake system:If the
ABS light stays illuminated or
continues to flash, a malfunction has
been detected, have the system
serviced immediately by your
authorized dealer. Normal braking is still functional unless the brake
warning light also is illuminated.
Safety belt (if equipped):
Reminds you to fasten your safety
belt. A Belt-Minder�chime will also
sound to remind you to fasten your
safety belt.
Charging system:Illuminates when
the battery is not charging properly.
If it stays on while the engine is
running, there may be a malfunction
with the charging system. Contact your authorized dealer as soon as
possible. This indicates a problem with the electrical system or a related
component.
Transmission Tow/Haul Feature:
Illuminates when the Tow/Haul
feature has been activated. Refer to
theDrivingchapter for
transmission function and operation. If the light flashes steadily, have the
system serviced immediately, damage to the transmission could occur.
Speed control:Illuminates when
the speed control is activated. Turns
off when the speed control system
is deactivated.
Turn signal:Illuminates when the
left or right turn signal or the
hazard lights are turned on. If the
indicators stay on or flash faster, check for a burned out bulb.
High beams:Illuminates when the
high beam headlamps are turned on.
ABS
2009 Motorhome(mot)
Supplement, 1st Printing
USA(fus)
Instrument Cluster
12
Page 18 of 136
Flash to pass
Pull toward you slightly to activate
and release to deactivate.
PANEL DIMMER CONTROL
Use to adjust the brightness of the
instrument panel and all applicable
switches in the vehicle during
headlamp and parking lamp
operation.
Move the control up or down to
adjust the intensity of the panel
lighting.
Move the control to the full upright
position, past detent, to turn on the interior lamps.
Note:If the battery is disconnected, discharged, or a new battery is
installed, the dimmer switch requires re-calibration. Rotate the dimmer
switch from the full dim position to the full dome/on position to reset.
This will ensure that your displays are visible under all lighting
conditions.
TURN SIGNAL CONTROL
•Push down to activate the left
turn signal.
•Push up to activate the right turn
signal.
BULB REPLACEMENT
Replacing exterior bulbs
Check the operation of all the bulbs frequently.
2009 Motorhome(mot)
Supplement, 1st Printing
USA(fus)
Lights
18
Page 23 of 136
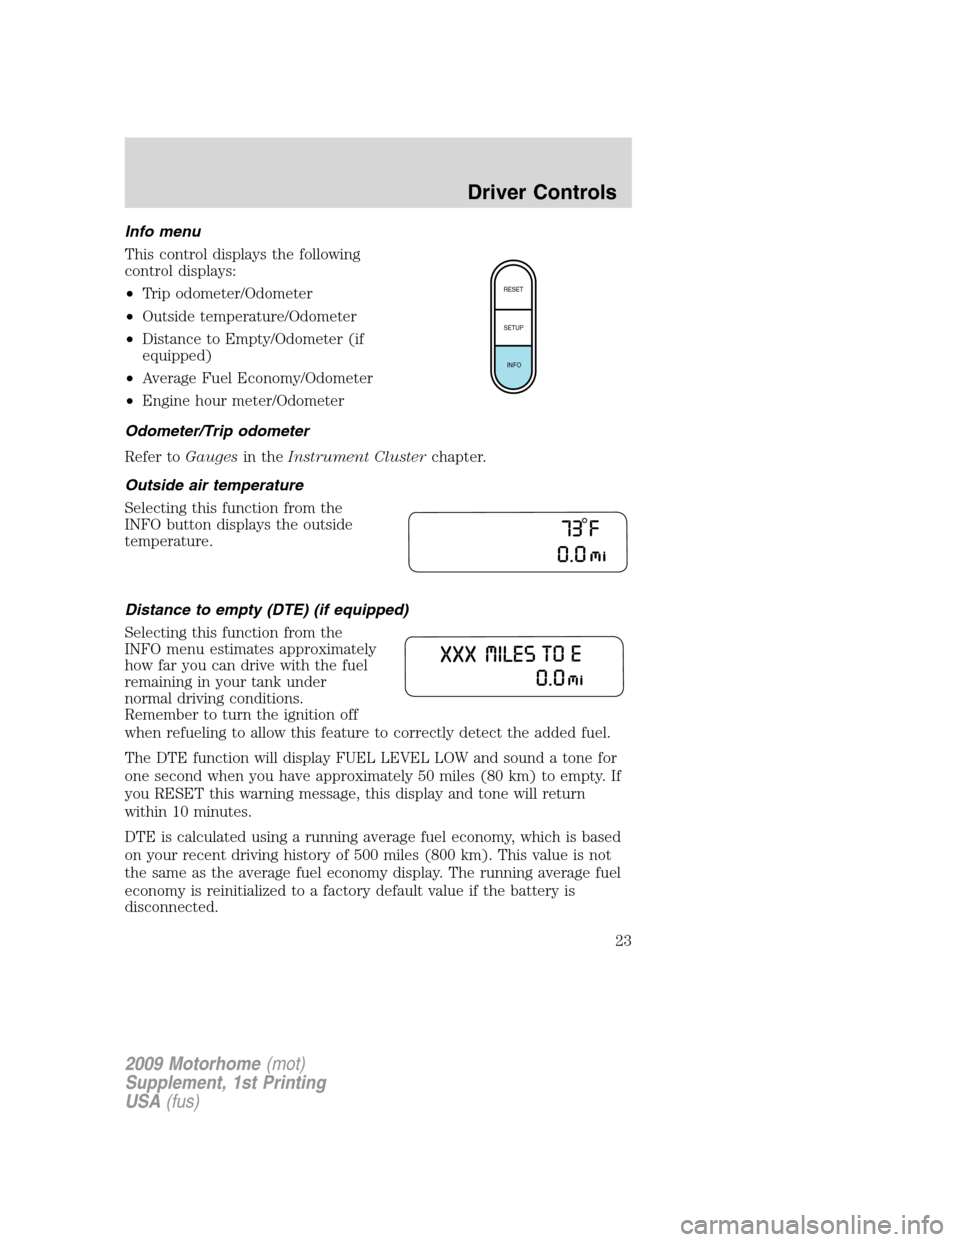
Info menu
This control displays the following
control displays:
•Trip odometer/Odometer
•Outside temperature/Odometer
•Distance to Empty/Odometer (if
equipped)
•Average Fuel Economy/Odometer
•Engine hour meter/Odometer
Odometer/Trip odometer
Refer toGaugesin theInstrument Clusterchapter.
Outside air temperature
Selecting this function from the
INFO button displays the outside
temperature.
Distance to empty (DTE) (if equipped)
Selecting this function from the
INFO menu estimates approximately
how far you can drive with the fuel
remaining in your tank under
normal driving conditions.
Remember to turn the ignition off
when refueling to allow this feature to correctly detect the added fuel.
The DTE function will display FUEL LEVEL LOW and sound a tone for
one second when you have approximately 50 miles (80 km) to empty. If
you RESET this warning message, this display and tone will return
within 10 minutes.
DTE is calculated using a running average fuel economy, which is based
on your recent driving history of 500 miles (800 km). This value is not
the same as the average fuel economy display. The running average fuel
economy is reinitialized to a factory default value if the battery is
disconnected.
RESET
SETUP
INFO
2009 Motorhome(mot)
Supplement, 1st Printing
USA(fus)
Driver Controls
23
Page 61 of 136
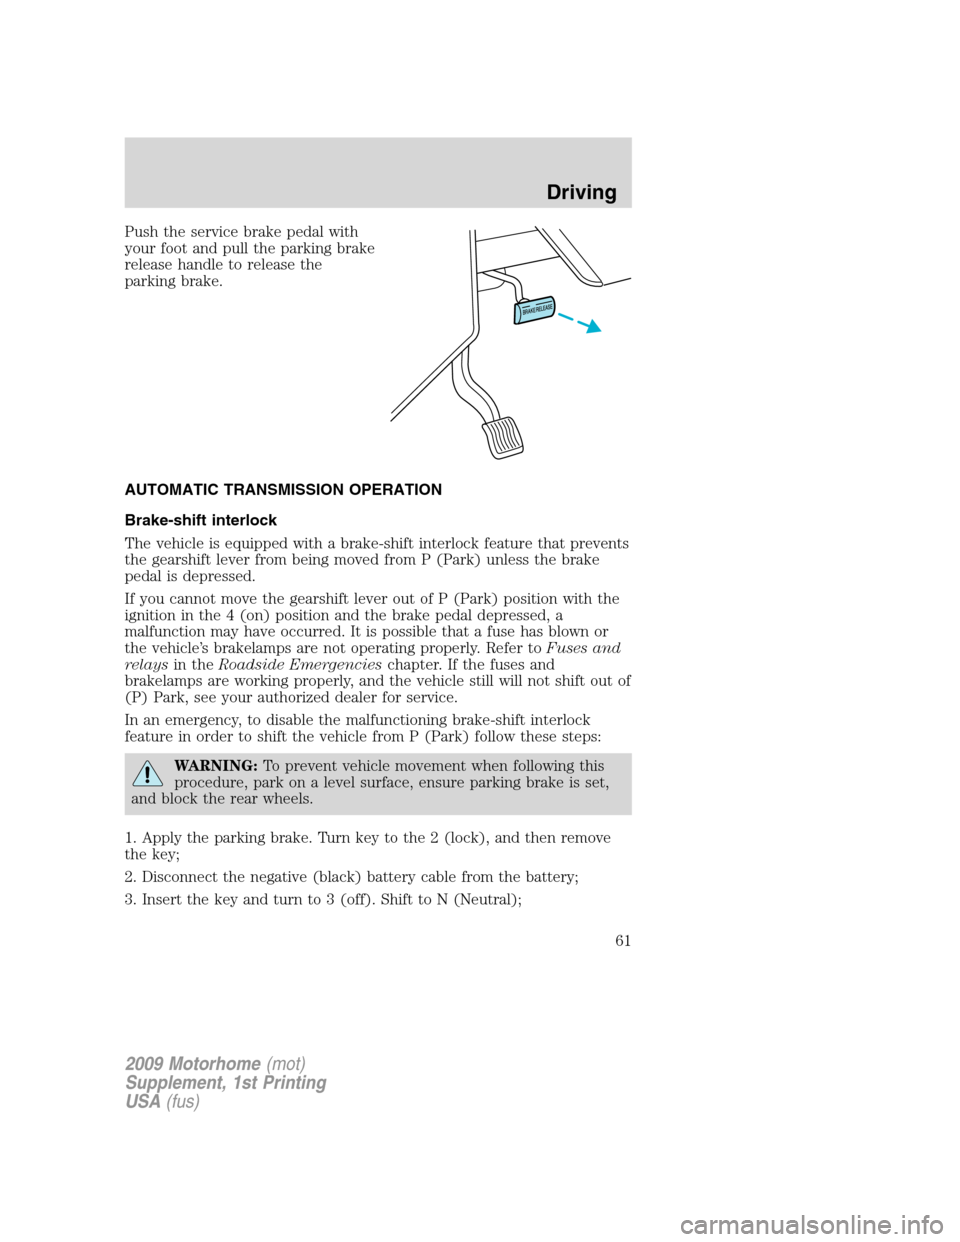
Push the service brake pedal with
your foot and pull the parking brake
release handle to release the
parking brake.
AUTOMATIC TRANSMISSION OPERATION
Brake-shift interlock
The vehicle is equipped with a brake-shift interlock feature that prevents
the gearshift lever from being moved from P (Park) unless the brake
pedal is depressed.
If you cannot move the gearshift lever out of P (Park) position with the
ignition in the 4 (on) position and the brake pedal depressed, a
malfunction may have occurred. It is possible that a fuse has blown or
the vehicle’s brakelamps are not operating properly. Refer toFuses and
relaysin theRoadside Emergencieschapter. If the fuses and
brakelamps are working properly, and the vehicle still will not shift out of
(P) Park, see your authorized dealer for service.
In an emergency, to disable the malfunctioning brake-shift interlock
feature in order to shift the vehicle from P (Park) follow these steps:
WARNING:To prevent vehicle movement when following this
procedure, park on a level surface, ensure parking brake is set,
and block the rear wheels.
1. Apply the parking brake. Turn key to the 2 (lock), and then remove
the key;
2. Disconnect the negative (black) battery cable from the battery;
3. Insert the key and turn to 3 (off). Shift to N (Neutral);
2009 Motorhome(mot)
Supplement, 1st Printing
USA(fus)
Driving
61
Page 62 of 136
4. Reconnect the negative (black) battery cable to the battery;
5. Start the vehicle.
See your authorized dealer for service immediately.
WARNING:If your brake lamps are not working properly or if
you have disconnected the vehicle battery cables, the vehicle
brake lamps and hazard flashers may not properly warn traffic of a
vehicle breakdown or approaching danger, which can increase the risk
of serious injury or death. To minimize the risk of serious injury or
death, be aware of your surroundings, use other hazard signaling
devices if available, and move the vehicle to a safe location away from
traffic as soon as possible.
WARNING:Do not drive your vehicle until you verify that the
brakelamps are working.
WARNING:Always set the parking brake fully and make sure
the gearshift is latched in P (Park). Turn the ignition to the lock
position and remove the key whenever you leave your vehicle.
WARNING:If the parking brake is fully released, but the brake
warning lamp remains illuminated, the brakes may not be
working properly. See your authorized dealer.
2009 Motorhome(mot)
Supplement, 1st Printing
USA(fus)
Driving
62
Page 63 of 136
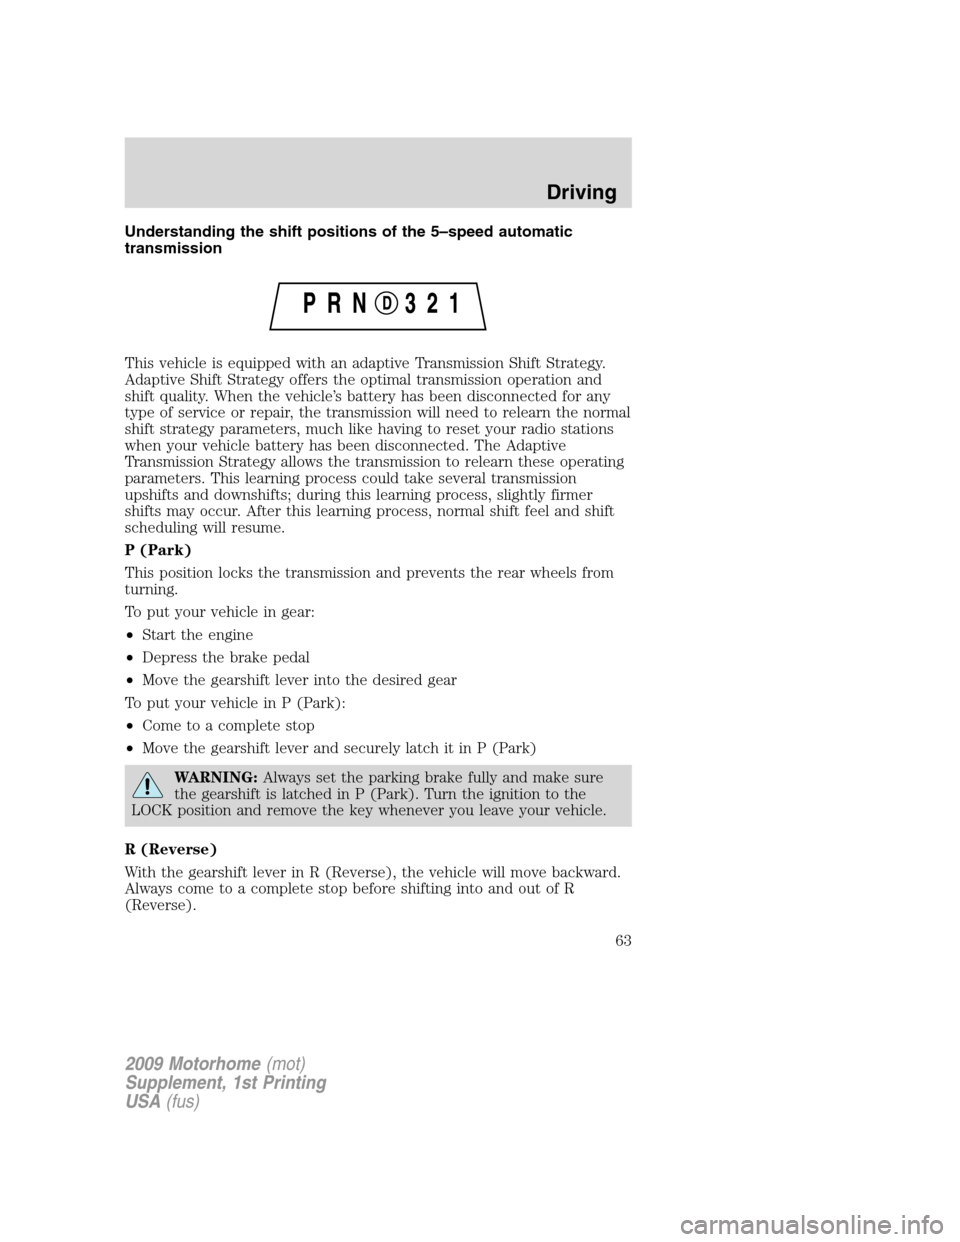
Understanding the shift positions of the 5–speed automatic
transmission
This vehicle is equipped with an adaptive Transmission Shift Strategy.
Adaptive Shift Strategy offers the optimal transmission operation and
shift quality. When the vehicle’s battery has been disconnected for any
type of service or repair, the transmission will need to relearn the normal
shift strategy parameters, much like having to reset your radio stations
when your vehicle battery has been disconnected. The Adaptive
Transmission Strategy allows the transmission to relearn these operating
parameters. This learning process could take several transmission
upshifts and downshifts; during this learning process, slightly firmer
shifts may occur. After this learning process, normal shift feel and shift
scheduling will resume.
P (Park)
This position locks the transmission and prevents the rear wheels from
turning.
To put your vehicle in gear:
•Start the engine
•Depress the brake pedal
•Move the gearshift lever into the desired gear
To put your vehicle in P (Park):
•Come to a complete stop
•Move the gearshift lever and securely latch it in P (Park)
WARNING:Always set the parking brake fully and make sure
the gearshift is latched in P (Park). Turn the ignition to the
LOCK position and remove the key whenever you leave your vehicle.
R (Reverse)
With the gearshift lever in R (Reverse), the vehicle will move backward.
Always come to a complete stop before shifting into and out of R
(Reverse).
2009 Motorhome(mot)
Supplement, 1st Printing
USA(fus)
Driving
63