Page 1 of 351
Introduction 4
Instrument Cluster 12
Warning lights and chimes 12
Gauges 18
Entertainment Systems 21
How to get going 21
AM/FM stereo with CD 25
AM/FM stereo with in-dash six CD 33
Auxiliary input jack (Line in) 41
USB port 43
Satellite radio information 46
Navigation system 49
SYNC�49
Climate Controls 50
Manual heating and air conditioning 50
Automatic temperature control 52
Lights 56
Headlamps 56
Turn signal control 60
Bulb replacement 60
Driver Controls 66
Windshield wiper/washer control 66
Steering wheel adjustment 67
Power windows 71
Mirrors 75
Speed control 78
Message center 84
Table of Contents
1
2009 07+ Explorer Sport Trac(esp)
Owners Guide, 2nd Printing
USA(fus)
Page 18 of 351

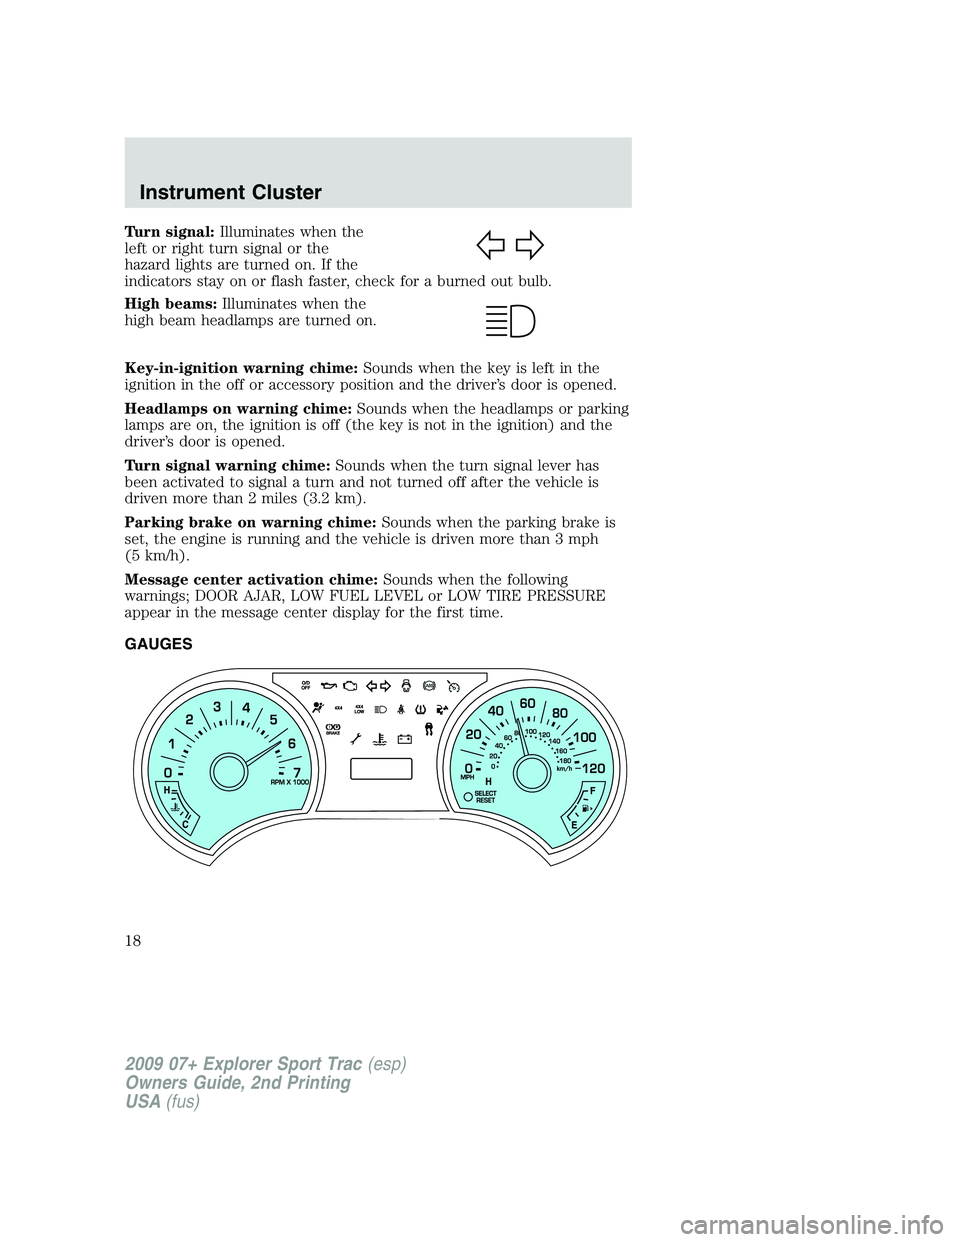
Turn signal:Illuminates when the
left or right turn signal or the
hazard lights are turned on. If the
indicators stay on or flash faster, check for a burned out bulb.
High beams:Illuminates when the
high beam headlamps are turned on.
Key-in-ignition warning chime:Sounds when the key is left in the
ignition in the off or accessory position and the driver’s door is opened.
Headlamps on warning chime:Sounds when the headlamps or parking
lamps are on, the ignition is off (the key is not in the ignition) and the
driver’s door is opened.
Turn signal warning chime:Sounds when the turn signal lever has
been activated to signal a turn and not turned off after the vehicle is
driven more than 2 miles (3.2 km).
Parking brake on warning chime:Sounds when the parking brake is
set, the engine is running and the vehicle is driven more than 3 mph
(5 km/h).
Message center activation chime:Sounds when the following
warnings; DOOR AJAR, LOW FUEL LEVEL or LOW TIRE PRESSURE
appear in the message center display for the first time.
GAUGES
2009 07+ Explorer Sport Trac(esp)
Owners Guide, 2nd Printing
USA(fus)
Instrument Cluster
18
Page 60 of 351

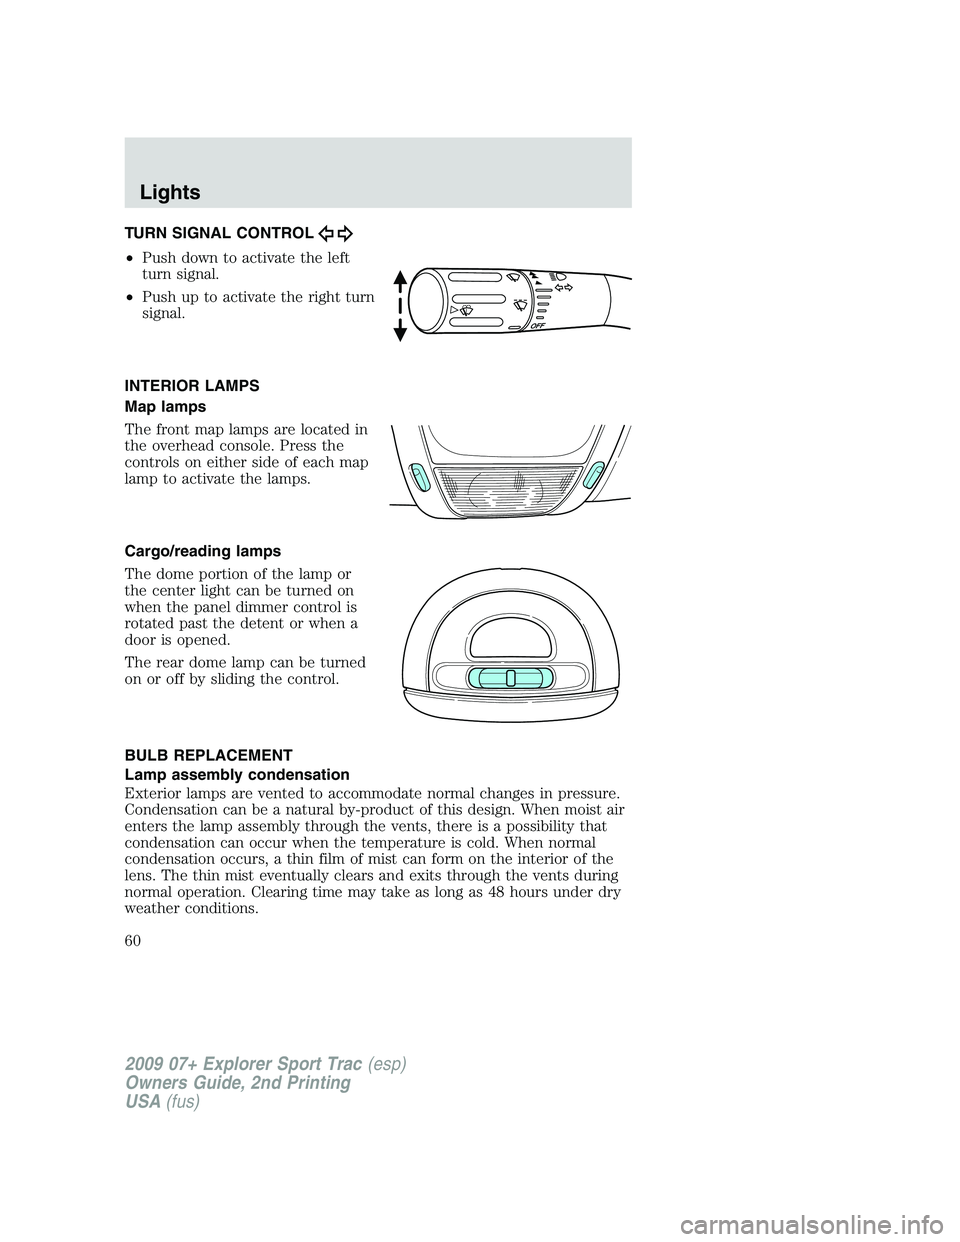
TURN SIGNAL CONTROL
•Push down to activate the left
turn signal.
•Push up to activate the right turn
signal.
INTERIOR LAMPS
Map lamps
The front map lamps are located in
the overhead console. Press the
controls on either side of each map
lamp to activate the lamps.
Cargo/reading lamps
The dome portion of the lamp or
the center light can be turned on
when the panel dimmer control is
rotated past the detent or when a
door is opened.
The rear dome lamp can be turned
on or off by sliding the control.
BULB REPLACEMENT
Lamp assembly condensation
Exterior lamps are vented to accommodate normal changes in pressure.
Condensation can be a natural by-product of this design. When moist air
enters the lamp assembly through the vents, there is a possibility that
condensation can occur when the temperature is cold. When normal
condensation occurs, a thin film of mist can form on the interior of the
lens. The thin mist eventually clears and exits through the vents during
normal operation. Clearing time may take as long as 48 hours under dry
weather conditions.
2009 07+ Explorer Sport Trac(esp)
Owners Guide, 2nd Printing
USA(fus)
Lights
60
Page 63 of 351
WARNING:Handle a halogen headlamp bulb carefully and keep
out of children’s reach. Grasp the bulb only by its plastic base
and do not touch the glass. The oil from your hand could cause the
bulb to break the next time the headlamps are operated.
Reverse steps to reinstall bulb(s).
Replacing front parking lamp/turn signal/sidemarker bulbs
1. Turn off the headlamps and open
the hood.
2. Remove three screws from the
headlamp assembly and pull
headlamp forward.
3. Rotate the bulb socket
counterclockwise and remove it
from the lamp assembly.
4. Pull the bulb straight out of the
socket.
Reverse steps to reinstall bulb(s).
2009 07+ Explorer Sport Trac(esp)
Owners Guide, 2nd Printing
USA(fus)
Lights
63