Page 120 of 416
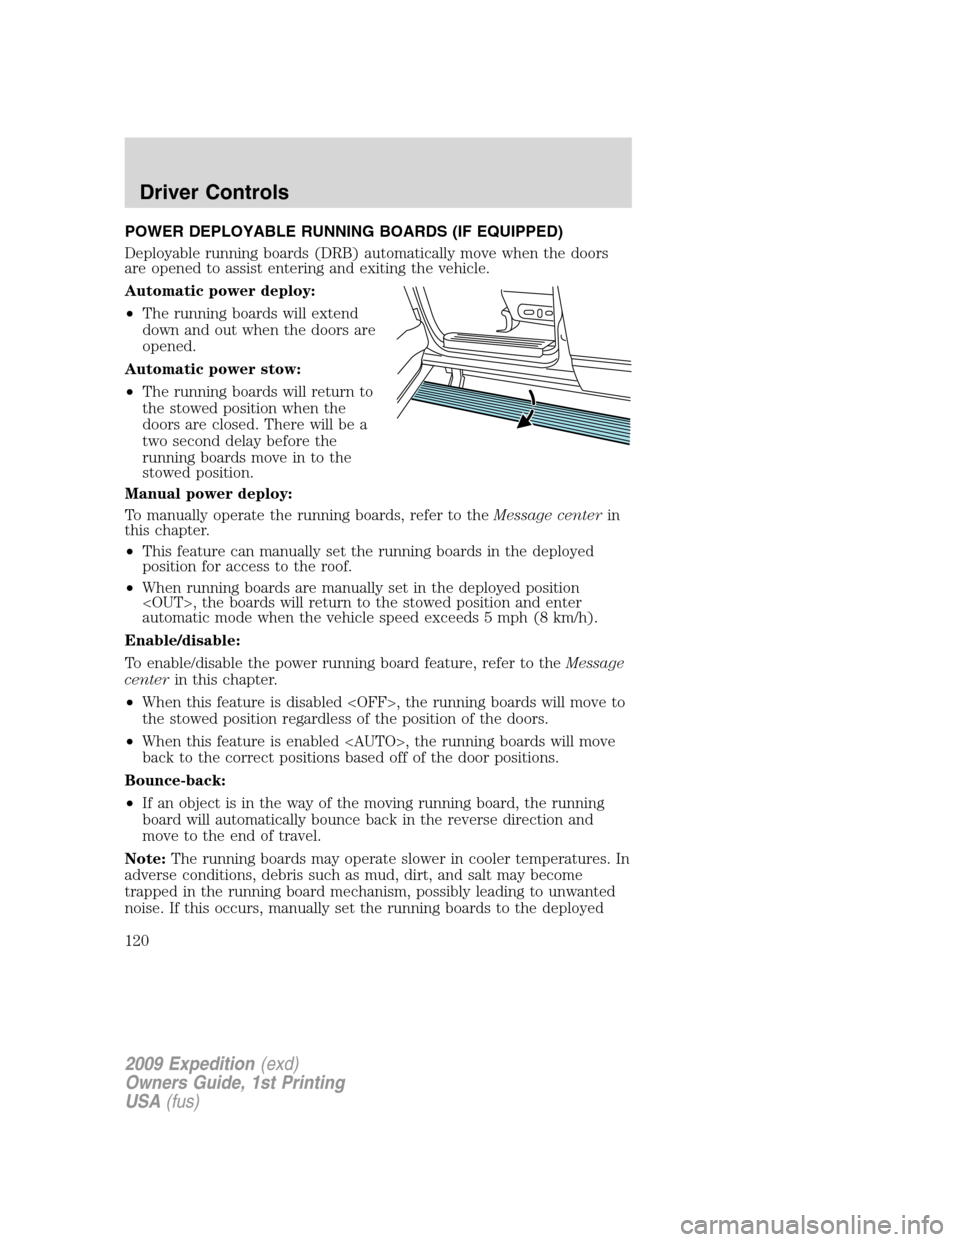
POWER DEPLOYABLE RUNNING BOARDS (IF EQUIPPED)
Deployable running boards (DRB) automatically move when the doors
are opened to assist entering and exiting the vehicle.
Automatic power deploy:
•The running boards will extend
down and out when the doors are
opened.
Automatic power stow:
•The running boards will return to
the stowed position when the
doors are closed. There will be a
two second delay before the
running boards move in to the
stowed position.
Manual power deploy:
To manually operate the running boards, refer to theMessage centerin
this chapter.
•This feature can manually set the running boards in the deployed
position for access to the roof.
•When running boards are manually set in the deployed position
, the boards will return to the stowed position and enter
automatic mode when the vehicle speed exceeds 5 mph (8 km/h).
Enable/disable:
To enable/disable the power running board feature, refer to theMessage
centerin this chapter.
•When this feature is disabled , the running boards will move to
the stowed position regardless of the position of the doors.
•When this feature is enabled , the running boards will move
back to the correct positions based off of the door positions.
Bounce-back:
•If an object is in the way of the moving running board, the running
board will automatically bounce back in the reverse direction and
move to the end of travel.
Note:The running boards may operate slower in cooler temperatures. In
adverse conditions, debris such as mud, dirt, and salt may become
trapped in the running board mechanism, possibly leading to unwanted
noise. If this occurs, manually set the running boards to the deployed
2009 Expedition(exd)
Owners Guide, 1st Printing
USA(fus)
Driver Controls
120
Page 127 of 416
Bounce-back:When an obstacle has been detected in the moon roof
opening as the moon roof is closing, the moon roof will automatically
open and stop at a prescribed position.
Bounce-back override:To override bounce-back function, pull and hold
the SLIDE switch within two seconds of a bounce-back event. The
closing force will begin to increase each time the moon roof is closed for
the first three closing cycles, with bounce-back active. For example:
Bounce-back can be used to overcome the resistance of ice on the moon
roof or seals
To vent the moon roof:Press and release the TILT control, the moon
roof will move to the vent position automatically from any moon roof
position. Press the switch again to stop the moon roof. Pull and hold the
TILT control to close the moon roof.
The moon roof has a built-in sliding shade that can be manually opened
or closed when the glass panel is shut. To close the shade, pull it toward
the front of the vehicle.
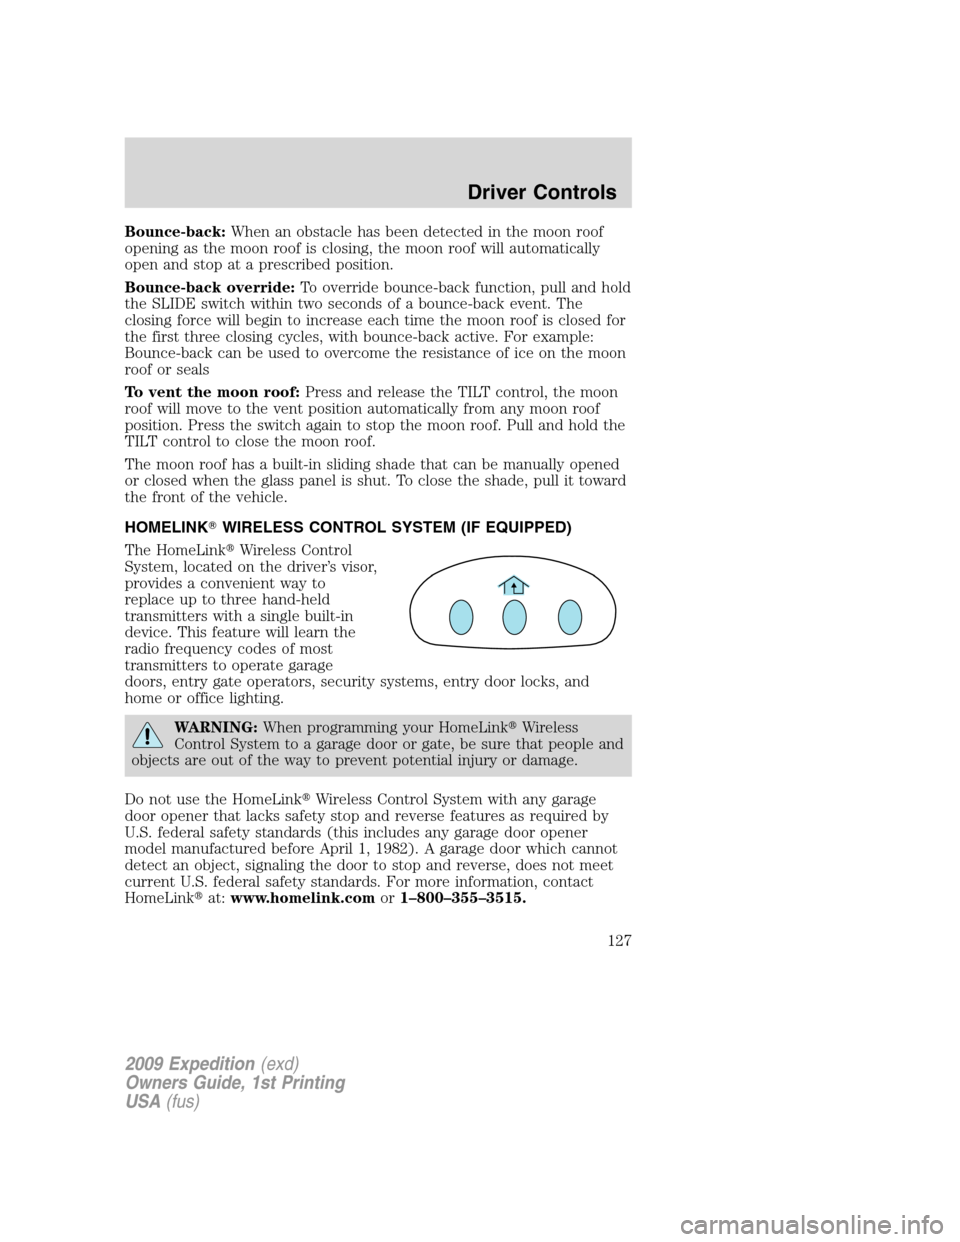
HOMELINK�WIRELESS CONTROL SYSTEM (IF EQUIPPED)
The HomeLink�Wireless Control
System, located on the driver’s visor,
provides a convenient way to
replace up to three hand-held
transmitters with a single built-in
device. This feature will learn the
radio frequency codes of most
transmitters to operate garage
doors, entry gate operators, security systems, entry door locks, and
home or office lighting.
WARNING:When programming your HomeLink�Wireless
Control System to a garage door or gate, be sure that people and
objects are out of the way to prevent potential injury or damage.
Do not use the HomeLink�Wireless Control System with any garage
door opener that lacks safety stop and reverse features as required by
U.S. federal safety standards (this includes any garage door opener
model manufactured before April 1, 1982). A garage door which cannot
detect an object, signaling the door to stop and reverse, does not meet
current U.S. federal safety standards. For more information, contact
HomeLink�at:www.homelink.comor1–800–355–3515.
2009 Expedition(exd)
Owners Guide, 1st Printing
USA(fus)
Driver Controls
127
Page 147 of 416
Autolock
This feature automatically locks all vehicle doors when the vehicle is
shifted into any gear, putting the vehicle in motion.
1. To disable/enable the autolock
feature, select this function from the
SETUP control for the current
display mode.
2. Press the RESET control to turn
the autolock ON or OFF.
Autounlock
This feature automatically unlocks all vehicle doors when the driver’s
door is opened within 10 minutes of the ignition being turned off.
1. To disable/enable the autounlock
feature, select this function from the
SETUP MENU.
2. Press and hold the RESET
control switch to turn the
autounlock ON or OFF.
3. Press the RESET control switch for the next SETUP MENU item or
wait for more than four seconds to return to the INFO MENU.
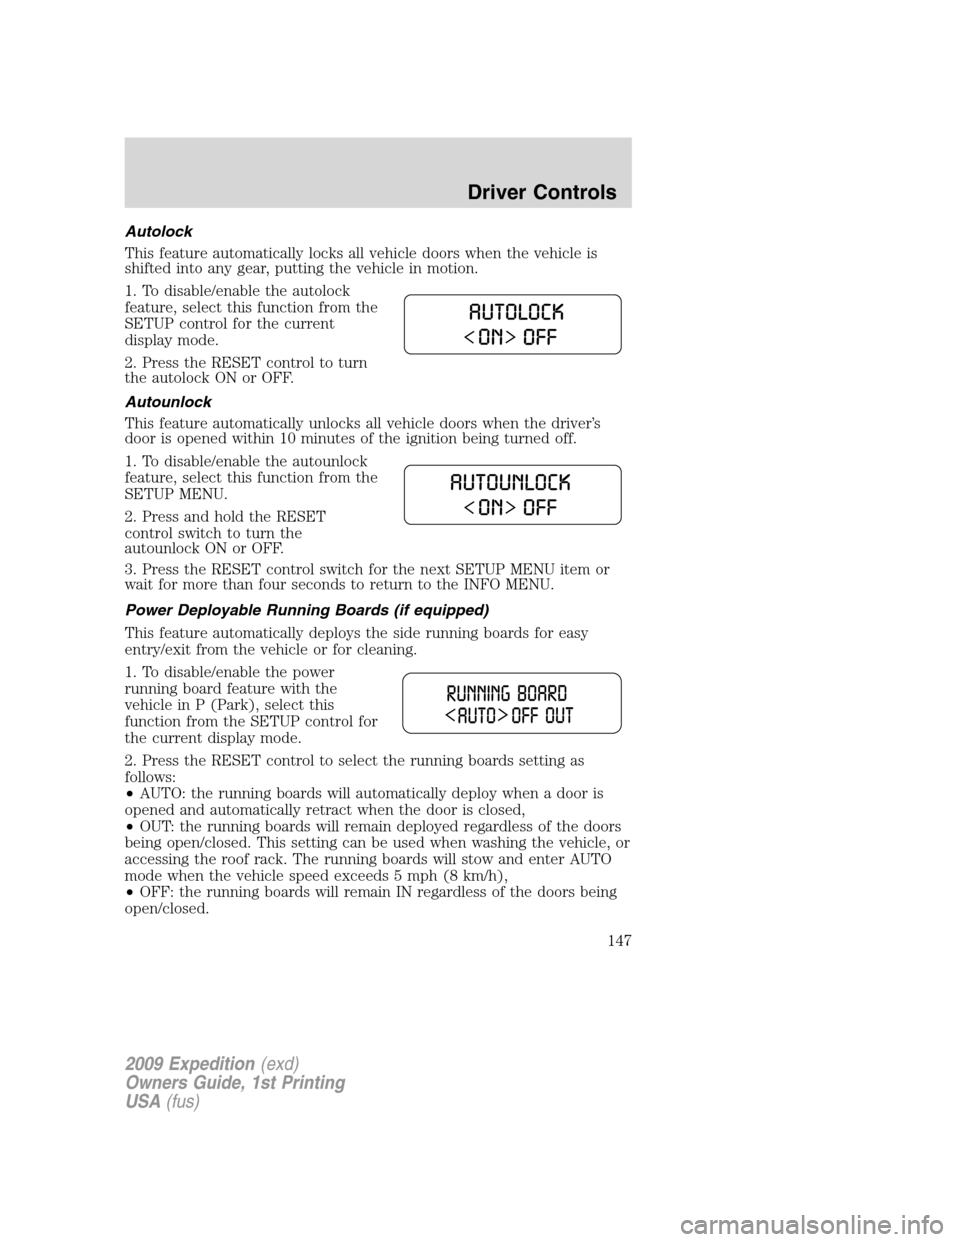
Power Deployable Running Boards (if equipped)
This feature automatically deploys the side running boards for easy
entry/exit from the vehicle or for cleaning.
1. To disable/enable the power
running board feature with the
vehicle in P (Park), select this
function from the SETUP control for
the current display mode.
2. Press the RESET control to select the running boards setting as
follows:
•AUTO: the running boards will automatically deploy when a door is
opened and automatically retract when the door is closed,
•OUT: the running boards will remain deployed regardless of the doors
being open/closed. This setting can be used when washing the vehicle, or
accessing the roof rack. The running boards will stow and enter AUTO
mode when the vehicle speed exceeds 5 mph (8 km/h),
•OFF: the running boards will remain IN regardless of the doors being
open/closed.
2009 Expedition(exd)
Owners Guide, 1st Printing
USA(fus)
Driver Controls
147
Page 170 of 416
The typical operating range for your IKT is approximately 33 feet
(10 meters). A decrease in operating range could be caused by:
•weather conditions,
•nearby radio towers,
•structures around the vehicle, or
•other vehicles parked next to your vehicle.
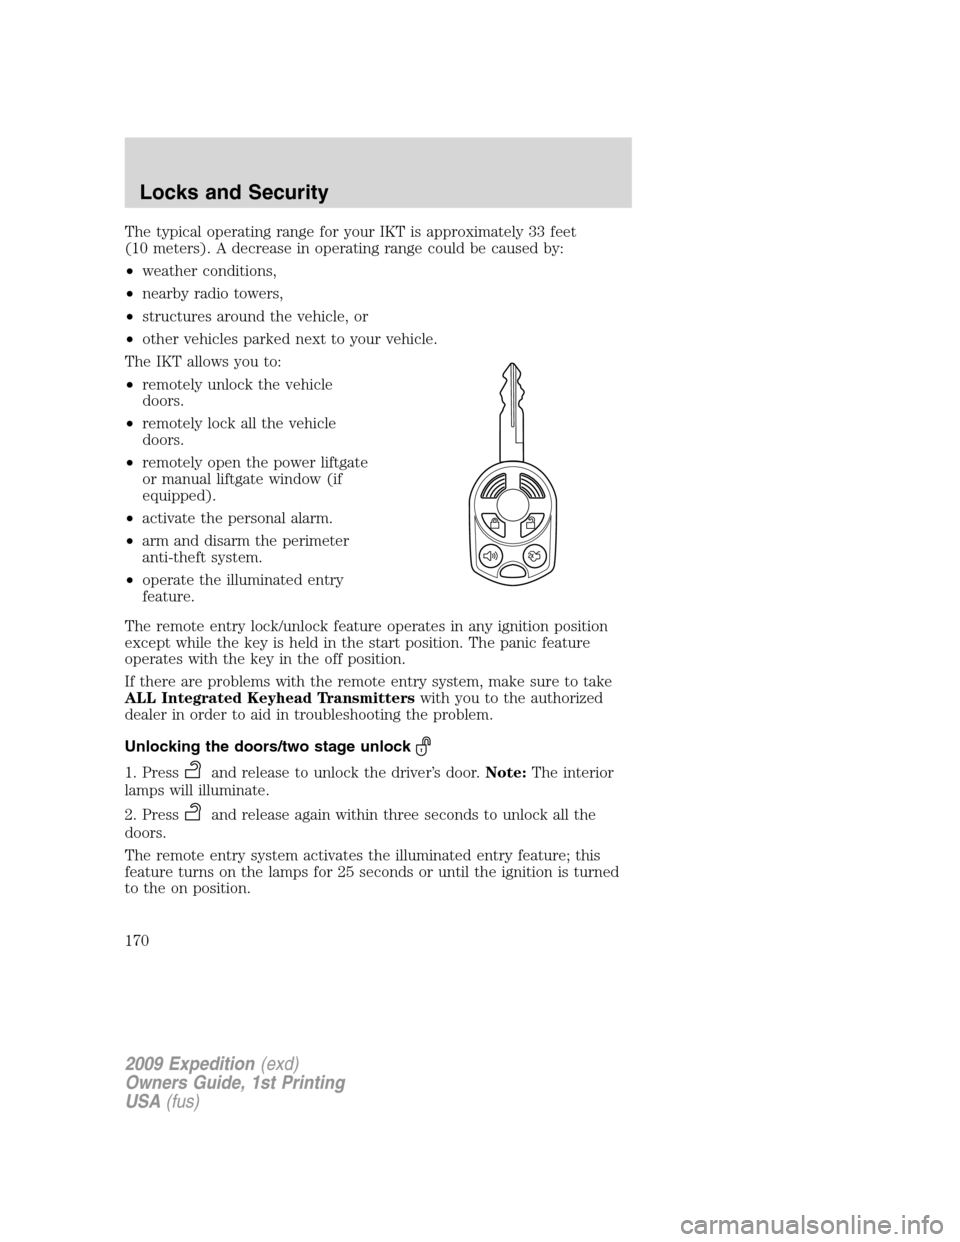
The IKT allows you to:
•remotely unlock the vehicle
doors.
•remotely lock all the vehicle
doors.
•remotely open the power liftgate
or manual liftgate window (if
equipped).
•activate the personal alarm.
•arm and disarm the perimeter
anti-theft system.
•operate the illuminated entry
feature.
The remote entry lock/unlock feature operates in any ignition position
except while the key is held in the start position. The panic feature
operates with the key in the off position.
If there are problems with the remote entry system, make sure to take
ALL Integrated Keyhead Transmitterswith you to the authorized
dealer in order to aid in troubleshooting the problem.
Unlocking the doors/two stage unlock
1. Pressand release to unlock the driver’s door.Note:The interior
lamps will illuminate.
2. Press
and release again within three seconds to unlock all the
doors.
The remote entry system activates the illuminated entry feature; this
feature turns on the lamps for 25 seconds or until the ignition is turned
to the on position.
2009 Expedition(exd)
Owners Guide, 1st Printing
USA(fus)
Locks and Security
170
Page 180 of 416
•A second key on the same key ring as thecoded key
If any of these items are present, you need to keep these objects from
touching thecoded keywhile starting the engine. These objects and
devices cannot damage thecoded key,but can cause a momentary “no
start” condition if they are too close to the key during engine start. If a
problem occurs, turn ignition the off position and restart the engine with
all other objects on the key ring held away from the ignition key. Check
to make sure thecoded keyis an approved Fordcoded key.
If your keys are lost or stolen you will need to do the following:
•Use your spare key to start the vehicle, or
•Have your vehicle towed to a authorized dealer or a locksmith. The
key codes will need to be erased from your vehicle and new key codes
will need to be re-coded.
Replacing coded keys can be very costly and you may want to store an
extra programmed key away from the vehicle in a safe place to prevent
an unforeseen inconvenience.
The correctcoded keymust be used for your vehicle. The use of the
wrong type ofcoded keymay lead to a “no start” condition.
If an unprogrammed key is used in the ignition it will cause a “no
start” condition.
Programming spare keys
You can program your own Integrated Keyhead Transmitters or standard
SecuriLock™ coded keys to your vehicle. This procedure will program
both the engine immobilizer keycode and the remote entry transmitter
portion of the IKT to your vehicle.Note:A maximum of eight coded
keys can be programmed to your vehicle; only four of these eight can be
IKTs with remote entry functionality.
Tips:
•Only use Integrated Keyhead Transmitters (IKTs) or standard
SecuriLock™ keys.
•You must have two previously programmed coded keys (keys that
already operate your vehicle’s engine) and the new unprogrammed
key(s) readily accessible.
•If two previously programmed coded keys are not available, you must
take your vehicle to your authorized dealer to have the spare key(s)
programmed.
2009 Expedition(exd)
Owners Guide, 1st Printing
USA(fus)
Locks and Security
180
Page 193 of 416
Climate controlled seats air filter replacement (if equipped)
The climate controlled seat system includes air filters that must be
replaced periodically. Refer to thescheduled maintenance information
for more information.
•There is a filter located under
each front seat.
•The filter can be accessed from the second row seat. Move the front
seats all the way forward and up to ease access.
To remove an air filter:
1. Remove key from ignition.
2. Push up on the outside rigid edge
of the filter and rotate toward the
front of the vehicle once tabs are
released.
3. Remove filter.
2009 Expedition(exd)
Owners Guide, 1st Printing
USA(fus)
Seating and Safety Restraints
193
Page 195 of 416
2. Locate handle on the side of the
seat cushion by the door.
3. Pull up on the handle and push
the seatback forward toward the
front of the vehicle.
To return the seat to the upright position:
1. Lift the seatback toward the rear
of the vehicle.
2. Rotate the seatback until you
hear a click, locking it in the upright
position.
3. Lift up on the head restraint until
it locks into its original position.
WARNING:Before returning the seatback to its original
position, make sure that cargo or any objects are not trapped
behind the seatback. After returning the seatback to its original
position, pull on the seatback to ensure that it has fully latched. An
unlatched seat may become dangerous in the event of a sudden stop or
collision.
2009 Expedition(exd)
Owners Guide, 1st Printing
USA(fus)
Seating and Safety Restraints
195
Page 199 of 416
Exiting the 3rd row
1. Pull the strap located at the
bottom outboard of the seat back to
release the seat from the floor, and
rotate the seat up towards the front
seat.
2. Follow the directions above to
return the seat from the E-Z entry
and to the upright position.
Reclining the 2nd row outboard 40% seatback
Locate the release handle on the
outboard side of the seat cushion
and lift gently to allow the seatback
to be adjusted to the desired
location.
WARNING:Reclining the seatback can cause an occupant to
slide under the seat’s safety belt, resulting in severe personal
injuries in the event of a collision.
Folding the 2nd row center 20% seat system (if equipped)
1. Locate the release handle located
in the upper left seat back, and pull
the handle to release the folding
seat latch.
2009 Expedition(exd)
Owners Guide, 1st Printing
USA(fus)
Seating and Safety Restraints
199