Page 1 of 271
Introduction 4
Instrument Cluster 12
Warning lights and chimes 12
Gauges 17
Entertainment Systems 20
AM/FM stereo 20
AM/FM stereo with CD 22
AM/FM stereo cassette with CD 25
AM/FM stereo with in-dash six CD 30
Climate Controls 37
Manual heating and air conditioning 37
Automatic temperature control 38
Rear window defroster 40
Lights 41
Headlamps 41
Turn signal control 45
Bulb replacement 46
Driver Controls 53
Windshield wiper/washer control 53
Steering wheel adjustment 54
Power windows 56
Mirrors 57
Speed control 59
Message center 63
Locks and Security 73
Keys 73
Locks 73
Anti-theft system 81
Table of Contents
1
2009 Crown Victoria(cro)
Owners Guide, 2nd Printing
USA(fus)
Page 40 of 271
•Remove any snow, ice or leaves from the air intake area at the base of
the windshield.
During extreme high ambient temperatures when idling stationary for
extended periods of time in gear, it is recommended to run the A/C in
the MAX A/C position reduce blower fan speed from the highest setting
and put the vehicle’s transmission into the park gear position to continue
to receive cool air from your A/C system.
To aid in side window defogging/demisting in cold weather:
1. Select NORM A/C.
2. Adjust the temperature control to maintain comfort.
3. Set the fan speed to HI.
4. Direct the outer instrument panel vents towards the side windows.
To increase airflow to the outer instrument panel vents, close the vents
located in the middle of the instrument panel.
REAR WINDOW DEFROSTER
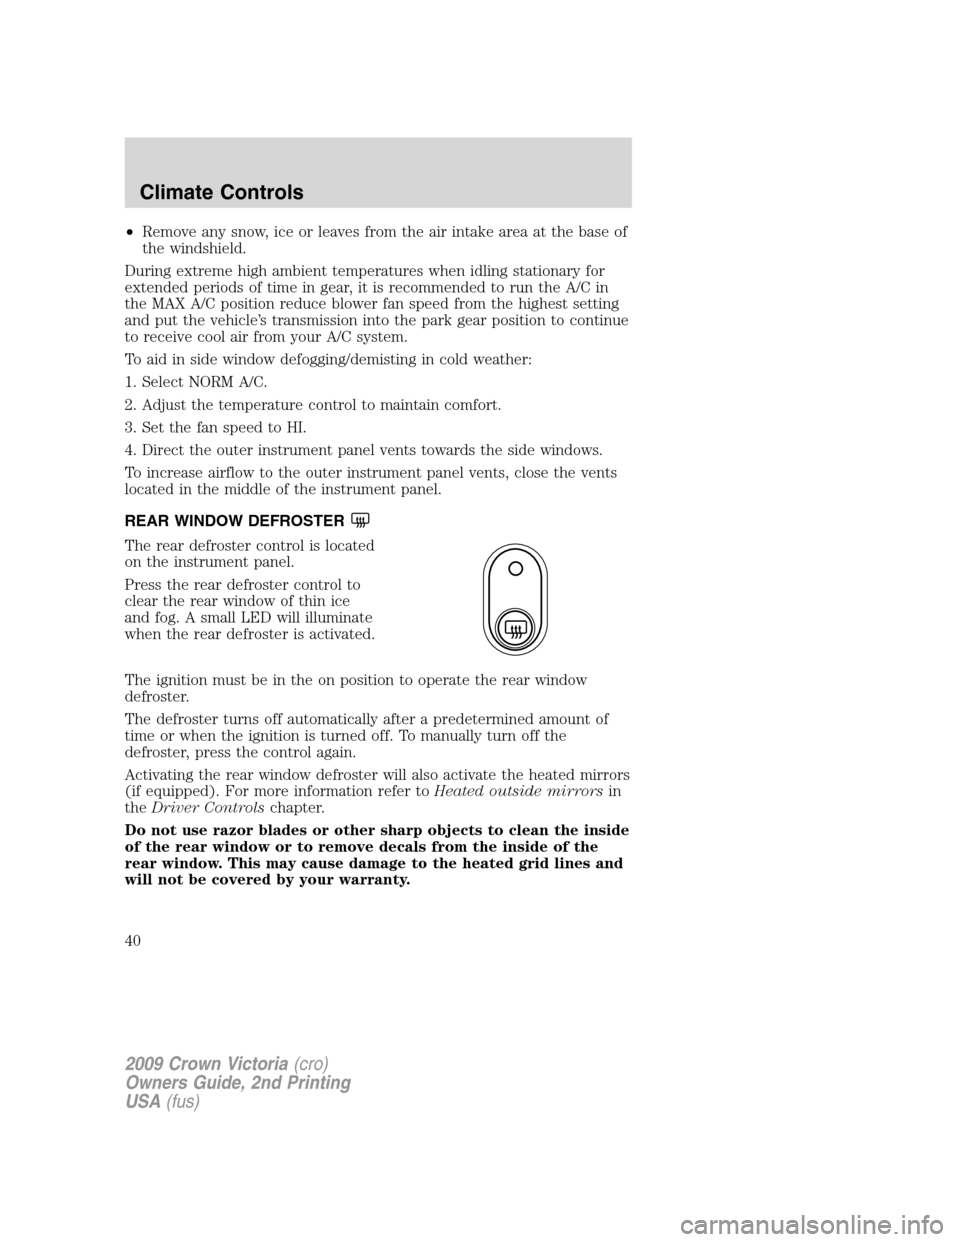
The rear defroster control is located
on the instrument panel.
Press the rear defroster control to
clear the rear window of thin ice
and fog. A small LED will illuminate
when the rear defroster is activated.
The ignition must be in the on position to operate the rear window
defroster.
The defroster turns off automatically after a predetermined amount of
time or when the ignition is turned off. To manually turn off the
defroster, press the control again.
Activating the rear window defroster will also activate the heated mirrors
(if equipped). For more information refer toHeated outside mirrorsin
theDriver Controlschapter.
Do not use razor blades or other sharp objects to clean the inside
of the rear window or to remove decals from the inside of the
rear window. This may cause damage to the heated grid lines and
will not be covered by your warranty.
2009 Crown Victoria(cro)
Owners Guide, 2nd Printing
USA(fus)
Climate Controls
40
Page 54 of 271
TILT STEERING WHEEL
To adjust the steering wheel:
1. Pull and hold the steering wheel
release control toward you.
2. Move the steering wheel up or
down until you find the desired
location.
3. Release the steering wheel
release control. This will lock the
steering wheel in position.
WARNING:Never adjust the steering wheel when the vehicle is
moving.
ILLUMINATED VISOR MIRROR (IF EQUIPPED)
Lift the mirror cover to turn on the
visor mirror lamps.
Slide on rod feature (if
equipped)
Rotate the visor towards the side
window and extend it rearward for
additional sunlight coverage.
Note:To stow the visor back into
the headliner, visor must be
retracted before moving it back
towards the windshield.
2009 Crown Victoria(cro)
Owners Guide, 2nd Printing
USA(fus)
Driver Controls
54
Page 57 of 271
Window lock
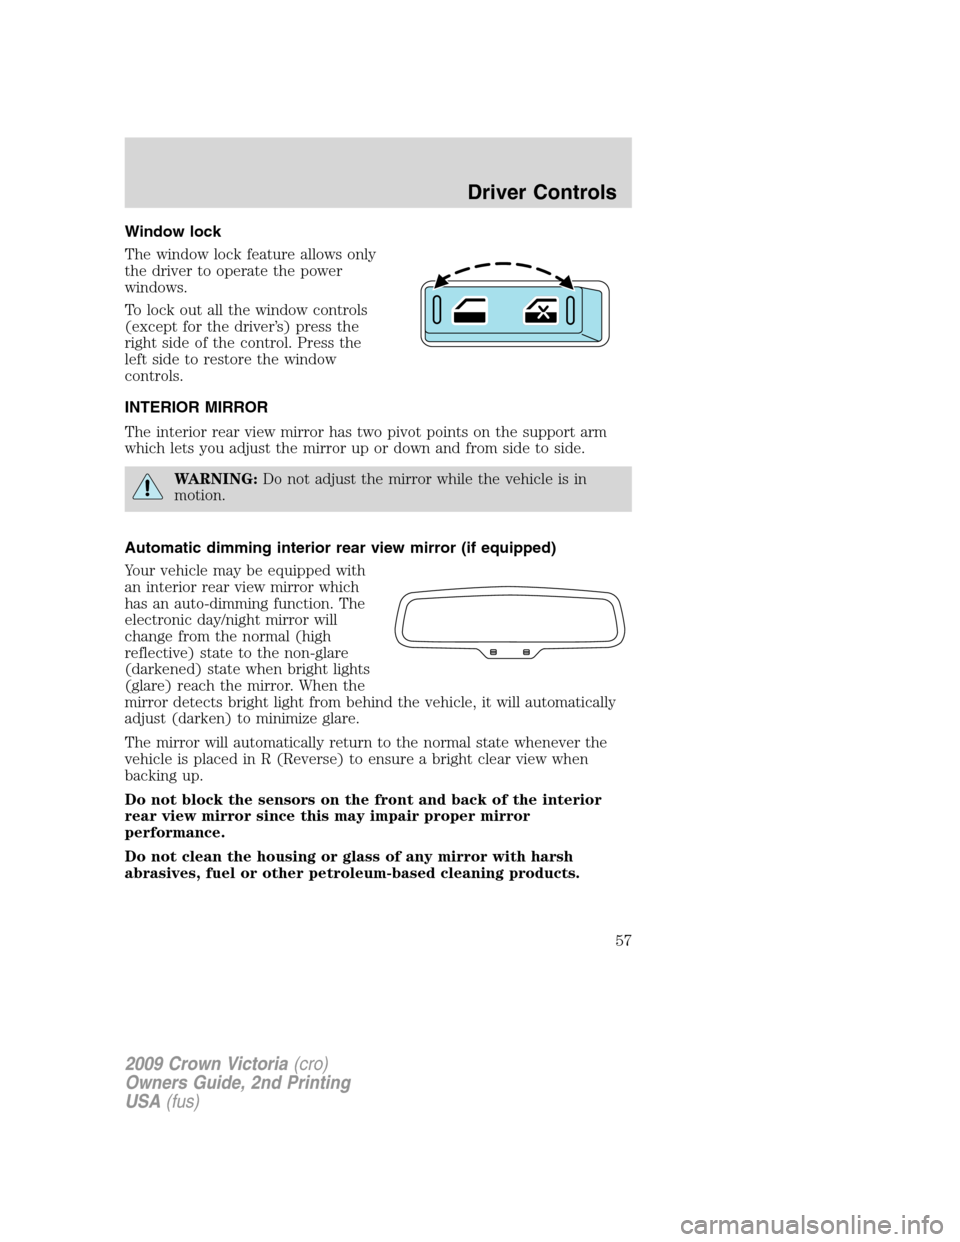
The window lock feature allows only
the driver to operate the power
windows.
To lock out all the window controls
(except for the driver’s) press the
right side of the control. Press the
left side to restore the window
controls.
INTERIOR MIRROR
The interior rear view mirror has two pivot points on the support arm
which lets you adjust the mirror up or down and from side to side.
WARNING:Do not adjust the mirror while the vehicle is in
motion.
Automatic dimming interior rear view mirror (if equipped)
Your vehicle may be equipped with
an interior rear view mirror which
has an auto-dimming function. The
electronic day/night mirror will
change from the normal (high
reflective) state to the non-glare
(darkened) state when bright lights
(glare) reach the mirror. When the
mirror detects bright light from behind the vehicle, it will automatically
adjust (darken) to minimize glare.
The mirror will automatically return to the normal state whenever the
vehicle is placed in R (Reverse) to ensure a bright clear view when
backing up.
Do not block the sensors on the front and back of the interior
rear view mirror since this may impair proper mirror
performance.
Do not clean the housing or glass of any mirror with harsh
abrasives, fuel or other petroleum-based cleaning products.
2009 Crown Victoria(cro)
Owners Guide, 2nd Printing
USA(fus)
Driver Controls
57
Page 58 of 271
EXTERIOR MIRRORS
Power side view mirrors
WARNING:Do not adjust the mirror while the vehicle is in
motion.
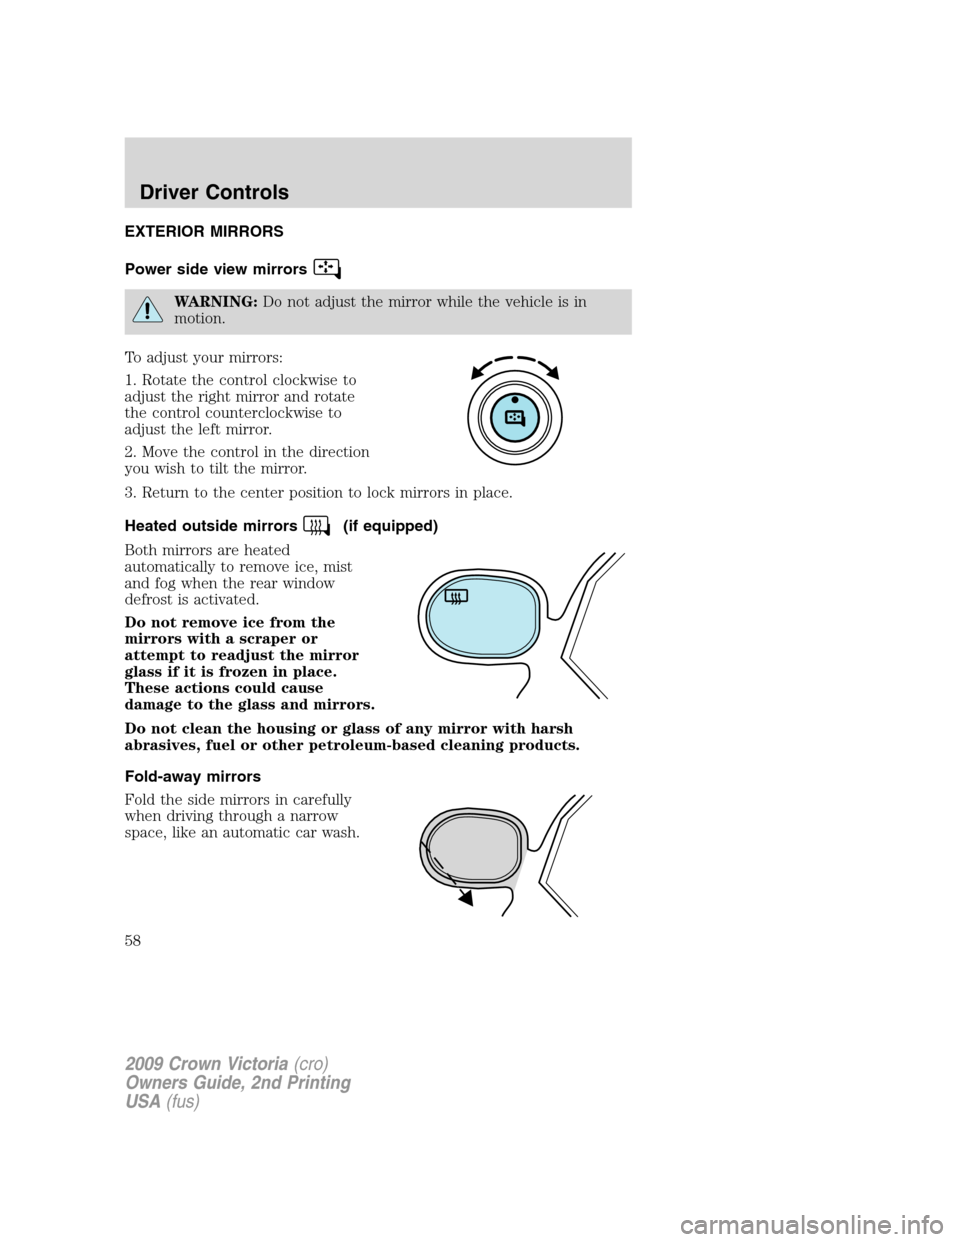
To adjust your mirrors:
1. Rotate the control clockwise to
adjust the right mirror and rotate
the control counterclockwise to
adjust the left mirror.
2. Move the control in the direction
you wish to tilt the mirror.
3. Return to the center position to lock mirrors in place.
Heated outside mirrors
(if equipped)
Both mirrors are heated
automatically to remove ice, mist
and fog when the rear window
defrost is activated.
Do not remove ice from the
mirrors with a scraper or
attempt to readjust the mirror
glass if it is frozen in place.
These actions could cause
damage to the glass and mirrors.
Do not clean the housing or glass of any mirror with harsh
abrasives, fuel or other petroleum-based cleaning products.
Fold-away mirrors
Fold the side mirrors in carefully
when driving through a narrow
space, like an automatic car wash.
2009 Crown Victoria(cro)
Owners Guide, 2nd Printing
USA(fus)
Driver Controls
58
Page 189 of 271
Fuse/Relay
LocationFuse Amp
RatingProtected Circuits
1 10A Ignition (START) - Starter relay
coil, DTRS
2 7.5A Power mirrors, Mirror switch,
Keypad switch, Decklid switch,
DDM, Cluster
3 5A Ignition (START) - Audio mute,
Police PDB (Police vehicles only)
4 10A LCM (switch illumination),
Autolamp sensor
5 7.5A Ignition (ON/ACC) - LCM
6 7.5A LCM
7 10A Ignition (ON/ACC) - Wiper
module
8 10A Electronic Automatic Temperature
Control (EATC) module (vehicles
equipped with EATC only)
9 7.5A Ignition (ON/ACC) - Door lock
switch illumination, Heated seat
switch illumination, Radio,
Antenna, Electrochromatic mirror,
Window relay coil (non-Police
vehicles only), Window and
decklid relay coil and Police
ON/ACC relay coil (Police vehicles
only)
10 15A Hazards (non-Police vehicles
only)
20A Hazards (Police vehicles only)
11 15A Ignition (ON) - Turn signals
12 15A Audio
13 10A Ignition (ON) - Rear Air
Suspension Module (RASM),
Cluster
2009 Crown Victoria(cro)
Owners Guide, 2nd Printing
USA(fus)
Roadside Emergencies
189
Page 193 of 271
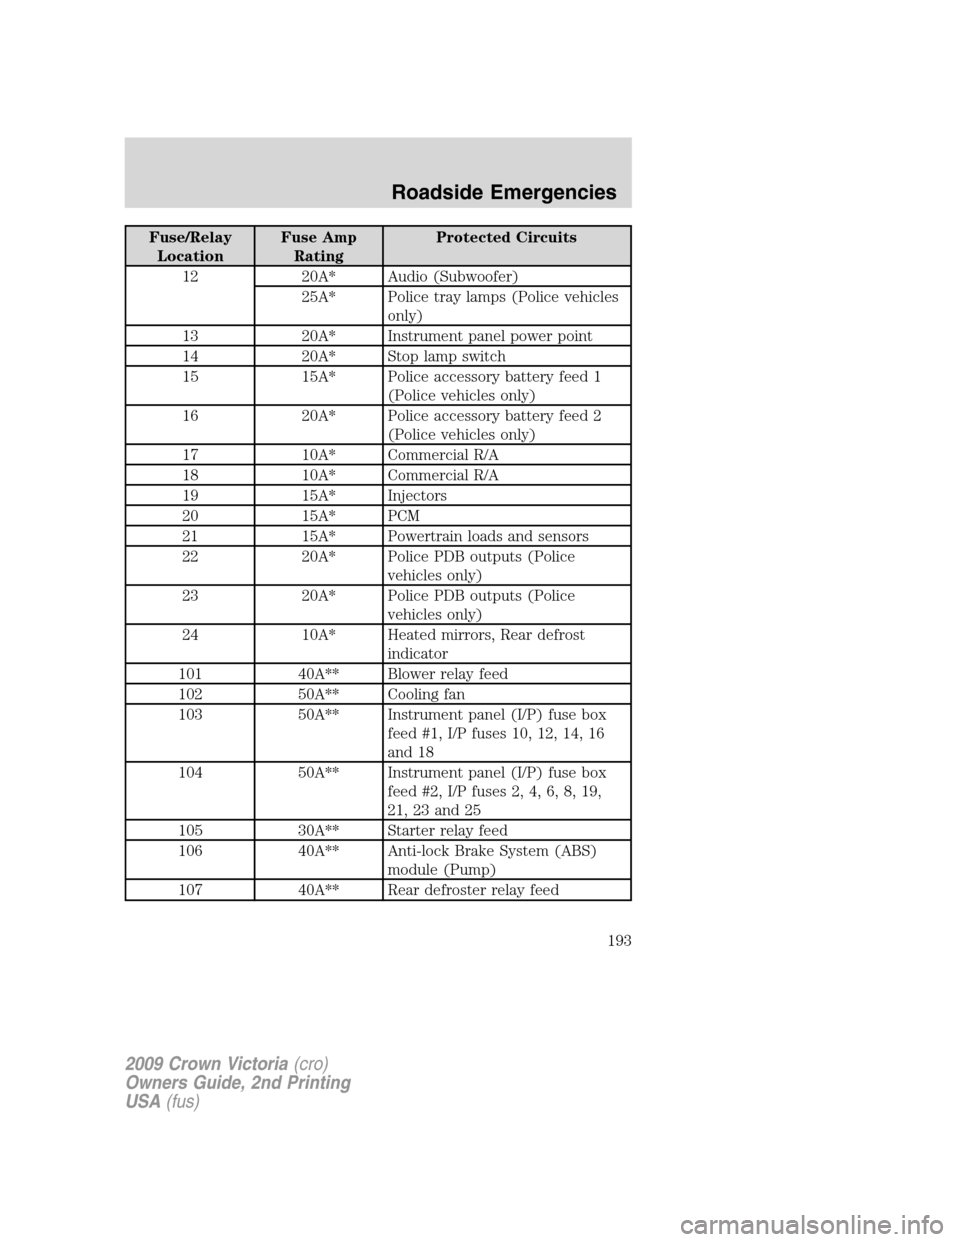
Fuse/Relay
LocationFuse Amp
RatingProtected Circuits
12 20A* Audio (Subwoofer)
25A* Police tray lamps (Police vehicles
only)
13 20A* Instrument panel power point
14 20A* Stop lamp switch
15 15A* Police accessory battery feed 1
(Police vehicles only)
16 20A* Police accessory battery feed 2
(Police vehicles only)
17 10A* Commercial R/A
18 10A* Commercial R/A
19 15A* Injectors
20 15A* PCM
21 15A* Powertrain loads and sensors
22 20A* Police PDB outputs (Police
vehicles only)
23 20A* Police PDB outputs (Police
vehicles only)
24 10A* Heated mirrors, Rear defrost
indicator
101 40A** Blower relay feed
102 50A** Cooling fan
103 50A** Instrument panel (I/P) fuse box
feed #1, I/P fuses 10, 12, 14, 16
and 18
104 50A** Instrument panel (I/P) fuse box
feed #2, I/P fuses 2, 4, 6, 8, 19,
21, 23 and 25
105 30A** Starter relay feed
106 40A** Anti-lock Brake System (ABS)
module (Pump)
107 40A** Rear defroster relay feed
2009 Crown Victoria(cro)
Owners Guide, 2nd Printing
USA(fus)
Roadside Emergencies
193
Page 218 of 271
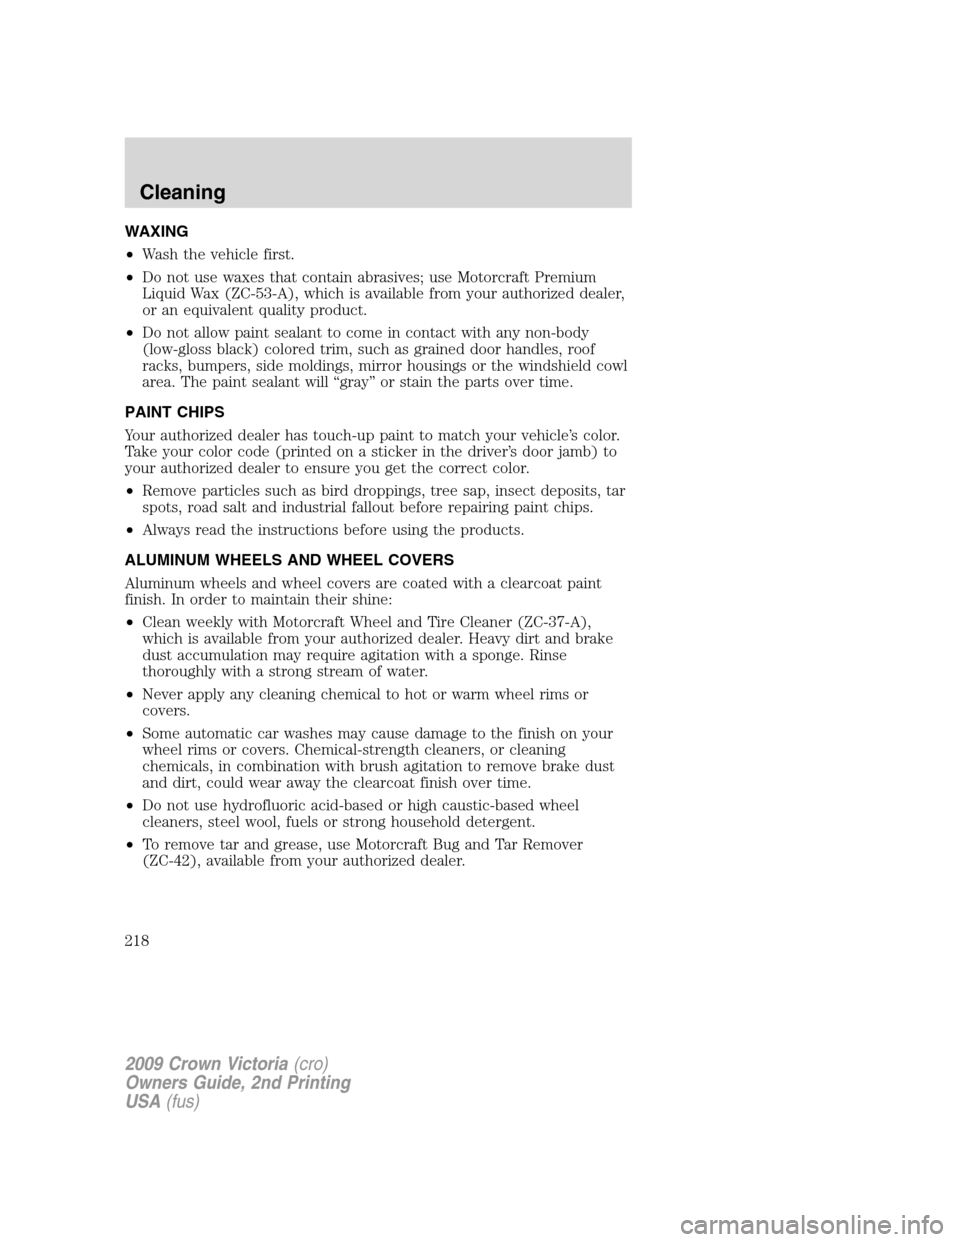
WAXING
•Wash the vehicle first.
•Do not use waxes that contain abrasives; use Motorcraft Premium
Liquid Wax (ZC-53-A), which is available from your authorized dealer,
or an equivalent quality product.
•Do not allow paint sealant to come in contact with any non-body
(low-gloss black) colored trim, such as grained door handles, roof
racks, bumpers, side moldings, mirror housings or the windshield cowl
area. The paint sealant will “gray” or stain the parts over time.
PAINT CHIPS
Your authorized dealer has touch-up paint to match your vehicle’s color.
Take your color code (printed on a sticker in the driver’s door jamb) to
your authorized dealer to ensure you get the correct color.
•Remove particles such as bird droppings, tree sap, insect deposits, tar
spots, road salt and industrial fallout before repairing paint chips.
•Always read the instructions before using the products.
ALUMINUM WHEELS AND WHEEL COVERS
Aluminum wheels and wheel covers are coated with a clearcoat paint
finish. In order to maintain their shine:
•Clean weekly with Motorcraft Wheel and Tire Cleaner (ZC-37-A),
which is available from your authorized dealer. Heavy dirt and brake
dust accumulation may require agitation with a sponge. Rinse
thoroughly with a strong stream of water.
•Never apply any cleaning chemical to hot or warm wheel rims or
covers.
•Some automatic car washes may cause damage to the finish on your
wheel rims or covers. Chemical-strength cleaners, or cleaning
chemicals, in combination with brush agitation to remove brake dust
and dirt, could wear away the clearcoat finish over time.
•Do not use hydrofluoric acid-based or high caustic-based wheel
cleaners, steel wool, fuels or strong household detergent.
•To remove tar and grease, use Motorcraft Bug and Tar Remover
(ZC-42), available from your authorized dealer.
2009 Crown Victoria(cro)
Owners Guide, 2nd Printing
USA(fus)
Cleaning
218