Page 45 of 271

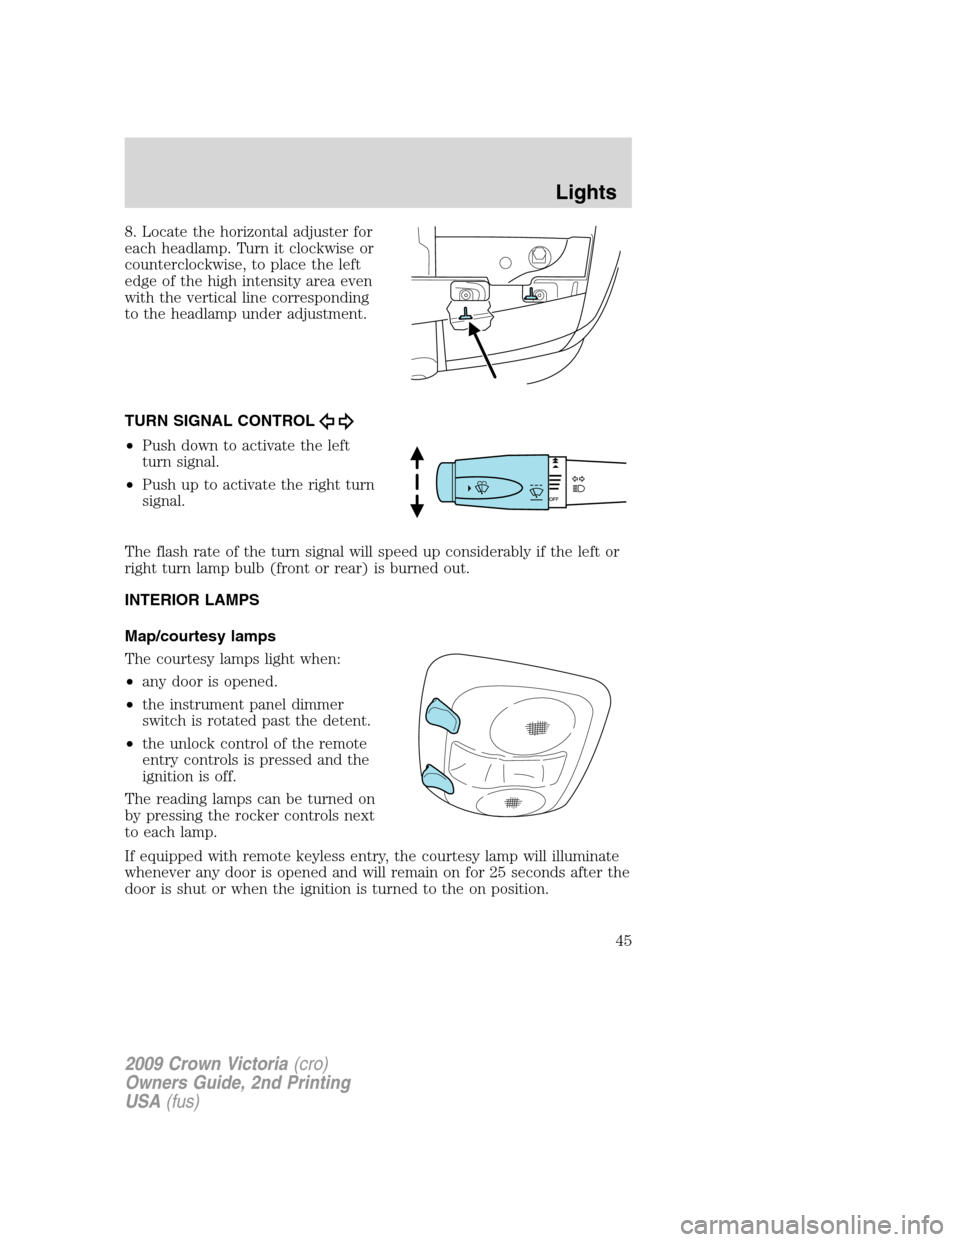
8. Locate the horizontal adjuster for
each headlamp. Turn it clockwise or
counterclockwise, to place the left
edge of the high intensity area even
with the vertical line corresponding
to the headlamp under adjustment.
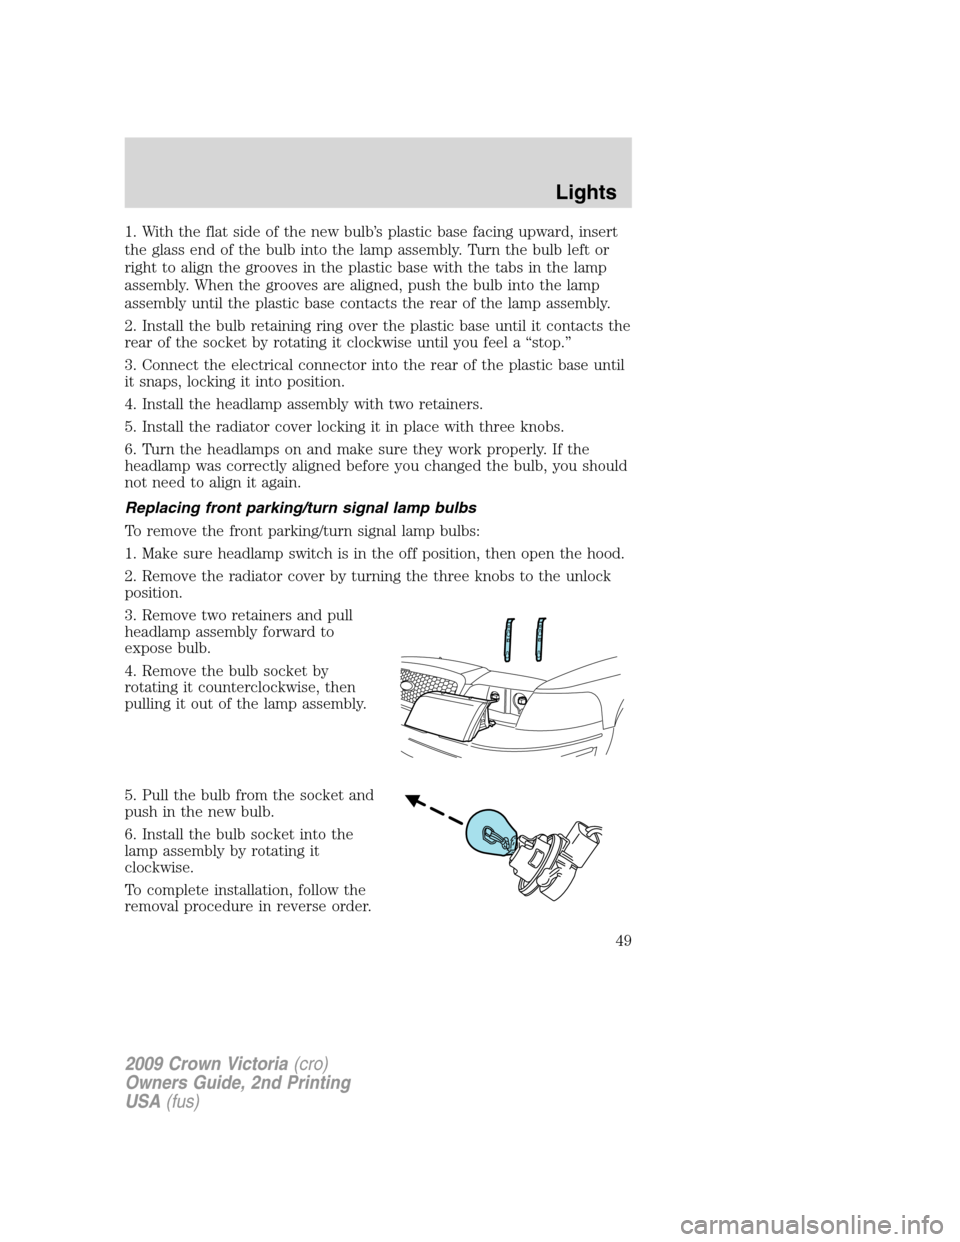
TURN SIGNAL CONTROL
•Push down to activate the left
turn signal.
•Push up to activate the right turn
signal.
The flash rate of the turn signal will speed up considerably if the left or
right turn lamp bulb (front or rear) is burned out.
INTERIOR LAMPS
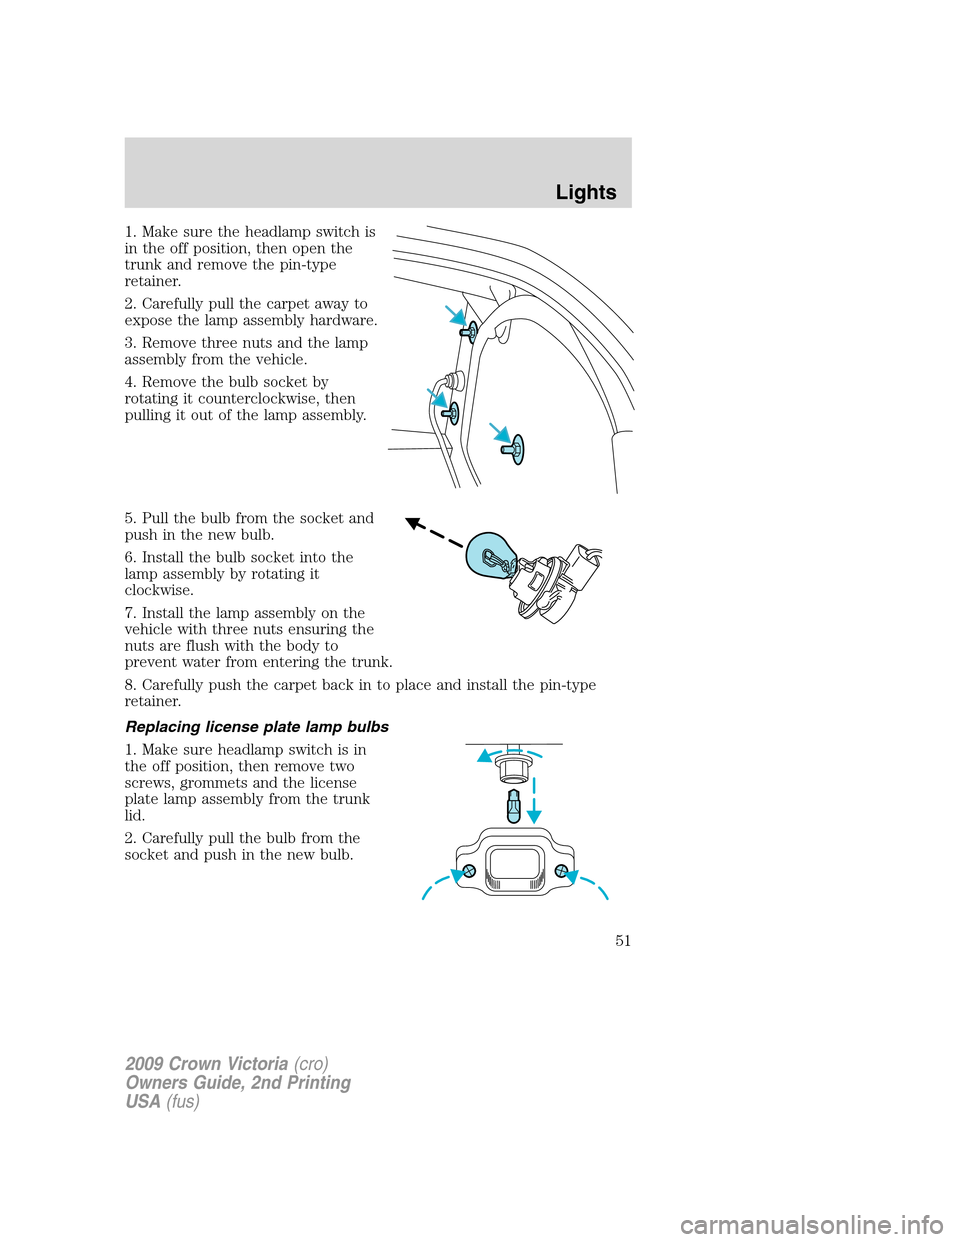
Map/courtesy lamps
The courtesy lamps light when:
•any door is opened.
•the instrument panel dimmer
switch is rotated past the detent.
•the unlock control of the remote
entry controls is pressed and the
ignition is off.
The reading lamps can be turned on
by pressing the rocker controls next
to each lamp.
If equipped with remote keyless entry, the courtesy lamp will illuminate
whenever any door is opened and will remain on for 25 seconds after the
door is shut or when the ignition is turned to the on position.
2009 Crown Victoria(cro)
Owners Guide, 2nd Printing
USA(fus)
Lights
45
Page 48 of 271
3. Remove the two retainers and
pull headlamp assembly forward to
expose bulb.
4. Disconnect the electrical
connector from the bulb by pulling
rearward.
5. Remove the bulb retaining ring by
rotating it counterclockwise (when
viewed from the rear) to free it
from the bulb socket, and slide the
ring off the plastic base. Keep the
ring to retain the new bulb.
6. Without turning, remove the old
bulb from the lamp assembly by
gently pulling it straight back out of
the lamp assembly.
To install the new bulb:
WARNING:Handle a halogen headlamp bulb carefully and keep
out of children’s reach. Grasp the bulb only by its plastic base
and do not touch the glass. The oil from your hand could cause the
bulb to break the next time the headlamps are operated.
Note:If the bulb is accidentally touched, it should be cleaned with
rubbing alcohol before being used.
2009 Crown Victoria(cro)
Owners Guide, 2nd Printing
USA(fus)
Lights
48
Page 49 of 271

1. With the flat side of the new bulb’s plastic base facing upward, insert
the glass end of the bulb into the lamp assembly. Turn the bulb left or
right to align the grooves in the plastic base with the tabs in the lamp
assembly. When the grooves are aligned, push the bulb into the lamp
assembly until the plastic base contacts the rear of the lamp assembly.
2. Install the bulb retaining ring over the plastic base until it contacts the
rear of the socket by rotating it clockwise until you feel a “stop.”
3. Connect the electrical connector into the rear of the plastic base until
it snaps, locking it into position.
4. Install the headlamp assembly with two retainers.
5. Install the radiator cover locking it in place with three knobs.
6. Turn the headlamps on and make sure they work properly. If the
headlamp was correctly aligned before you changed the bulb, you should
not need to align it again.
Replacing front parking/turn signal lamp bulbs
To remove the front parking/turn signal lamp bulbs:
1. Make sure headlamp switch is in the off position, then open the hood.
2. Remove the radiator cover by turning the three knobs to the unlock
position.
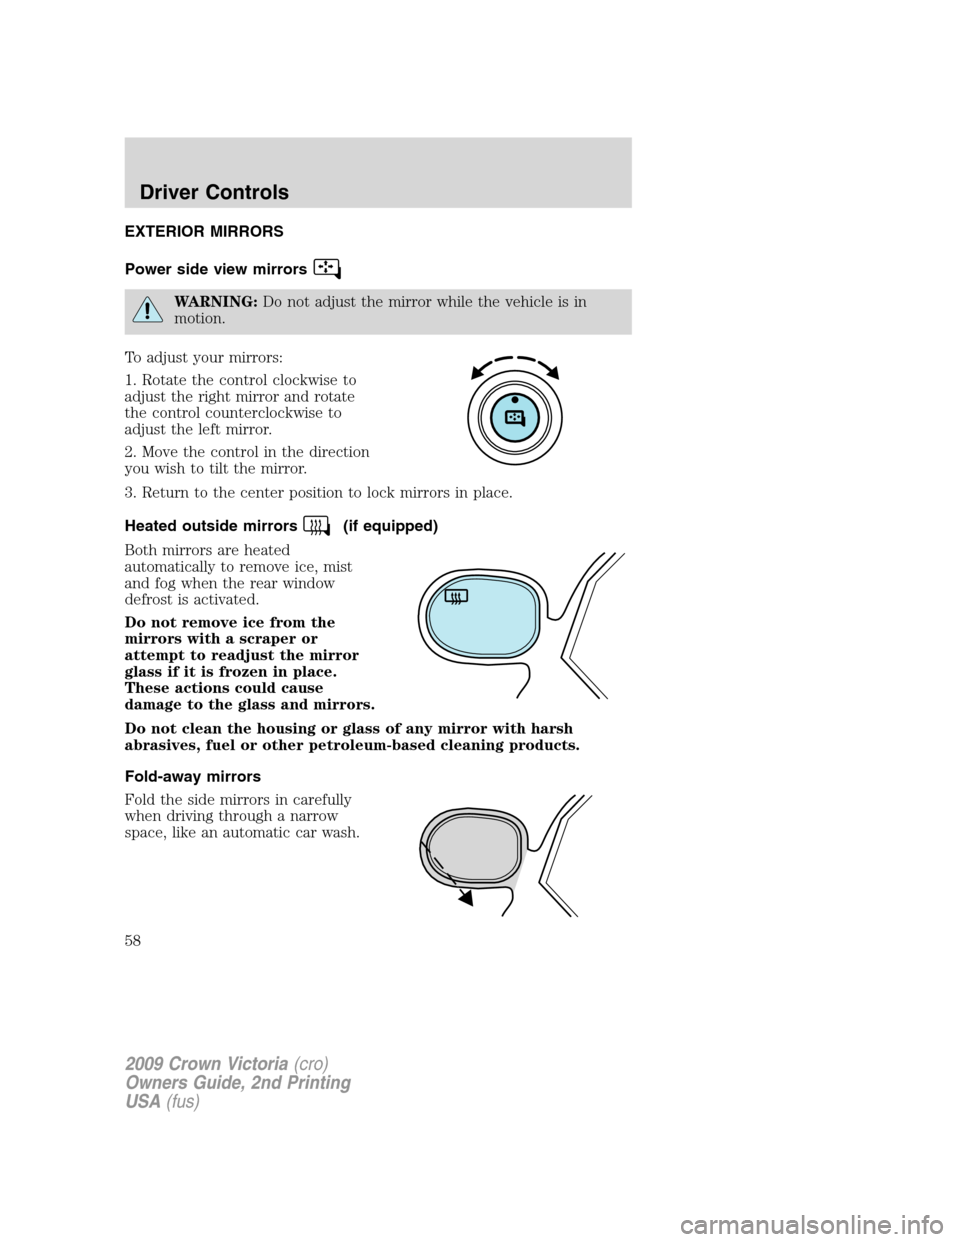
3. Remove two retainers and pull
headlamp assembly forward to
expose bulb.
4. Remove the bulb socket by
rotating it counterclockwise, then
pulling it out of the lamp assembly.
5. Pull the bulb from the socket and
push in the new bulb.
6. Install the bulb socket into the
lamp assembly by rotating it
clockwise.
To complete installation, follow the
removal procedure in reverse order.
2009 Crown Victoria(cro)
Owners Guide, 2nd Printing
USA(fus)
Lights
49
Page 50 of 271
Replacing front sidemarker bulb
To remove the front side marker bulb:
1. Make sure headlamp switch is in the off position, then open the hood.
2. Remove the radiator cover by turning the three knobs to the unlock
position.
3. Remove the screw from the
outside of the lamp.
4. Remove the nut from inside the
lamp and pull the lamp assembly
away from the vehicle.
5. Rotate the bulb socket
counterclockwise and remove from
lamp assembly.
6. Carefully pull bulb straight out of
the socket and push in the new bulb
until it snaps, locking it into
position.
7. To complete installation, follow
the removal procedure in reverse
order.
Replacing tail/brake/turn signal lamp bulbs
The tail lamp and brake/turn signal lamp bulbs are located in the tail
lamp assembly. Follow the same steps to replace either bulb.
2009 Crown Victoria(cro)
Owners Guide, 2nd Printing
USA(fus)
Lights
50
Page 51 of 271

1. Make sure the headlamp switch is
in the off position, then open the
trunk and remove the pin-type
retainer.
2. Carefully pull the carpet away to
expose the lamp assembly hardware.
3. Remove three nuts and the lamp
assembly from the vehicle.
4. Remove the bulb socket by
rotating it counterclockwise, then
pulling it out of the lamp assembly.
5. Pull the bulb from the socket and
push in the new bulb.
6. Install the bulb socket into the
lamp assembly by rotating it
clockwise.
7. Install the lamp assembly on the
vehicle with three nuts ensuring the
nuts are flush with the body to
prevent water from entering the trunk.
8. Carefully push the carpet back in to place and install the pin-type
retainer.
Replacing license plate lamp bulbs
1. Make sure headlamp switch is in
the off position, then remove two
screws, grommets and the license
plate lamp assembly from the trunk
lid.
2. Carefully pull the bulb from the
socket and push in the new bulb.
2009 Crown Victoria(cro)
Owners Guide, 2nd Printing
USA(fus)
Lights
51
Page 52 of 271
3. Install the lamp assembly on trunk lid with two grommets, ensuring
the grommets are pushed all the way into the trunk lid and secure with
two screws.
Replacing backup lamp bulbs
1. Open trunk and remove bulb
socket from the trunk lid by turning
counterclockwise.
2. Pull the bulb straight out of the
socket and push in the new bulb.
3. Install the bulb socket in trunk lid
by turning clockwise.
Replacing high-mount brakelamp bulbs
1. Remove two screws from the
lamp assembly.
2. Carefully lift the lamp assembly
up for access to the bulbs.
3. Carefully pull the bulb socket out
of the lamp assembly.
4. Pull the bulb straight out of the
socket and push in the new bulb.
To install, reverse the removal
procedure.
2009 Crown Victoria(cro)
Owners Guide, 2nd Printing
USA(fus)
Lights
52
Page 58 of 271

EXTERIOR MIRRORS
Power side view mirrors
WARNING:Do not adjust the mirror while the vehicle is in
motion.
To adjust your mirrors:
1. Rotate the control clockwise to
adjust the right mirror and rotate
the control counterclockwise to
adjust the left mirror.
2. Move the control in the direction
you wish to tilt the mirror.
3. Return to the center position to lock mirrors in place.
Heated outside mirrors
(if equipped)
Both mirrors are heated
automatically to remove ice, mist
and fog when the rear window
defrost is activated.
Do not remove ice from the
mirrors with a scraper or
attempt to readjust the mirror
glass if it is frozen in place.
These actions could cause
damage to the glass and mirrors.
Do not clean the housing or glass of any mirror with harsh
abrasives, fuel or other petroleum-based cleaning products.
Fold-away mirrors
Fold the side mirrors in carefully
when driving through a narrow
space, like an automatic car wash.
2009 Crown Victoria(cro)
Owners Guide, 2nd Printing
USA(fus)
Driver Controls
58
Page 200 of 271
1. Block the diagonally opposite
wheel.
2. Remove any wheel trim. Insert
the tapered end of the lug nut
wrench behind wheel covers or
hubcaps and twist off.
3. Loosen each wheel metal lug nut
one-half turn counterclockwise but
do not remove them until the wheel
is raised off the ground.
Before placing the jack under the vehicle, NOTE the jack location
markings:
JACK LOCATION
The jack location markings can be
foundon the lower outer edge of
the body.
•Locate the jack locator mark (B)
on the body (C) near the tire you
are changing, then place the jack
(D)under the frame (A) of
the vehiclealigning it with the
mark (B).
•Position the jack according to the
following guides and turn the jack
handle clockwise until the wheel
is completely off the ground.
A
D
B
C
2009 Crown Victoria(cro)
Owners Guide, 2nd Printing
USA(fus)
Roadside Emergencies
200