Page 234 of 532

The right-hand control is a rocker type switch with a
button in the center. Pressing the top of the switch will
increase the volume, and pressing the bottom of the
switch will decrease the volume. The center button of the
right-hand control will allow you to change the mode.
The left-hand control is a rocker type switch with a push
button in the center. The function of the left-hand control
is different, depending on which mode you are in.
The following describes the left-hand control operation in
each mode.Radio OperationPressing the top of the left side switch will seek up for the
next listenable station and pressing the bottom of the
switch will seek down for the next listenable station.
The button located in the center of the left-hand control
will tune to the next pre-set station that you have
programmed in the radio pre-set push-buttons.
CD PlayerPressing the top of the switch once will go to the next
track on the CD. Pressing the bottom of the switch once
will go to the beginning of the current track or to the
beginning of the previous track if it is within one second
after the current track; begins to play.
If you press the switch up or down twice it plays the
second track, three times, it will play the third, etc.
The button in the center of the left-hand switch has no
function in this mode.CD/DVD MAINTENANCETo keep a CD/DVD in good condition, take the following
precautions:
1. Handle the disc by its edge; avoid touching the
surface.
2. If the disc is stained, clean the surface with a soft cloth,
wiping from center to edge.
232 UNDERSTANDING YOUR INSTRUMENT PANEL
Page 366 of 532
Refer to the “Maintenance Schedule” in Section 8 for the
proper maintenance intervals. More frequent rotation is
permissible if desired. The reasons for any rapid or
unusual wear should be corrected prior to rotation being
performed.NOTE:
On Canadian vehicles only, if your vehicle is
equipped with All-Season type tires on the front and
ON/OFF Road type tires mounted on the rear, do not use
a front-to-back rotation pattern. Instead, rotate your tires
side-to-side at the recommended intervals.364 STARTING AND OPERATING
Page 370 of 532

CAUTION!
•
The TPMS has been optimized for the original
equipment tires and wheels. TPMS pressures have
been established for the tire size equipped on your
vehicle. Undesirable system operation or sensor
damage may result when using replacement
equipment that is not of the same size, type, and/or
style. After-market wheels can cause sensor dam-
age. Do not use aftermarket tire sealants or balance
beads if your vehicle is equipped with a TPMS, as
damage to the sensors may result.
•
After inspecting or adjusting the tire pressure
always reinstall the valve stem cap. This will
prevent moisture and dirt from entering the valve
stem, which could damage the Tire Pressure Moni-
toring Sensor.NOTE:
•
The TPMS is not intended to replace normal tire care
and maintenance, nor to provide warning of a tire
failure or condition.
•
The TPMS should not be used as a tire pressure gauge
while adjusting your tire pressure.
•
Driving on a significantly under-inflated tire causes
the tire to overheat and can lead to tire failure.
Under-inflation also reduces fuel efficiency and tire
tread life, and may affect the vehicle’s handling and
stopping ability.
•
The TPMS is not a substitute for proper tire mainte-
nance, and it is the driver ’s responsibility to maintain
correct tire pressure, even if under-inflation has not
reached the level to trigger illumination of the “Tire
Pressure Monitoring Telltale Light.”
•
Seasonal temperature changes will affect tire pressure,
and the TPM system will monitor the actual tire
pressure in the tire.
368 STARTING AND OPERATING
Page 392 of 532

Consider the following items when computing the
weight on the rear axle of the vehicle:•
The tongue weight of the trailer.
•
The weight of any other type of cargo or equipment
put in or on your vehicle.
•
The weight of the driver and all passengers.
NOTE: Remember that everything put into or on the
trailer adds to the load on your vehicle. Also, additional
factory-installed options, or dealer-installed options,
must be considered as part of the total load on your
vehicle. Refer to the Tire and Loading Information plac-
ard in the “Tire Safety Information” section of this
manual.
Towing RequirementsTo promote proper break-in of your new vehicle drive-
train components the following guidelines are recom-
mended:
CAUTION!
•
Avoid towing a trailer for the first 500 miles
(805 km) of vehicle operation. Doing so may dam-
age your vehicle.
•
During the first 500 miles (805 km) of trailer
towing, limit your speed to 50 mph (80 km/h).
Perform the maintenance listed in Section 8 of this
manual. When towing a trailer, never exceed the GAWR,
or GCWR, ratings.
390 STARTING AND OPERATING
Page 427 of 532
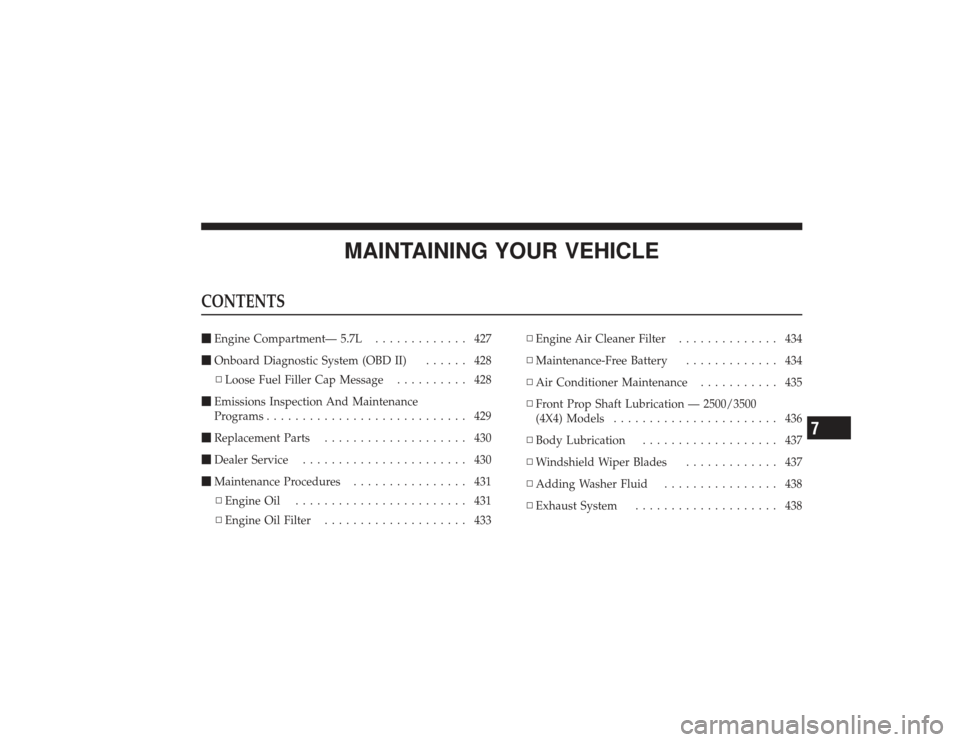
MAINTAINING YOUR VEHICLE
CONTENTS�Engine Compartment— 5.7L ............. 427
� Onboard Diagnostic System (OBD II) ...... 428
▫ Loose Fuel Filler Cap Message .......... 428
� Emissions Inspection And Maintenance
Programs ............................ 429
� Replacement Parts .................... 430
� Dealer Service ....................... 430
� Maintenance Procedures ................ 431
▫ Engine Oil ........................ 431
▫ Engine Oil Filter .................... 433 ▫
Engine Air Cleaner Filter .............. 434
▫ Maintenance-Free Battery ............. 434
▫ Air Conditioner Maintenance ........... 435
▫ Front Prop Shaft Lubrication — 2500/3500
(4X4) Models ....................... 436
▫ Body Lubrication ................... 437
▫ Windshield Wiper Blades ............. 437
▫ Adding Washer Fluid ................ 438
▫ Exhaust System .................... 438
7
Page 431 of 532

appear the next time the vehicle is started. This might
indicate a damaged cap. If the problem is detected twice
in a row, the system will turn on the MIL. Resolving the
problem will turn the MIL light off.EMISSIONS INSPECTION AND MAINTENANCE
PROGRAMSIn some localities, it may be a legal requirement to pass
an inspection of your vehicle’s emissions control system.
Failure to pass could prevent vehicle registration.For states that require an Inspection and Mainte-
nance (I/M), this check verifies the Malfunction
Indicator Light (MIL) is functioning and is not on
when the engine is running, and that the OBD II system
is ready for testing.
Normally, the OBD II system will be ready. The OBD II
system may notbe ready if your vehicle was recently serviced, recently had a dead battery or a battery replace-
ment. If the OBD II system should be determined not
ready for the I/M test, your vehicle may fail the test.
Your vehicle has a simple ignition key-actuated test,
which you can use prior to going to the test station. To
check if your vehicle’s OBD II system is ready, you must
do the following:
1. Insert your ignition key into the ignition switch.
2. Turn the ignition to the ON position, but do not crank
or start the engine.
3. If you crank or start the engine, you will have to start
this test over.
4. As soon as you turn your key to the ON position, you
will see the MIL symbol come on as part of a normal bulb
check.
MAINTAINING YOUR VEHICLE 429
7
Page 432 of 532

5. Approximately 15 seconds later, one of two things will
happen:a. The MIL will flash for about 10 seconds and then
return to being fully illuminated until you turn OFF
the ignition or start the engine. This means that your
vehicle’s OBD II system is not readyand you should
not proceed to the I/M station.
b. The MIL will not flash at all and will remain fully
illuminated until you turn OFF the ignition or start the
engine. This means that your vehicle’s OBD II system
is ready and you can proceed to the I/M station.
If your OBD II system is not ready,you should see your
authorized dealer or repair facility. If your vehicle was
recently serviced or had a battery failure or replacement,
you may need to do nothing more than drive your
vehicle as you normally would in order for your OBD II
system to update. A recheck with the above test routine
may then indicate that the system is now ready. Regardless of whether your vehicle’s OBD II system is
ready or not, if the MIL is illuminated during normal
vehicle operation you should have your vehicle serviced
before going to the I/M station. The I/M station can fail
your vehicle because the MIL is on with the engine
running.
REPLACEMENT PARTSUse of genuine MOPAR�
parts for normal/scheduled
maintenance and repairs is highly recommended to en-
sure the designed performance. Damage or failures
caused by the use of non-MOPAR� parts for maintenance
and repairs will not be covered by the manufacturer’s
warranty.DEALER SERVICEYour authorized dealer has the qualified service person-
nel, special tools and equipment to perform all service
operations in an expert manner. Service Manuals are
available which include detailed service information for
430 MAINTAINING YOUR VEHICLE
Page 433 of 532

your vehicle. Refer to these manuals before attempting
any procedure yourself.
NOTE:Intentional tampering with emissions control
systems can result in civil penalties being assessed
against you.
WARNING!
You can be badly injured working on or around a
motor vehicle. Do only that service work for which
you have the knowledge and the proper equipment.
If you have any doubt about your ability to perform
a service job, take your vehicle to a competent
mechanic.MAINTENANCE PROCEDURESThe pages that follow contain the requiredmaintenance
services determined by the engineers who designed your
vehicle. Besides the maintenance items for which there are fixed
maintenance intervals, there are other items that should
operate satisfactorily without periodic maintenance.
However, if a malfunction of these items does occur, it
could adversely affect the engine or vehicle performance.
These items should be inspected if a malfunction is
observed or suspected.
Engine Oil
Checking Oil LevelTo assure proper lubrication of your vehicle’s engine, the
engine oil must be maintained at the correct level. The
best time to check the engine oil level is about five
minutes after a fully warmed up engine is shut off or
before starting the engine after it has sat overnight.
Checking the oil while the vehicle is on level ground will
improve the accuracy of the oil level readings. Always
maintain the oil level within the SAFE zone on the
MAINTAINING YOUR VEHICLE 431
7