Page 202 of 532
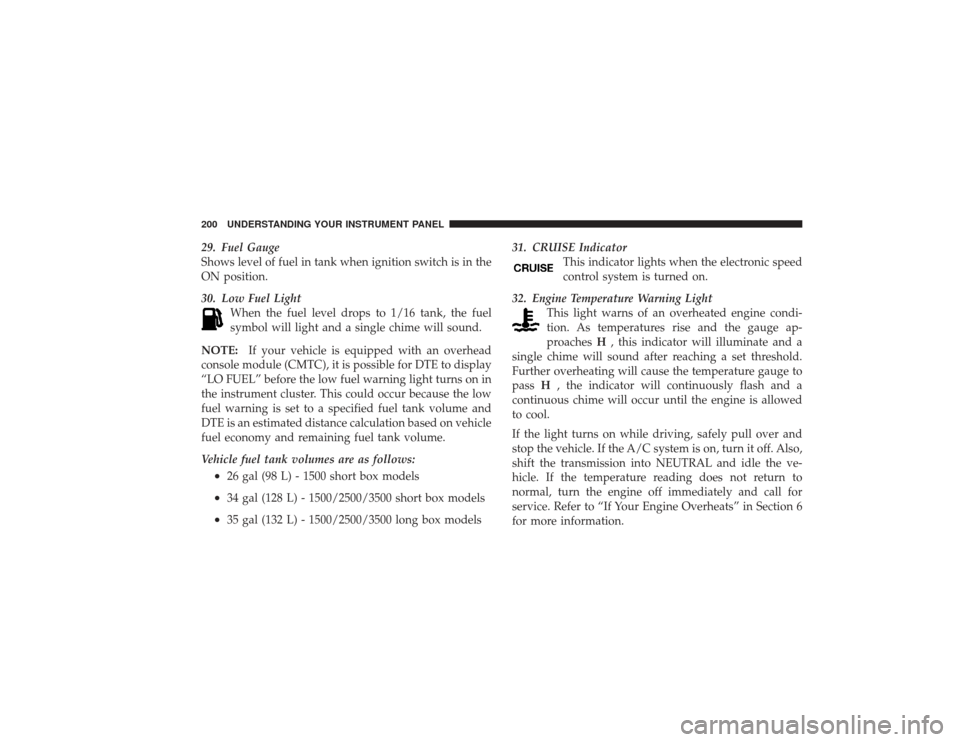
29. Fuel Gauge
Shows level of fuel in tank when ignition switch is in the
ON position.
30. Low Fuel LightWhen the fuel level drops to 1/16 tank, the fuel
symbol will light and a single chime will sound.
NOTE: If your vehicle is equipped with an overhead
console module (CMTC), it is possible for DTE to display
“LO FUEL” before the low fuel warning light turns on in
the instrument cluster. This could occur because the low
fuel warning is set to a specified fuel tank volume and
DTE is an estimated distance calculation based on vehicle
fuel economy and remaining fuel tank volume.
Vehicle fuel tank volumes are as follows:•
26 gal (98 L) - 1500 short box models
•
34 gal (128 L) - 1500/2500/3500 short box models
•
35 gal (132 L) - 1500/2500/3500 long box models 31. CRUISE Indicator
This indicator lights when the electronic speed
control system is turned on.
32. Engine Temperature Warning Light This light warns of an overheated engine condi-
tion. As temperatures rise and the gauge ap-
proaches H, this indicator will illuminate and a
single chime will sound after reaching a set threshold.
Further overheating will cause the temperature gauge to
pass H, the indicator will continuously flash and a
continuous chime will occur until the engine is allowed
to cool.
If the light turns on while driving, safely pull over and
stop the vehicle. If the A/C system is on, turn it off. Also,
shift the transmission into NEUTRAL and idle the ve-
hicle. If the temperature reading does not return to
normal, turn the engine off immediately and call for
service. Refer to “If Your Engine Overheats” in Section 6
for more information.
200 UNDERSTANDING YOUR INSTRUMENT PANEL
Page 239 of 532
Air Conditioning and Heating — If EquippedAir Conditioning Operation
To turn on the Air Conditioning, set the fan
control at any speed and press the snowflake
button located at the right of the control panel.
Conditioned air will be directed through the
outlets selected by the mode control. A light in the
snowflake button shows that the air conditioning is on.
Press the button a second time to turn the air condition-
ing off.
Slight changes in engine speed or power may be noticed
when the air conditioning compressor is on. This is a
normal occurrence as the compressor will cycle on and
off to maintain comfort and increase fuel economy.
Air Conditioning And Heating
UNDERSTANDING YOUR INSTRUMENT PANEL 237
4
Page 240 of 532
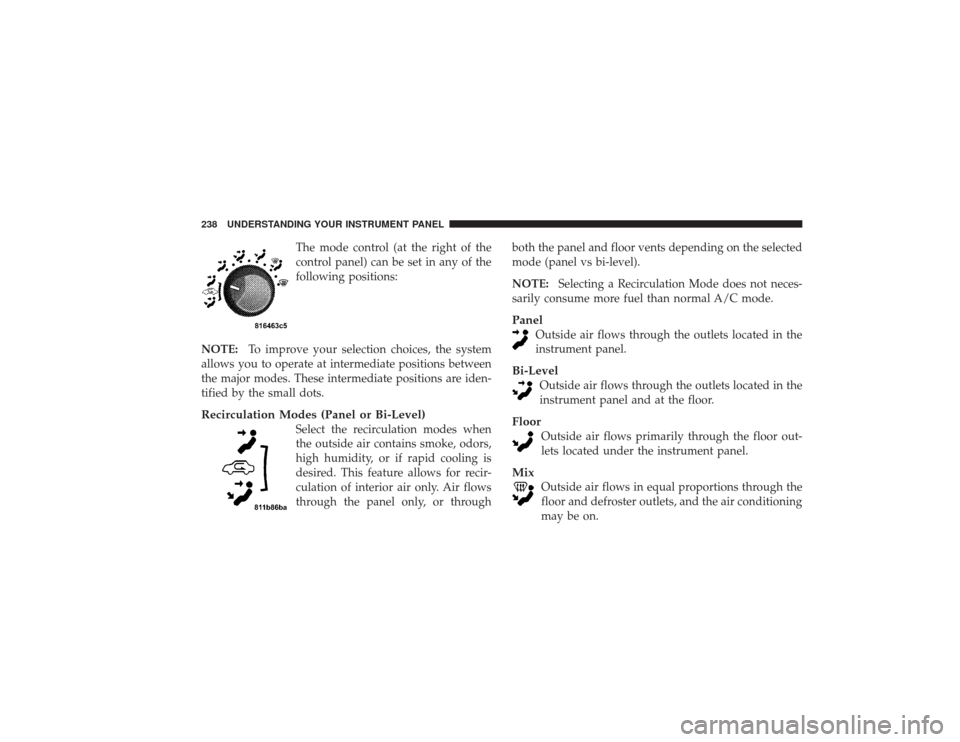
The mode control (at the right of the
control panel) can be set in any of the
following positions:
NOTE: To improve your selection choices, the system
allows you to operate at intermediate positions between
the major modes. These intermediate positions are iden-
tified by the small dots.
Recirculation Modes (Panel or Bi-Level)
Select the recirculation modes when
the outside air contains smoke, odors,
high humidity, or if rapid cooling is
desired. This feature allows for recir-
culation of interior air only. Air flows
through the panel only, or through both the panel and floor vents depending on the selected
mode (panel vs bi-level).
NOTE:
Selecting a Recirculation Mode does not neces-
sarily consume more fuel than normal A/C mode.
Panel
Outside air flows through the outlets located in the
instrument panel.
Bi-Level
Outside air flows through the outlets located in the
instrument panel and at the floor.
Floor
Outside air flows primarily through the floor out-
lets located under the instrument panel.
Mix
Outside air flows in equal proportions through the
floor and defroster outlets, and the air conditioning
may be on.
238 UNDERSTANDING YOUR INSTRUMENT PANEL
Page 252 of 532

▫Tire Pressures For High Speed Operation . . . 356
▫ Radial Ply Tires ..................... 357
▫ Tire Spinning ....................... 357
▫ Tread Wear Indicators ................. 358
▫ Life Of Tire ........................ 359
▫ Replacement Tires .................... 359
� Supplemental Tire Pressure Information —
If Equipped .......................... 360
� Tire Chains .......................... 361
� Snow Tires .......................... 363
� Tire Rotation Recommendations ........... 363
▫ Dual Rear Wheels .................... 365
� Tire Pressure Monitor System (TPMS) —
If Equipped .......................... 366 ▫
Tire Pressure Monitor System (TPMS) Tire
Light Load Inflation Switch Description –
If Equipped ........................ 369
▫
Tire Pressure Monitor System Components
. . 372
▫ General Information .................. 374
� Fuel Requirements ..................... 375
▫ Reformulated Gasoline ................ 375
▫ Gasoline/Oxygenate Blends ............. 376
▫ E-85 Usage In Non-Flex Fuel Vehicles ...... 376
▫ MMT In Gasoline .................... 377
▫ Materials Added To Fuel ............... 377
▫ Fuel System Cautions ................. 378
▫ Carbon Monoxide Warnings ............ 379
250 STARTING AND OPERATING
Page 253 of 532
�Adding Fuel ........................ 379
▫ Loose Fuel Filler Cap (Gas Cap) Message . . 381
� Vehicle Loading ..................... 381
▫ Certification Label .................. 381
� Trailer Towing ....................... 383
▫ Common Towing Definitions ........... 384
▫ Trailer Hitch Classification ............ 388
▫ Trailer Towing Weights (Maximum Trailer
Weight Ratings) ..................... 389
▫ Trailer And Tongue Weight ............ 389▫
Towing Requirements ................ 390
▫ Towing Tips ....................... 395
� Snowplow ......................... 396
� Recreational Towing
(Behind Motorhome, Etc.) ................ 397
▫ Recreational Towing – Two-Wheel Drive
Models ........................... 397
▫ Recreational Towing – Four-Wheel Drive
Models ........................... 397
� Equipment Identification Plate ........... 403
STARTING AND OPERATING 251
5
Page 254 of 532
STARTING PROCEDURESBefore starting your vehicle, adjust your seat, adjust both
inside and outside mirrors, and fasten your seat belts.
The starter should not be operated for more than 15-
second intervals. Waiting a few seconds between such
intervals will protect the starter from overheating.
WARNING!
Do not leave children or animals inside parked
vehicles in hot weather. Interior heat buildup may
cause serious injury or death.Normal StartingNormal starting of either a warm or cold engine is
obtained without pumping or depressing the accelerator
pedal. Turn the key to the START position and release
when the engine starts. If the engine fails to start within
10 seconds, turn the key to the OFF position, wait five
seconds, then repeat the starting procedure.
Automatic TransmissionStart the engine with the shift lever in the NEUTRAL or
PARK position. Apply the brake before shifting to any
driving range.
NOTE: This vehicle is equipped with a transmission
shift interlocking system. The brake pedal must be
depressed to shift out of PARK.Tip Start FeatureDo notpress the accelerator. Turn the ignition key briefly
to START position, and release it. The starter motor will
continue to run, but will automatically disengage when
the engine is running.If Engine Fails To StartIf the engine fails to start after you have followed the
“Normal Starting” procedure, it may be flooded. Push
the accelerator pedal all the way to the floor and hold it
there while cranking the engine. This should clear any
excess fuel in case the engine is flooded.
252 STARTING AND OPERATING
Page 255 of 532
CAUTION!
To prevent damage to the starter, do not crank the
engine for more than 15 seconds at a time. Wait 10 to
15 seconds before trying again.
WARNING!
•
Never pour fuel or other flammable liquids into
the throttle body air inlet opening in an attempt to
start the vehicle. This could result in a flash fire
causing serious personal injury.
•
Do not attempt to push or tow your vehicle to get
it started. Vehicles equipped with an automatic
transmission cannot be started this way. Unburned
fuel could enter the catalytic converter and once
the engine has started, ignite and damage the
converter and vehicle.(Continued)
WARNING! (Continued)
•
If the vehicle has a discharged battery, booster
cables may be used to obtain a start from a booster
battery or the battery in another vehicle. This type
of start can be dangerous if done improperly. Refer
to “Jump Starting” in Section 6.
If the engine has been flooded, it may start to run, but not
have enough power to continue running when the key is
released. If this occurs, continue cranking with the accel-
erator pedal pushed all the way to the floor. Release the
accelerator pedal and the key once the engine is running
smoothly.
If the engine shows no sign of starting after two 15-
second periods of cranking with the accelerator pedal
held to the floor, the “Normal Starting” procedure should
be repeated.
STARTING AND OPERATING 253
5
Page 261 of 532
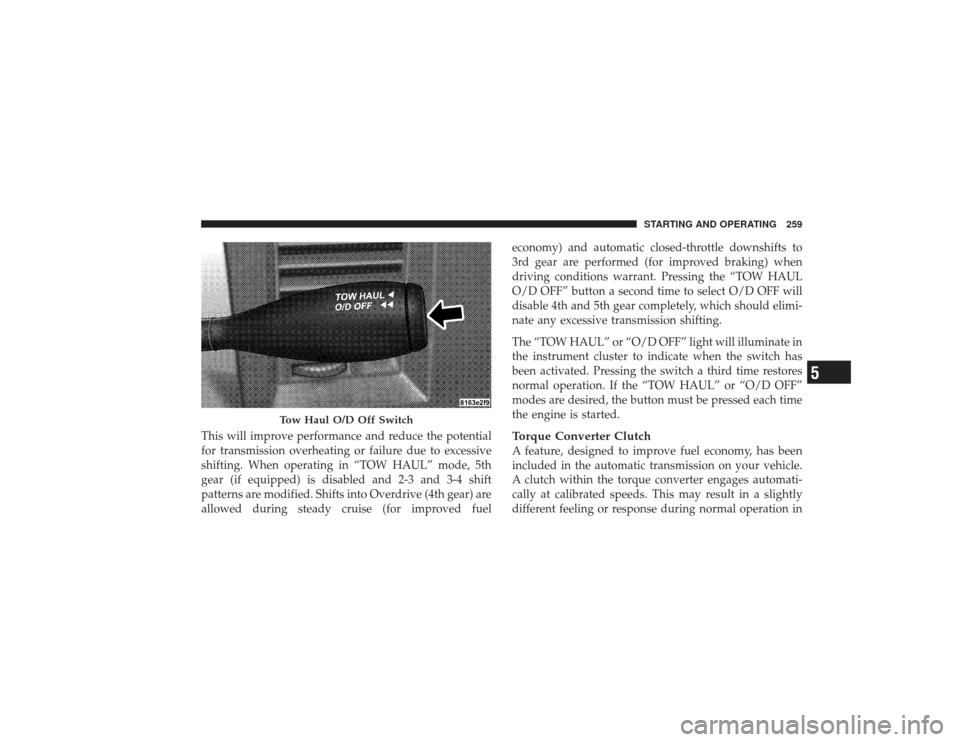
This will improve performance and reduce the potential
for transmission overheating or failure due to excessive
shifting. When operating in “TOW HAUL” mode, 5th
gear (if equipped) is disabled and 2-3 and 3-4 shift
patterns are modified. Shifts into Overdrive (4th gear) are
allowed during steady cruise (for improved fueleconomy) and automatic closed-throttle downshifts to
3rd gear are performed (for improved braking) when
driving conditions warrant. Pressing the “TOW HAUL
O/D OFF” button a second time to select O/D OFF will
disable 4th and 5th gear completely, which should elimi-
nate any excessive transmission shifting.
The “TOW HAUL” or “O/D OFF” light will illuminate in
the instrument cluster to indicate when the switch has
been activated. Pressing the switch a third time restores
normal operation. If the “TOW HAUL” or “O/D OFF”
modes are desired, the button must be pressed each time
the engine is started.
Torque Converter ClutchA feature, designed to improve fuel economy, has been
included in the automatic transmission on your vehicle.
A clutch within the torque converter engages automati-
cally at calibrated speeds. This may result in a slightly
different feeling or response during normal operation in
Tow Haul O/D Off Switch
STARTING AND OPERATING 259
5