Page 80 of 532
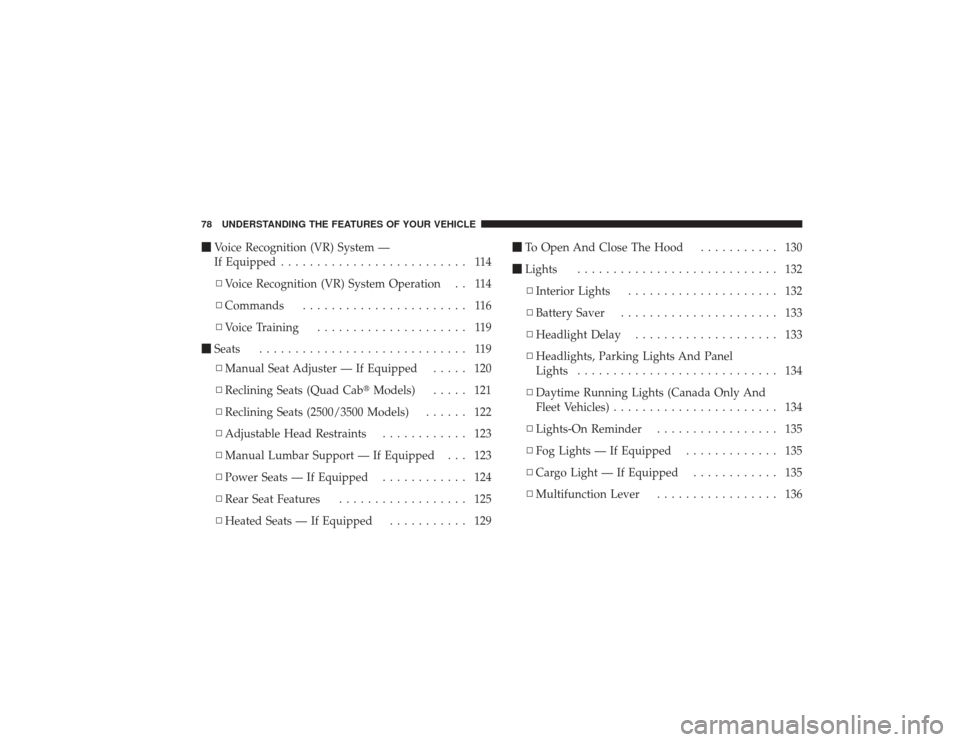
�Voice Recognition (VR) System —
If Equipped .......................... 114
▫ Voice Recognition (VR) System Operation . . 114
▫ Commands ....................... 116
▫ Voice Training ..................... 119
� Seats ............................. 119
▫ Manual Seat Adjuster — If Equipped ..... 120
▫ Reclining Seats (Quad Cab� Models)..... 121
▫ Reclining Seats (2500/3500 Models) ...... 122
▫ Adjustable Head Restraints ............ 123
▫ Manual Lumbar Support — If Equipped . . . 123
▫ Power Seats — If Equipped ............ 124
▫ Rear Seat Features .................. 125
▫ Heated Seats — If Equipped ........... 129�
To Open And Close The Hood ........... 130
� Lights ............................ 132
▫ Interior Lights ..................... 132
▫ Battery Saver ...................... 133
▫ Headlight Delay .................... 133
▫ Headlights, Parking Lights And Panel
Lights ............................ 134
▫ Daytime Running Lights (Canada Only And
Fleet Vehicles) ....................... 134
▫ Lights-On Reminder ................. 135
▫ Fog Lights — If Equipped ............. 135
▫ Cargo Light — If Equipped ............ 135
▫ Multifunction Lever ................. 13678 UNDERSTANDING THE FEATURES OF YOUR VEHICLE
Page 108 of 532
Things You Should Know About Your uconnect�
phone
uconnect� phone TutorialTo hear a brief tutorial of the system features, press the
PHONE button and say “uconnect� Tutorial.”Voice TrainingFor users experiencing difficulty with the system recog-
nizing their voice commands or numbers, the uconnect �
phone Voice Training feature may be used. To enter this
training mode, follow one of the two following proce-
dures:
From outside the uconnect� phone mode (e.g., from radio
mode):•
Press and hold the VOICE RECOGNITION button for
five seconds until the session begins, or,
•
Press the VOICE RECOGNITION button and say the
�Setup, Voice Training� command. Repeat the words and phrases when prompted by the
uconnect�
phone. For best results, the Voice Training
session should be completed when the vehicle is parked
with the engine running, all windows closed, and the
blower fan switched off.
This procedure may be repeated with a new user. The
system will adapt to the last trained voice only.
To restore the Voice Recognition system to factory default
settings, enter the Voice Training session via the above
procedure and follow the prompts.
Voice Recognition (VR)
•
For best performance, adjust the rearview mirror to
provide at least
1�2in (1 cm) gap between the overhead
console (if equipped) and the mirror.
•
Always wait for the beep before speaking.
106 UNDERSTANDING THE FEATURES OF YOUR VEHICLE
Page 110 of 532
Far End Audio Performance
•
Audio quality is maximized under:•
low-to-medium blower setting,
•
low-to-medium vehicle speed,
•
low road noise,
•
smooth road surface,
•
fully closed windows,
•
dry weather conditions, and
•
operation from the driver’s seat.
•
Performance, such as audio clarity, echo, and loudness
to a large degree rely on the phone and network, and
not the uconnect�phone.
•
Echo at the far end can sometimes be reduced by
lowering the in-vehicle audio volume.
•
In a convertible vehicle, system performance may be
compromised with the convertible top down.
Bluetooth�Communication LinkCellular phones have been found to lose connection to
the uconnect� phone. When this happens, the connection
can generally be reestablished by switching the phone
off/on. Your cellular phone is recommended to remain in
Bluetooth� ON mode.Power-UpAfter switching the ignition key from OFF to either the
ON or ACC position, or after a language change, you
must wait at least five seconds prior to using the system.
108 UNDERSTANDING THE FEATURES OF YOUR VEHICLE
Page 118 of 532
CommandsThe Voice Recognition (VR) system understands two
types of commands. Universal commands are available at
all times. Local commands are available if the supported
radio mode is active.Changing the Volume1. Start a dialogue by pressing the VR button.
2. Say a command (e.g., “Help”).
3. Use the ON/OFF VOLUME rotary knob to adjust the
volume to a comfortable level while the Voice Recogni-
tion (VR) system is speaking. Please note the volume
setting for VR is different than the audio system.Main MenuStart a dialogue by pressing the VR button. You may say
“Main Menu” to switch to the main menu.In this mode, you can say the following commands:
•
“Radio” (to switch to the radio mode)
•
“Disc” (to switch to the disc mode)
•
“Memo” (to switch to the memo recorder)
•
“System Setup” (to switch to system setup)
Radio AM (or Radio Long Wave or Radio Medium
Wave — If Equipped)To switch to the AM band, say “AM” or “Radio AM”. In
this mode, you may say the following commands:•
“Frequency” (to change the frequency)
•
“Next Station” (to select the next station)
•
“Previous Station” (to select the previous station)
•
“Radio Menu” (to switch to the radio menu)
•
“Main Menu” (to switch to the main menu)
116 UNDERSTANDING THE FEATURES OF YOUR VEHICLE
Page 120 of 532
MemoTo switch to the voice recorder mode, say “Memo”. In
this mode, you may say the following commands:•
“New Memo” (to record a new memo) — During the
recording, you may press the VR button to stop
recording. You proceed by saying one of the following
commands:�
“Save” (to save the memo)
�
“Continue” (to continue recording)
�
“Delete” (to delete the recording)
•
“Play Memos” (to play previously recorded memos)
— During the playback you may press the VR button
to stop playing memos. You proceed by saying one of
the following commands:�
“Repeat” (to repeat a memo)
�
“Next” (to play the next memo)
�
“Previous” (to play the previous memo)
�
“Delete” (to delete a memo)
•
“Delete All” (to delete all memos)
System SetupTo switch to system setup, say “Setup”. In this mode, you
may say the following commands:•
“Language German”
•
“Language Dutch”
•
“Language Italian”
•
“Language English”
•
“Language French”
•
“Language Spanish”
•
“Tutorial”
•
“Voice Training”
118 UNDERSTANDING THE FEATURES OF YOUR VEHICLE
Page 135 of 532
Battery SaverTo protect the life of your vehicle’s battery, load shedding
is provided for both the interior and exterior lights.
If the ignition is OFF and any door is left ajar, or if the
dimmer control is rotated upwards for approximately
10 minutes, the interior lights will automatically turn off.If the headlights are left on, or turned on, when the
ignition is turned OFF, the headlights will automatically
turn off after approximately eight minutes.
NOTE:
Battery saver mode is cancelled if the ignition is
ON.
Headlight DelayTo aid in your exit, your vehicle is equipped with a
headlight delay that will leave the headlights on for
approximately 90 seconds. This delay is initiated when
the ignition is turned OFF while the headlight switch is
on, and then the headlight switch is cycled off. Headlight
delay can be cancelled by either turning the headlight
switch on then off, or by turning the ignition ON.
Dimmer Control
UNDERSTANDING THE FEATURES OF YOUR VEHICLE 133
3
Page 151 of 532
When the fuel economy is reset, the display will momen-
tarily blank. Then, the history will be erased, and the
AVERAGING WILL CONTINUE FROM WHERE IT
WAS BEFORE THE RESET. The reset value is based on
a minimal amount of fuel used and the distance traveled
from the previous drive cycle. The displaymay take
several miles/kilometers for this value to change depen-
dent upon driving habits.Distance To Empty (DTE)The distance to empty (DTE) shows the estimated dis-
tance that can be traveled with the fuel remaining in the
tank. This estimated distance is determined by weighted
average of the instantaneous and average fuel economy,
according to the current fuel tank level.
NOTE:•
The DTE cannotbe reset.
•
Significant changes in driving style or vehicle loading
will greatly affect the actual drivable distance of the
vehicle, regardless of the DTE displayed value. When the DTE value is less than 30 miles (48 km)
estimated driving distance, the DTE display will change
to an alternating test display of “LO” and “FUEL”. This
display will continue until the vehicle runs out of fuel.
Adding a significant amount of fuel to the vehicle will
turn off the “LO FUEL” text and a new DTE value will be
displayed, based on the current values in the DTE
calculation and the current fuel tank level.
NOTE:
It is possible for DTE to display “LO FUEL”
before the low fuel warning light turns on in the instru-
ment cluster. This could occur because low fuel warning
is set to a specified fuel tank volume and DTE is an
estimated distance calculation based on fuel economy
and remaining fuel tank volume.
Ram fuel tank volumes are as follows:
•
34 gal (128 L) - 2500/3500/Power Wagon short box
models
•
35 gal (132 L) - 2500/3500//Power Wagon long box
modelsUNDERSTANDING THE FEATURES OF YOUR VEHICLE 149
3
Page 156 of 532
WARNING!
•
Your motorized door or gate will open and close
while you are training the Universal Transceiver.
Do not train the transceiver if people or pets are in
the path of the door or gate. Only use this trans-
ceiver with a garage door opener that has a “stop
and reverse” feature as required by federal safety
standards. This includes most garage door opener
models manufactured after 1982. Do not use a
garage door opener without these safety features.
Call toll-free 1–800–355–3515 or, on the Internet at
www.HomeLink.com for safety information or as-
sistance.
•
Vehicle exhaust contains carbon monoxide, a dan-
gerous gas. Do not run your vehicle in the garage
while training the transceiver. Exhaust gas can
cause serious injury or death.
Programming HomeLink�
Before You BeginThe Compass Mini-Trip Computer (CMTC) illuminates
the HomeLink� symbol (a house with an arrow inside it)
along with 1, 2 or 3 indicators under it, when a
HomeLink� button is pressed.
Pay attention to the indicator(s), as they will flash at
different rates, or remain solid during training.
If you have not trained any of the HomeLink� buttons,
erase all channels before you begin training.
To do this, press and hold the two outside buttons for
20 seconds. Release the buttons when the indicators start
to flash.
It is recommended that a new batterybe placed in the
hand-held transmitter of the device being programmed
to HomeLink� for more efficient training and accurate
transmission of the radio-frequency signal.
154 UNDERSTANDING THE FEATURES OF YOUR VEHICLE