Page 178 of 484
14. Oil Pressure Warning LightThis light indicates low engine oil pressure. The
light should turn on momentarily when the engine
is started. If the light turns on while driving, stop the
vehicle, and shut OFF the engine as soon as possible. A
single chime will sound when this light turns on.
Do not operate the vehicle until the cause is corrected.
This light does not show how much oil is in the engine.
The engine oil level must be checked using the procedure
shown in Section 7.
15. High Beam Light This light will turn on when the high beam
headlights are ON. Push the multifunction lever
away from the steering wheel to switch the headlights to
high beam. 16. Seat Belt Reminder Light
This light will turn on for five to eight seconds as
a bulb check when the ignition switch is first
turned ON. A chime will sound if the driver’s seat
belt is unbuckled during the bulb check. The Seat Belt
Reminder Light will flash or remain on continuously if
the driver’s seat belt remains unbuckled after the bulb
check or when driving.
17. Shift Lever Indicator
This indicator shows the automatic transmission shift
lever selection.
18. Front Fog Light Indicator — If Equipped This light will turn on when the front fog lights are
ON.
176 UNDERSTANDING YOUR INSTRUMENT PANEL
Page 179 of 484
19. Odometer/Trip Odometer Display / Electronic
Vehicle Information Center (EVIC) Display — If
Equipped
The odometer shows the total distance the vehicle has
been driven. The trip odometer shows individual trip
mileage. Refer to “Trip Odometer Button” for additional
information.
NOTE:U.S. Federal regulations require upon transfer of
vehicle ownership, the seller certify the mileage the
vehicle has been driven. Therefore, if the odometer
reading is changed because of repair or replacement, be
sure to keep a record of the reading before and after the
service so that the correct mileage can be determined.
Rear Wheel Drive (RWD) / All Wheel Drive (AWD)
Displays (Base Cluster)
On vehicles equipped with a Base Instrument Cluster, the
odometer will display “2drivE” when the vehicle is in
Rear Wheel Drive (RWD), and “4drivE” when All Wheel
Drive (AWD) is activated. If the odometer displays the “tCASE” warning message
after engine start up, or during driving, the AWD system
is not functioning properly and service is required.
NOTE:
Vehicles equipped with Electronic Vehicle Infor-
mation Center (EVIC) will display SERVICE AWD SYS-
TEM if the system is not functioning properly and service
is required. Refer to Electronic Vehicle Information Cen-
ter (EVIC) in this section for more information.
Change Oil Message (Base Cluster)
Your vehicle is equipped with an engine oil change
indicator system. The “Change Oil” message will flash in
the instrument cluster odometer for approximately
12 seconds after a single chime has sounded to indicate
the next scheduled oil change interval. The engine oil
change indicator system is duty cycle based, which
means the engine oil change interval may fluctuate
dependent upon your personal driving style.
UNDERSTANDING YOUR INSTRUMENT PANEL 177
4
Page 180 of 484
Unless reset, this message will continue to display each
time you turn the ignition switch to the ON position. To
turn off the message temporarily, press and release the
TRIP ODOMETER button on the instrument cluster. To
reset the oil change indicator system (after performing
the scheduled maintenance) perform the following pro-
cedure:1. Turn the ignition switch to the ON position. (Do not
start the engine).
2. Fully depress the accelerator pedal slowly three
times within 10 seconds.
3. Turn the ignition switch to the LOCK position.
NOTE: If the indicator message illuminates when you
start the vehicle, the oil change indicator system did not
reset. If necessary, repeat this procedure. On vehicles equipped with a Premium Instrument Clus-
ter, this display shows the Electronic Vehicle Information
Center (EVIC) messages when the appropriate conditions
exist.
Lo tirE
When the appropriate condition exists the odometer
display will toggle between Lo and tirE for three cycles.
Loose Fuel Filler Cap Message
If the vehicle diagnostic system determines that the fuel
filler cap is loose, improperly installed, or damaged, a
“Check Gascap” message will display in the EVIC.
Tighten the fuel filler cap properly and press the TRIP
ODOMETER button to turn off the message. If the
problem continues, the message will appear the next time
the vehicle is started.
A loose, improperly installed, or damaged fuel filler cap
may also turn on the Malfunction Indicator Light (MIL).
178 UNDERSTANDING YOUR INSTRUMENT PANEL
Page 185 of 484
25. Malfunction Indicator Light (MIL)The Malfunction Indicator Light (MIL) is part of
an onboard diagnostic system called OBD. The
OBD system monitors engine and automatic
transmission control systems. The MIL will turn on when
the key is in the ON position before engine start. If the
MIL does not come on when turning the key from LOCK
to ON, have the condition checked promptly.
Certain conditions such as a loose or missing gas cap,
poor fuel quality, etc., may illuminate the MIL after
engine start. The vehicle should be serviced if the MIL
stays on through several of your typical driving cycles. In
most situations, the vehicle will drive normally and will
not require towing.
The MIL flashes to alert you to serious conditions that
could lead to immediate loss of power or severe catalytic
converter damage. The vehicle should be serviced as
soon as possible if this occurs.ELECTRONIC VEHICLE INFORMATION CENTER
(EVIC) – IF EQUIPPED
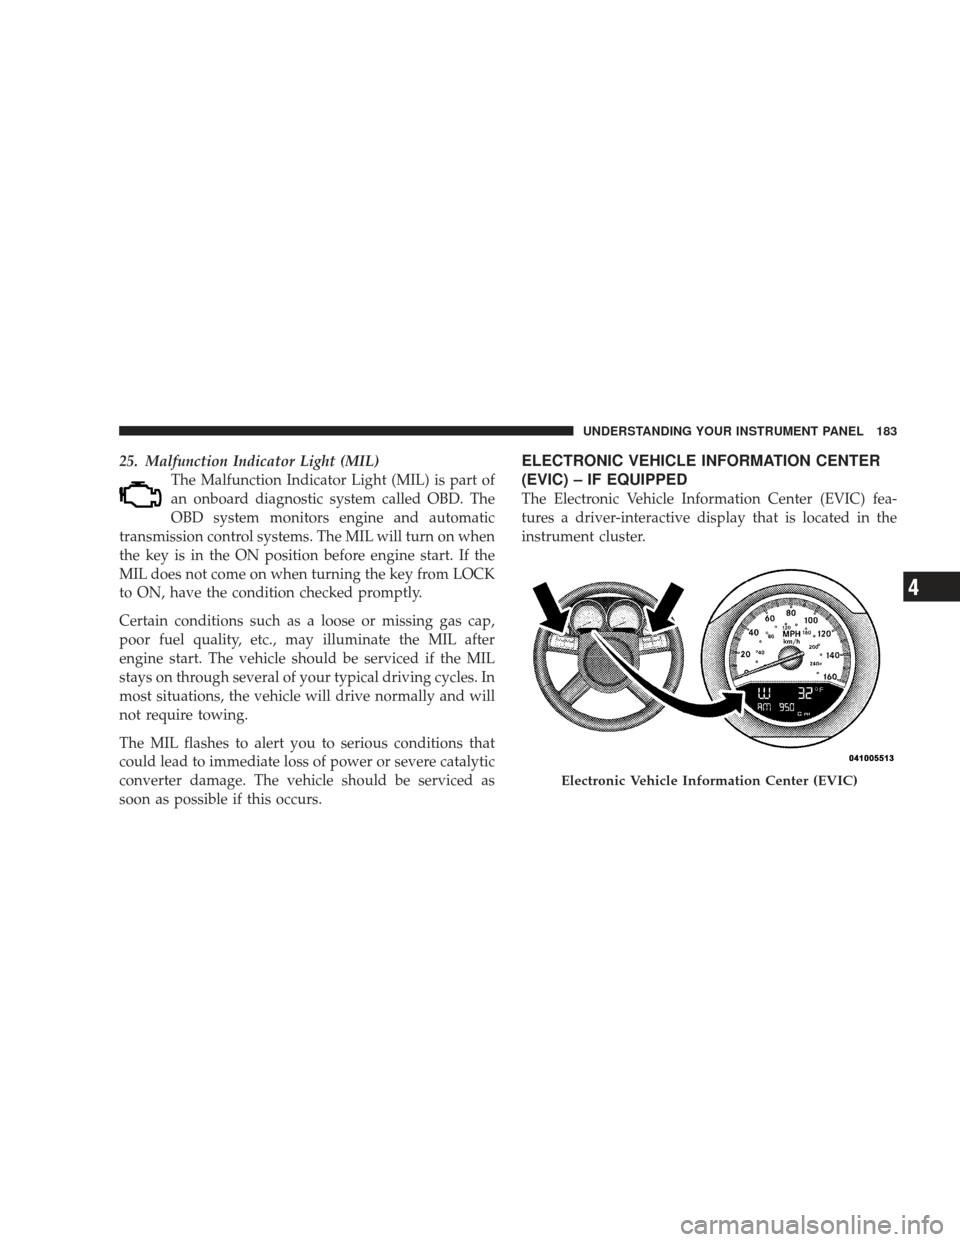
The Electronic Vehicle Information Center (EVIC) fea-
tures a driver-interactive display that is located in the
instrument cluster.
Electronic Vehicle Information Center (EVIC)
UNDERSTANDING YOUR INSTRUMENT PANEL 183
4
Page 188 of 484
![DODGE CHARGER 2009 6.G Owners Manual •Left/Right Front Door Ajar (one or more, with a single
chime if speed is above 1 mph [1.6 km/h])
•Left/Right Rear Door Ajar (one or more, with a single
chime if speed is above 1 mph [1.6 km/h])
� DODGE CHARGER 2009 6.G Owners Manual •Left/Right Front Door Ajar (one or more, with a single
chime if speed is above 1 mph [1.6 km/h])
•Left/Right Rear Door Ajar (one or more, with a single
chime if speed is above 1 mph [1.6 km/h])
�](/manual-img/12/5563/w960_5563-187.png)
•Left/Right Front Door Ajar (one or more, with a single
chime if speed is above 1 mph [1.6 km/h])
•Left/Right Rear Door Ajar (one or more, with a single
chime if speed is above 1 mph [1.6 km/h])
•Door(s) Ajar (with a single chime if vehicle is in
motion)
•Trunk Ajar (with a single chime)
•Low Washer Fluid (with a single chime)
•Low Tire Pressure
•SERVICE AWD SYSTEM — All Wheel Drive (AWD)
system is not functioning properly and service is
required.
•Channel # Transmit
•Channel # Training
•Channel # Trained
•Clearing Channels
•Channels Cleared
•Did Not Train
•Insert Key/Turn To Run (refer to “Remote Starting
System” in Section 2)
•Check Gascap (refer to “Adding Fuel” in Section 5)
•Oil Change Required (with a single chime)
Oil Change Required
Your vehicle is equipped with an engine oil change
indicator system. The “Oil Change Required” message
will flash in the EVIC display for approximately 10 sec-
onds after a single chime has sounded to indicate the next
scheduled oil change interval. The engine oil change
indicator system is duty cycle based, which means the
engine oil change interval may fluctuate dependent upon
your personal driving style.
186 UNDERSTANDING YOUR INSTRUMENT PANEL
Page 189 of 484
Unless reset, this message will continue to display each
time you turn the ignition switch to the ON position. To
turn off the message temporarily, press and release the
MENU button. To reset the oil change indicator system
(after performing the scheduled maintenance) perform
the following procedure:
1. Turn the ignition switch to the ON position. (Do not
start the engine).
2. Fully depress the accelerator pedal slowly three times
within 10 seconds.
3. Turn the ignition switch to the LOCK position.
NOTE:If the indicator message illuminates when you
start the vehicle, the oil change indicator system did not
reset. If necessary, repeat this procedure.Trip Functions
Press and release the MENU button until one of the
following Trip Functions displays in the EVIC:
•Average Fuel Economy
•Distance To Empty
•Trip A
•Trip B
•Elapsed Time
•Display Units of Measure in
Press the SCROLL button to cycle through all the Trip
Computer functions.
UNDERSTANDING YOUR INSTRUMENT PANEL 187
4
Page 214 of 484
Operating Instructions — Voice Recognition
System (VR) (If Equipped)
For the radio, refer to “Voice Recognition System (VR)” in
Section 3.
For uconnect�“Voice Recognition System (VR),” refer to
“uconnect� phone” in Section 3.
Operating Instructions - uconnect �phone (If
Equipped)
Refer to “uconnect� phone” in Section 3.
Operating Instructions - uconnect �studios
(Satellite Radio) (If Equipped)
Refer to “uconnect� studios (Satellite Radio)” in this
section.
Operating Instructions - Video Entertainment
System (VES)™ (If Equipped)
Refer to separate “Video Entertainment System (VES)™
Guide.” Dolby�
Manufactured under license from Dolby�
Laboratories.
�Dolby�� and the double-D symbol are trademarks of
Dolby� Laboratories.
Macrovision
This product incorporates copyright protection technol-
ogy that is protected by U.S. patents and other intellec-
tual property rights. Use of this copyright protection
technology must be authorized by Macrovision, and is
intended for home and other limited viewing uses only,
unless otherwise authorized by Macrovision. Reverse
engineering or disassembly is prohibited.
DTS™
�DTS™� and�DTS™ 2.0� are trademarks of Digital The-
ater Systems, Inc.
212 UNDERSTANDING YOUR INSTRUMENT PANEL
Page 263 of 484
conditioning. An indicator in the button illuminates
when manual compressor operation is selected.
NOTE:To control the air conditioning manually, the
mode selector must be moved out of the AUTO position.
•Recirculation Control This button can be used to block out smoke,
odors, dust, high humidity, or if rapid cooling
is desired. The Recirculation mode should only
be used temporarily. An indicator in the button
illuminates when the Recirculation mode is active. You
may use this feature separately.
NOTE: Extended use of recirculation may cause the
windows to fog. If the interior of the windows begins to
fog, press the recirculation button to return to outside air.
Some temp/humidity conditions will cause captured
interior air to condense on windows and hamper visibil-
ity. For this reason, the system will not allow recirculation
to be selected while in Defrost or Defrost/Floor mode. Attempting to use the recirculation while in these modes
will cause the indicator in the control button to blink and
then turn off.
Operating Tips
NOTE:
Refer to the chart at the end of this section for
suggested control settings for various weather condi-
tions.
Summer Operation
The engine cooling system in air-conditioned vehicles
must be protected with a high-quality antifreeze coolant
to provide proper corrosion protection and to protect
against engine overheating. A 50% solution of ethylene
glycol antifreeze coolant in water is recommended. Refer
to “Maintenance Procedures” in Section 7 for proper
coolant selection.
UNDERSTANDING YOUR INSTRUMENT PANEL 261
4